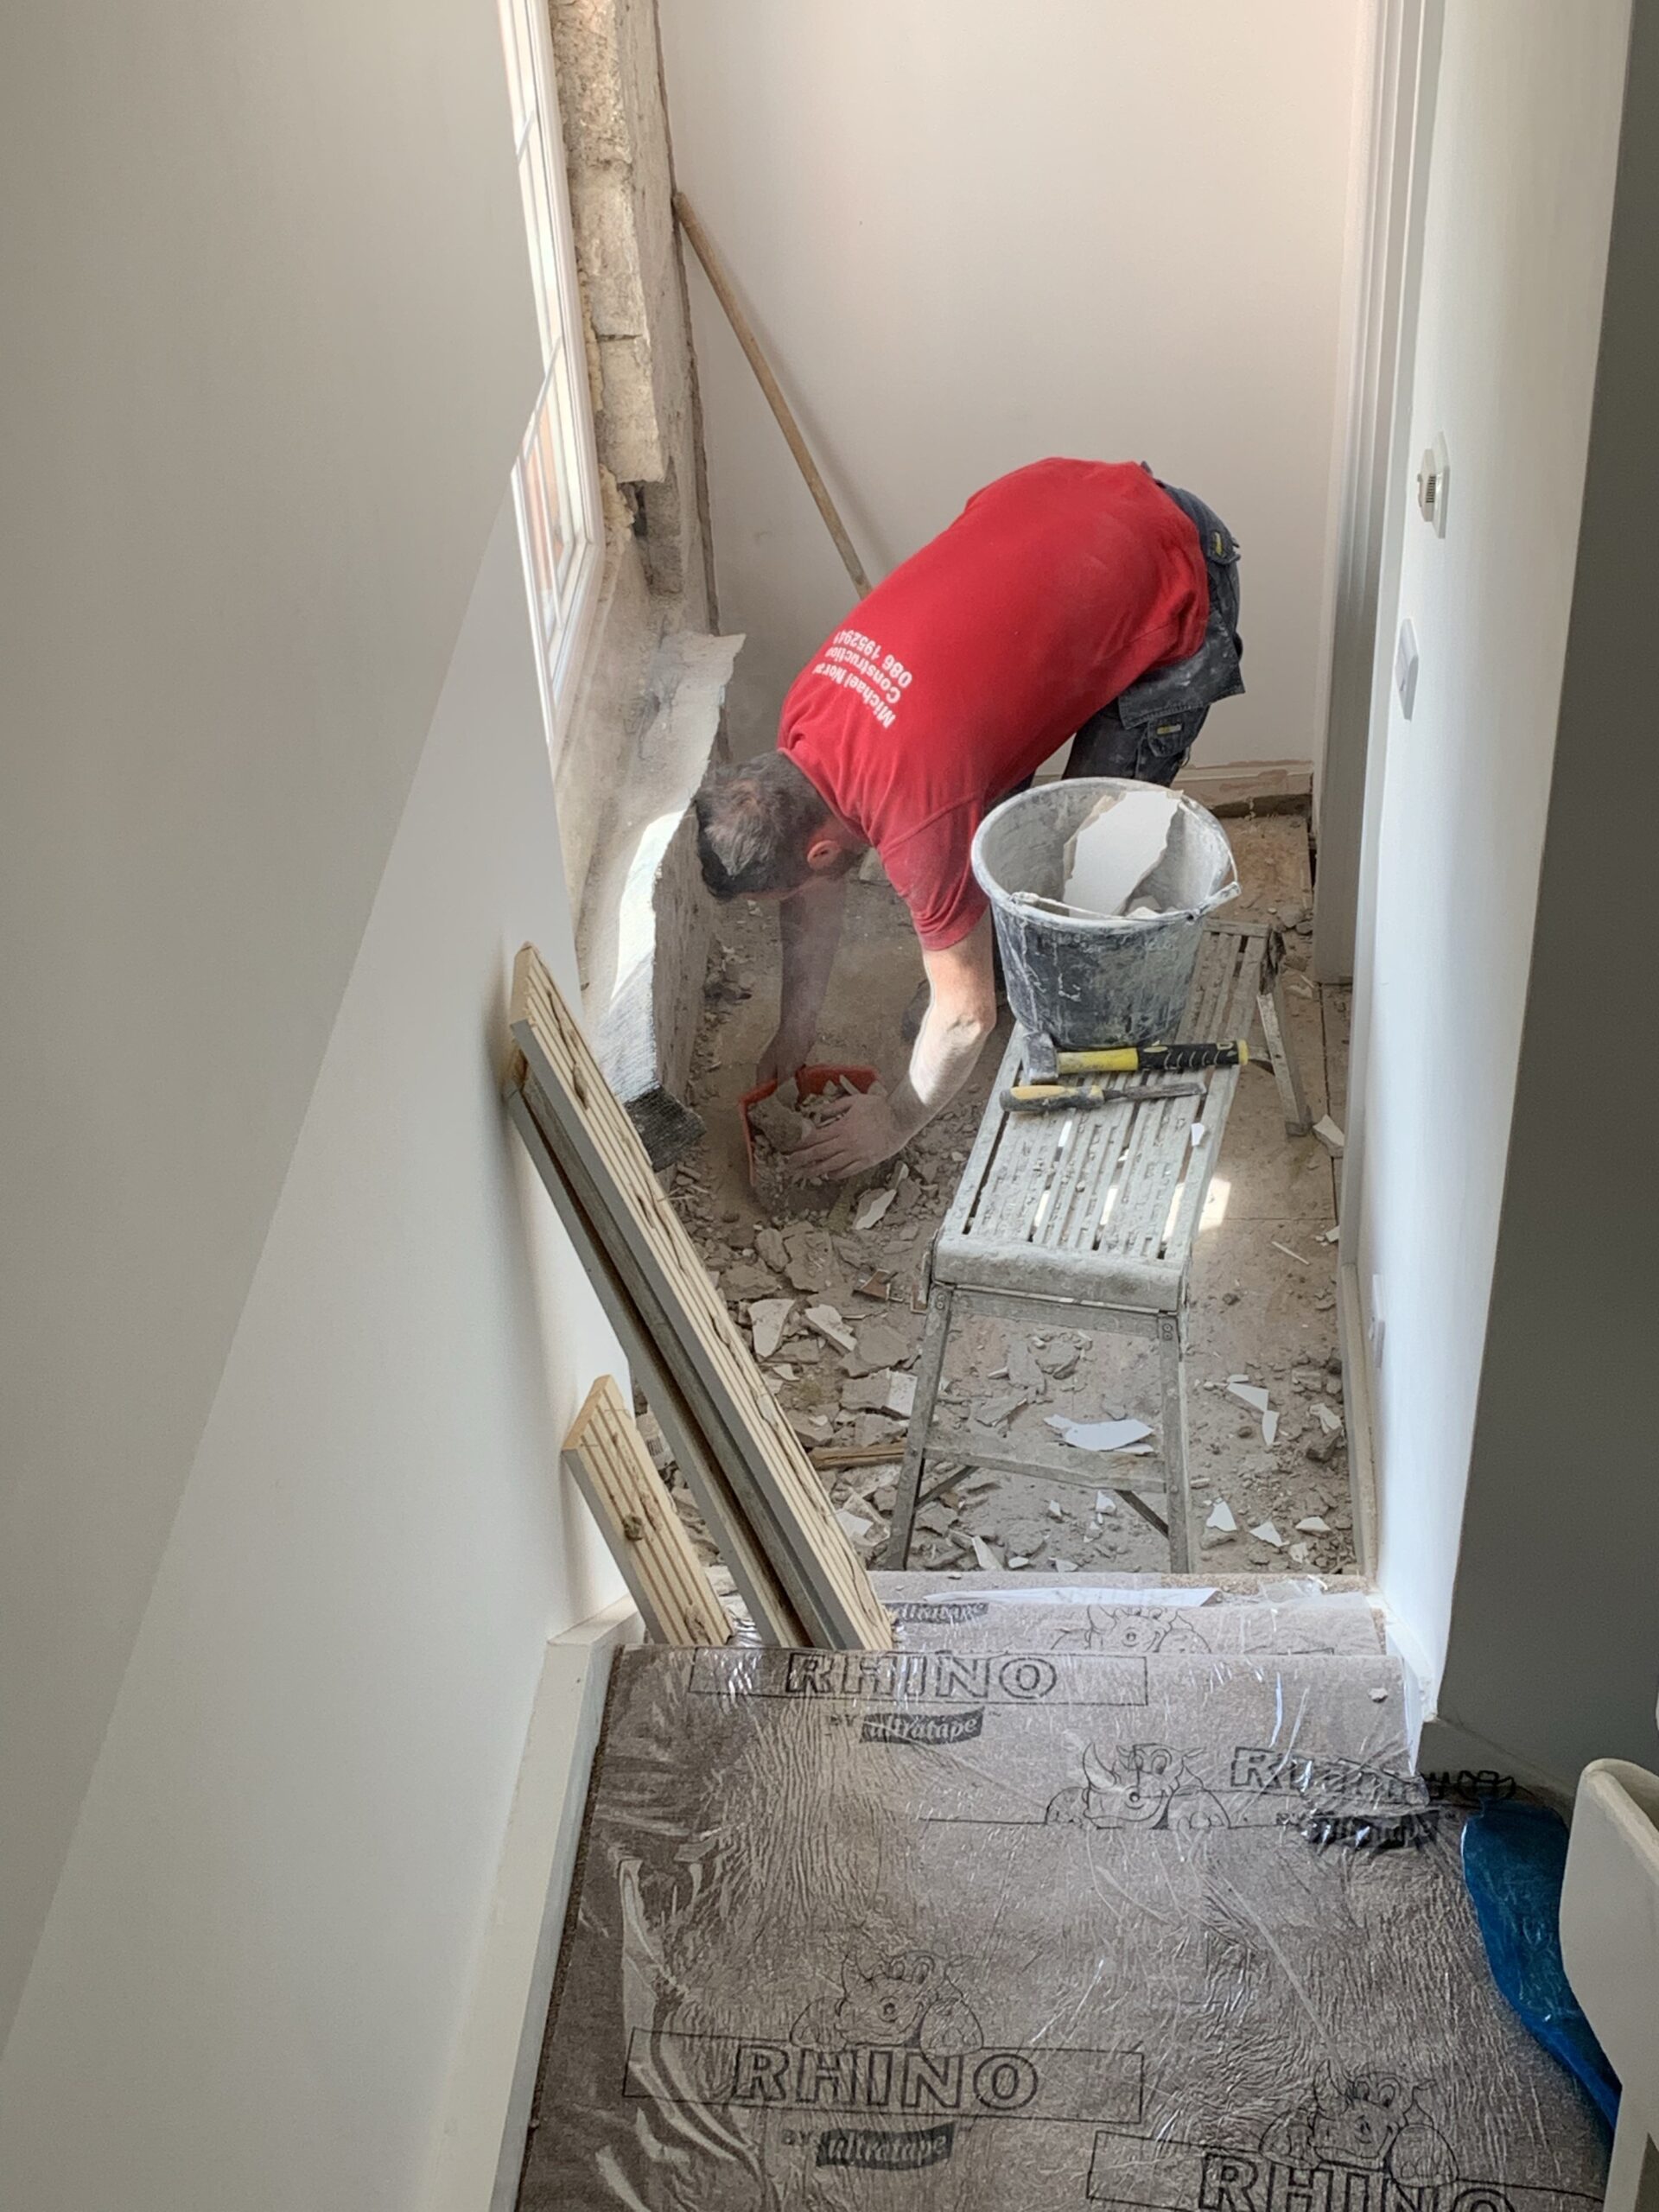
Today’s work was the skimming of the workshop, and dealing with a crack in the wall outside the bathroom.
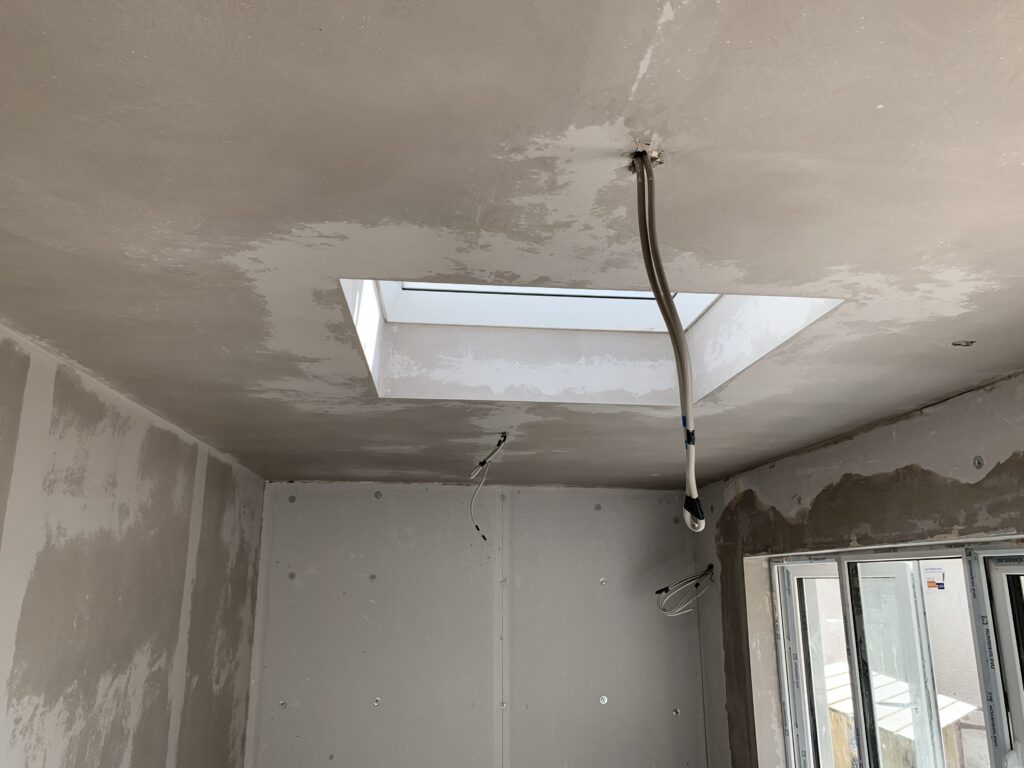
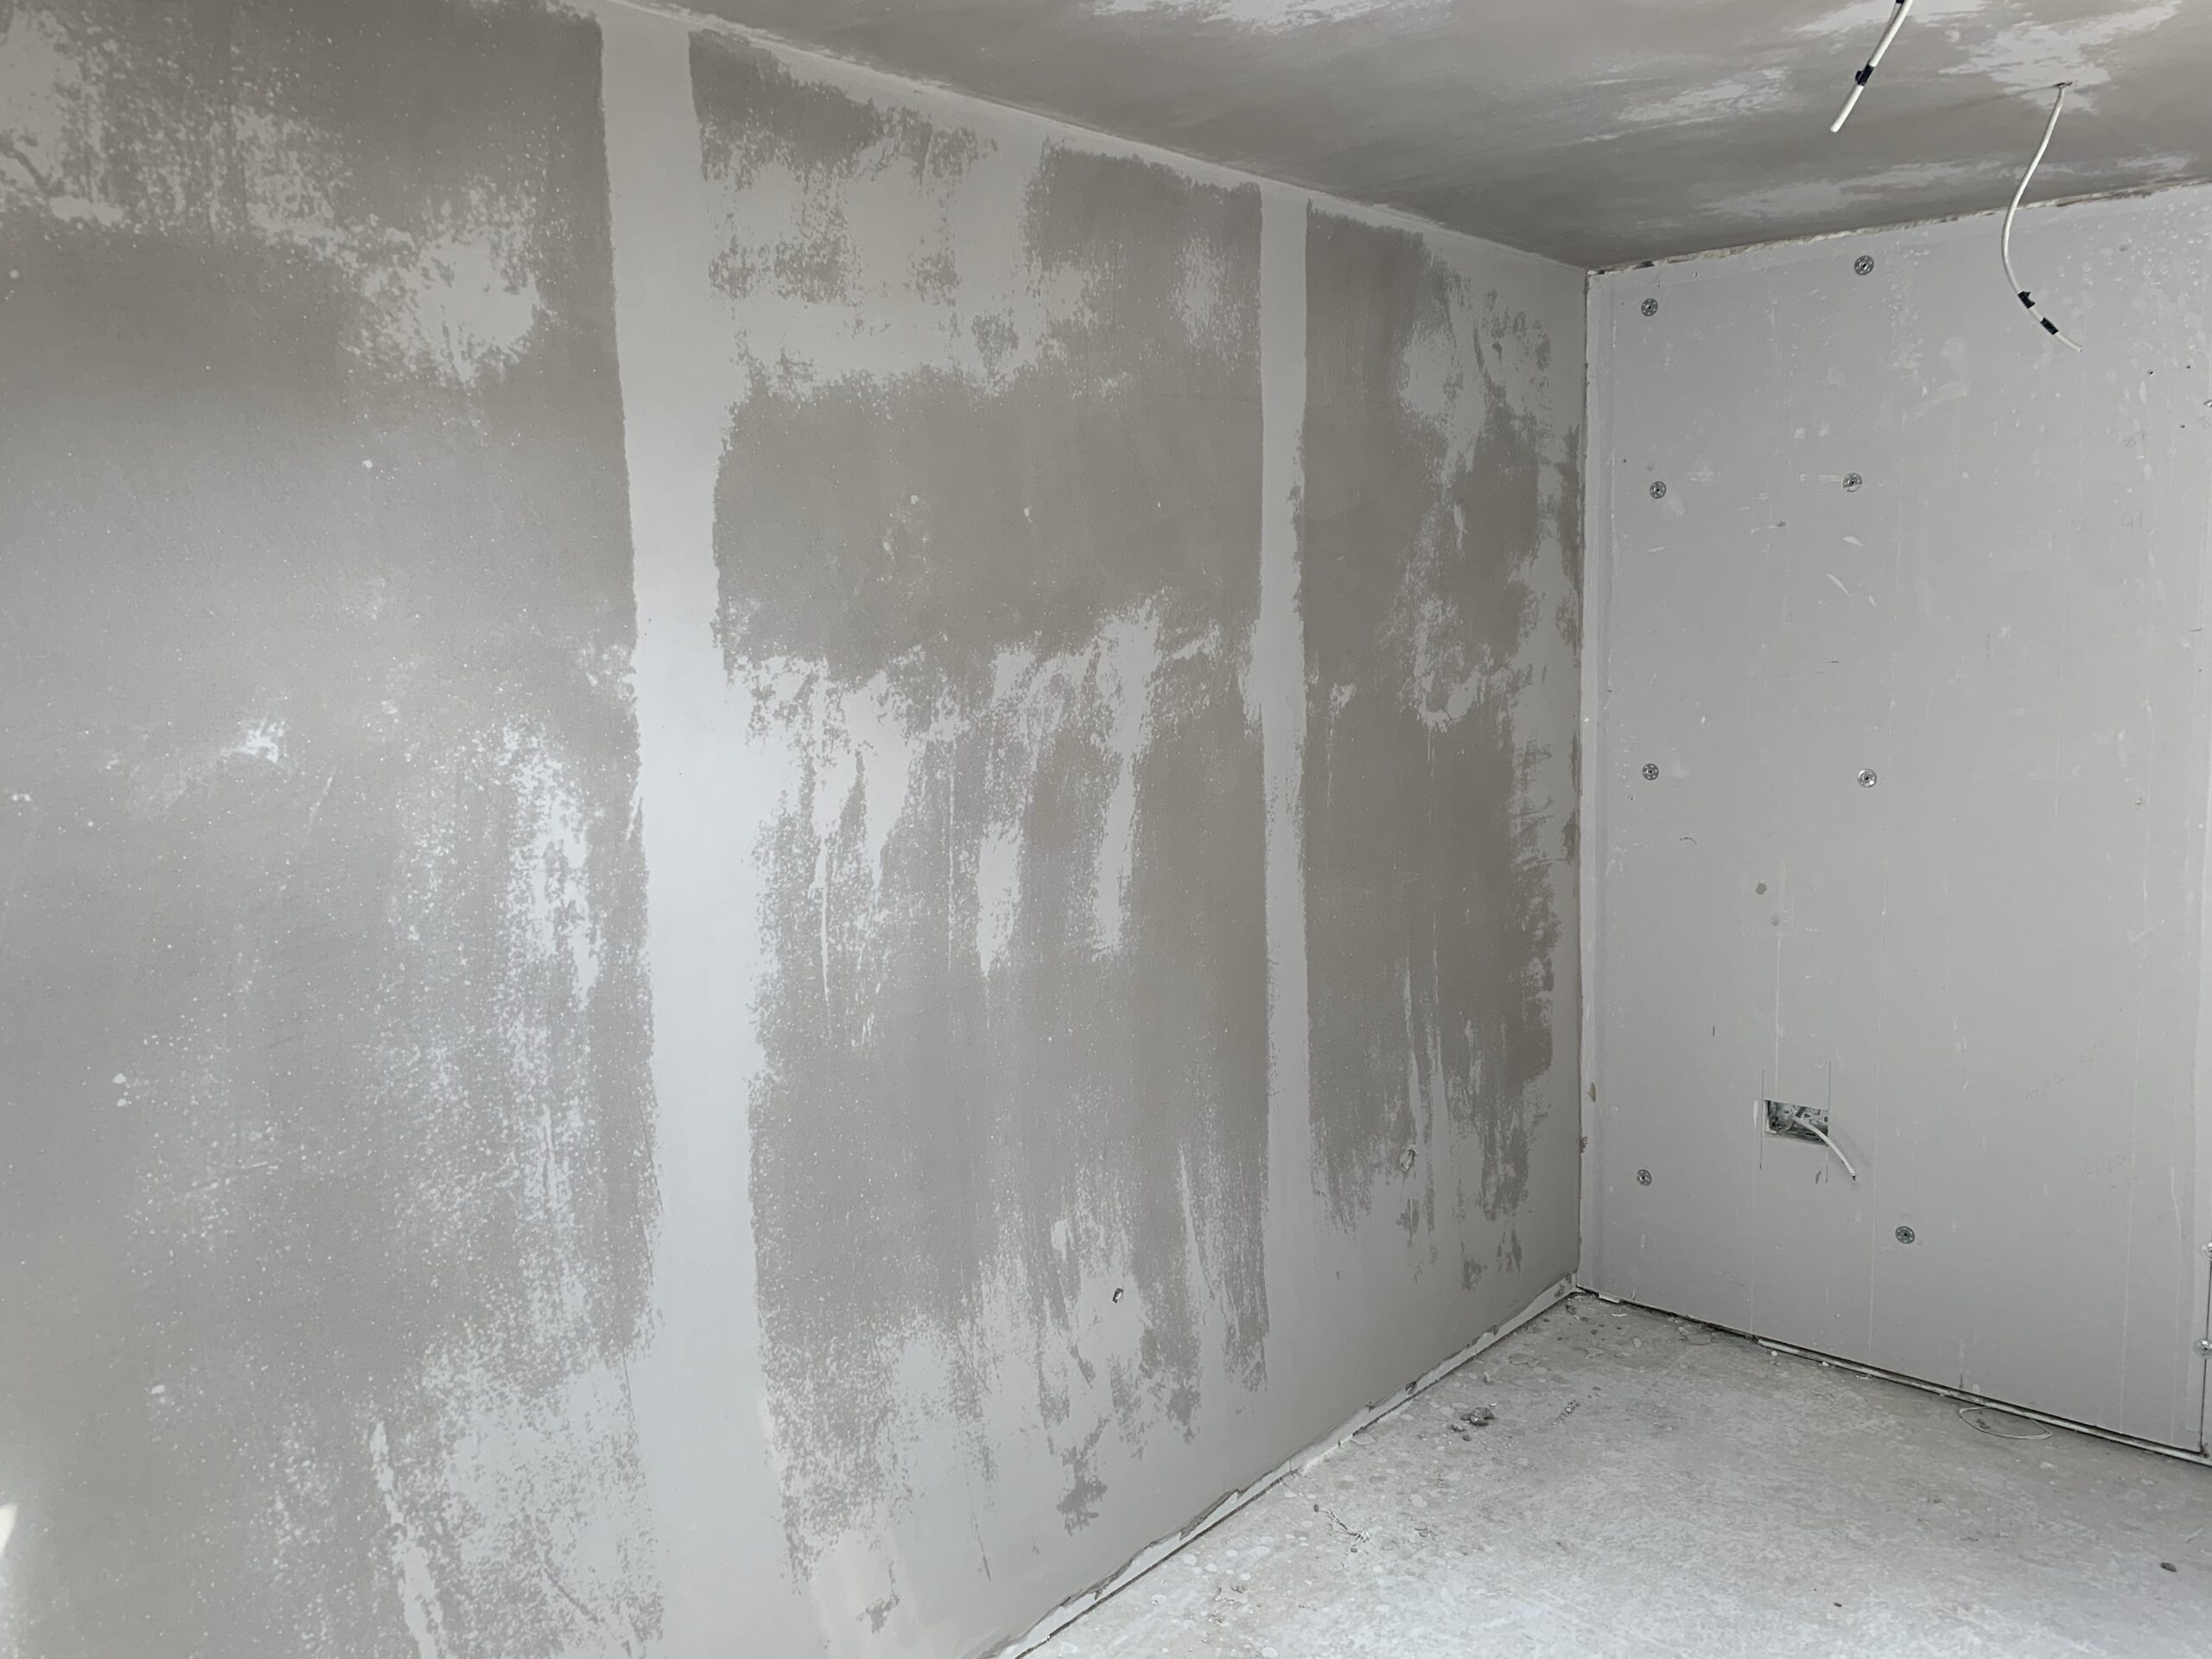
First-pass skim 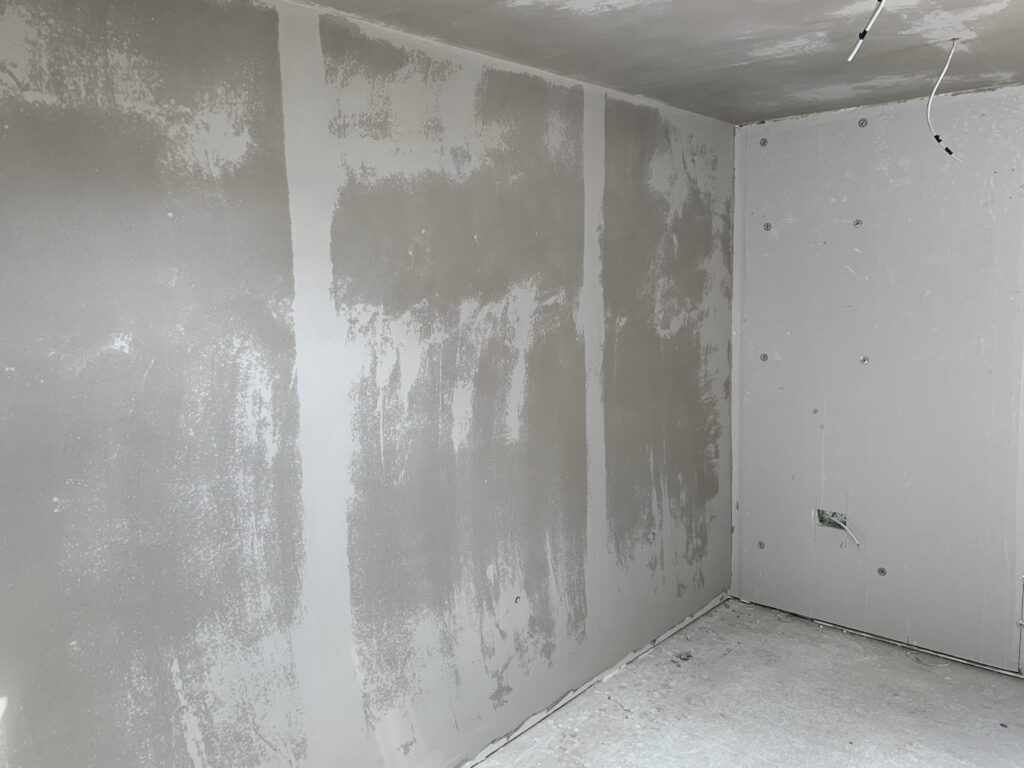
First-pass skim 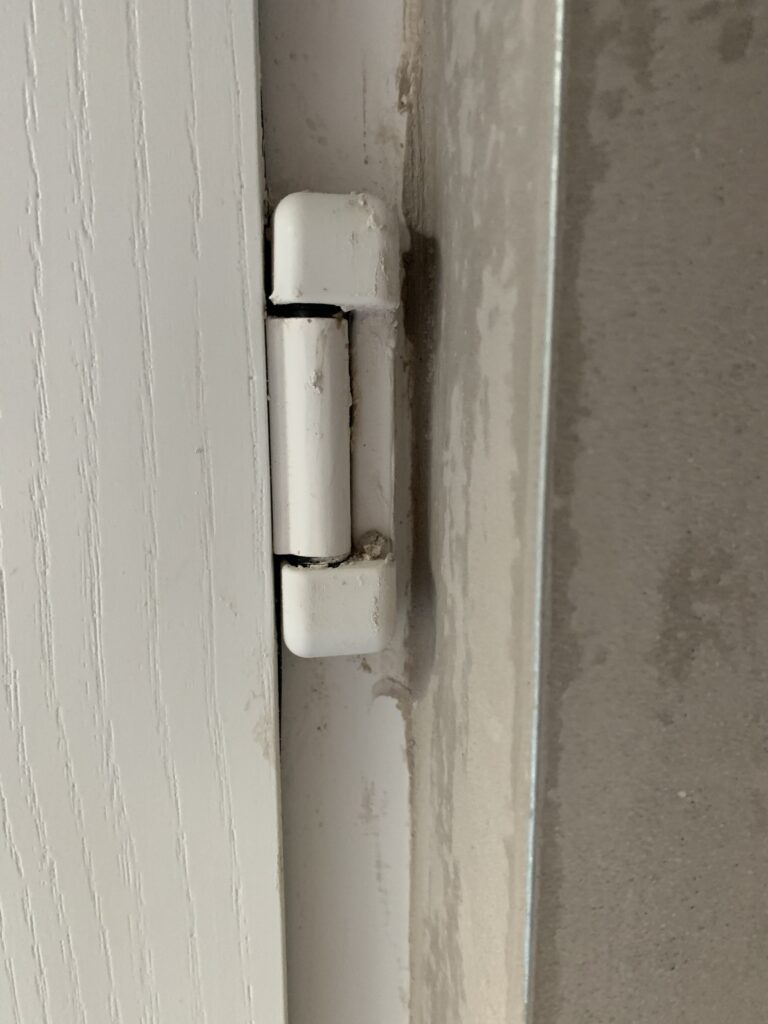
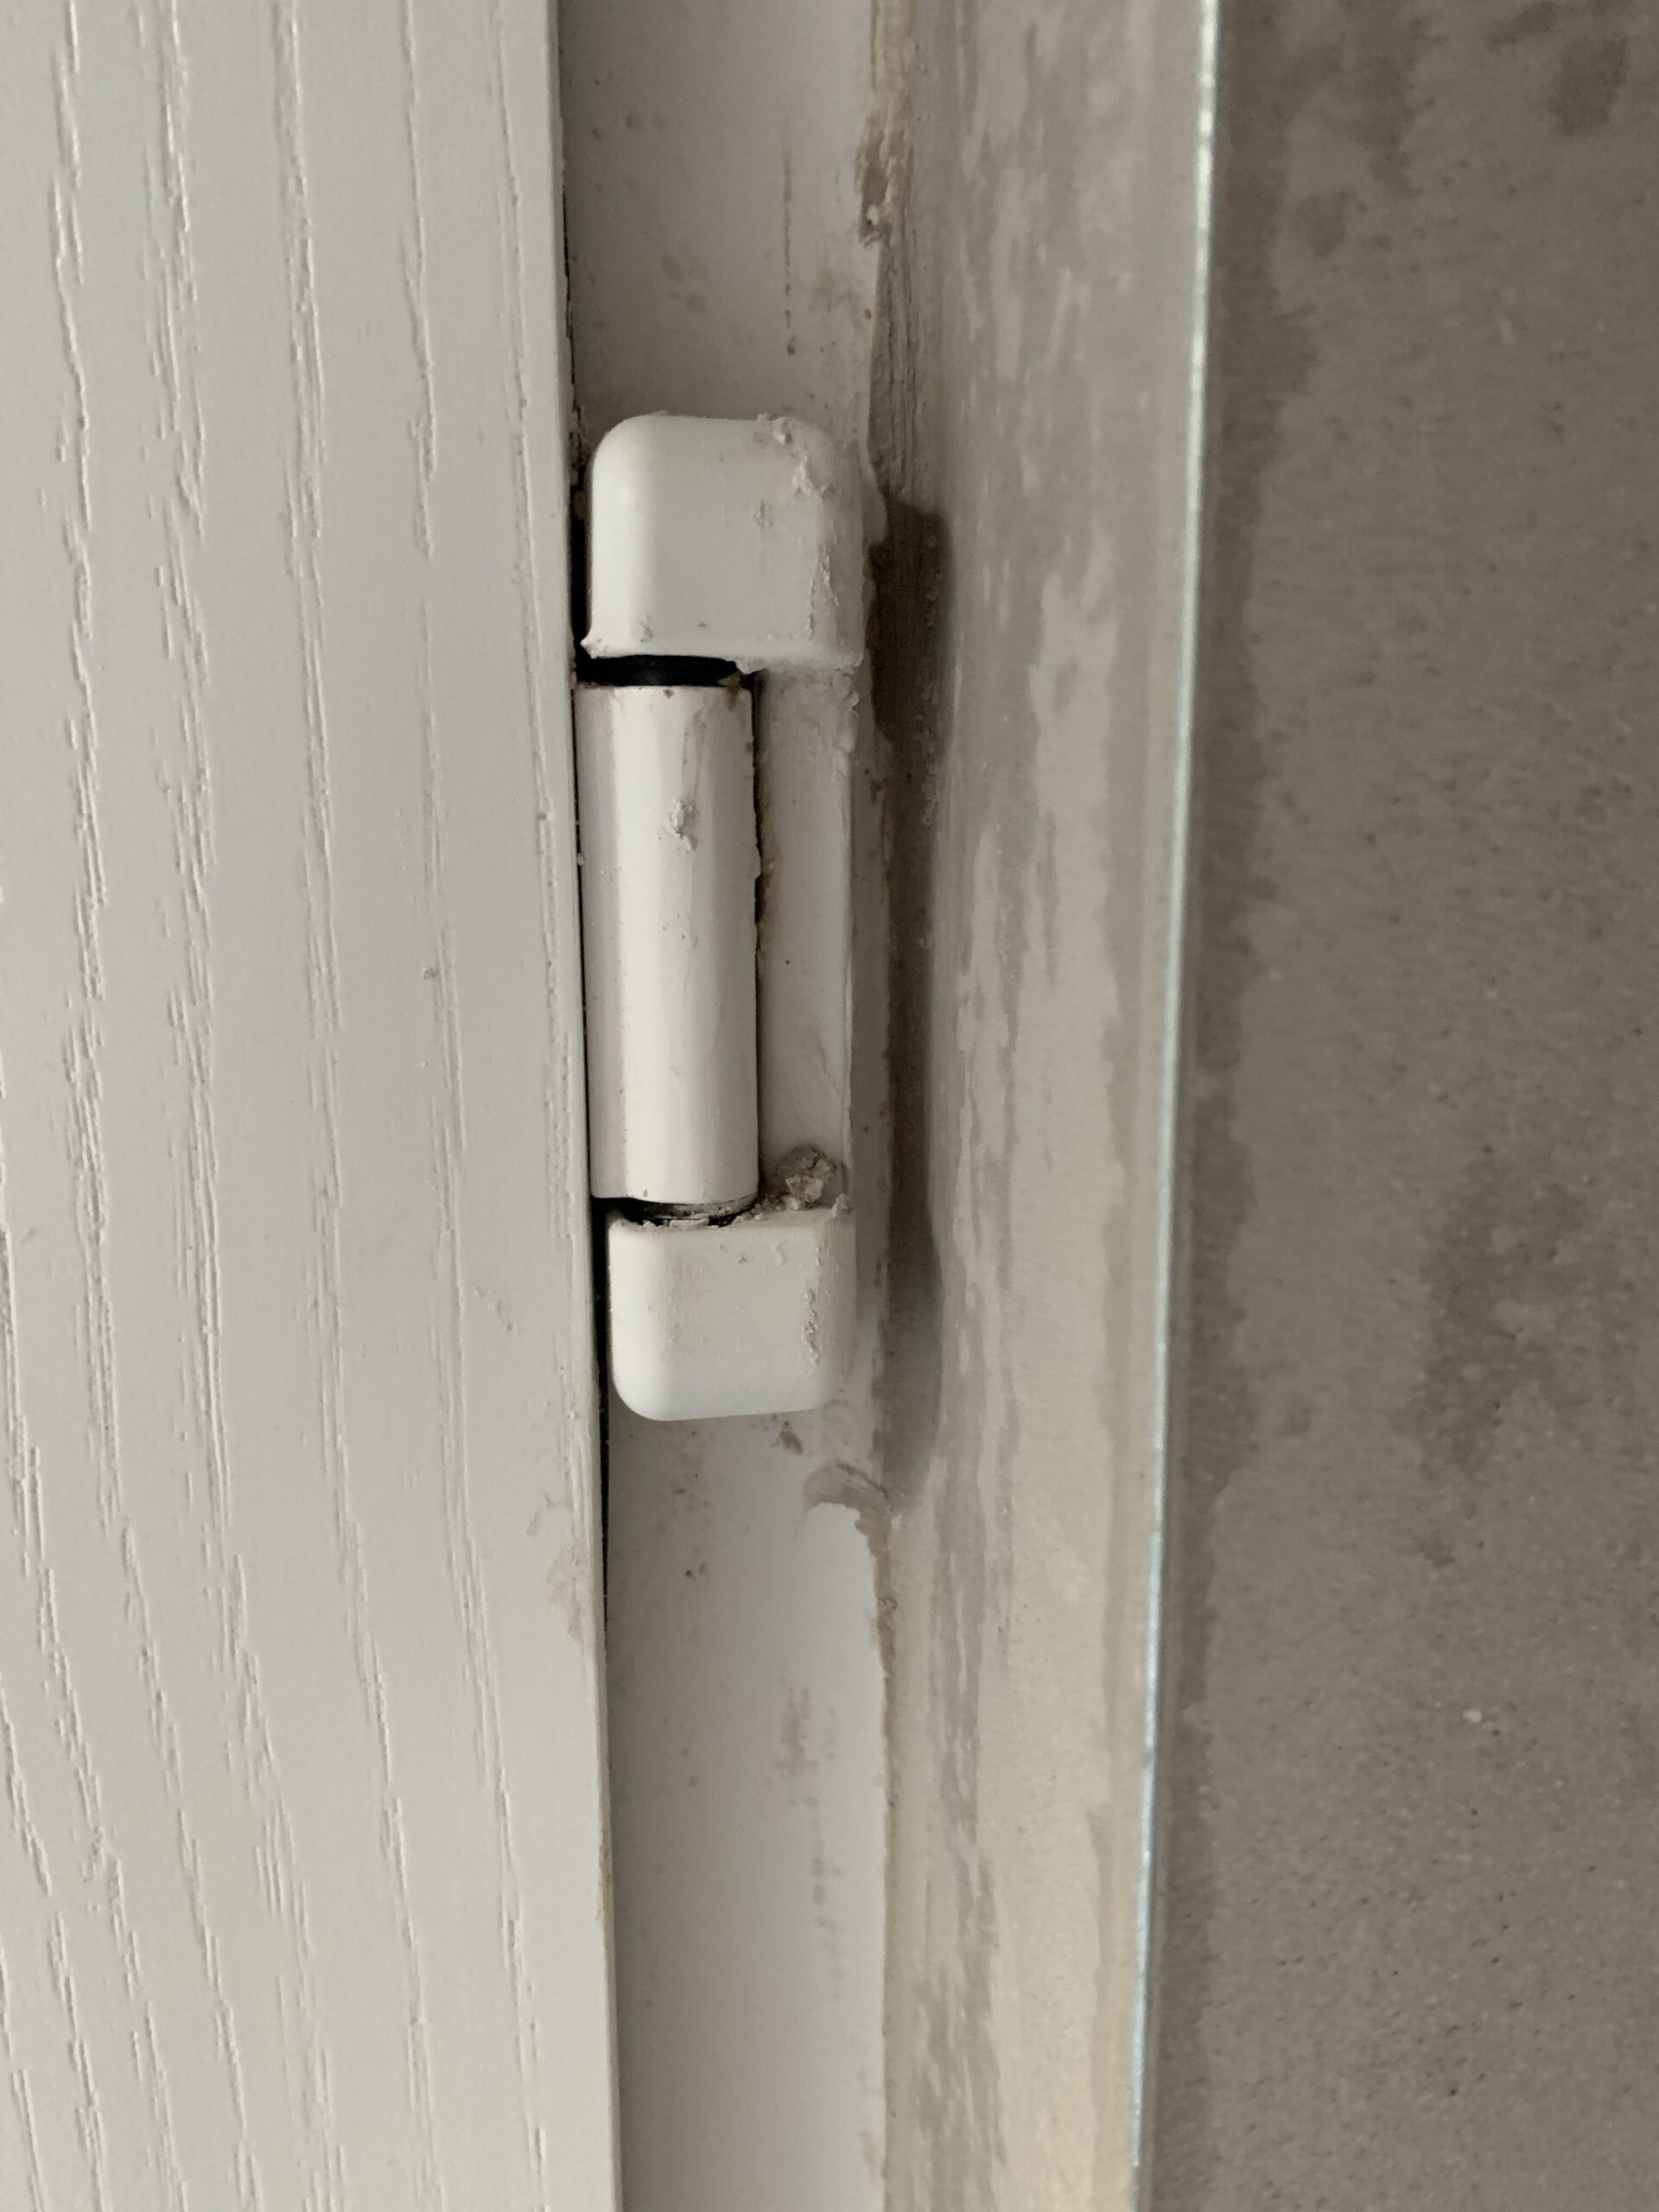
Mentioned the hinge when the builder arrived, and he’s sorted it 
Final skim coat 
Final skim coat


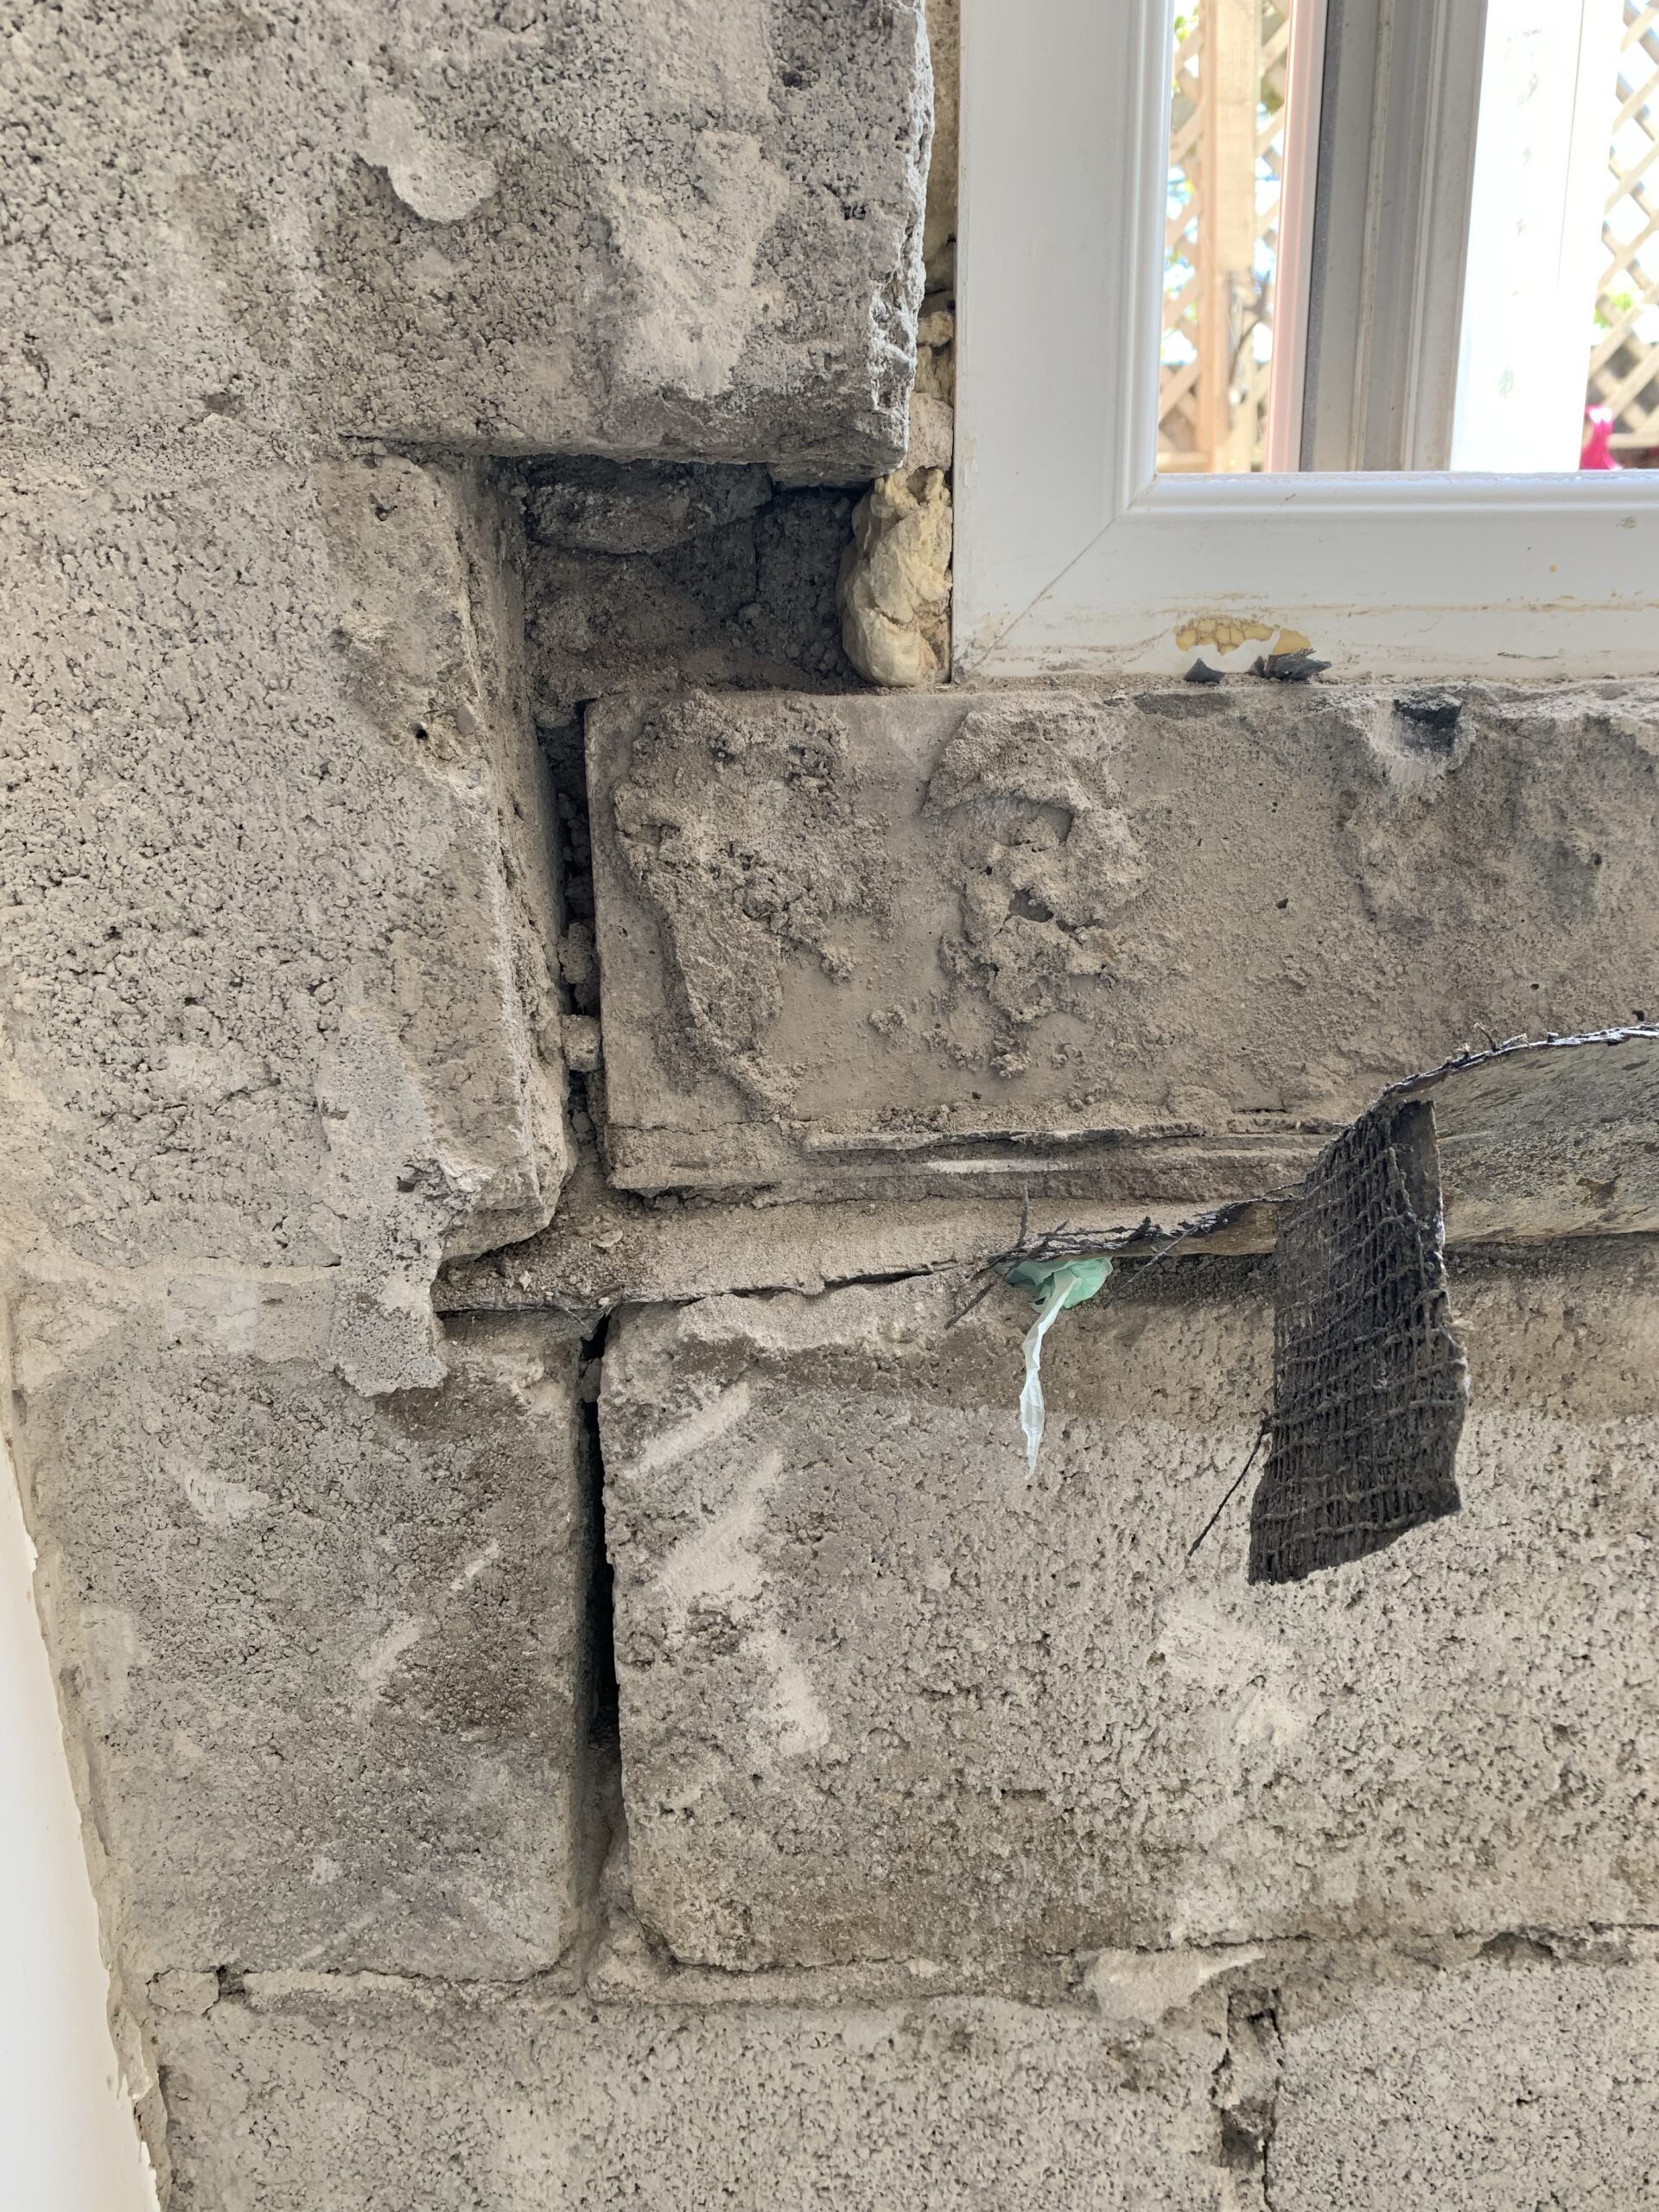
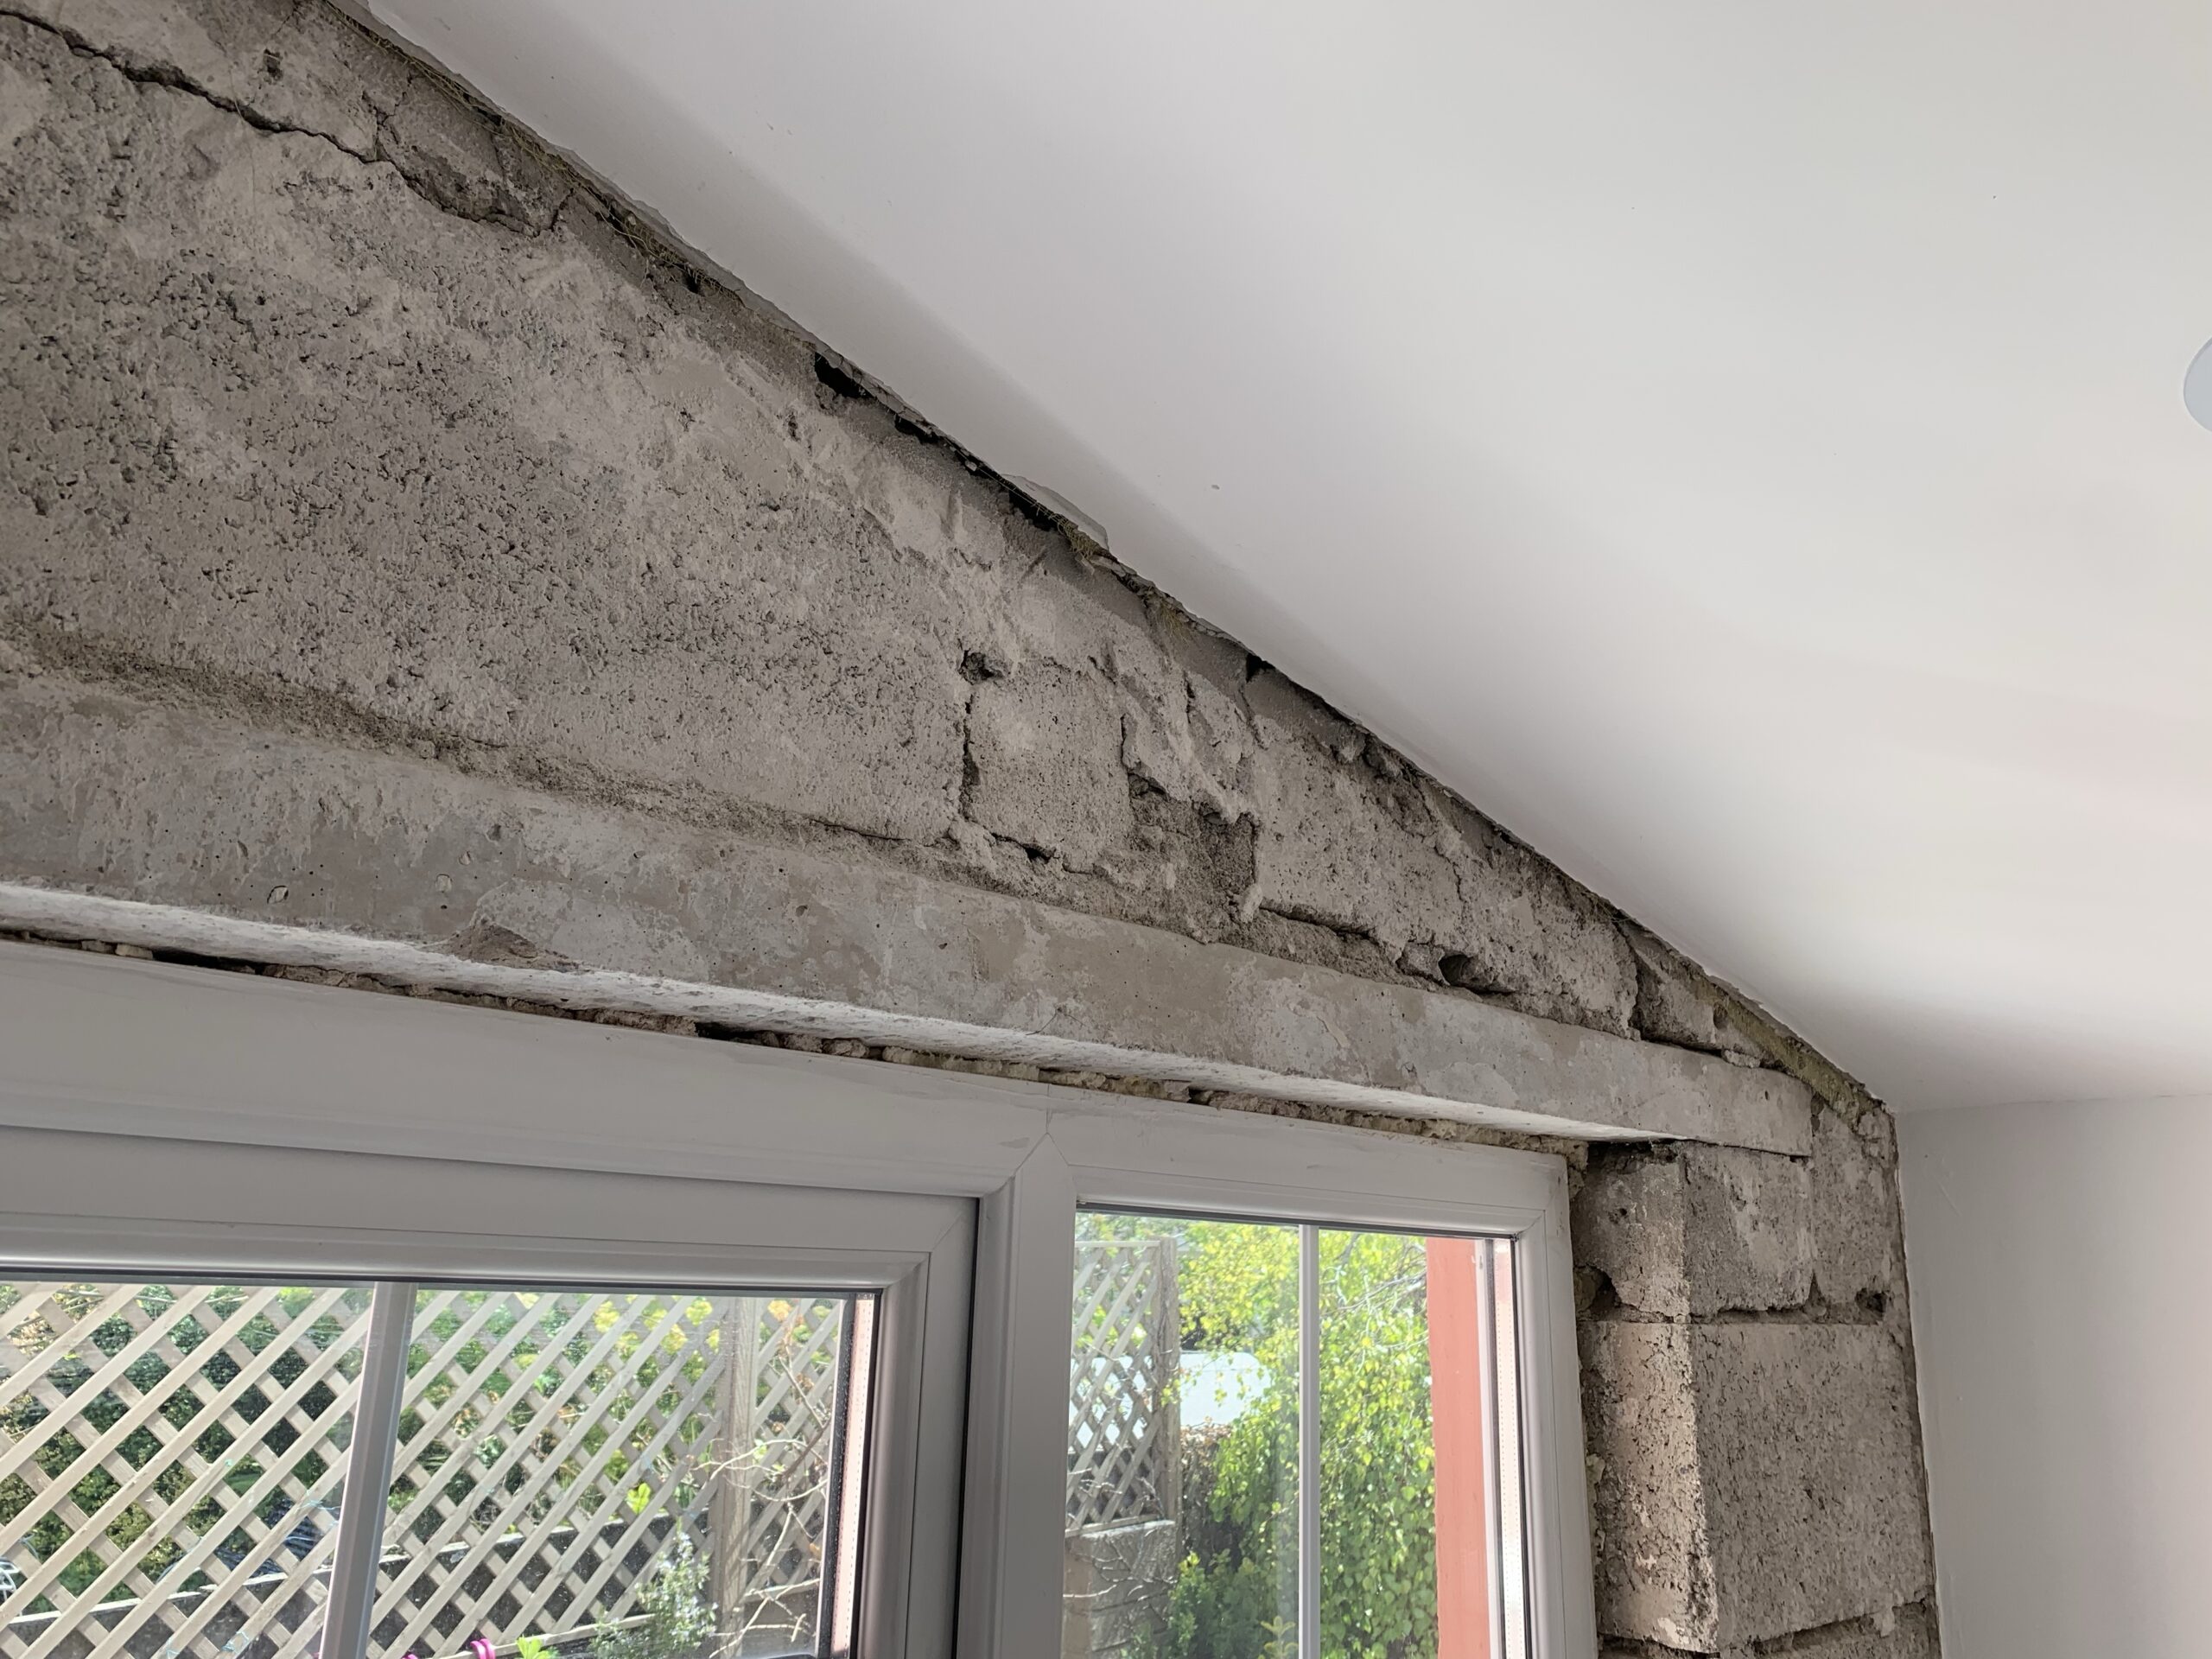
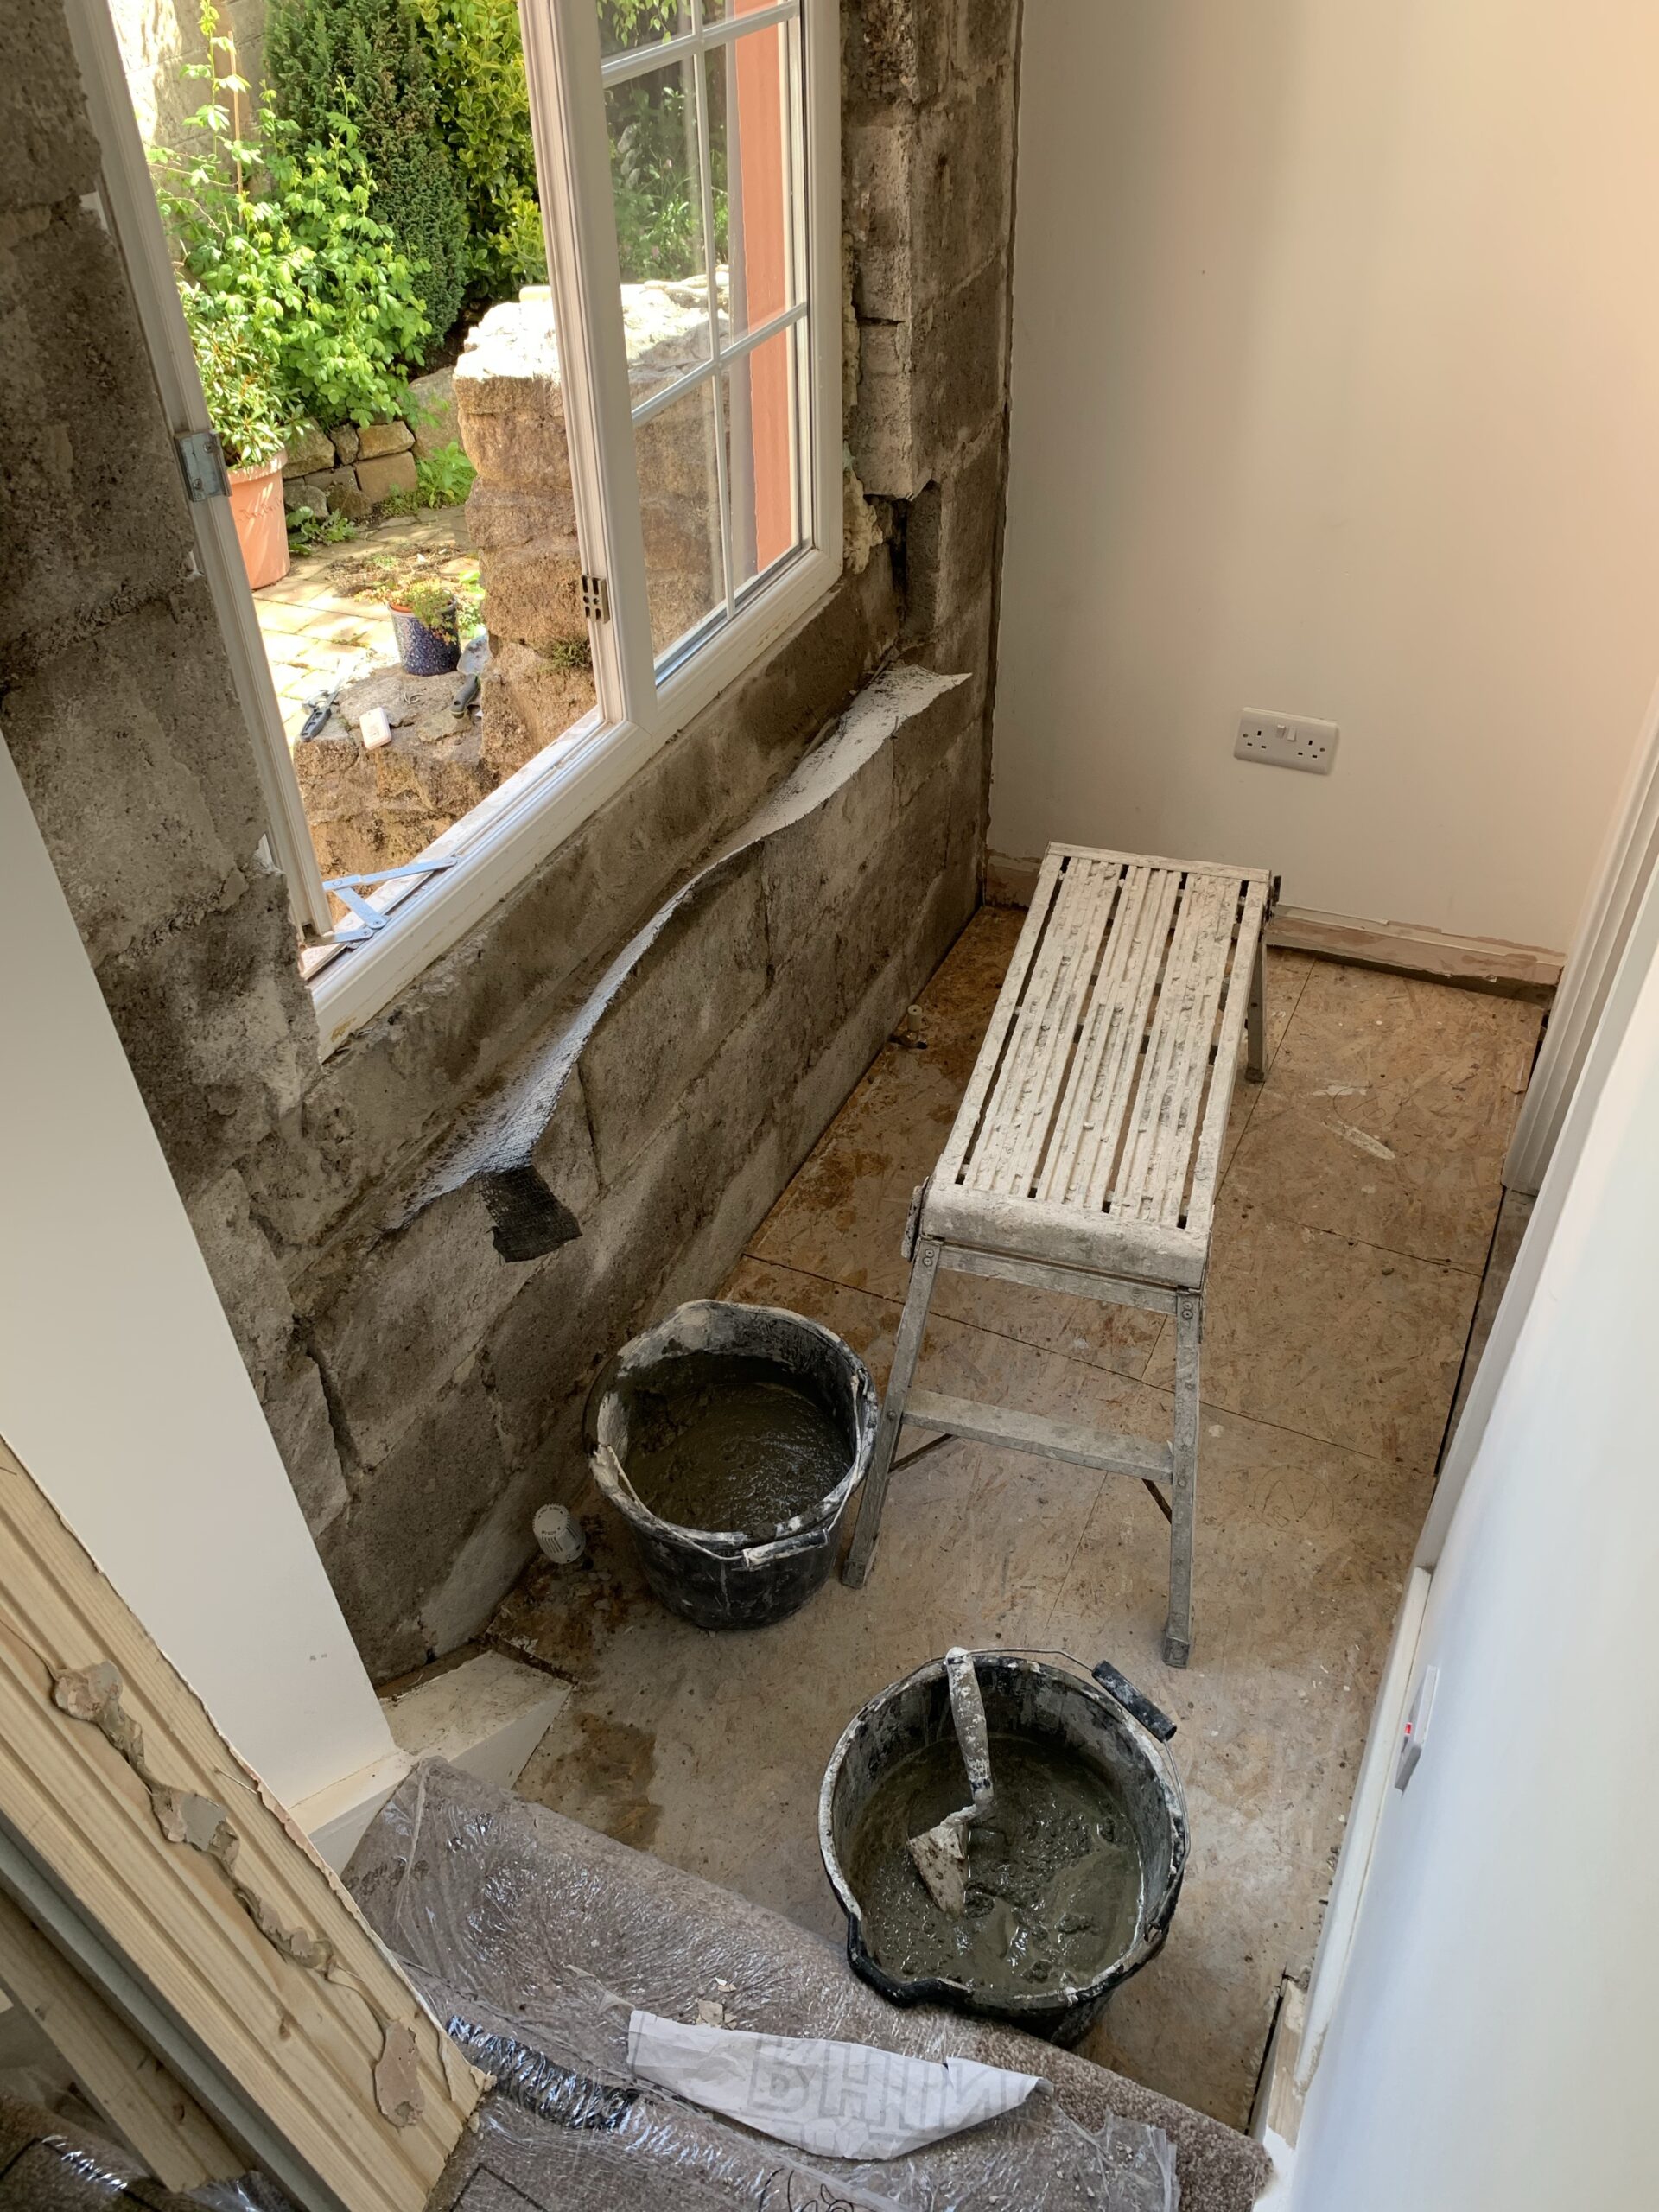
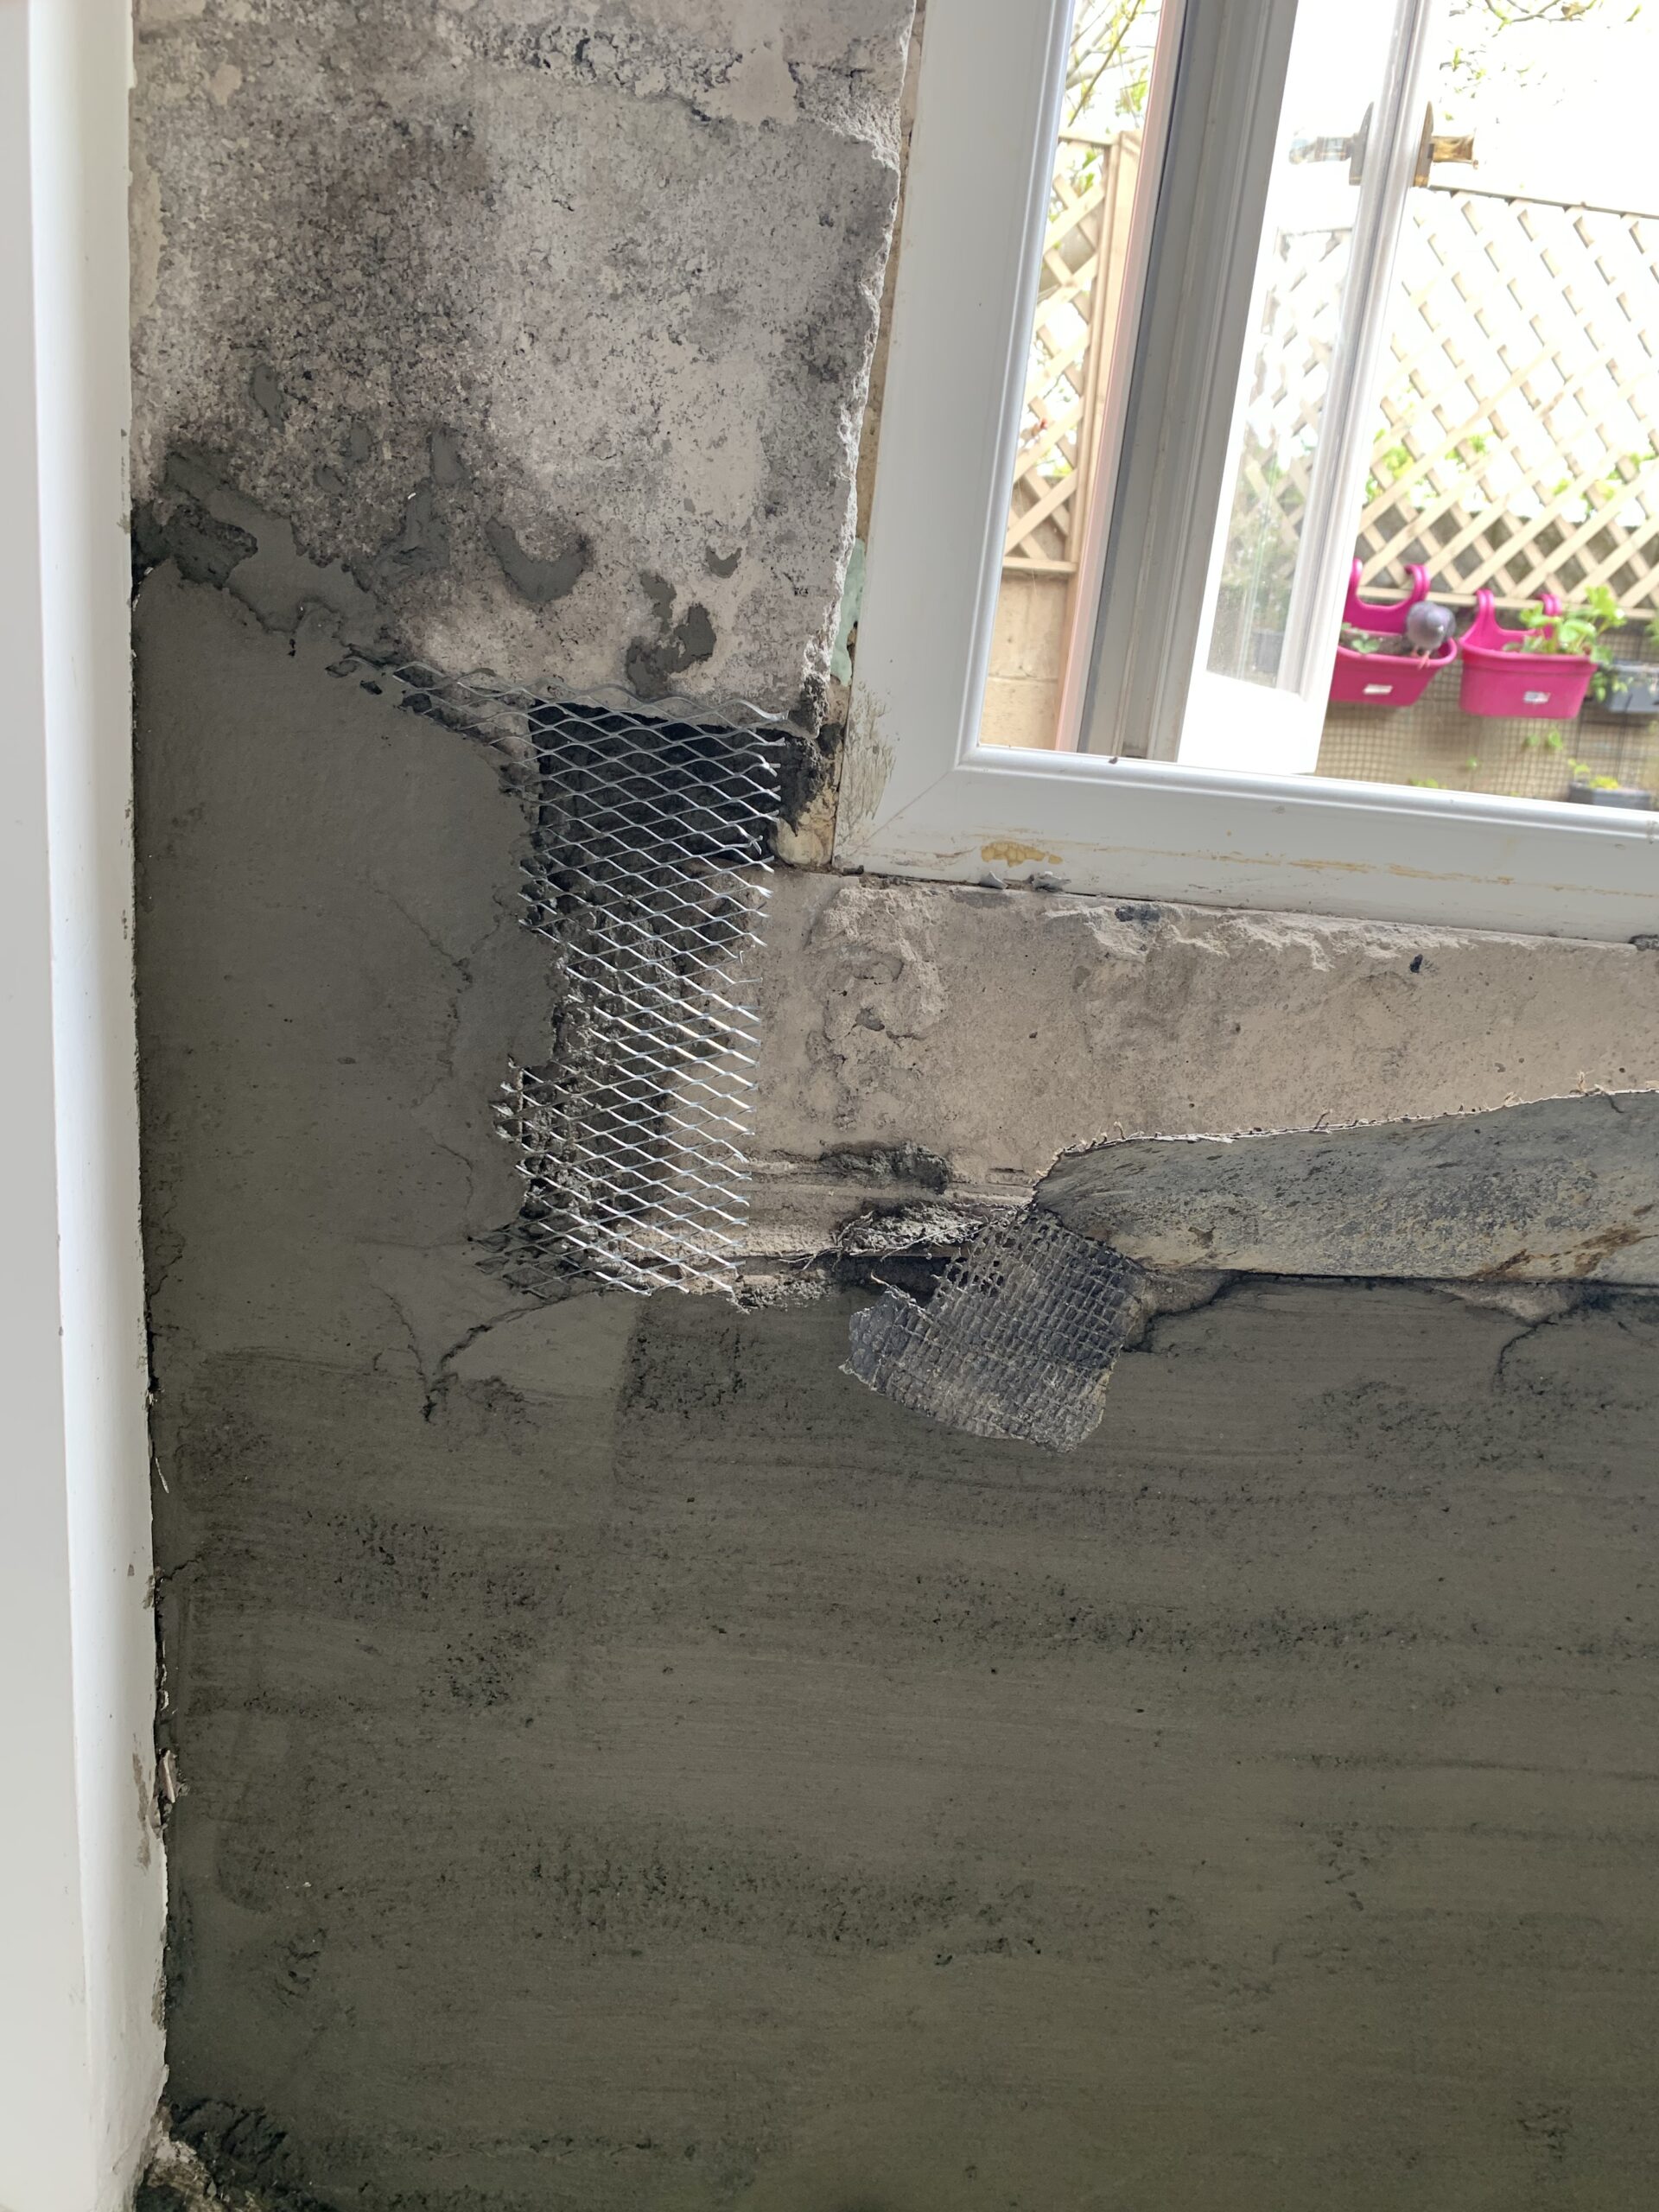
The crack in the wall outside of the bathroom looked like it might go all the way through the wall (as there’s a matching crack on the outside), but it turned out to just be settlement. The wall is not of the best construction, but since it’s still standing we’re leaving it there (no ripping the window out and rebuilding the wall!), and just fixing the problem. The root of the issue appeared to be that there was a pile of sand around the sill and in between some of the blocks, and at some point the wall settled. All of the bonding has been hacked off, and a 4:1 scratch coat has been put on, all of the gaps between the blocks have been filled, and a new sill has been shuttered in under the window – the old one fell off with a few strikes of the hammer!
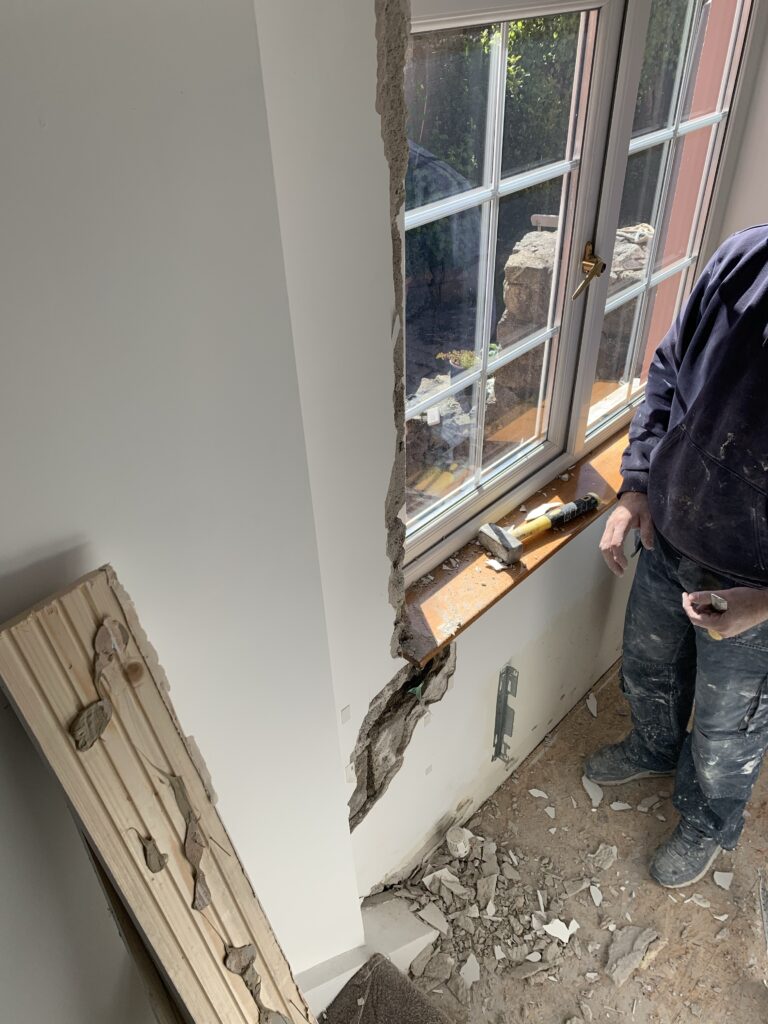
Starting to open up 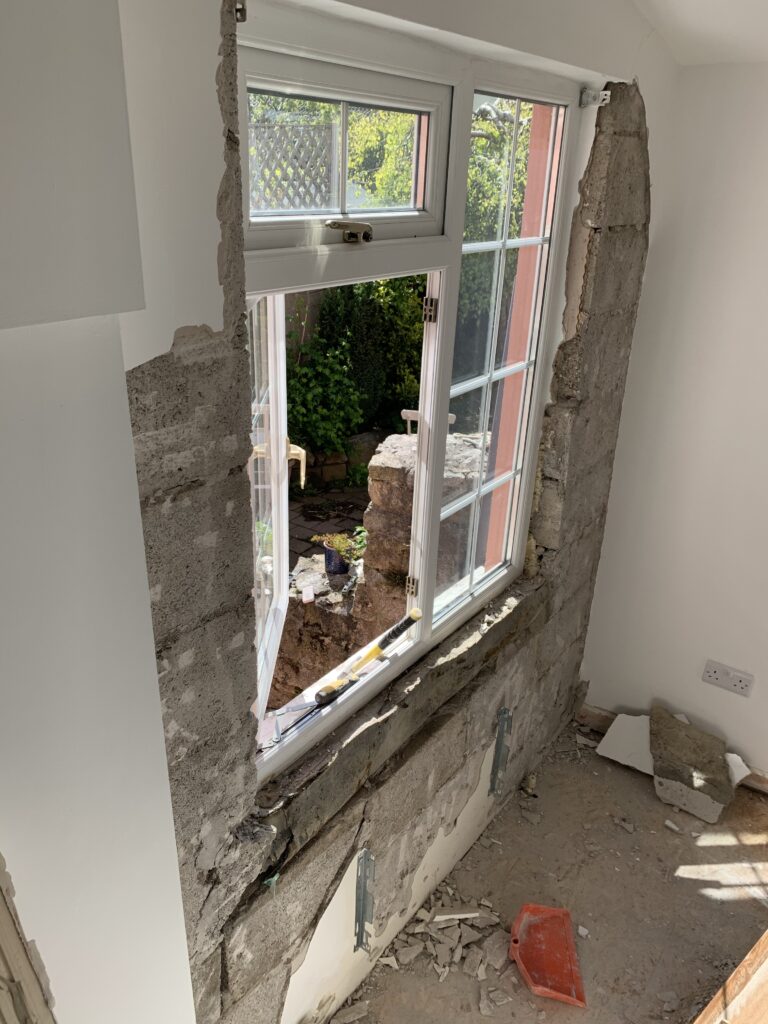
Hacking off; note the curve in the shuttered sill 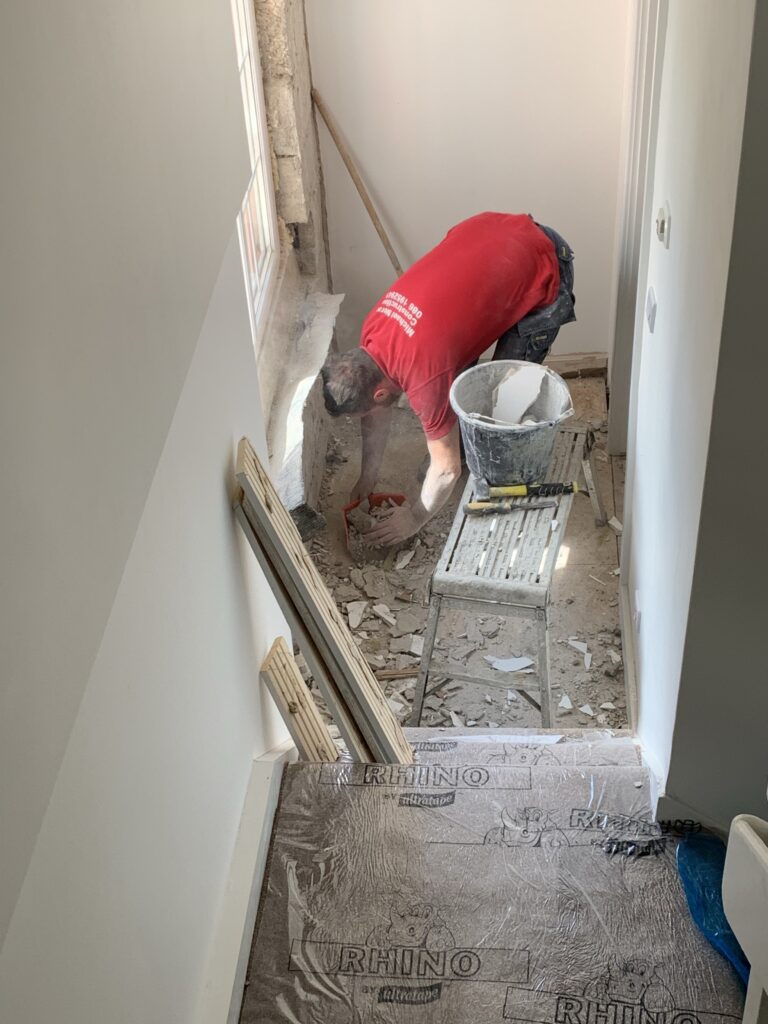
All of the mess went out by bucket 
The gap between the blocks and the sill 
Above the lintel 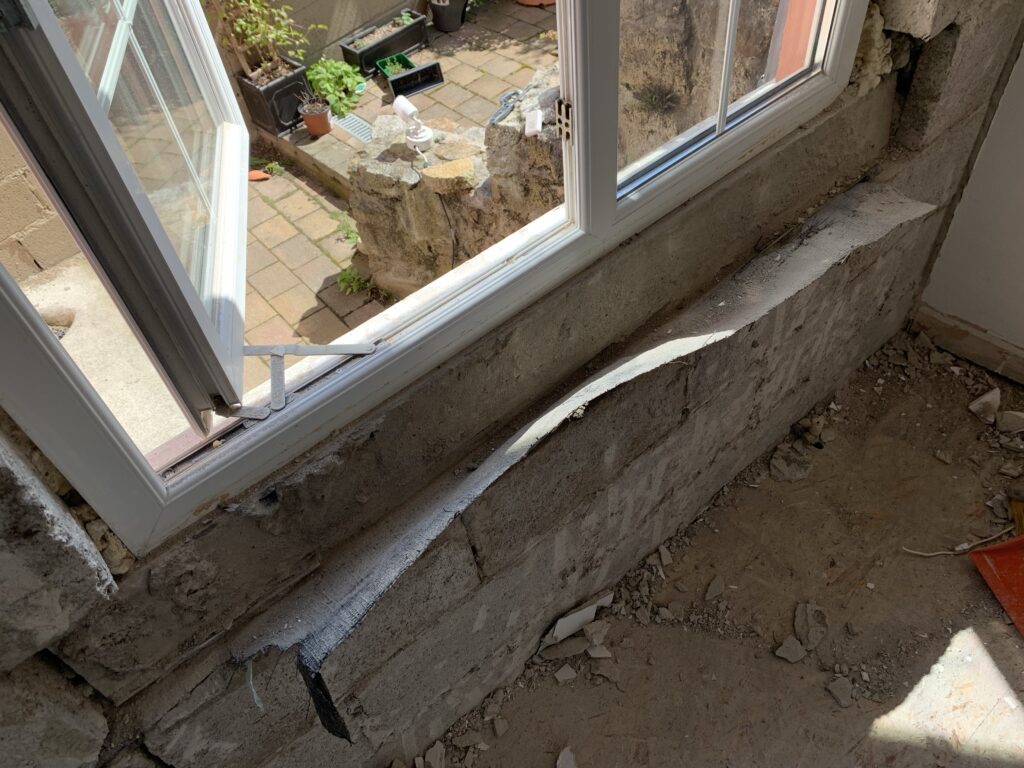
The felt “DPC” that was around the old shuttered sill 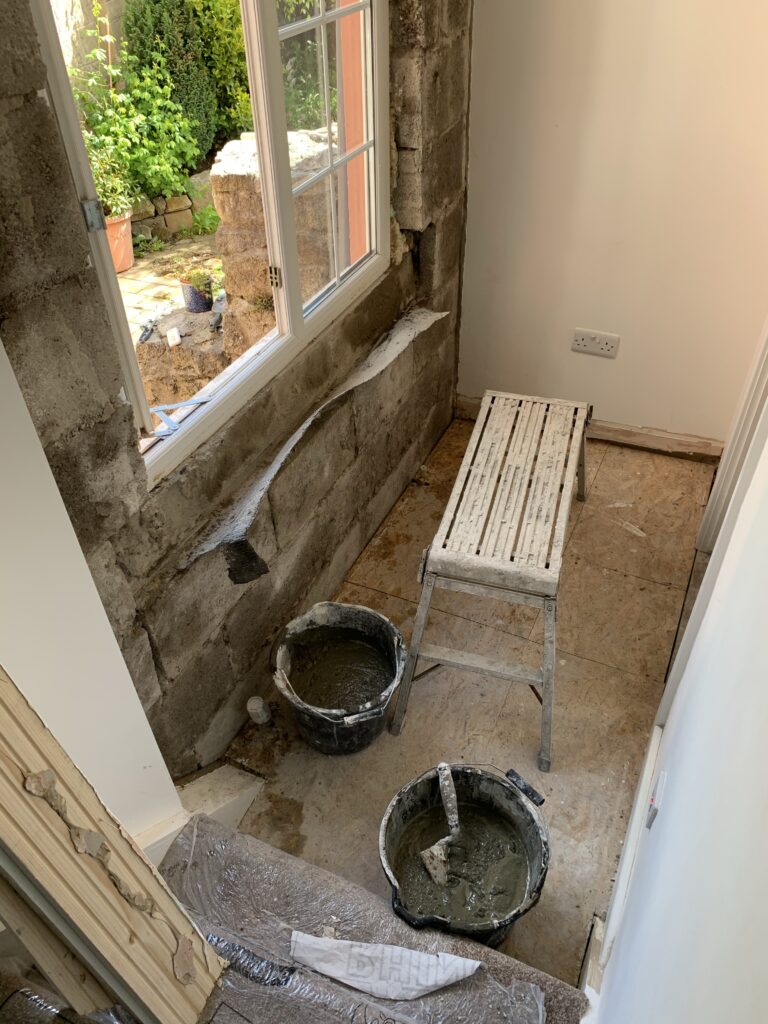
Prep for render 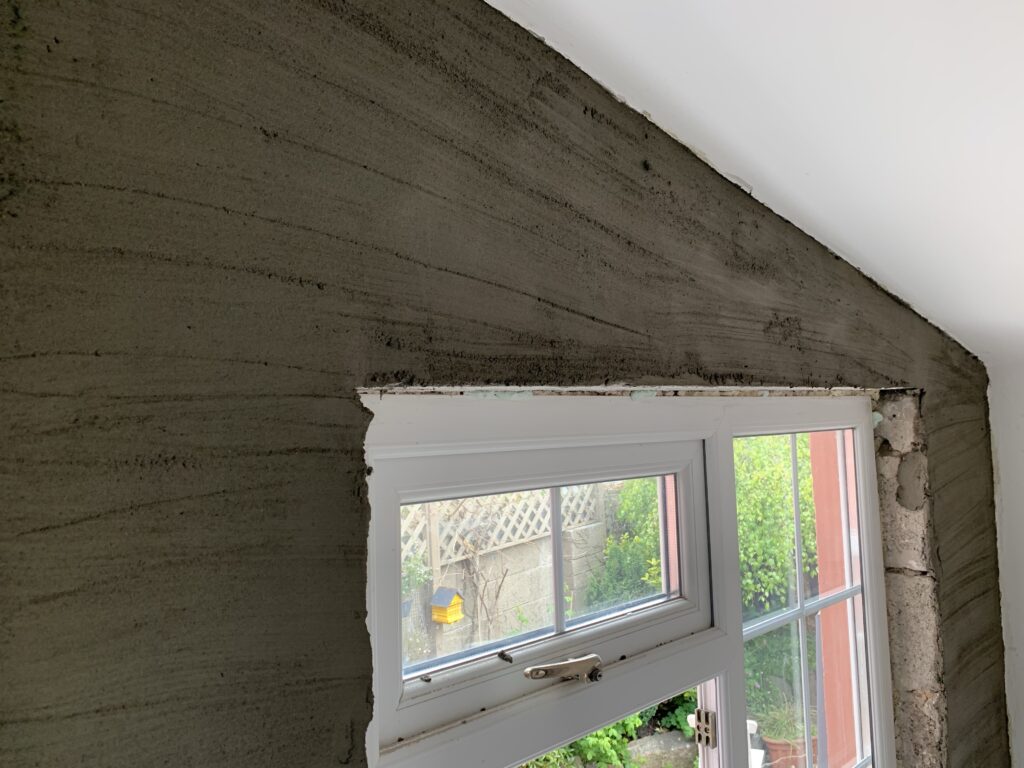
Scratch coat in place 
Expanding metal mesh where the blocks had moved apart 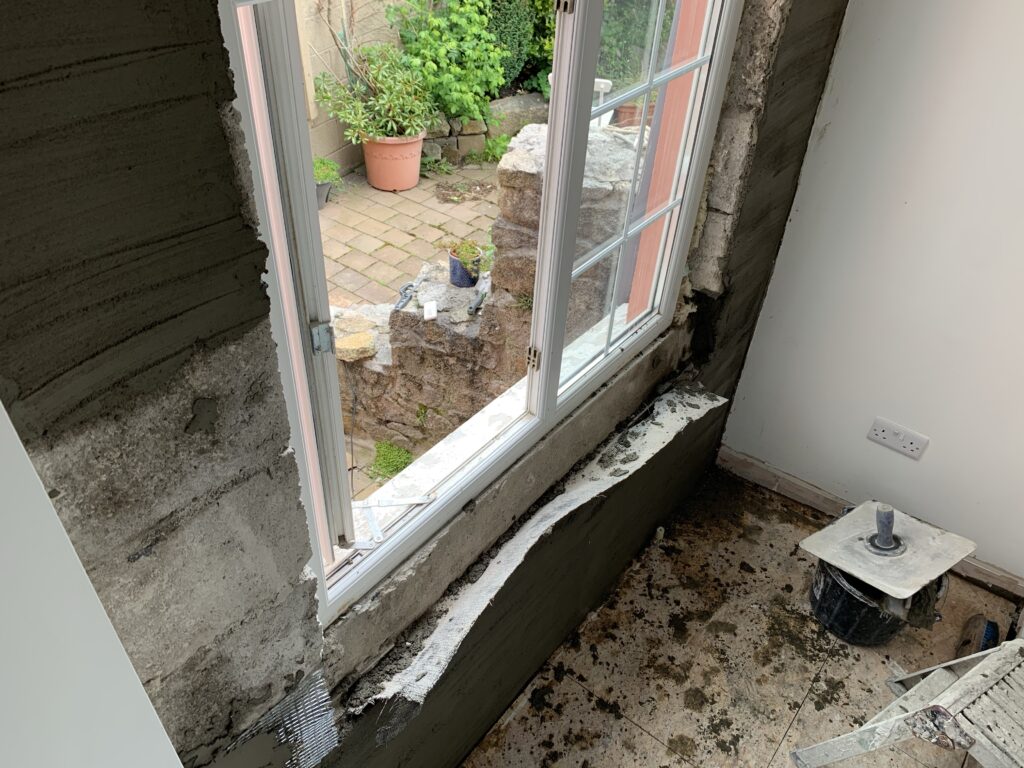
More render 
New shuttered sill


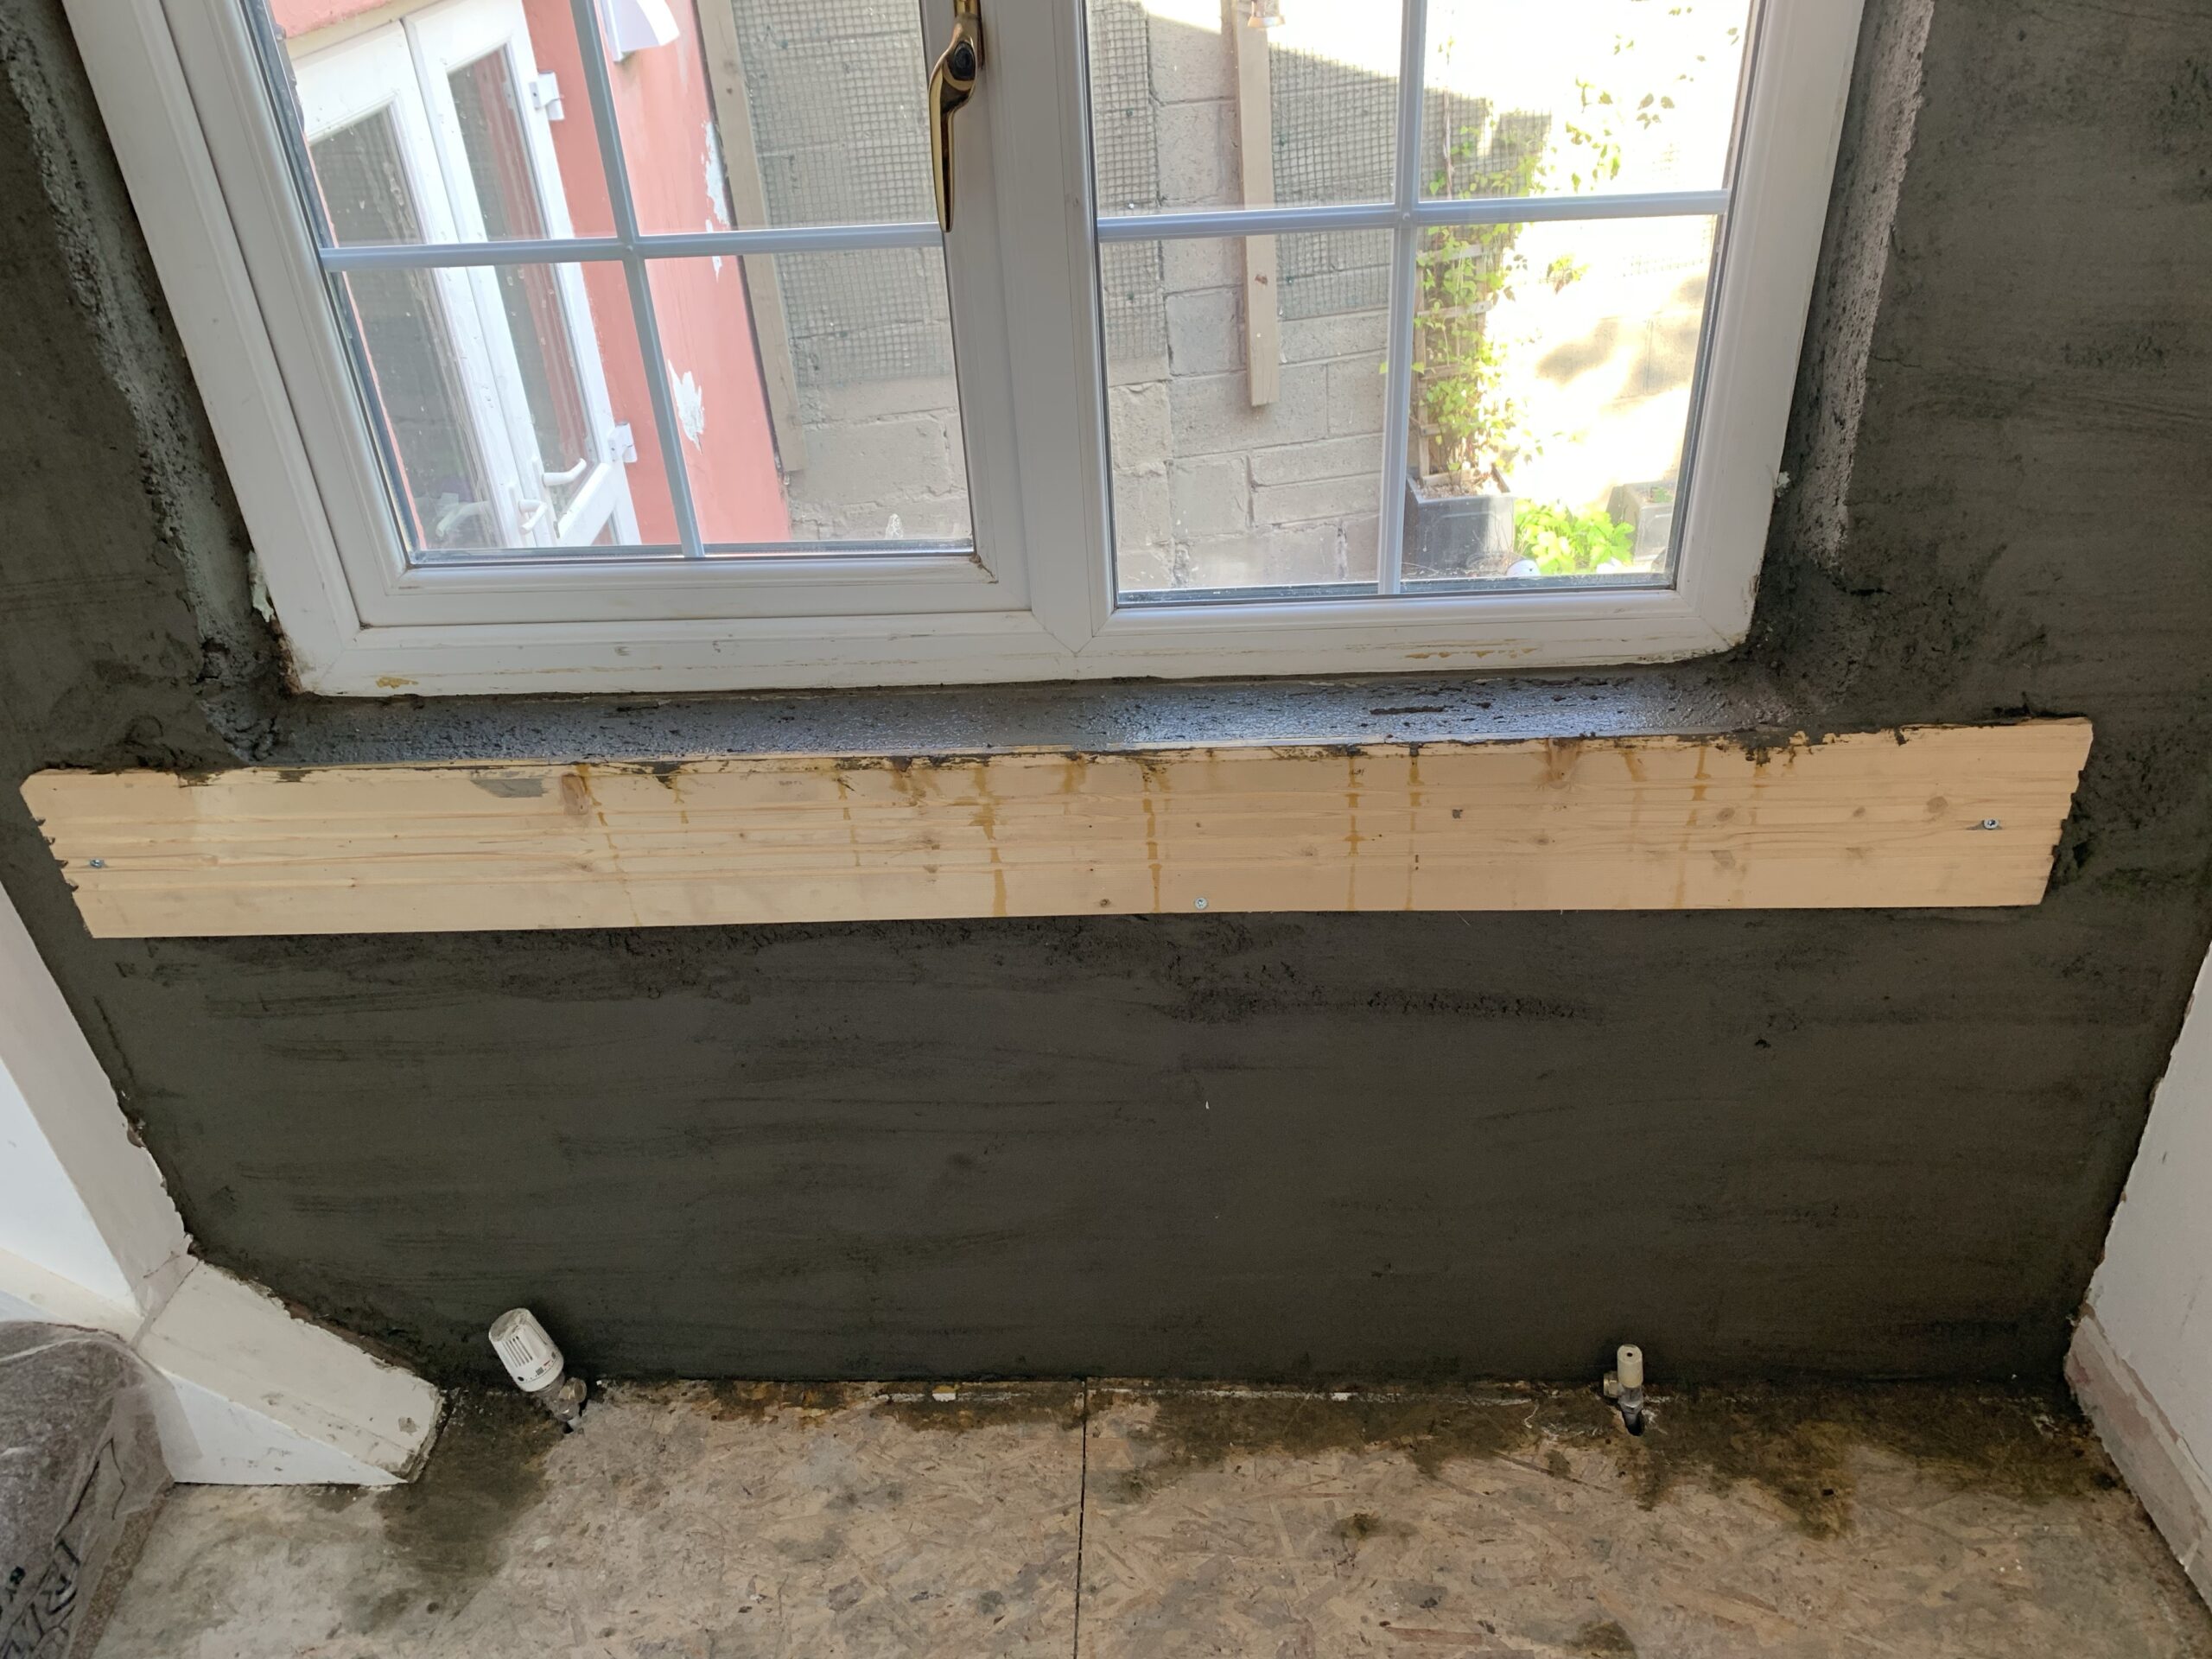
I’ll need to apply a little more of the 4:1 mix tomorrow morning, as there was a rather large cavity to the bottom right of the window, and it’s only been half-filled (an agreement I made with the builder so that we didn’t have to deal with slumping cement). Easy to do, the bags of cement and sand have been left in the workshop, and I’ve got a trowel. Somewhere.
Alas, the plan to insulate under the bathroom was scuppered by an 8 inch joist running right under the door to the bathroom – no easy way to get the insulated boards past it.