Blue Opal’s wiring locker behind the chart table is a combination of neat and messy. All of the from-the-yard wiring is clipped together nicely with small cable ties, the bundles to the switch panels are wrapped in mesh, and it’s all done very nicely into chocolate block terminals. As happens with boats, however, other wiring had been added that wasn’t quite as neat – some of it was my fault, other bits were there when I bought her.
It’s still not finished, but the bare bus-bars are gone (replaced by a BlueSea Systems one with plastic caps), a 12-way fuse block with negative bus has been added, a 4-way fuse block has been added.
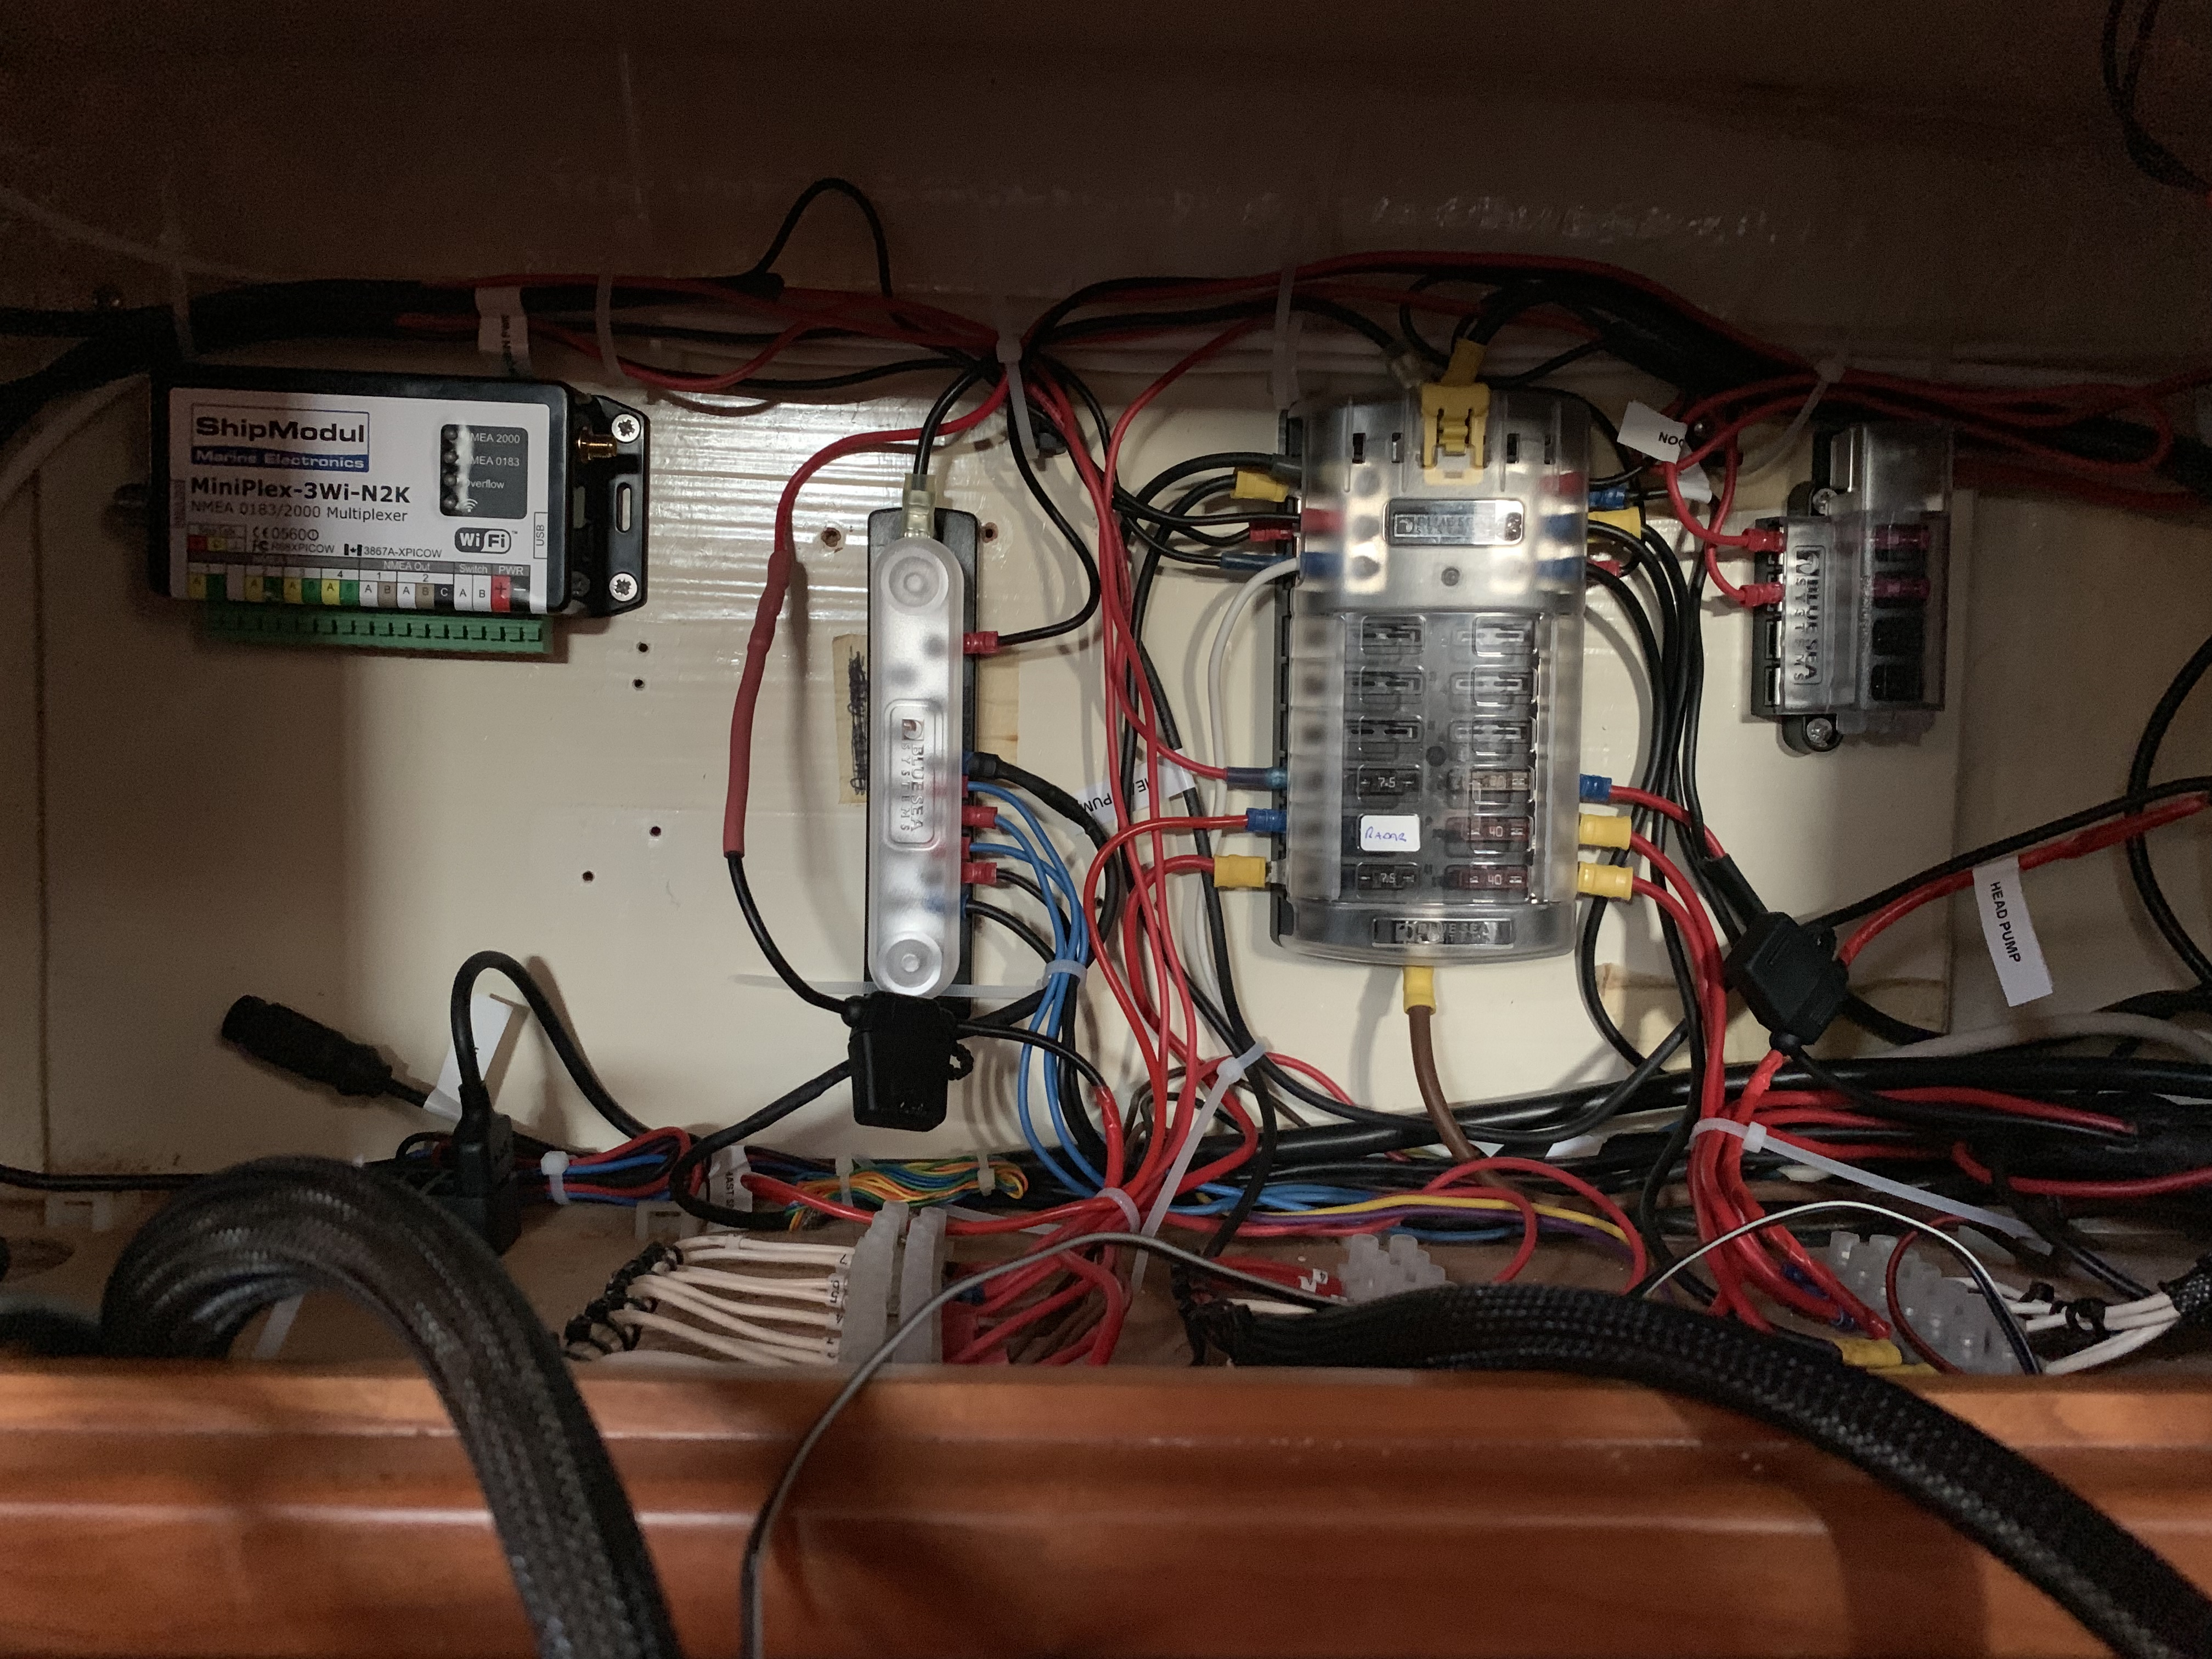
The ShipModul is no longer just resting in the locker, and is instead mounted up in the top left of the board. This gives me easy access to the terminals (which are not the easiest to work with; push in a bit of plastic to expose a hole, fail to grab the wire half the time), and leaves room below it for an AIS unit or other gubbins. The SeaTalk1 bus connector got moved to the base of the locker, right below the ShipModul. Reduces strain on the cables, and uses space that was otherwise not used well.
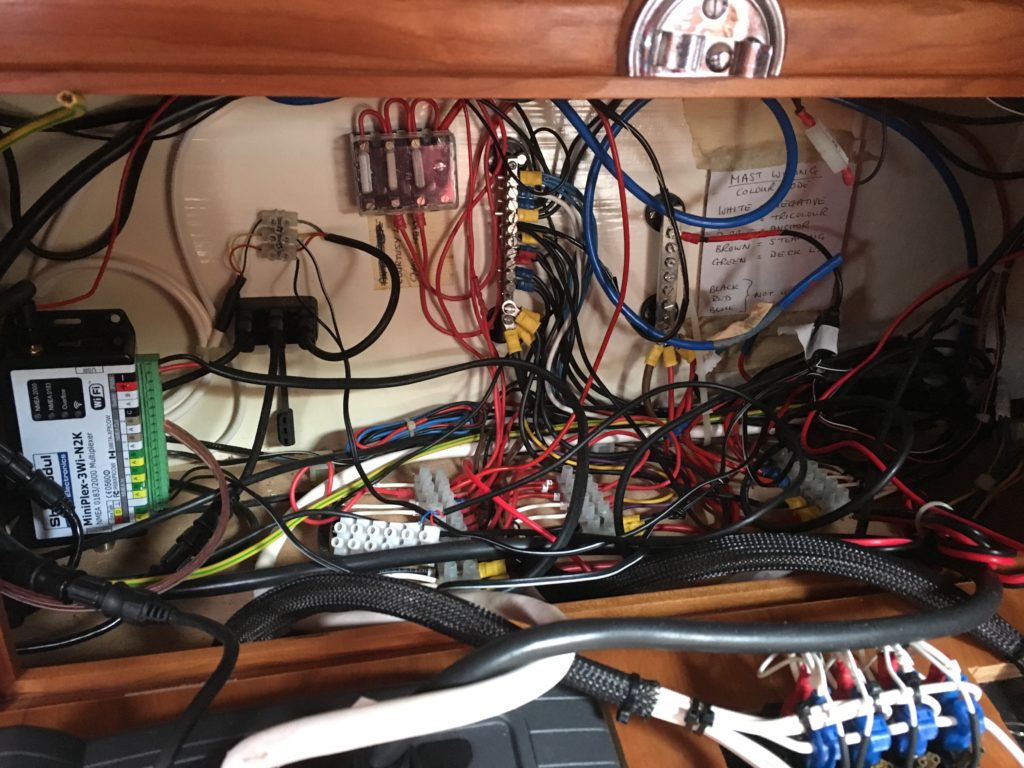
The former state of the locker – bare bus bars, wires everywhere 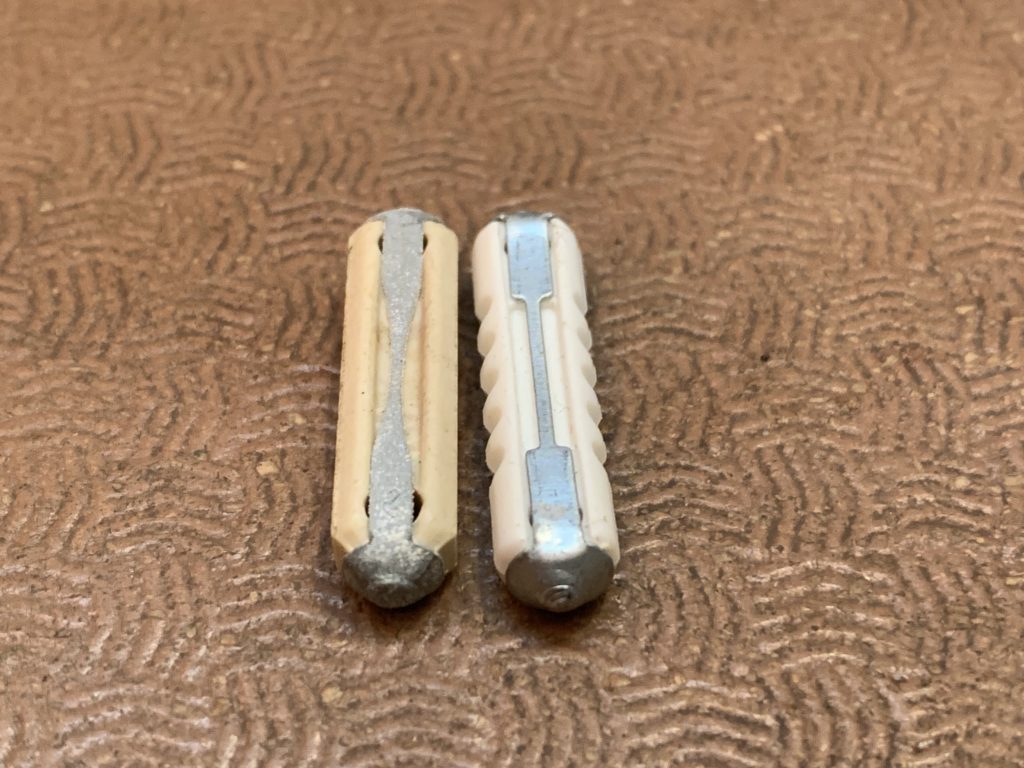
The old fuse style; old fuse and new fuse
The head pump has been re-wired on to a spare control panel switch; Dad did the maths and figured that the wiring on the switches would probably support the current draw of the pump. That got rid of a pair of wires with a big momentary switch.
The previous bus bars were done with flat-head screws that pushed down on spike crimp connectors. They worked, but I really don’t like the concept of bare bus-bars – 12V systems can put out a pretty nasty set of amps when you short-circuit 200Ah of battery bank. The new ones are Pozi-screw with either ring or fork connectors – depending on the size of the cable; I had red forks for the small cables, and blue rings for the mid-sized ones.
The one upshot of the crimp-on spike connectors is they work really well with the ShipModul, so I may get a few more for doing those wires. However, some of the wiring is so small, I’m not sure that even a red crimp would grip properly.
Speaking of crimps, all of the wiring crimping (bar the big lugs) was done with a Draper ratchet crimper. Lovely tool, great finish on the handle, and an adjustable crimp pressure. After several days of crimping, my right hand and arm are knackered.
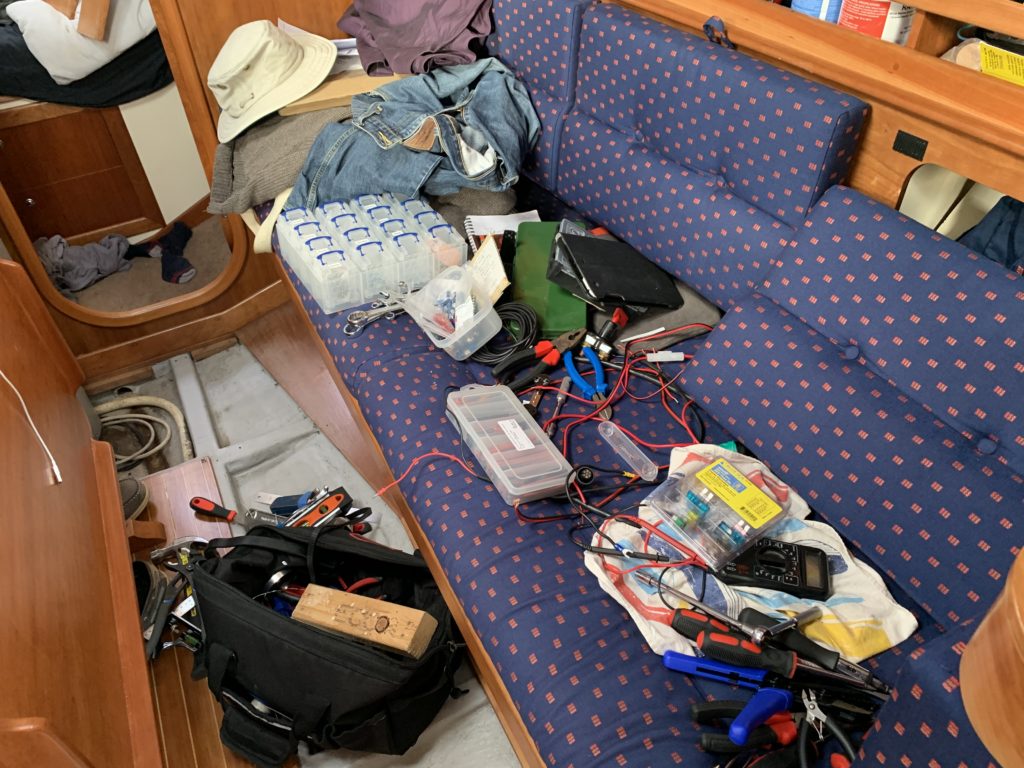
It was hard to not get the saloon in a right state 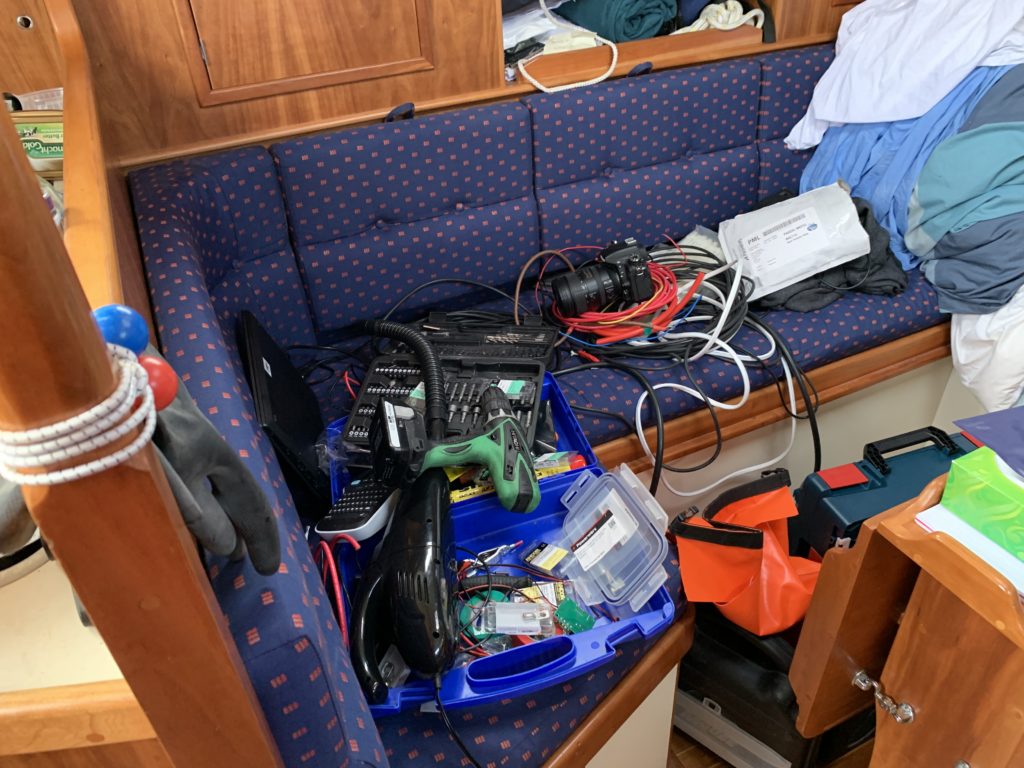
Tools everywhere. 
The wiring going up in to the aft end of the wiring locker 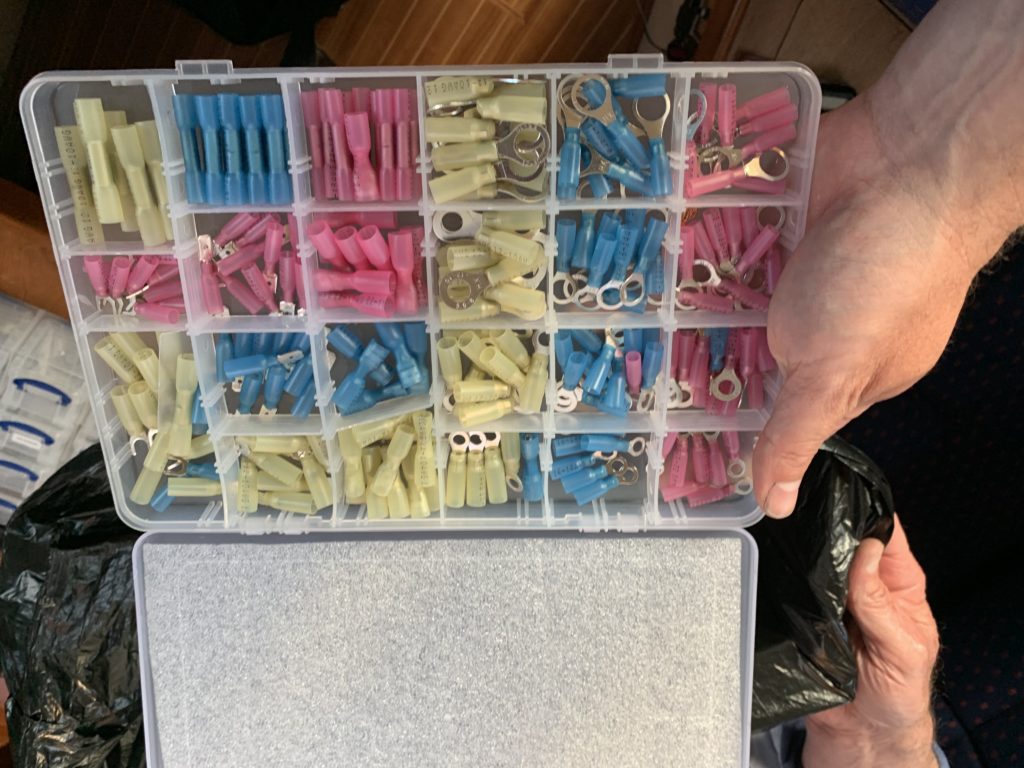
Absolutely crap connectors with integrated heatshrink
I had bought some connectors at the same time as the crimper, thinking “yeah, integrated heat shrink would be great”. Alas, 20 GBP for 240 connectors turned out to be a waste of money; avoid those particular ones at least – after much frustration with the shorter crimping width, and the crimps just sliding right off of the copper wire, the whole lot went in the garbage bag.
Dad and I also pulled a bunch of cables in the locker back down under the locker. They weren’t connected to anything, and we could only tell where one of them went, and having the loops inside the locker was just adding clutter. They’re now all ziptied to a cable mount at the aft end of the locker, which keeps them out of the way, but they’re not lost either.
On the whole, it was a lot of disconnecting, changing connectors from spike to ring or fork, and re-routing cables into neater bundles. The massive radar cables were also re-routed – they used to run along the back bottom edge of the locker, and bulked out the other power cables. Since they’re more signal than power (though there was a cable with about 10 wires, of which only two were used!), I re-routed them in the front of the locker, which promptly hid them from general view, and reduced the bulk at the back.
Overall, it was probably two days of work, though spread out as we were doing other jobs over the weekend. I still need to look at changing the switching setup from common positive rail on the switch panel to individual fused positive rails, but that’s a job for another day. At least there are some more fuses than before, and they’re all ATC with the “you blew it” LED feature. One standard fuse type for the whole boat will be much easier to maintain.
A tip for working on this setup – unscrew the hinges of the locker door, and take the whole thing off. You gain a few inches of working space, because the switch terminals are now below the bottom rail of the locker frame, instead of above it.
Thus went Sunday and Monday.