Blue Opal’s head waste seacock has been recalcitrant since I bought her, and the survey noted this too. In fact, I had the yard in Conwy give it some attention, and they said it had been freed up. However, I’ve always found it hard to move, and K can’t even get it to budge. It does not help that it’s oriented such that you have to dodge hose clips and big nuts as you push it from open to closed.
With Dad across this weekend, one of the “finish the head job” tasks was to change the seacock. Somehow, I managed to do the math wrong, and ordered a 2 inch BSP seacock first – when it arrived, I took one look at it and realised it was the wrong size, but it’s fine for elsewhere on the boat, so it’s going in the spares locker.
I then ordered the next size down, which is a 1.5 inch BSP DZR DN40 unit (which is what was in her), from Fox’s Chandlery in the UK. When I found out, a few days before Dad was going to arrive, that it wouldn’t arrive until Monday (Dad was leaving on Tuesday), I called Fox’s and they were able to get the package redirected to the club – something I’m very grateful for, and called them to thank them for getting the redirect done.
We slipped Blue Opal at high water on Monday, and shortly after we were hard aground, the office administrator came knocking with a package for me (delivery was by 4 pm, low water was 5 pm).
So shiny.
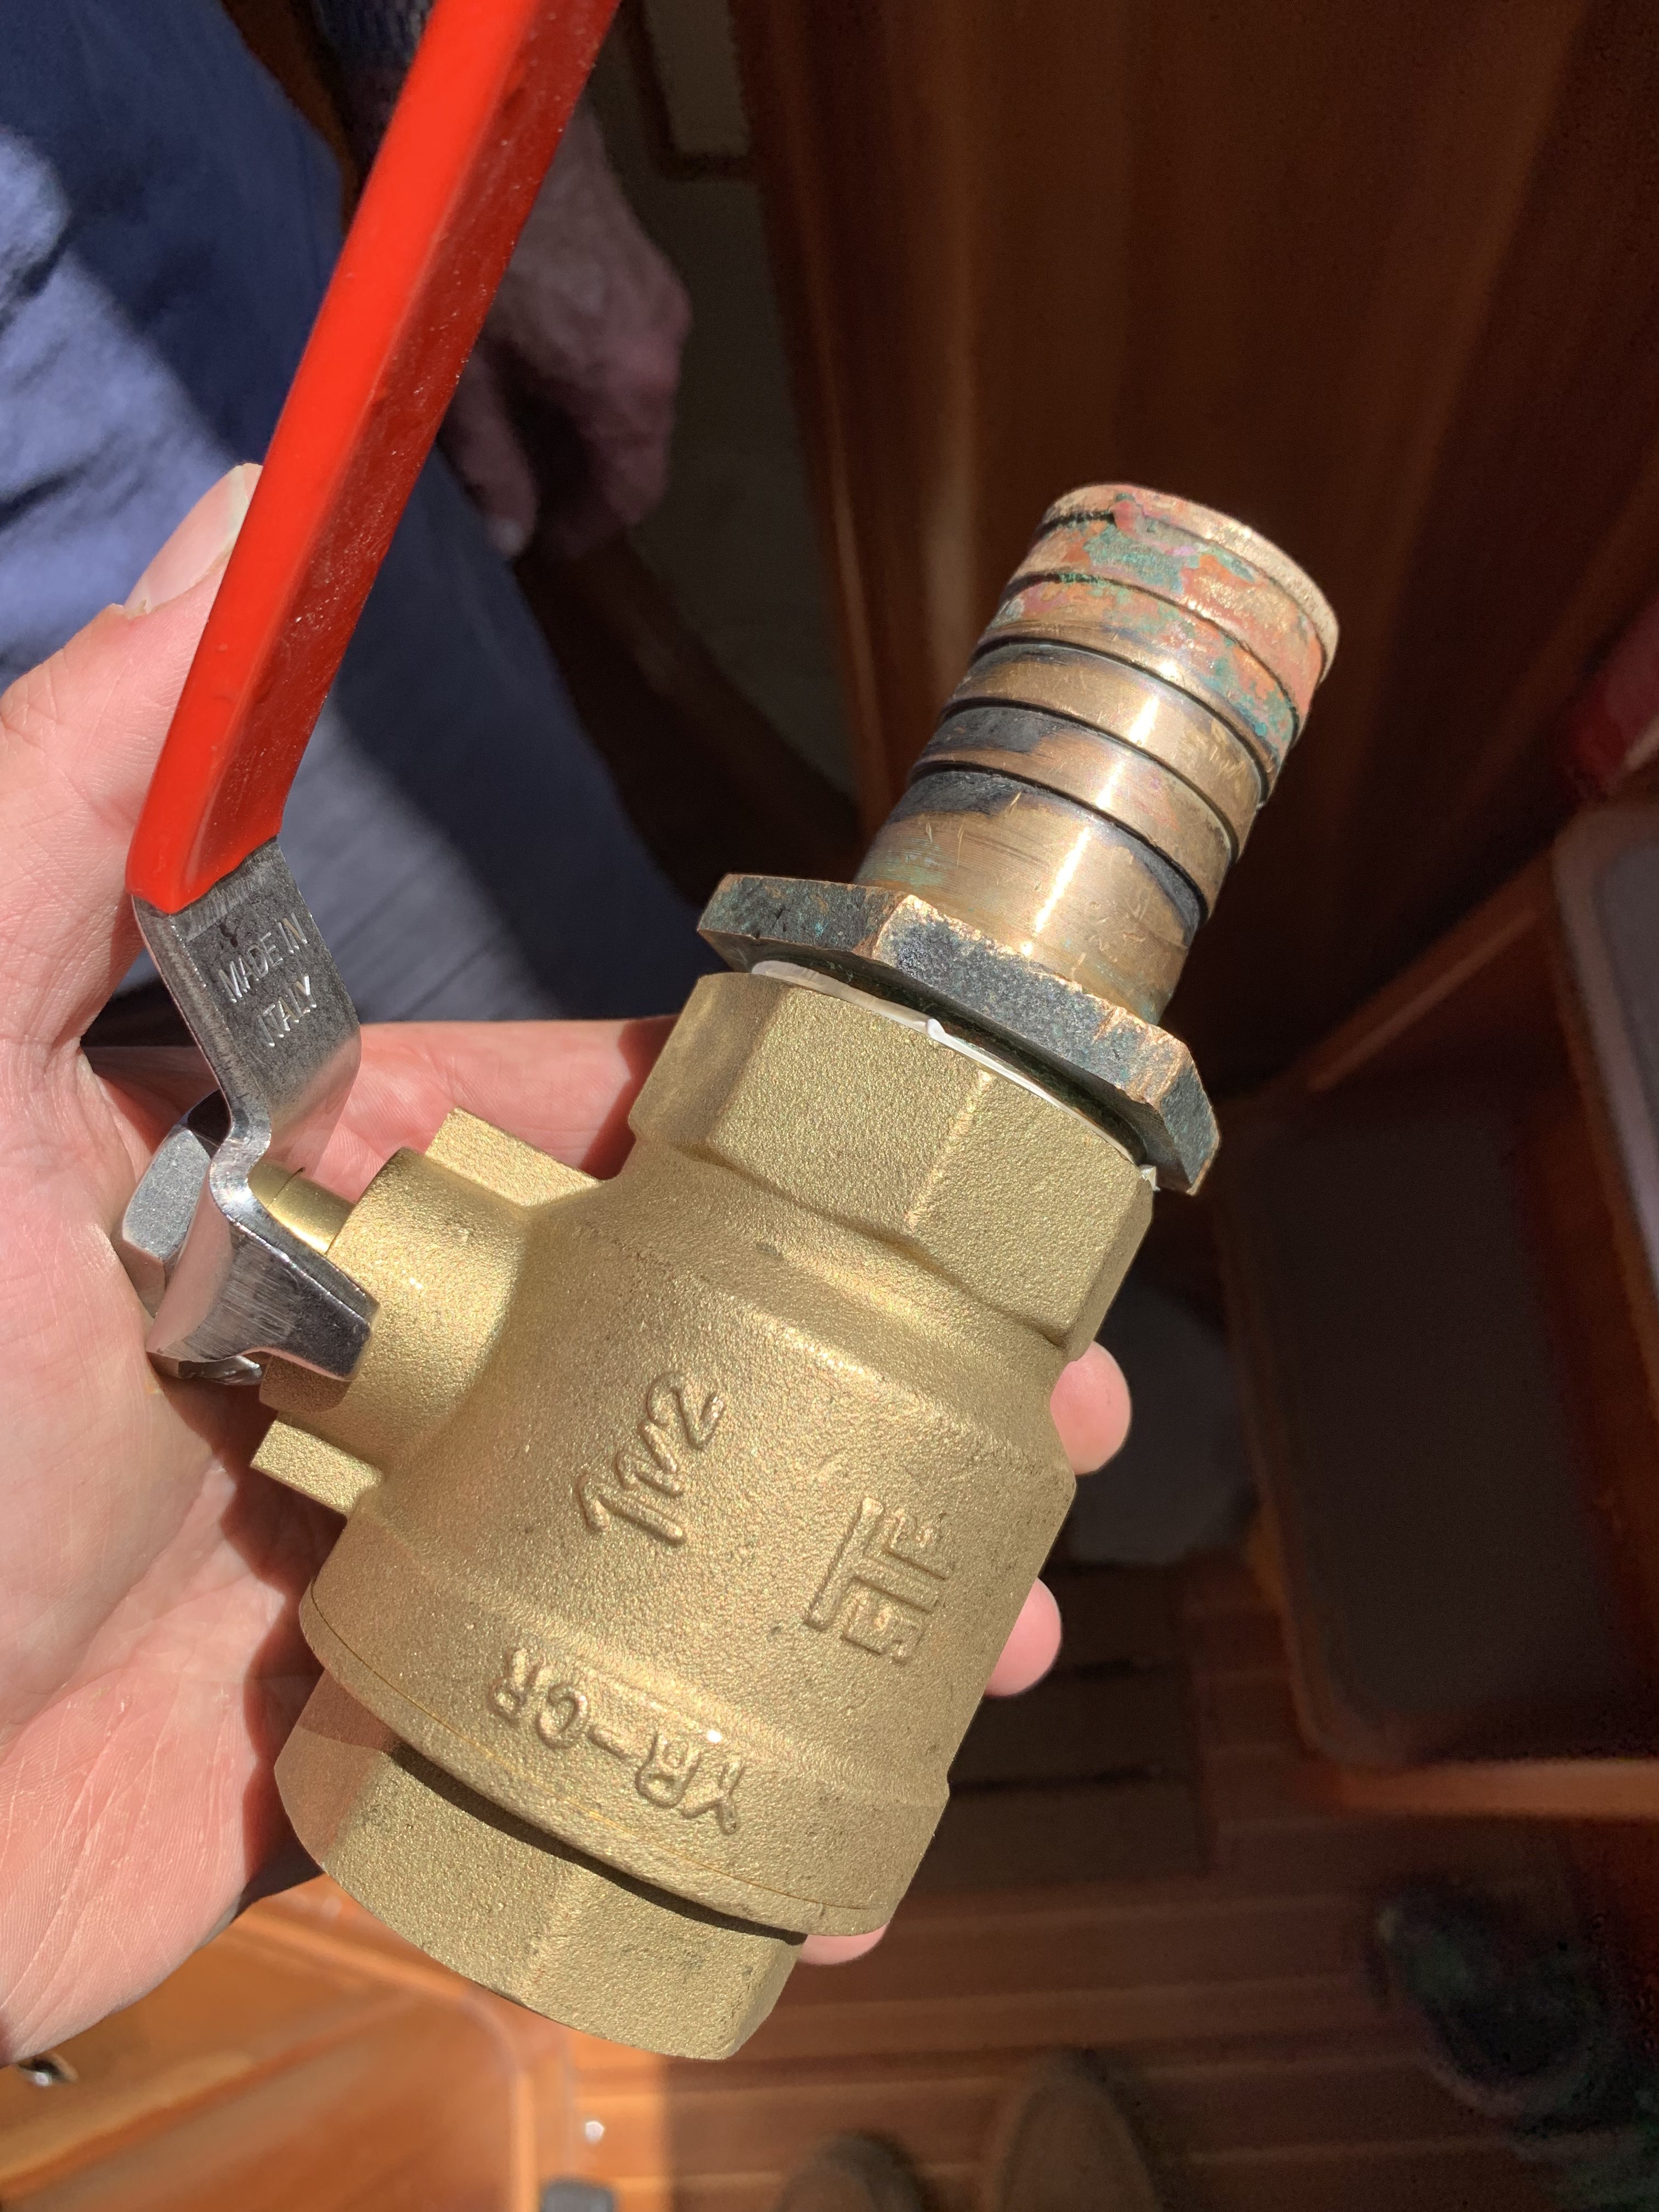
We closed off the old ball valve (which required a hammer and then a grunt to get it to seal as close to fully as it would), and using a massive Stillson wrench from the boathouse, I got the old threaded 38mm adapter out of the old seacock. The worry was that the threads wouldn’t give, and that even with a bracing Stillson, the 90 degree elbow would get distorted, possibly even damaging the through-hull (which I don’t have a spare for). However, with a bit of brute force and grunting, the adapter un-threaded.
Before starting the cleaning process 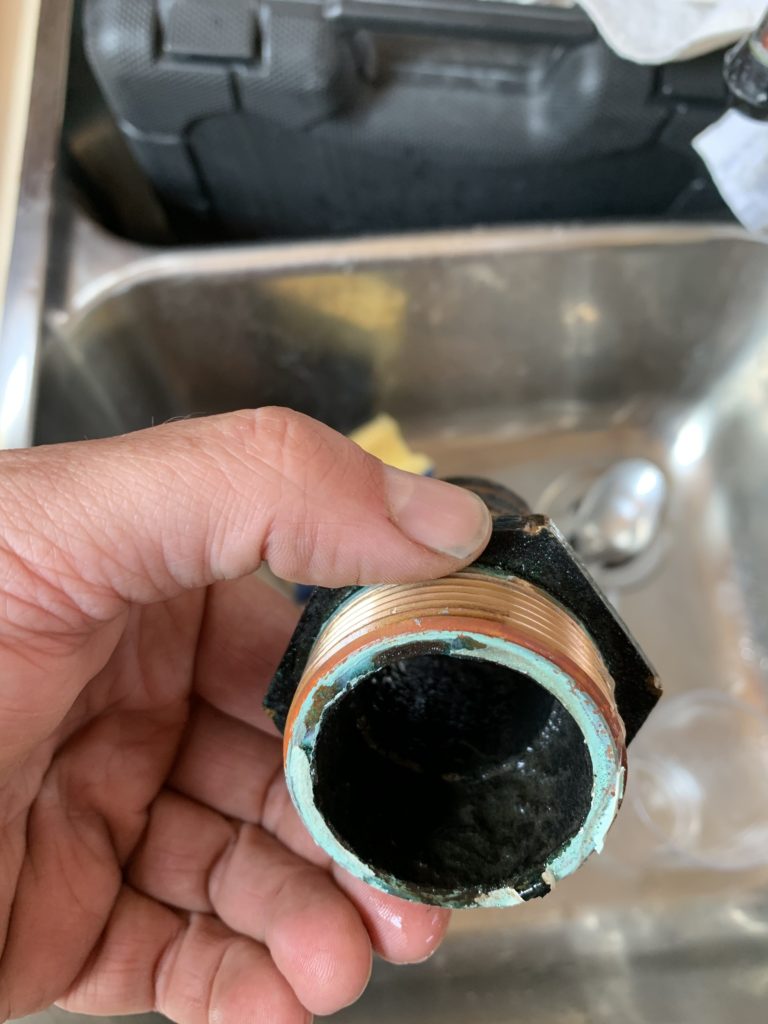
Some kind of sealant on the face 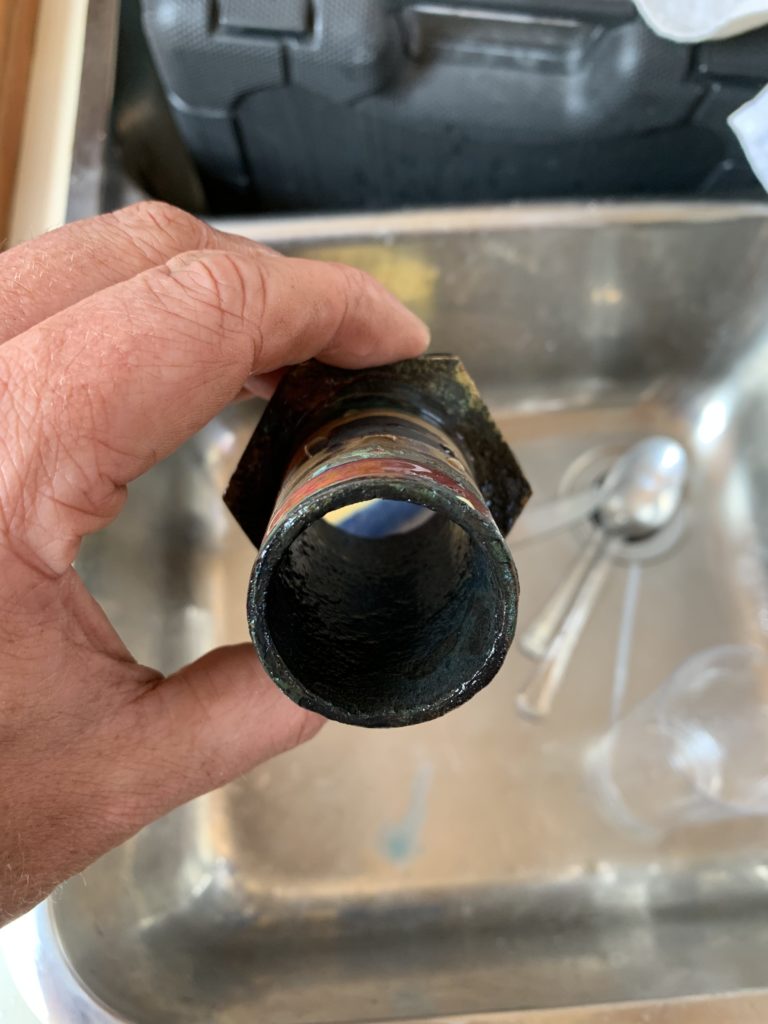
Not very pretty inside 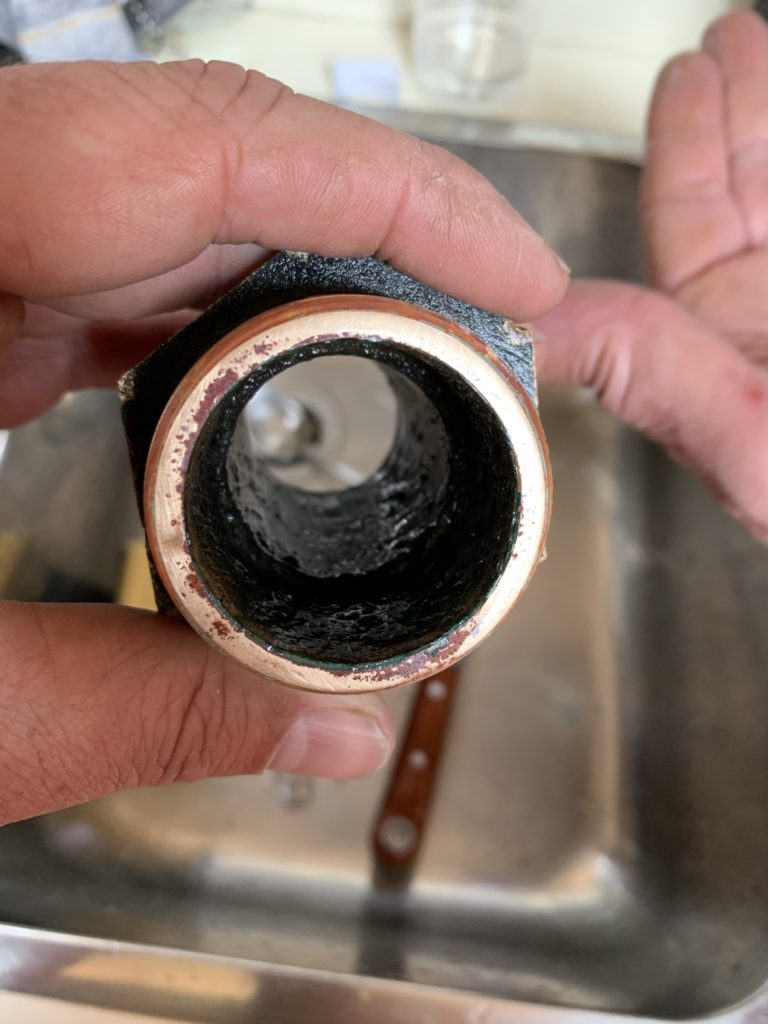
Scraped carefully with a prep scraper, and then wet-sanded on 600 grit and a block of wood to lap it 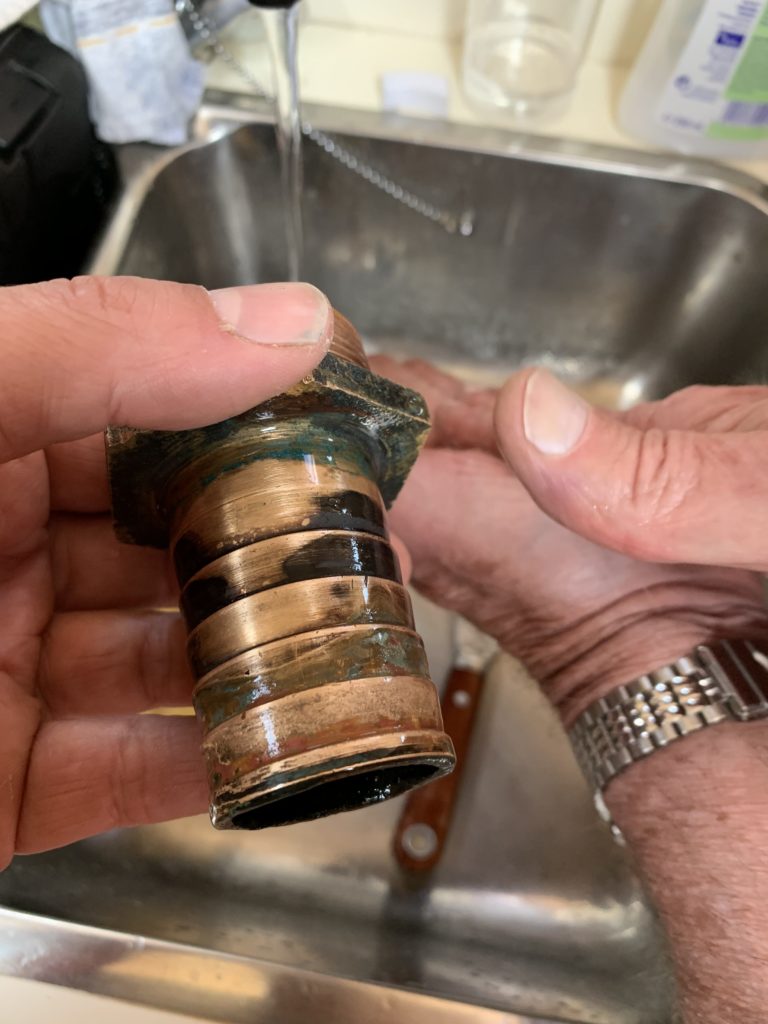
Outside lightly sanded with 600 grit
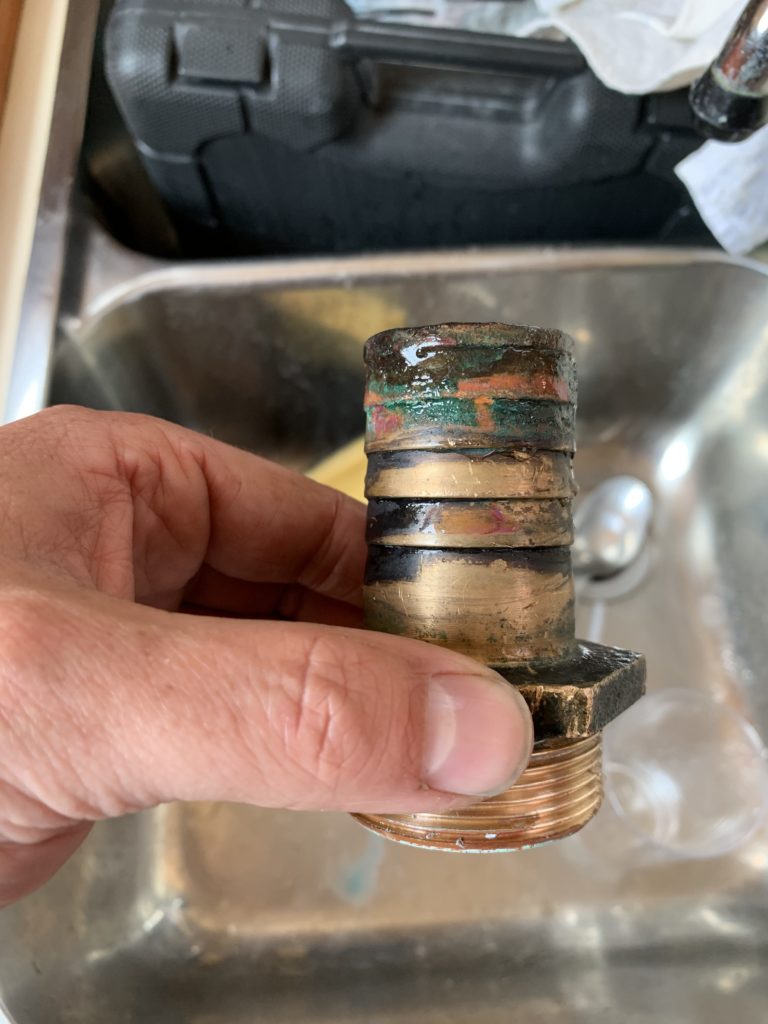
The adapter was cleaned, and the face that makes a seal with the rim in the ball valve was carefully lapped with 600 grit wet sandpaper resting on a block of wood – very light pressure, and circular motions, changing the orientation of the adapter every now and then. The goal was to see the shiny metal, which we achieved. The same technique was used on the 90 degree elbow to get a flush mating with the new valve rim.
The old ball valve was in poor shape. It had gone black over the years on the outside, and the ball inside was rusty and pitted.
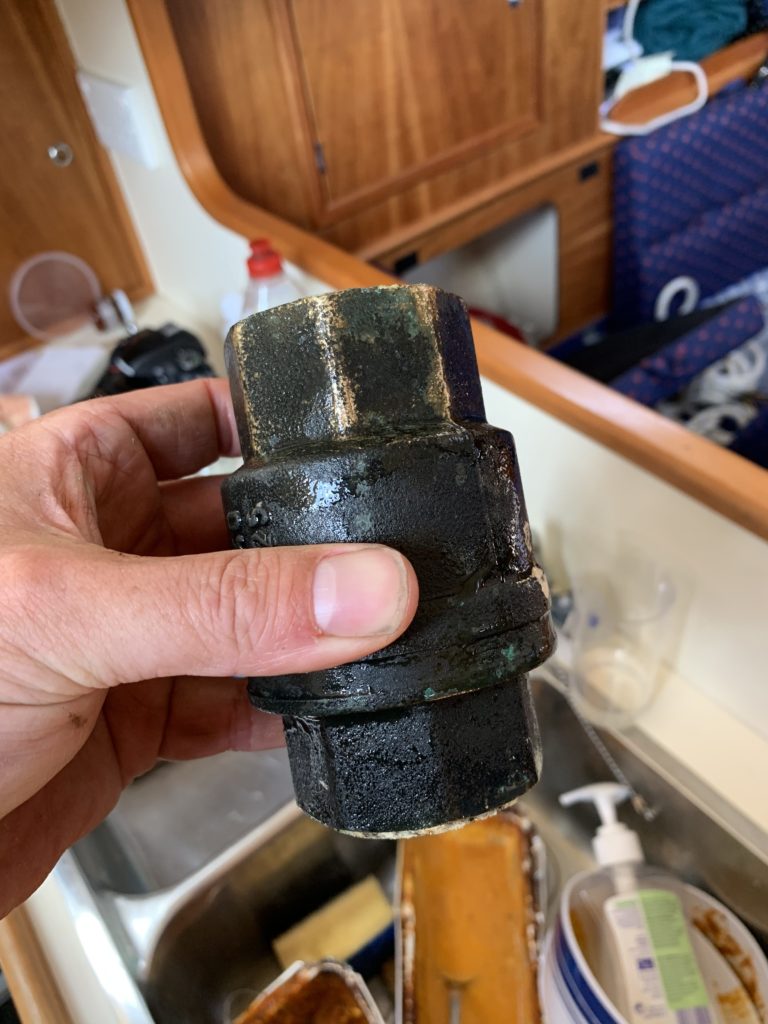
It’s actually DZR under the black 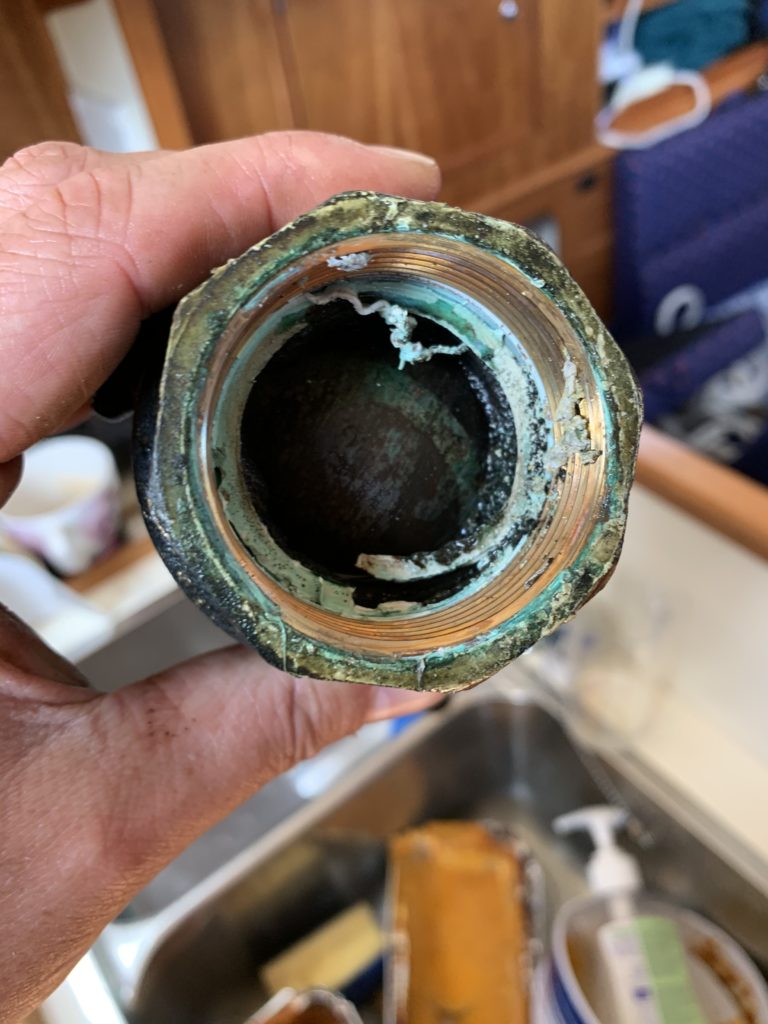
The gunk (PTFE etc) inside 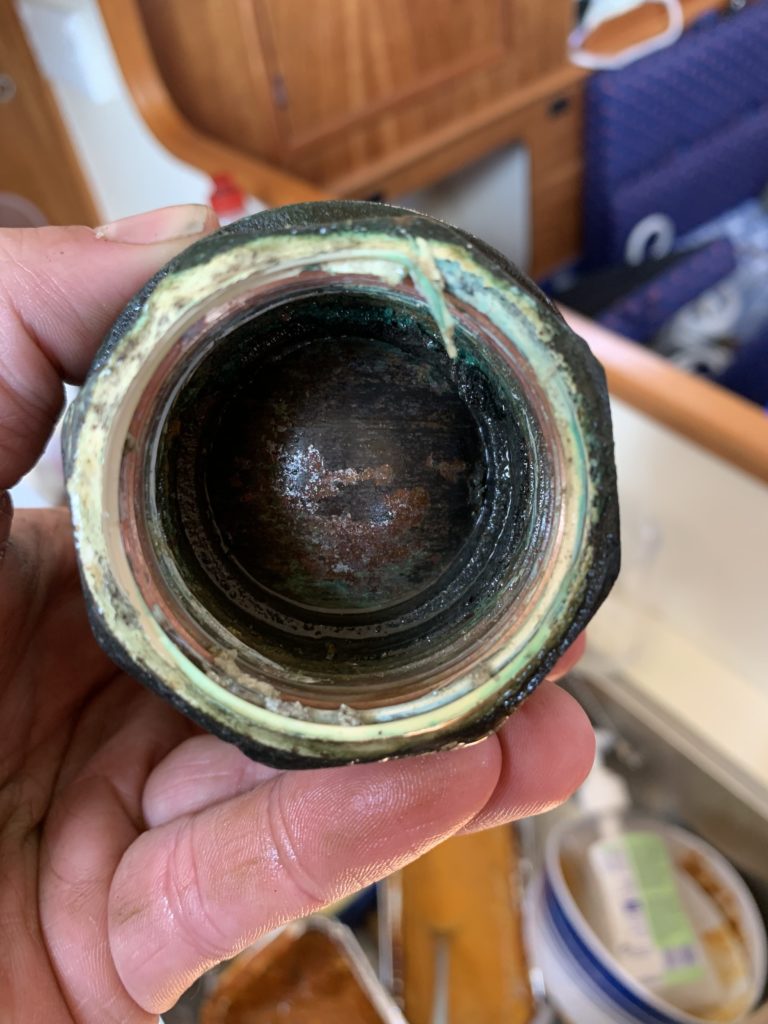
A view of the corroded ball in the valve
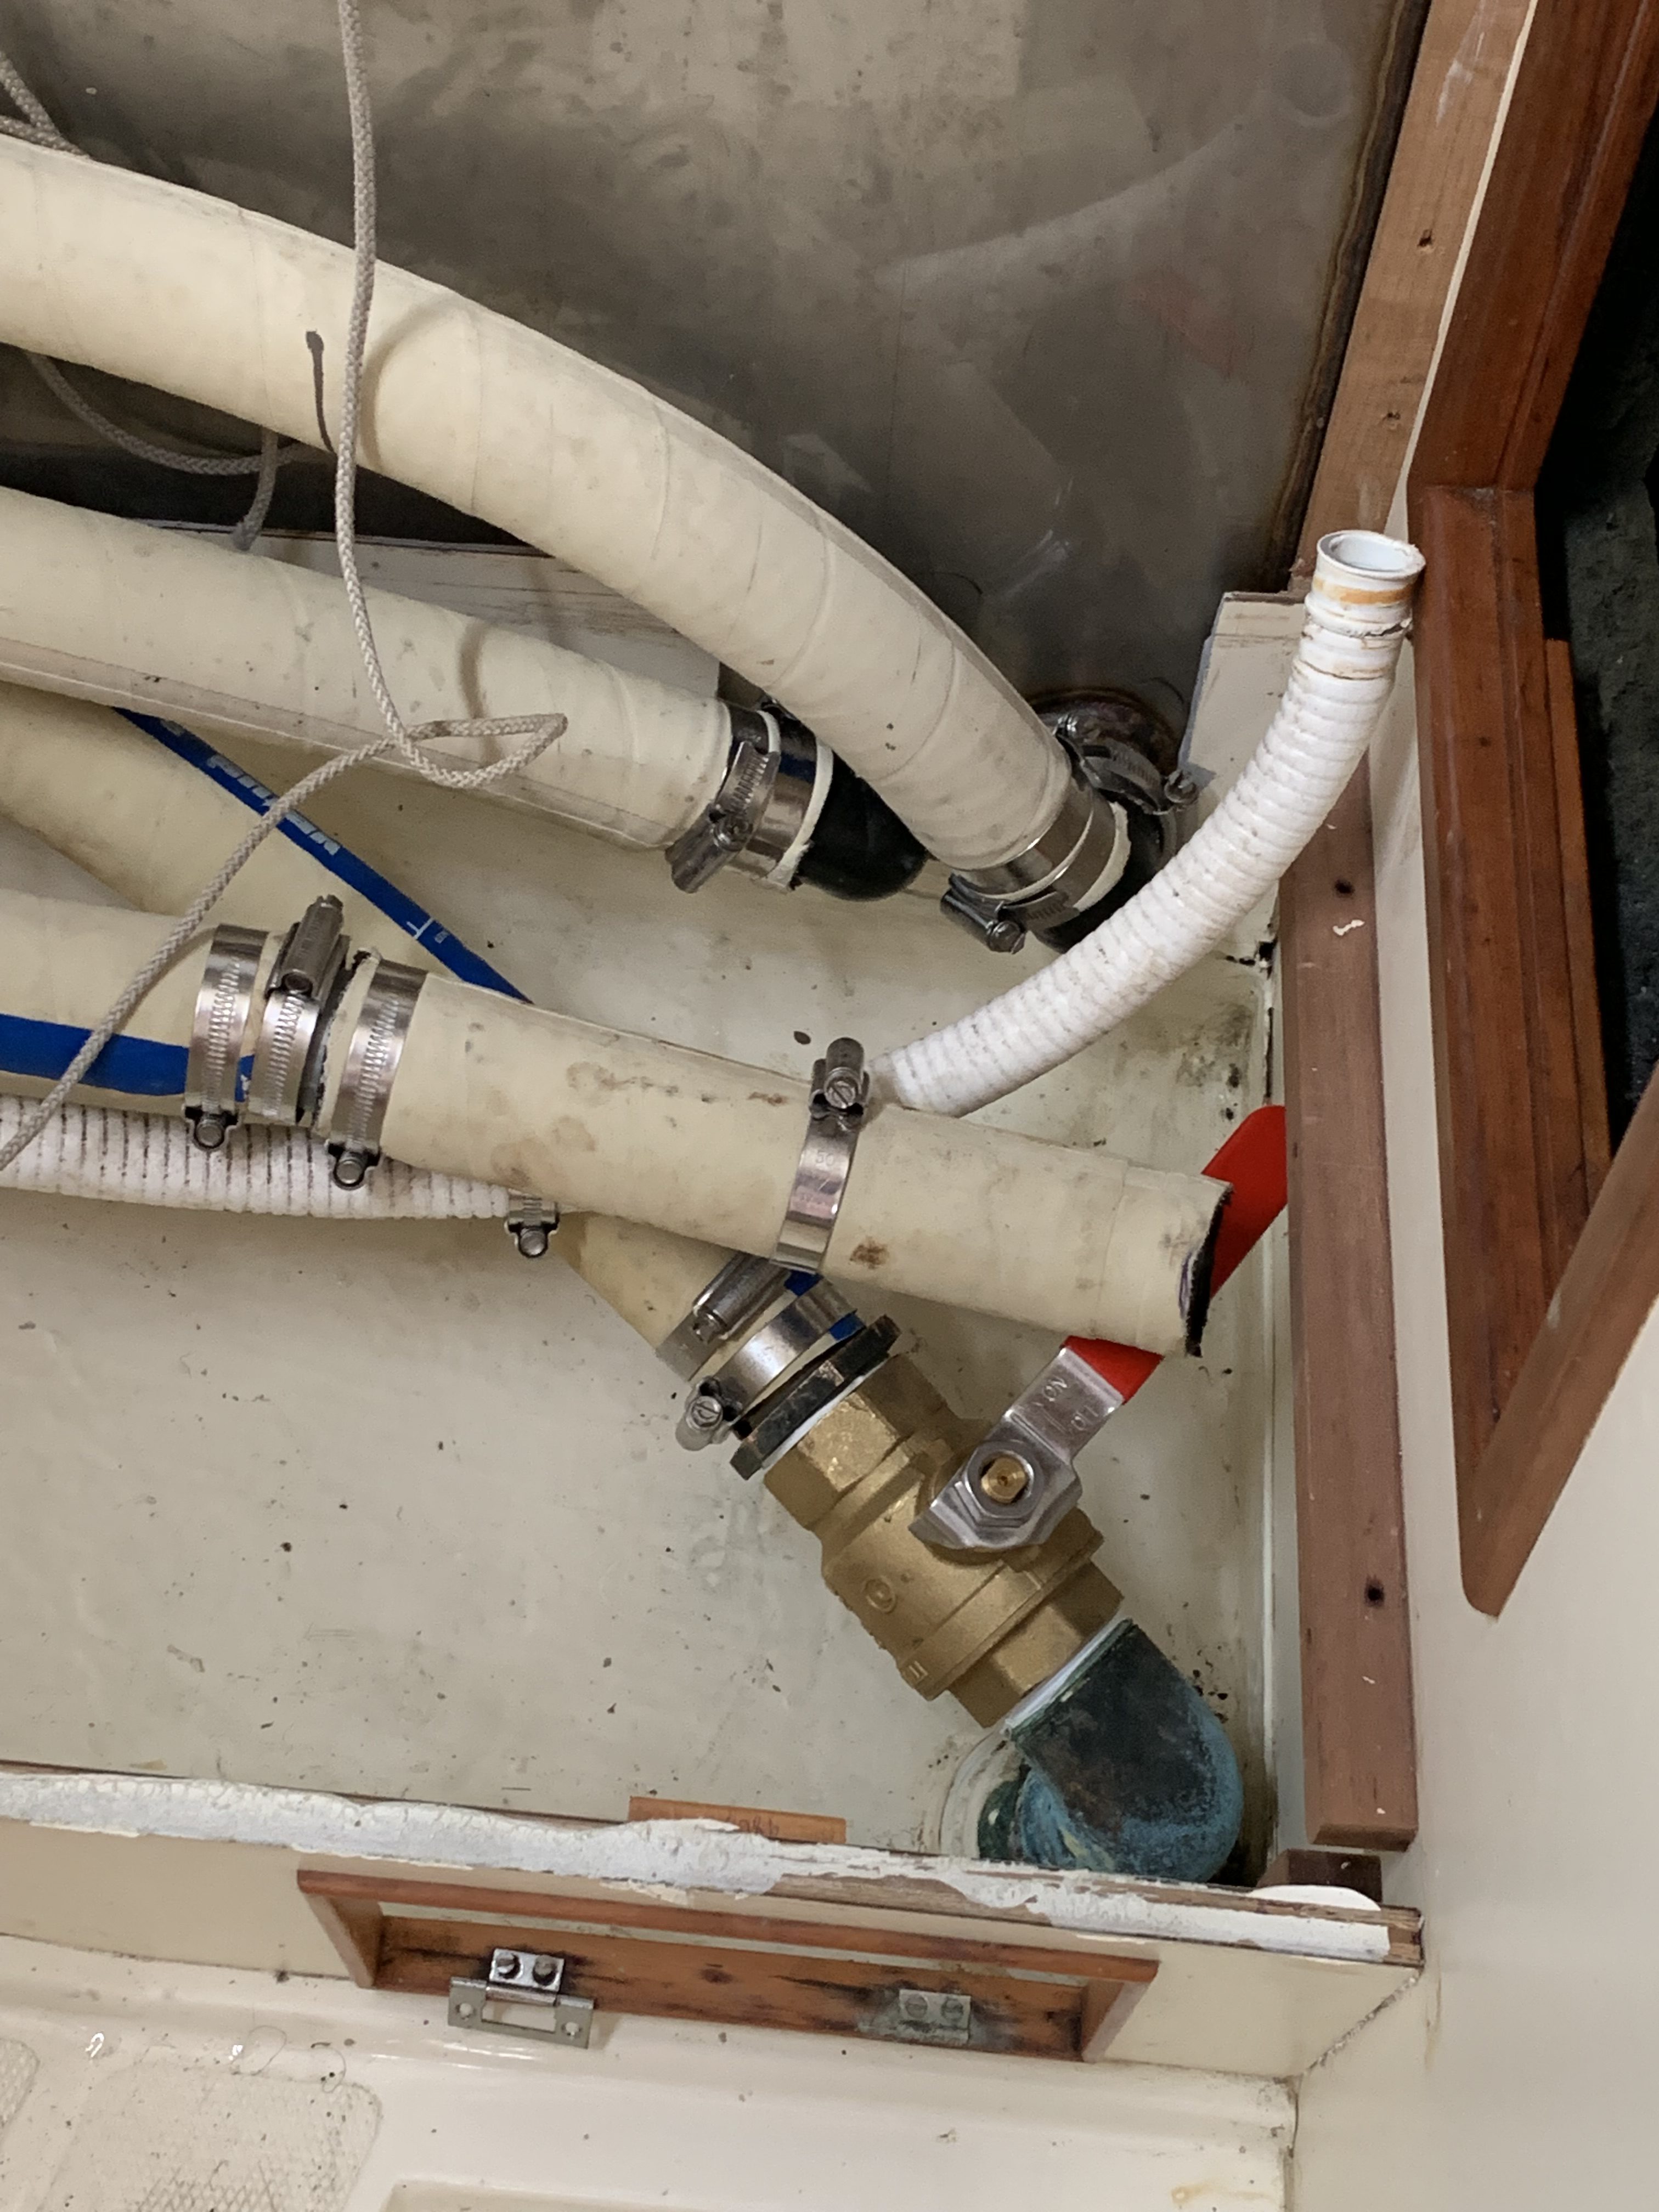
The new valve was installed on to the 90 degree elbow, and the big Stillsons were used again to get it tight, with a block of wood between the elbow and the bulkhead to brace it. PTFE tape was used on the threads, though having spoken with a plumber (club member), it’s not quite the right material – Plumber’s Mate or similar should have been used. The valve was closed, and the club pressure washer was stuck up the through-hull to do a basic leak test; dry! Opened the valve, wet!
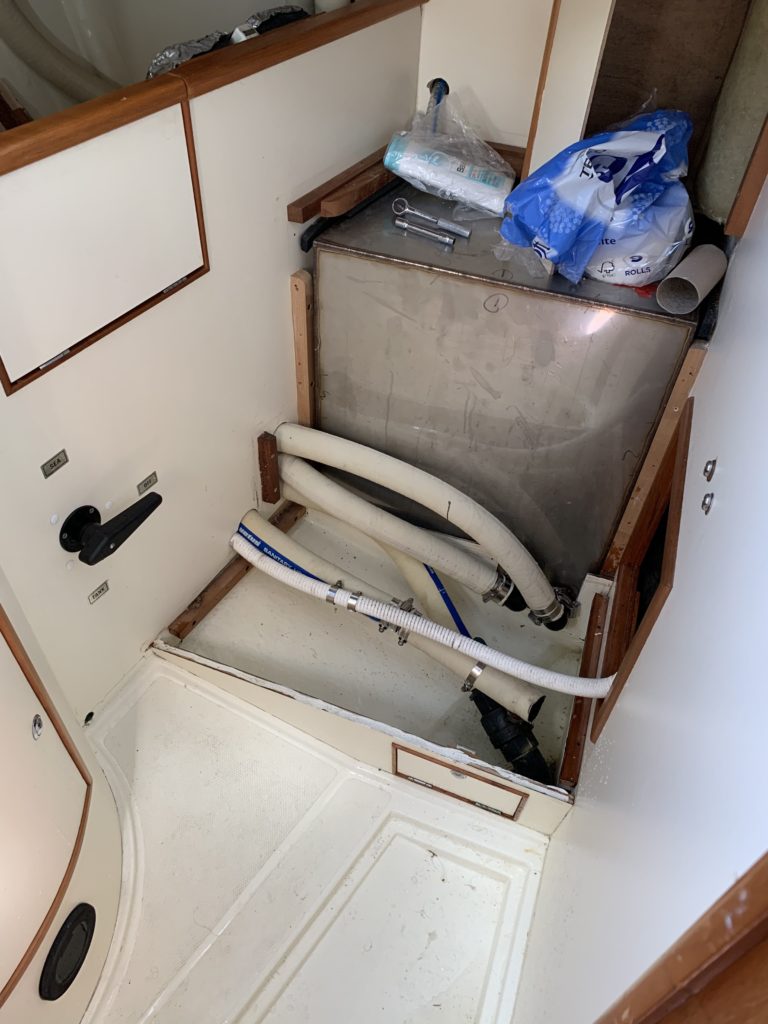
Getting ready to remove the old valve 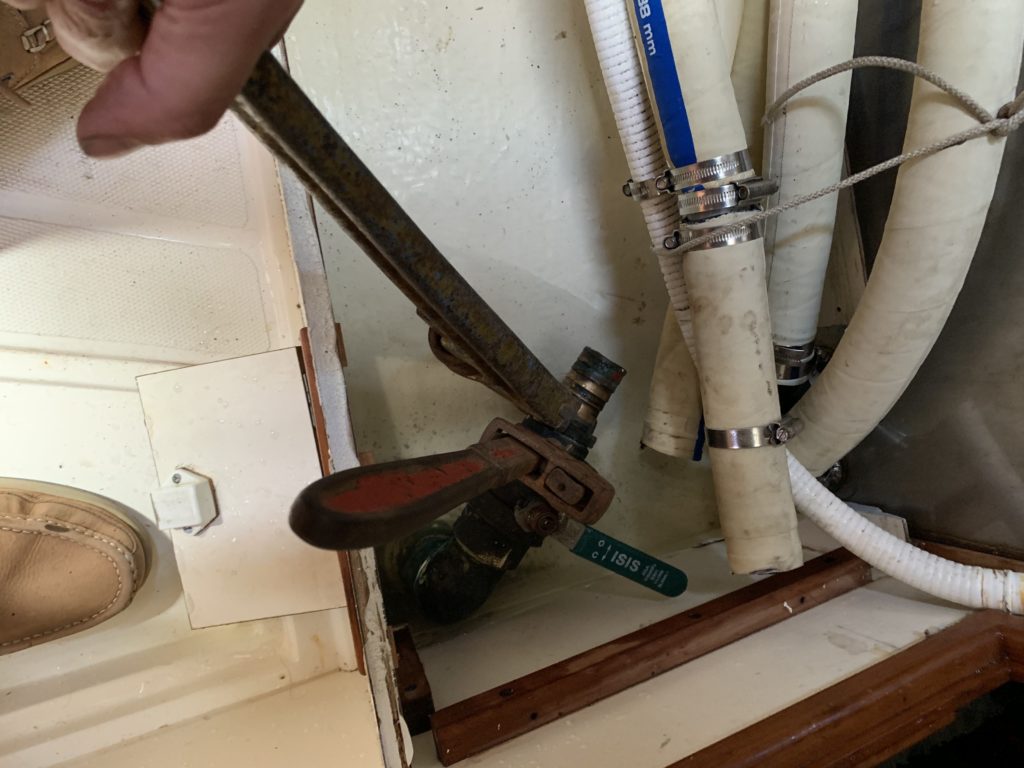
Removing the threaded adapter with big Stillsons 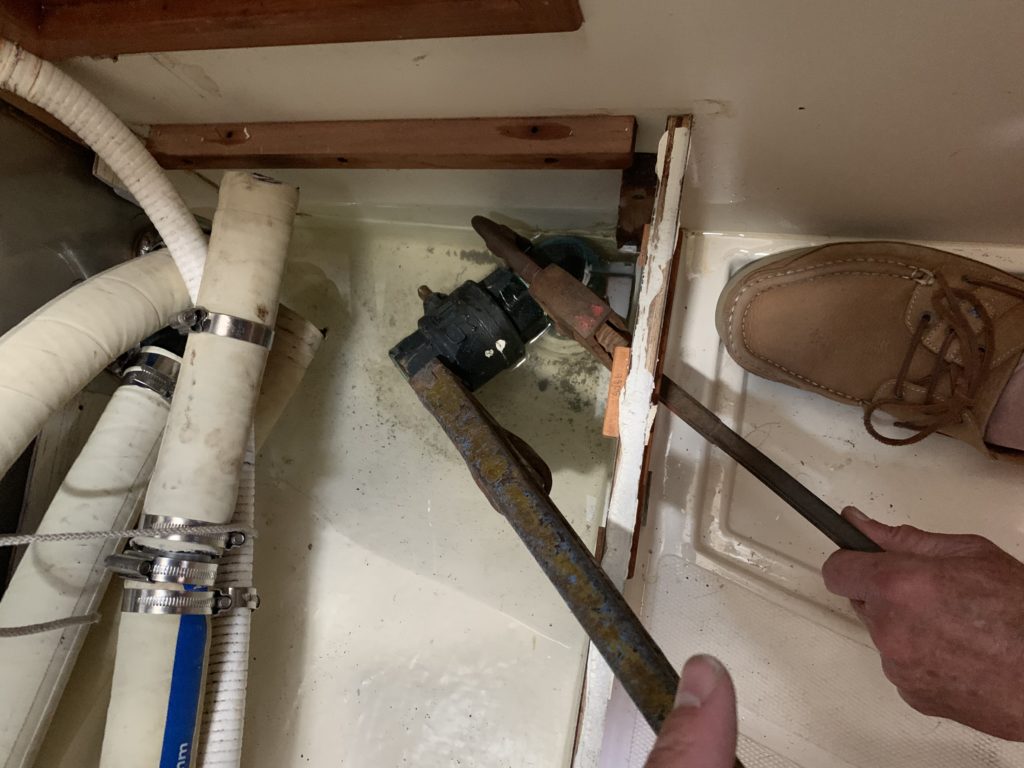
Pulling the old valve out, more big Stillsons and a braced elbow 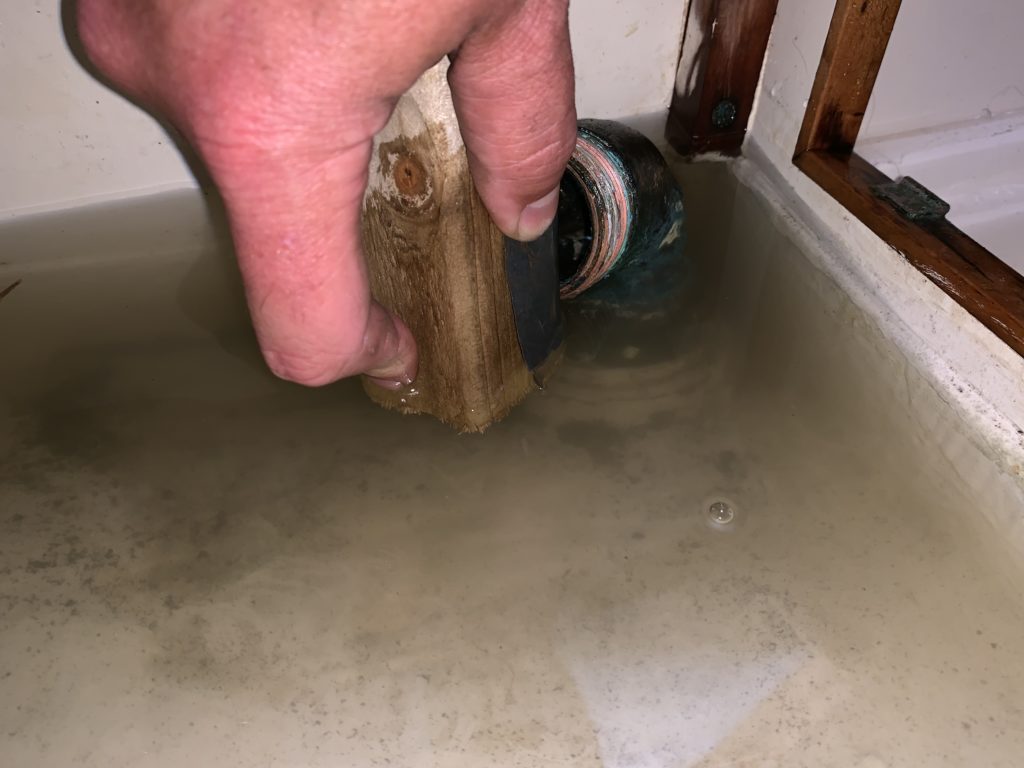
Lapping the 90 degree elbow after scraping 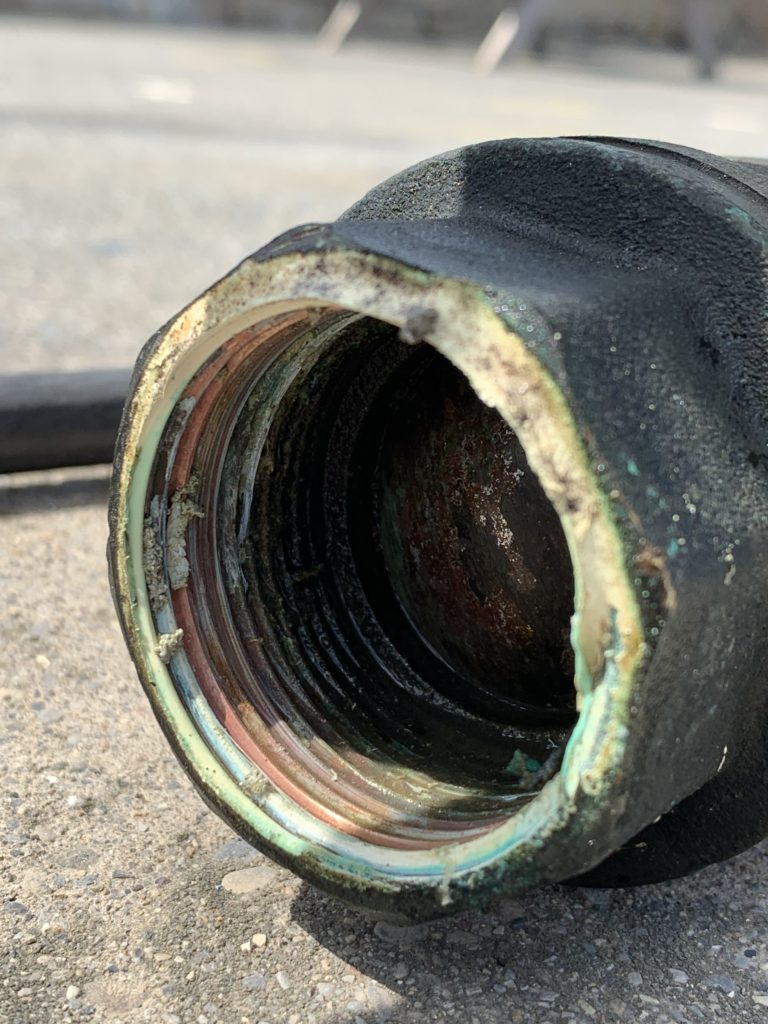
Glamour shot of the old valve, now in the skip
We waited for the tide to lift (and did other things), and so far it seems like the job is good. There’s a tiny bit of dampness under the valve, and I need to isolate whether it’s the sea side or the hose side; there’s some paper towel on it today, and when I get back on board I’ll find out (assuming she didn’t sink).
Thus passed Monday.