A while ago, I bought the UJK multi-function workbench to use in the workshop while I pondered the issue of setting up my own custom bench. The UJK bench is decent, though the stability of the trestle legs leaves a bit to be desired – sturdy and resistant to rocking they are not. However, it gave me a workbench that’s portable (so I could, in theory, take it up to the boatyard in the back of a car), and that I could use to get stuff done while contemplating the “final” bench for the workshop.
With the self-built bench now in place, I started to think about work-holding. A smooth bench top is a nice thing, but the MFT-style top has a lot going for it when you want to cut things at 90 degrees, or otherwise fix stuff in place. With the UJK top (or a Festool MFT or similar), you can use things like guide rail clamps (archive) to fix a piece of wood to the bench top, without having to think about being near the edge of the bench. On a traditional bench, such as the English Joiner’s Bench (archive), you’d use holdfasts that are hammered down through the dog holes.

So the question became, “How do you put accurate holes in a piece of moisture resistant MDF (MR MDF) that’s 2000mm x 730mm?”. There are options, ranging from “call a CNC company” to “buy a jig from Axminster and do a lot of aligning and faffing”. The Axminster Parf jig (archive) is not cheap either, at somewhere past EUR 250 for what would essentially be a single-use item. Sure, if I wanted to replace the top, it’d be useful again, but I hope that workbench top lasts me several years, and storing all the bits of the jig for several years.. well, let’s just say I know myself, and I know how things can go missing.
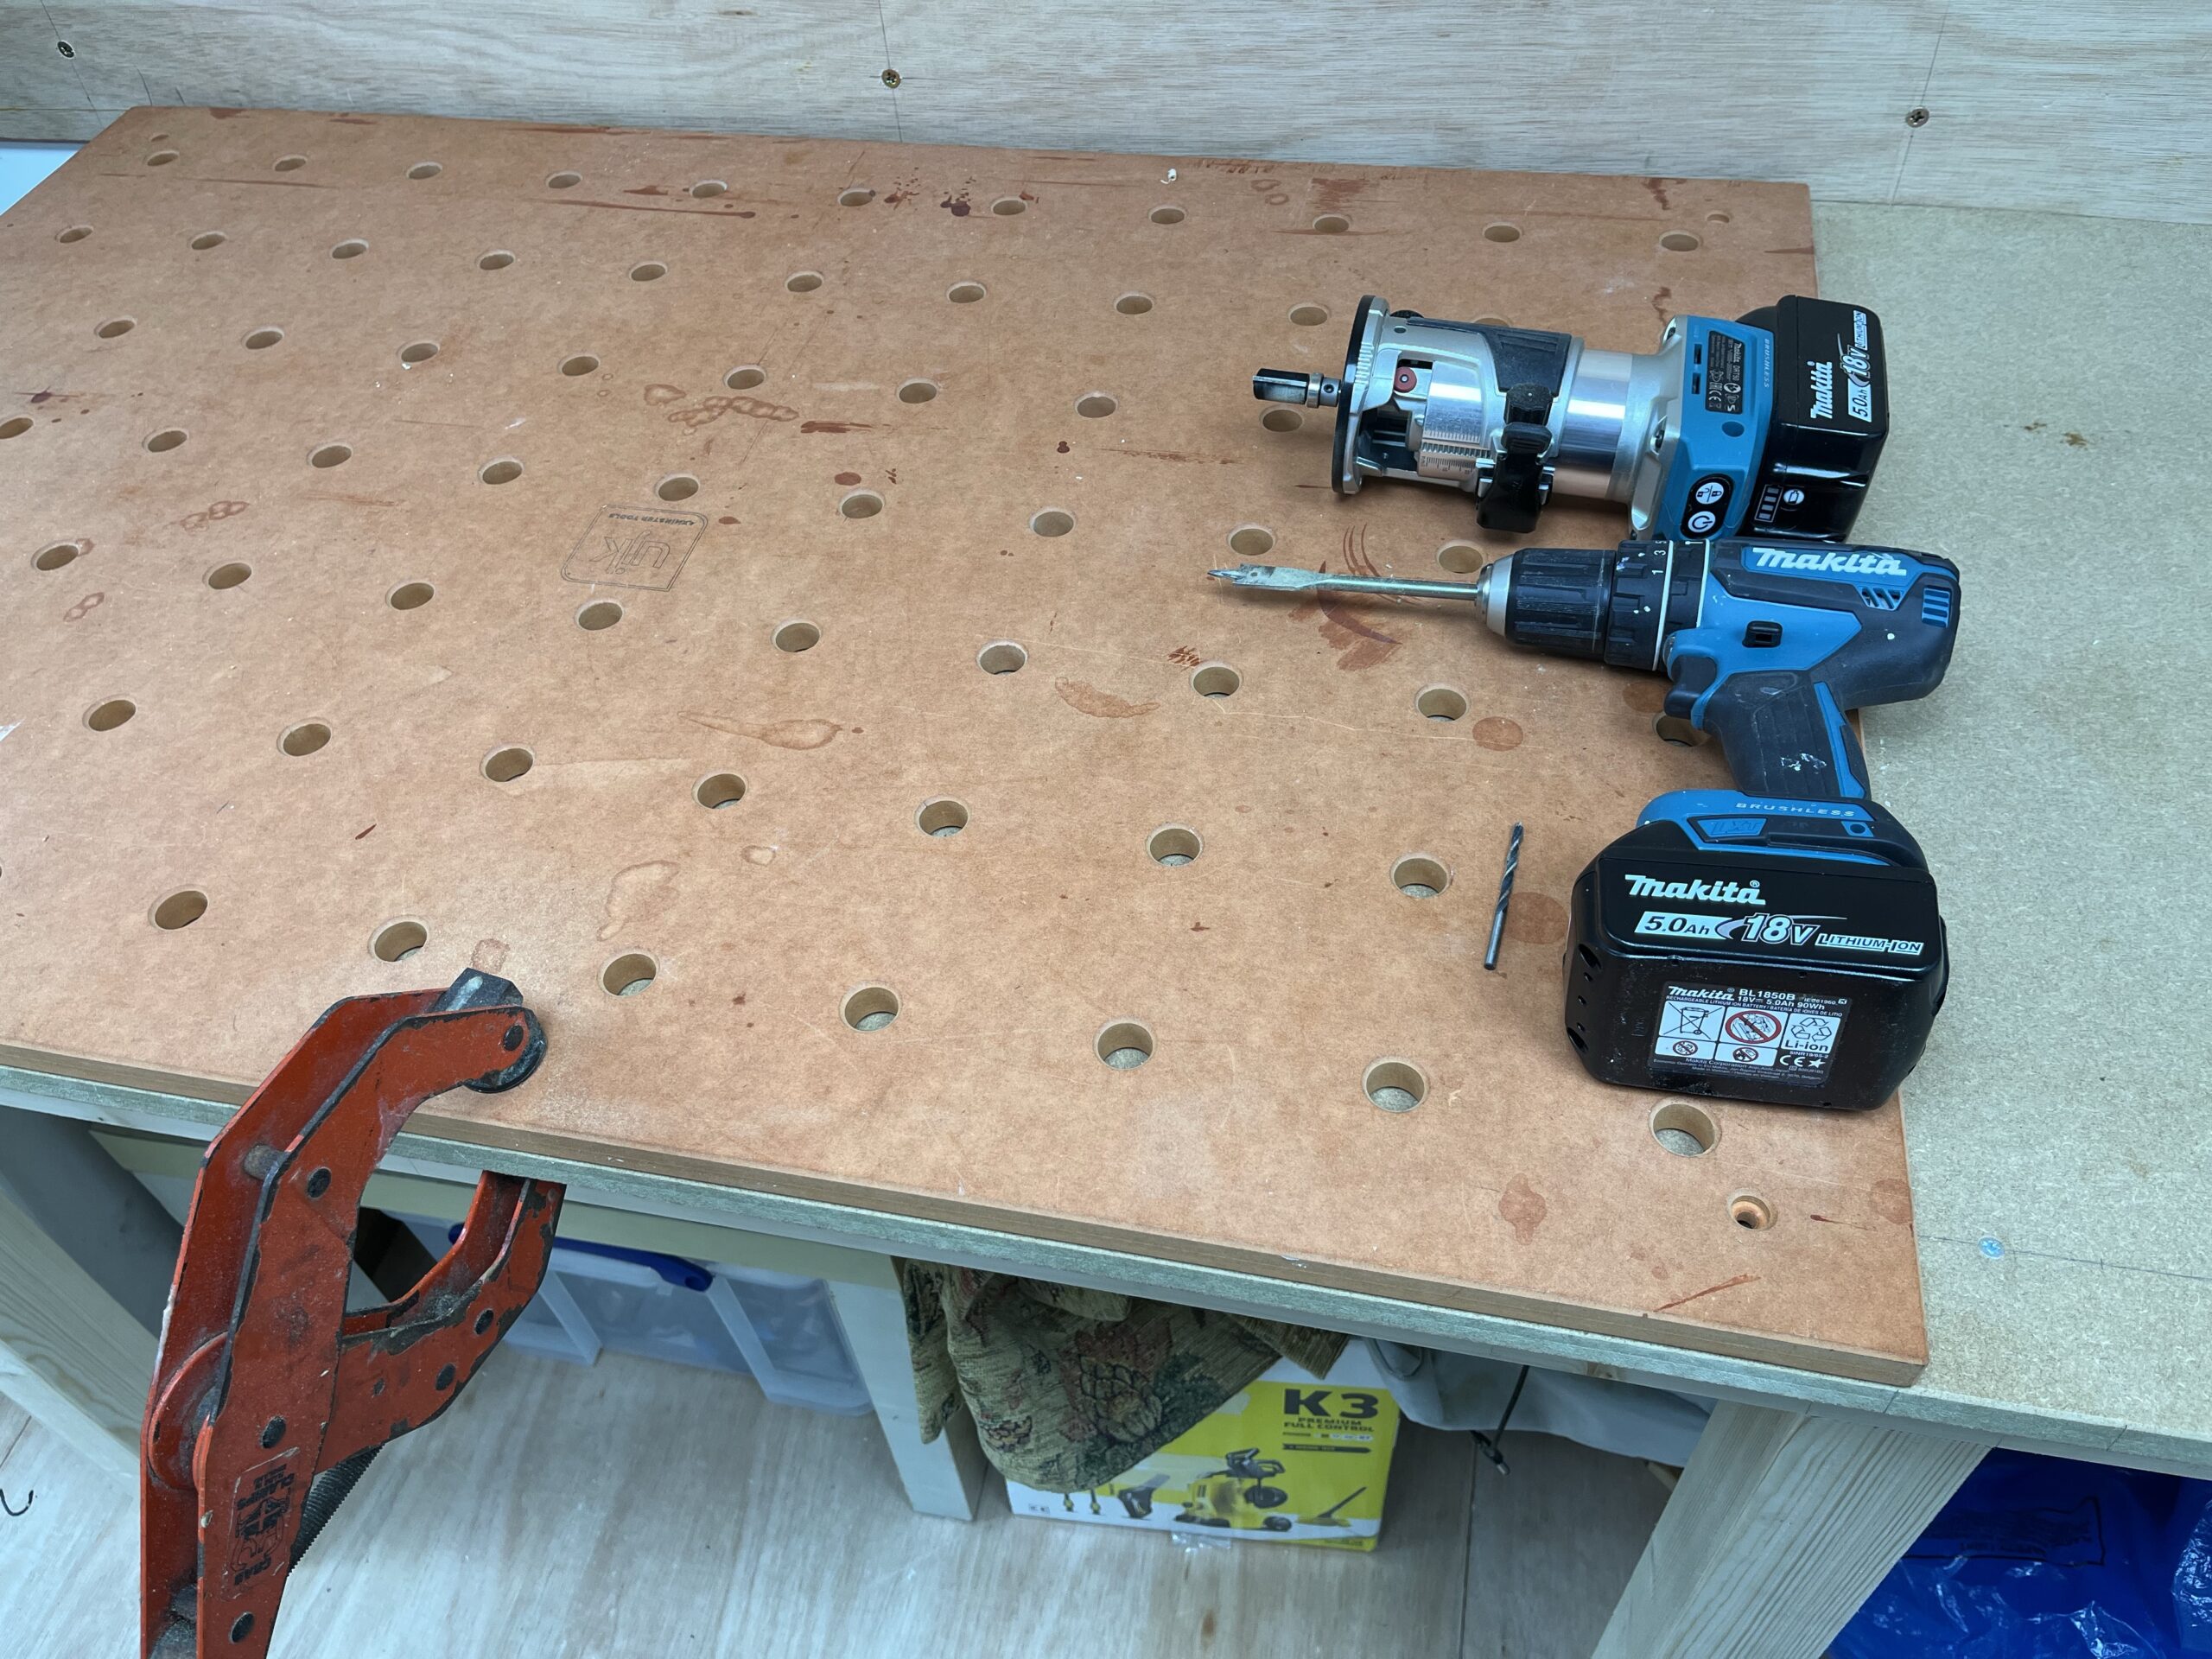
The answer I chose was “I have a perfectly CNC’d top already, and I have a set of spade bits and a router with a pattern bit”. Clamped the UJK top onto the workbench, lined up the two factory edges of the big bench with the UJK’s edges, and drilled two holes and then routed them out with the pattern bit. If the pattern bit is accurate, then patterning from the UJK top should give me a pair of holes that are 20mm in diameter.
Alas, I think my pattern bit is just ever so slightly smaller than the pattern bit bearing, so the holes created by the router were a touch too small. I could hammer the dogs home in the holes, but you’re meant to be able to insert and remove them with the grip of your fingers, not a hammer. The UJK holes are like this, so I know what I was patterning from was fine. A bit of head scratching, and I settled on using the old Dremel to just lightly sand the hole walls. Very light touches, and constantly checking with a dog whether the hole was large enough yet – it’s very easy to over-sand the hole and make it too large, which would mean the dogs would move around, which makes for unstable work-holding, and thus poor accuracy.
The final sequence of steps was:
- drill a 3mm pilot hole with a twist bit as near to the middle of the dog hole as possible
- drill a 16mm hole with the spade bit, using the pilot hole to make it easier
- pattern-route the hole with a 16mm pattern bit
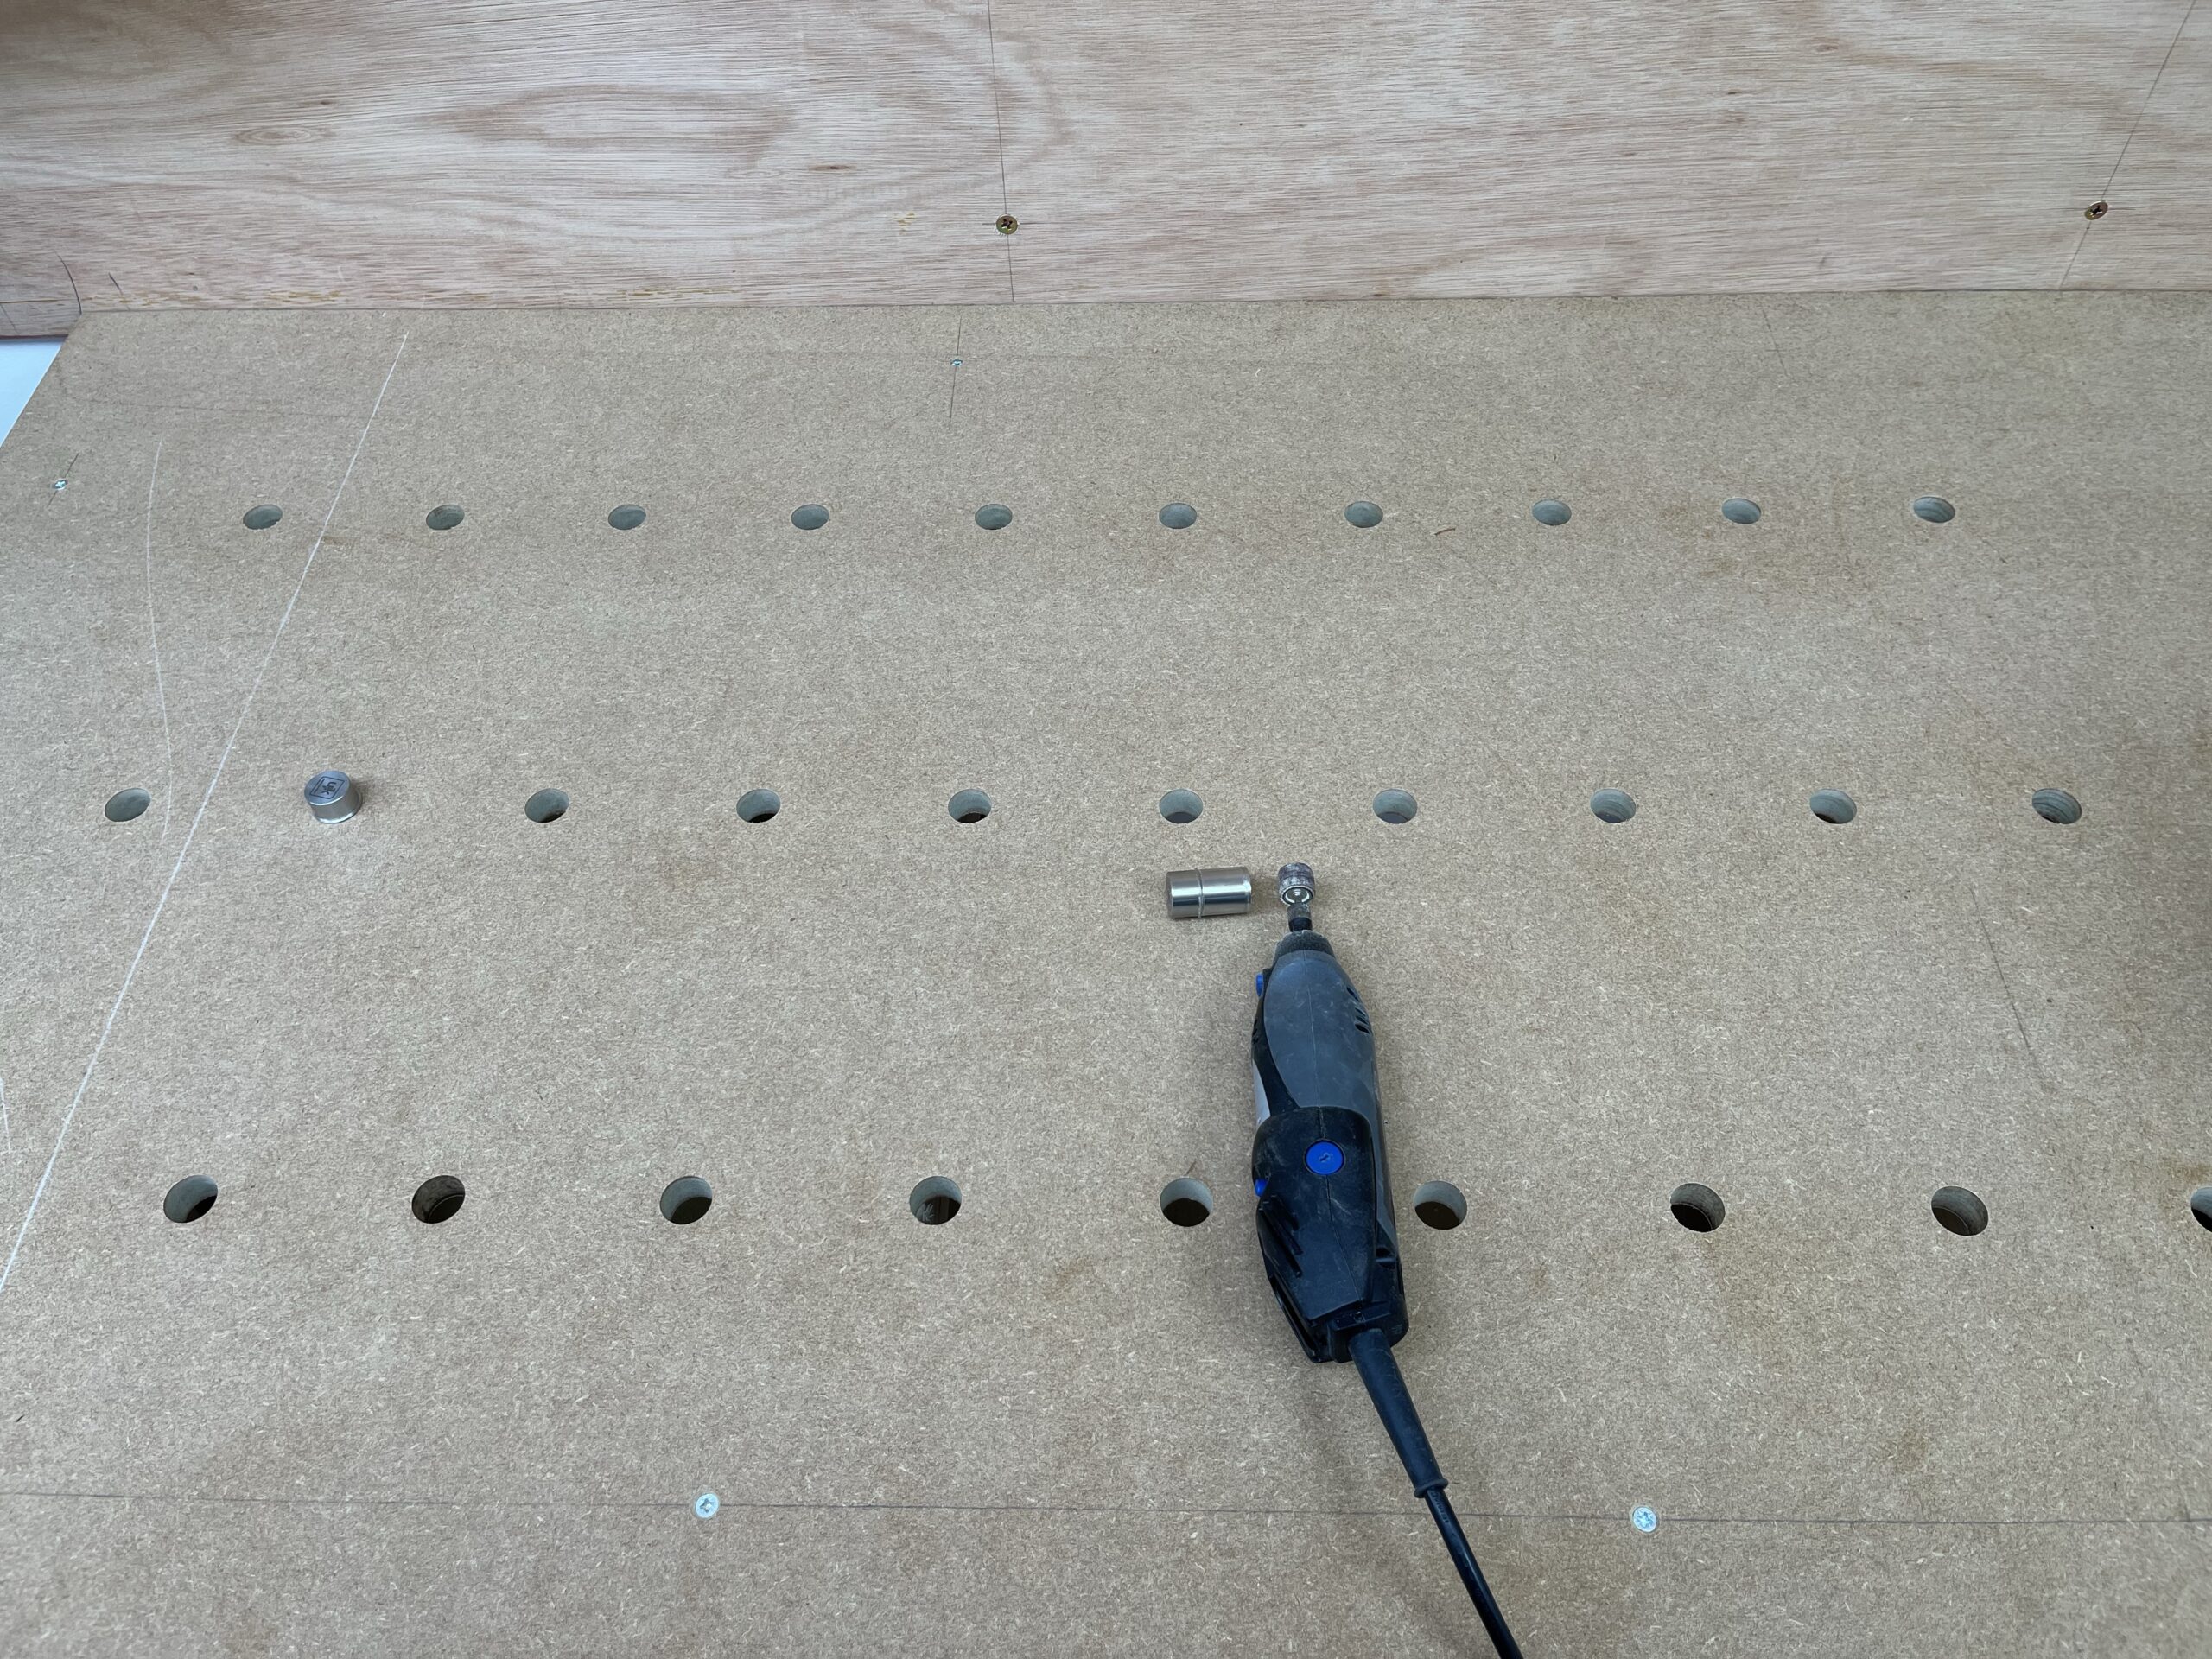
- finish the hole with the sanding drum on the Dremel
Once I worked those steps out, I was able to get three rows of holes done in a bit over an hour. I couldn’t easily hold the vacuum nozzle in place to clear the waste from the spade bit, so that slowed things down a bit. Operating the router one-handed at startup is also not advisable; had it catch once (and it shut down immediately) on the inside of the drilled hole, and decided that was once too often.
So now I have three rows of 20mm holes on 96mm or 192mm centers (depending on which way you look at the holes). A “proper” MDF is 20mm on 96mm centers, but I’m going to try with just the three rows; it’s easy to add the other two rows so that it’s a full grid.
If that video won’t play, try this one.