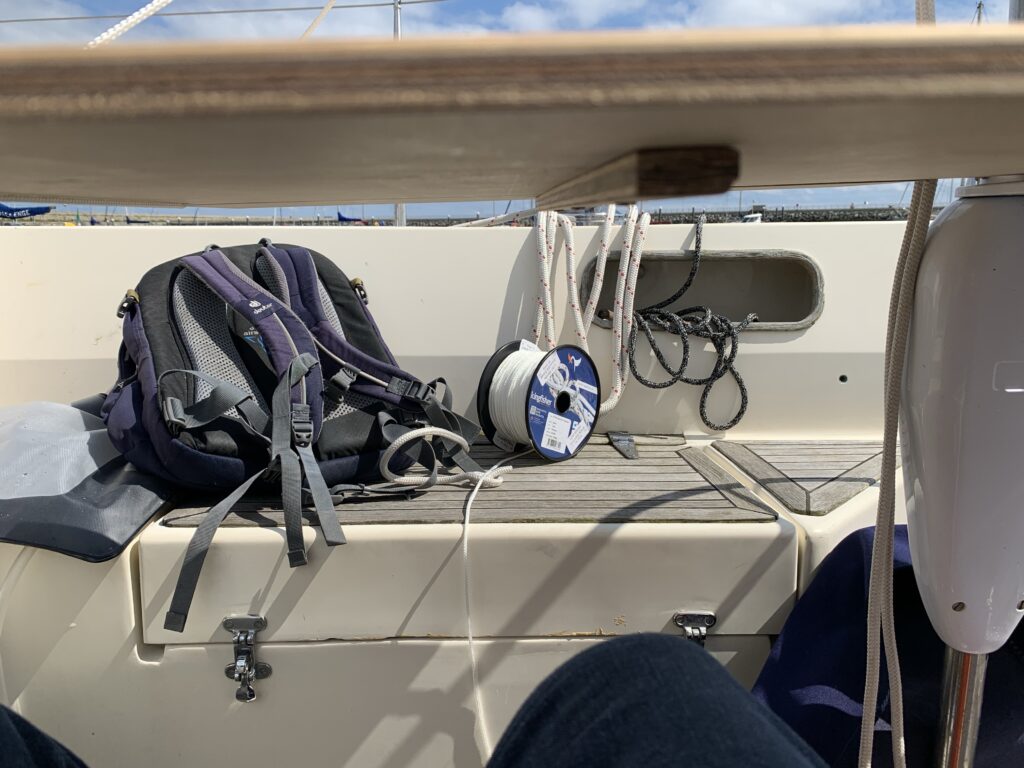
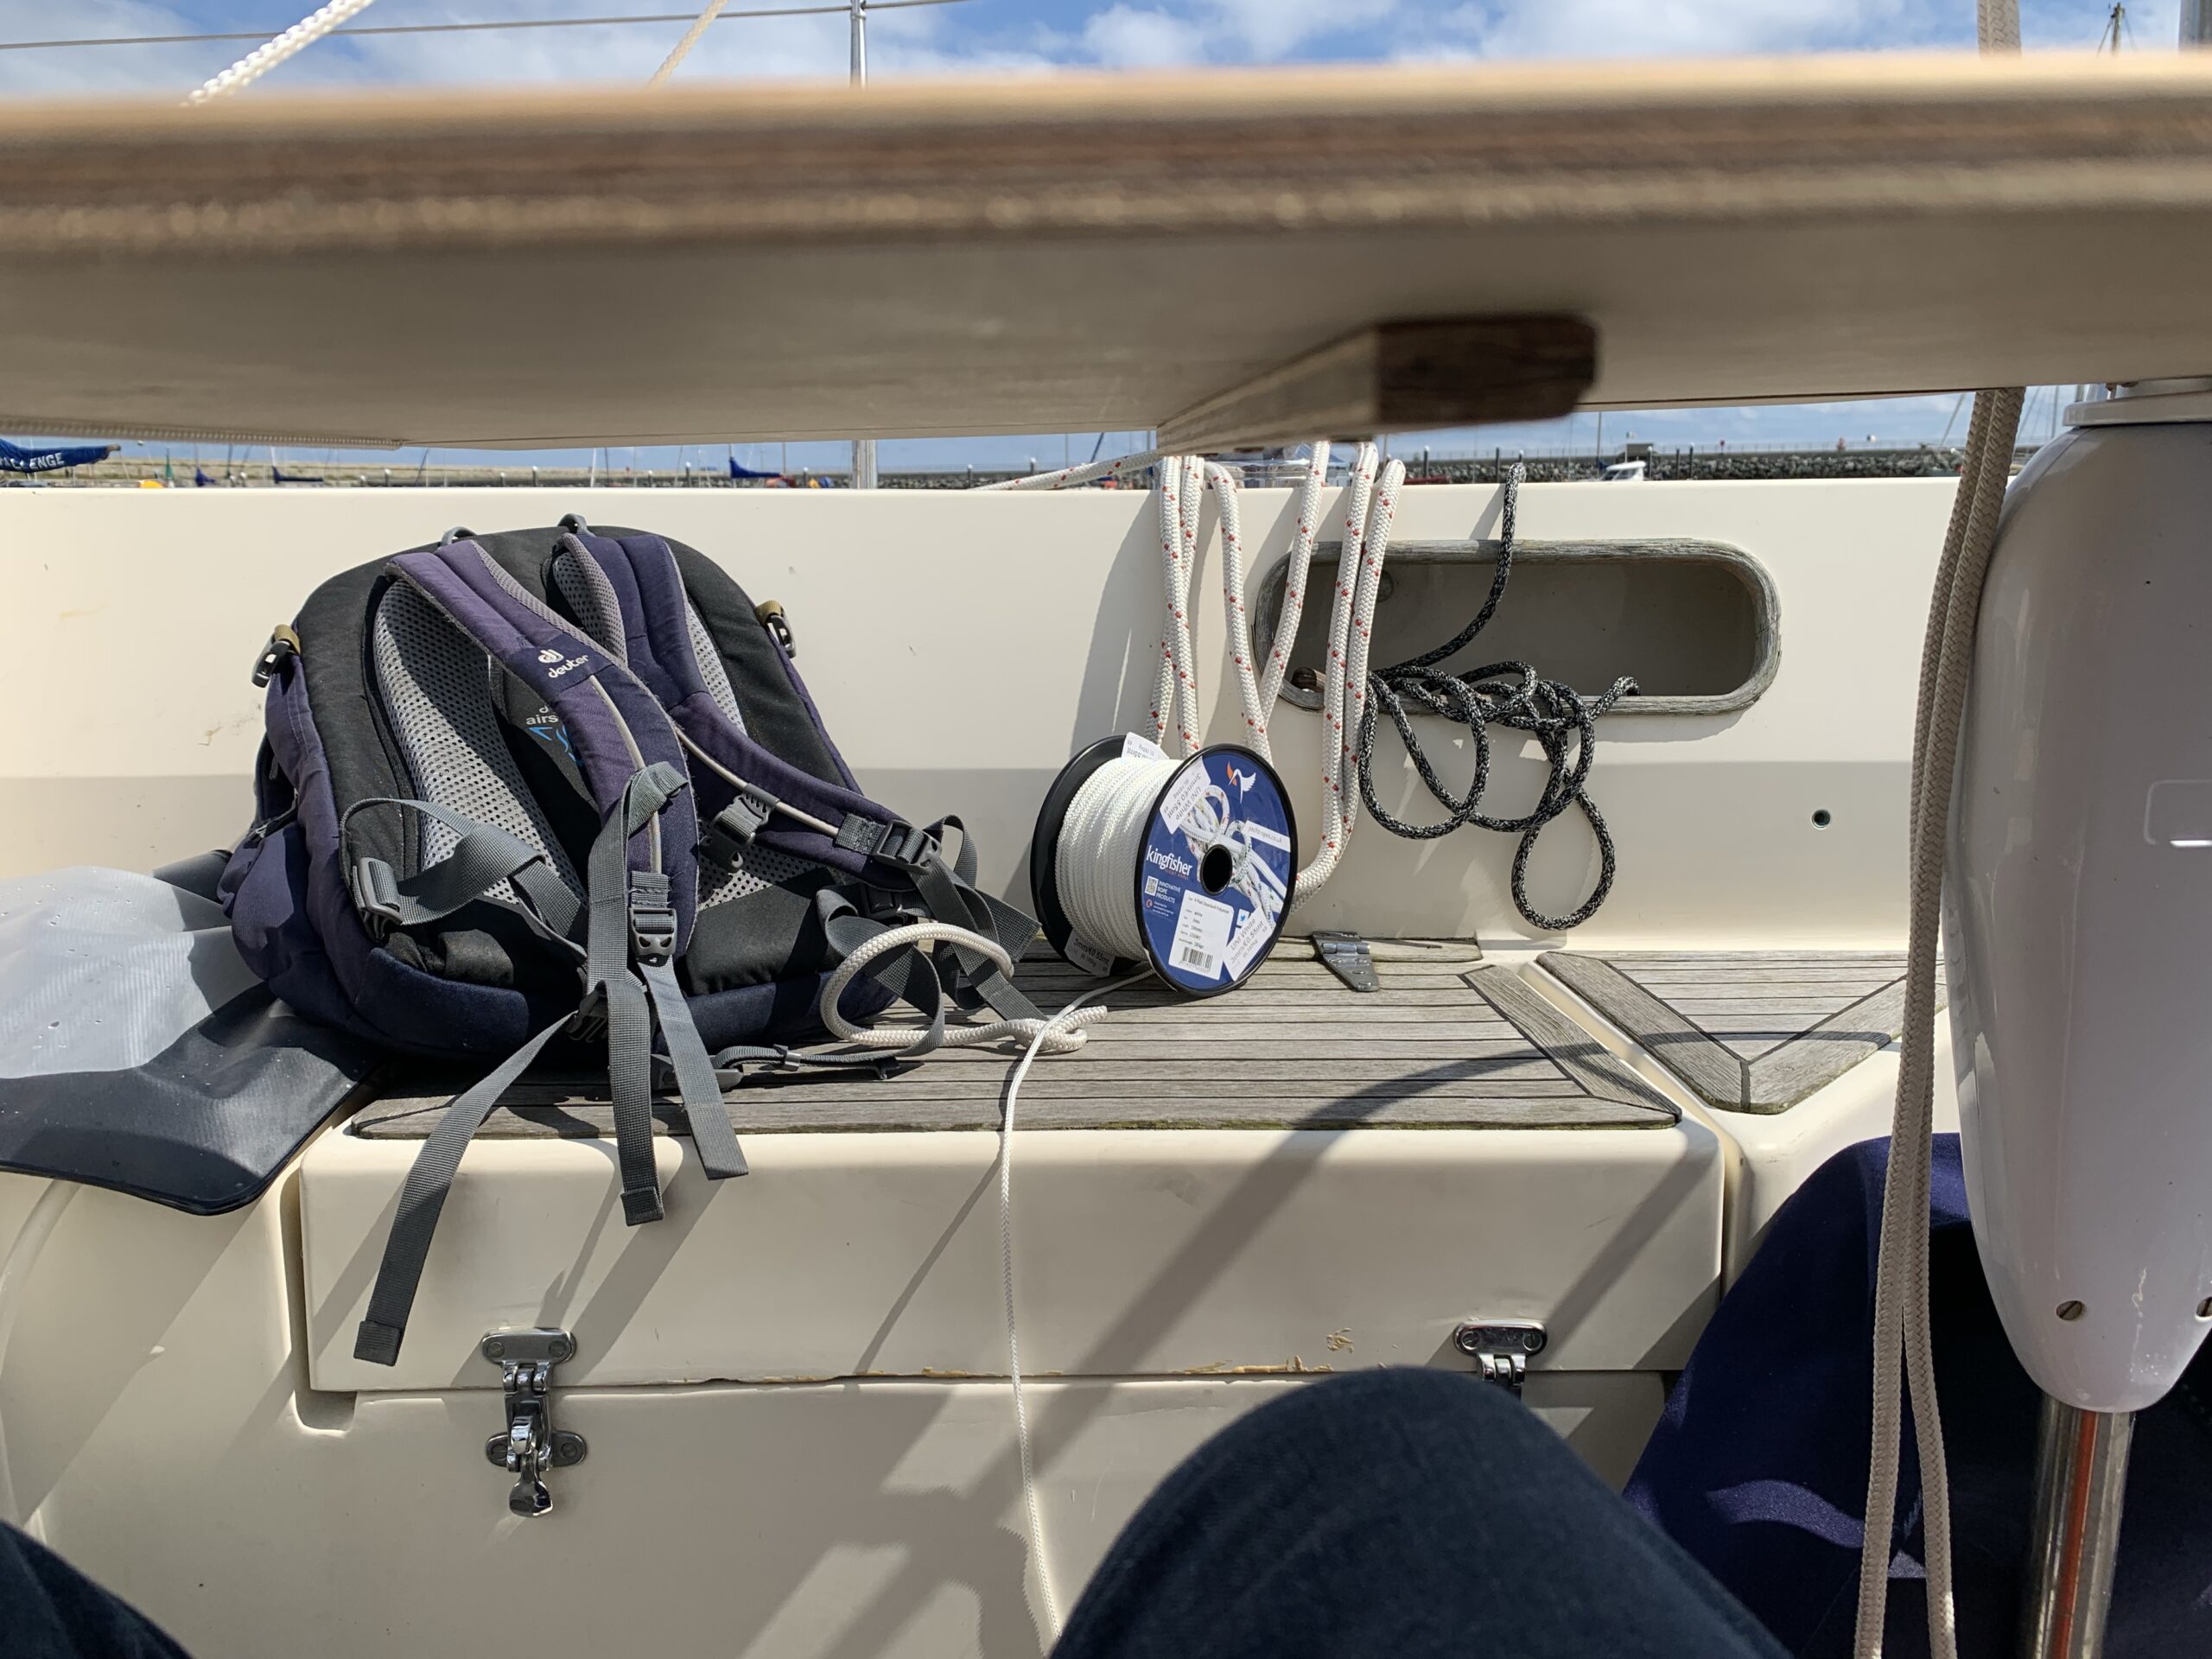
A tale of measure twice, if not thrice, yet also cut thrice…
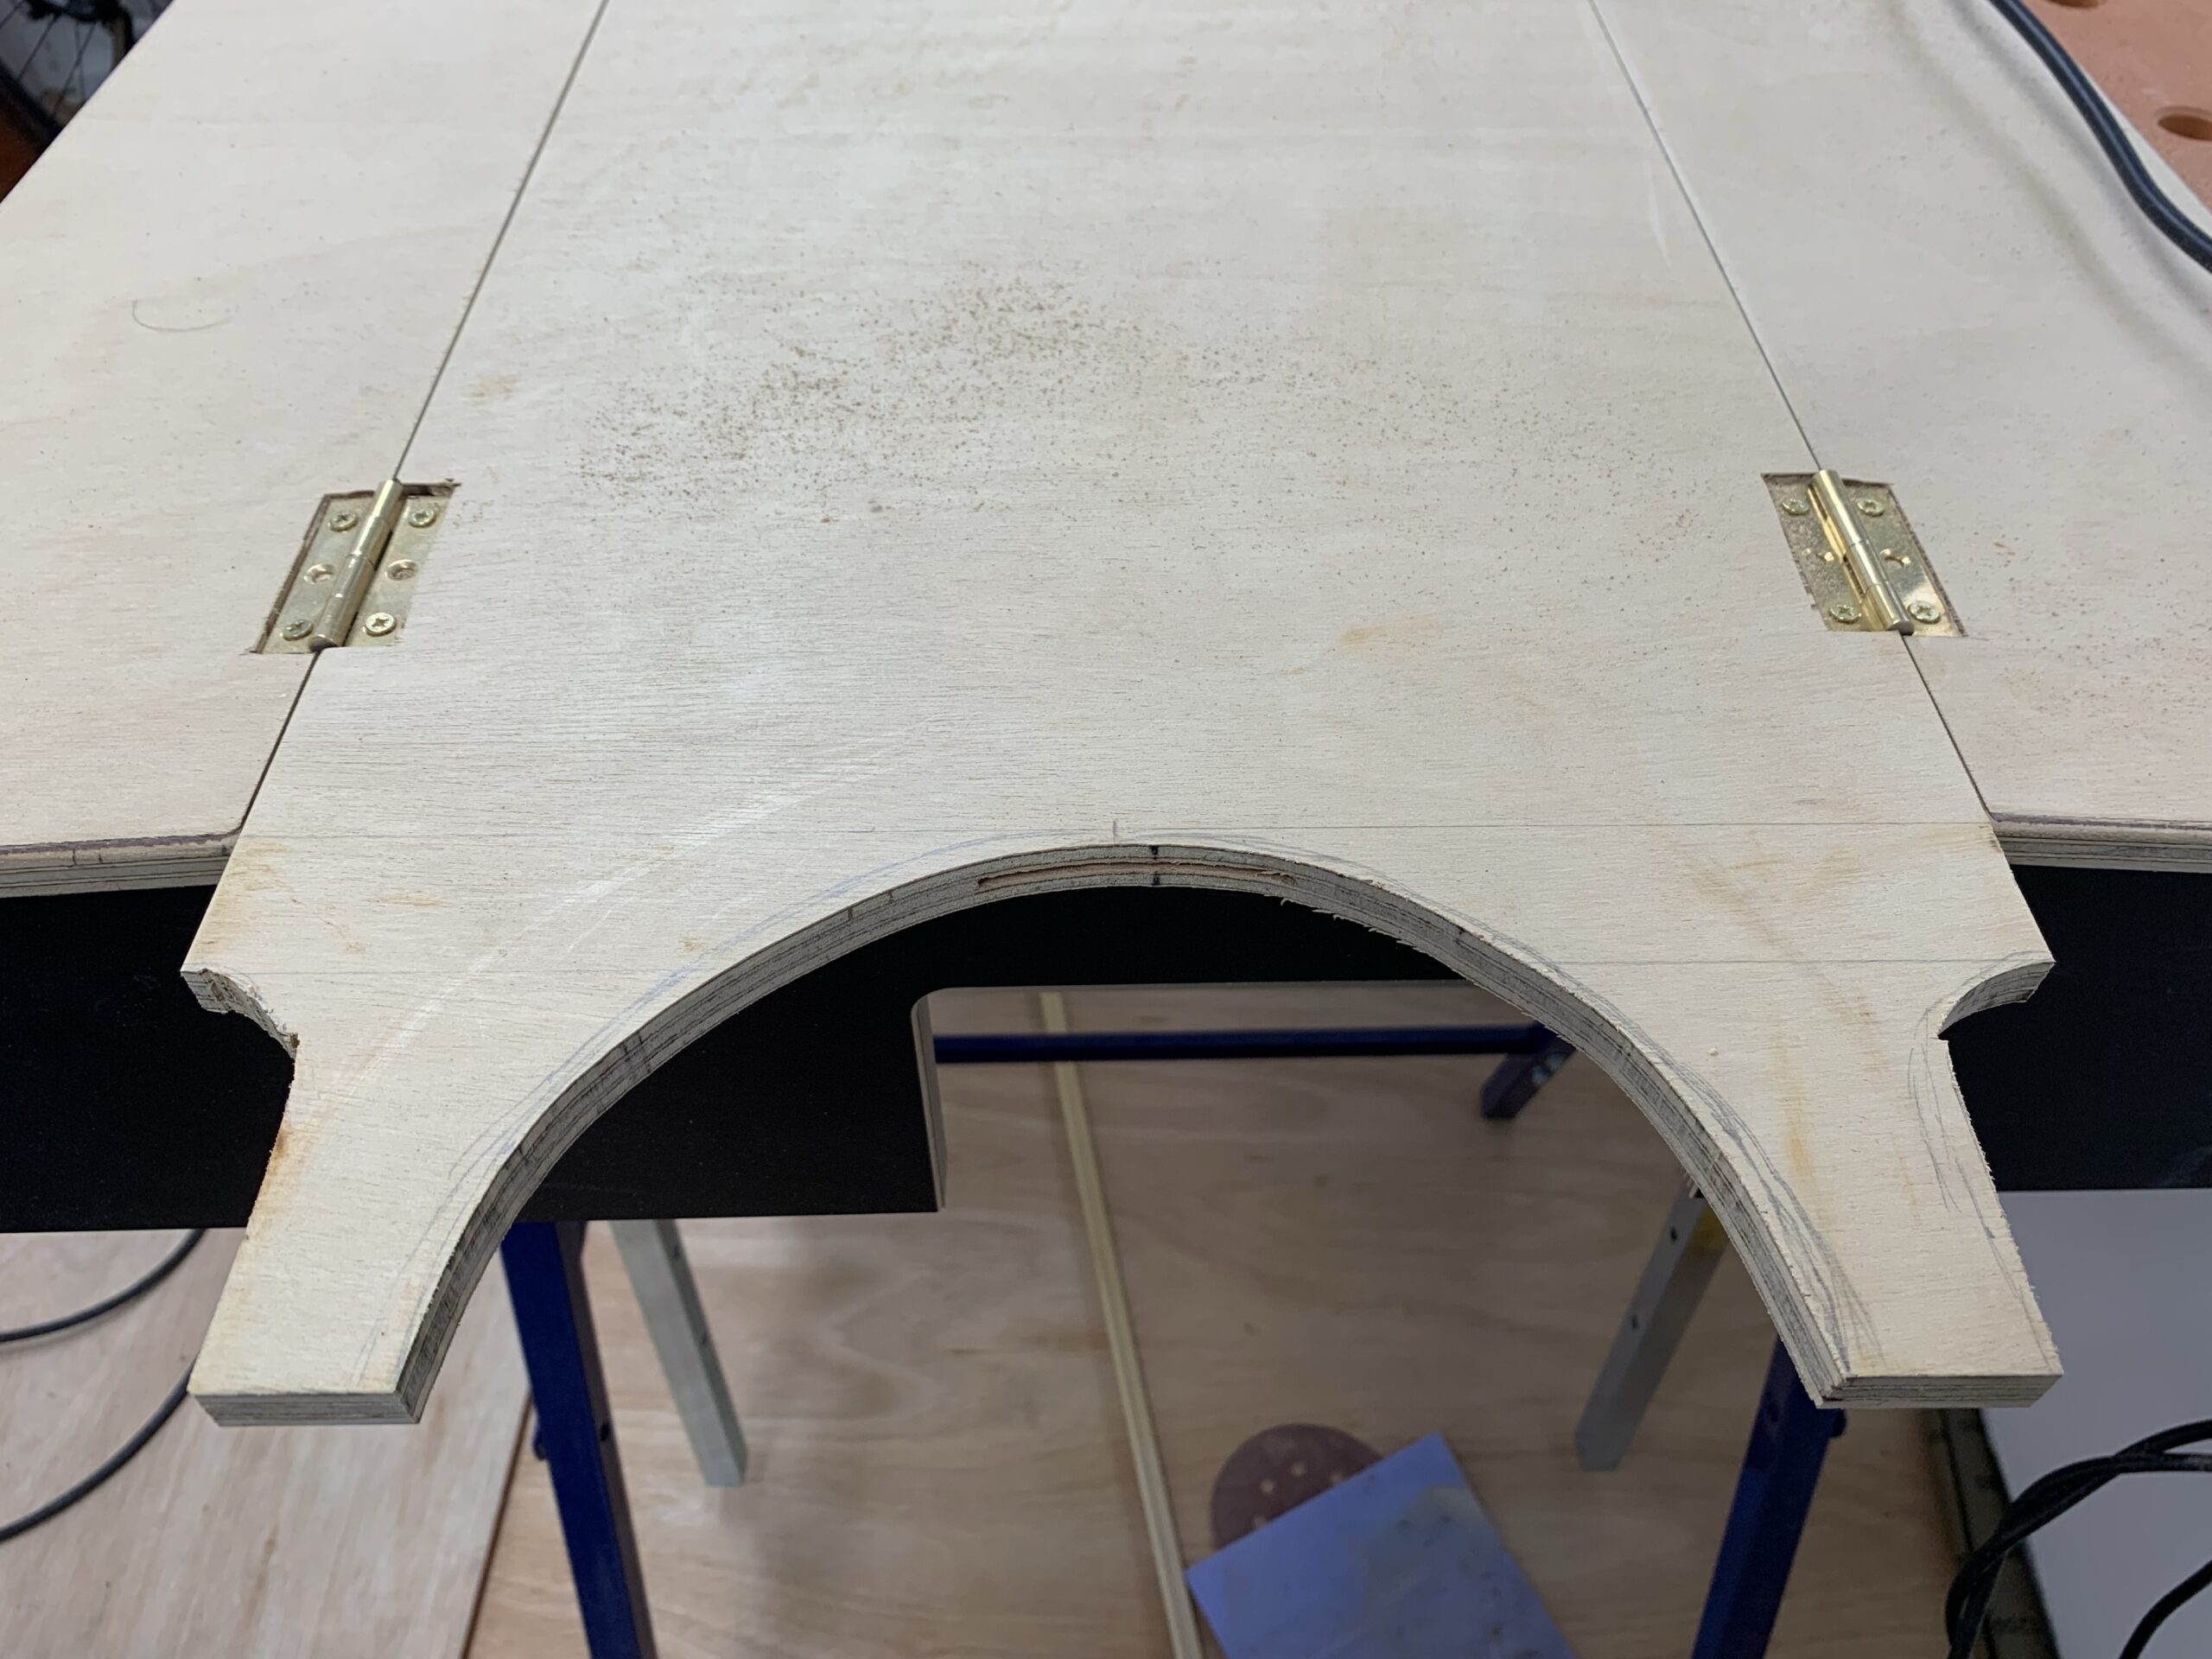
Blue Opal does not have a cockpit table, but she does have a Cobra compass binnacle setup, and it’s more than sturdy enough to play host to a cockpit table. SVB and the like all have teak tables costing several hundred Euro, so I decided to try and make my own for an upcoming trip. I took a few measurements, and came up with a rough design of a table that was 300mm wide at the core, with twin leaves at 150mm each to fold out and make the table more convenient. Two tongues of wood would need to be left at one end of the core, to slot past the compass and upstand tubes that hold the navigation pod. These tongues would provide a little bit of stability against the table twisting side to side, as well as a sort of support for one end of the table. A curve has to be cut out to allow the board to butt up against the compass base, plus some other curves and small cut-outs to allow it to fit easily around the upstand tubes (which have a nut facing forwards, right where the wood would otherwise rest).
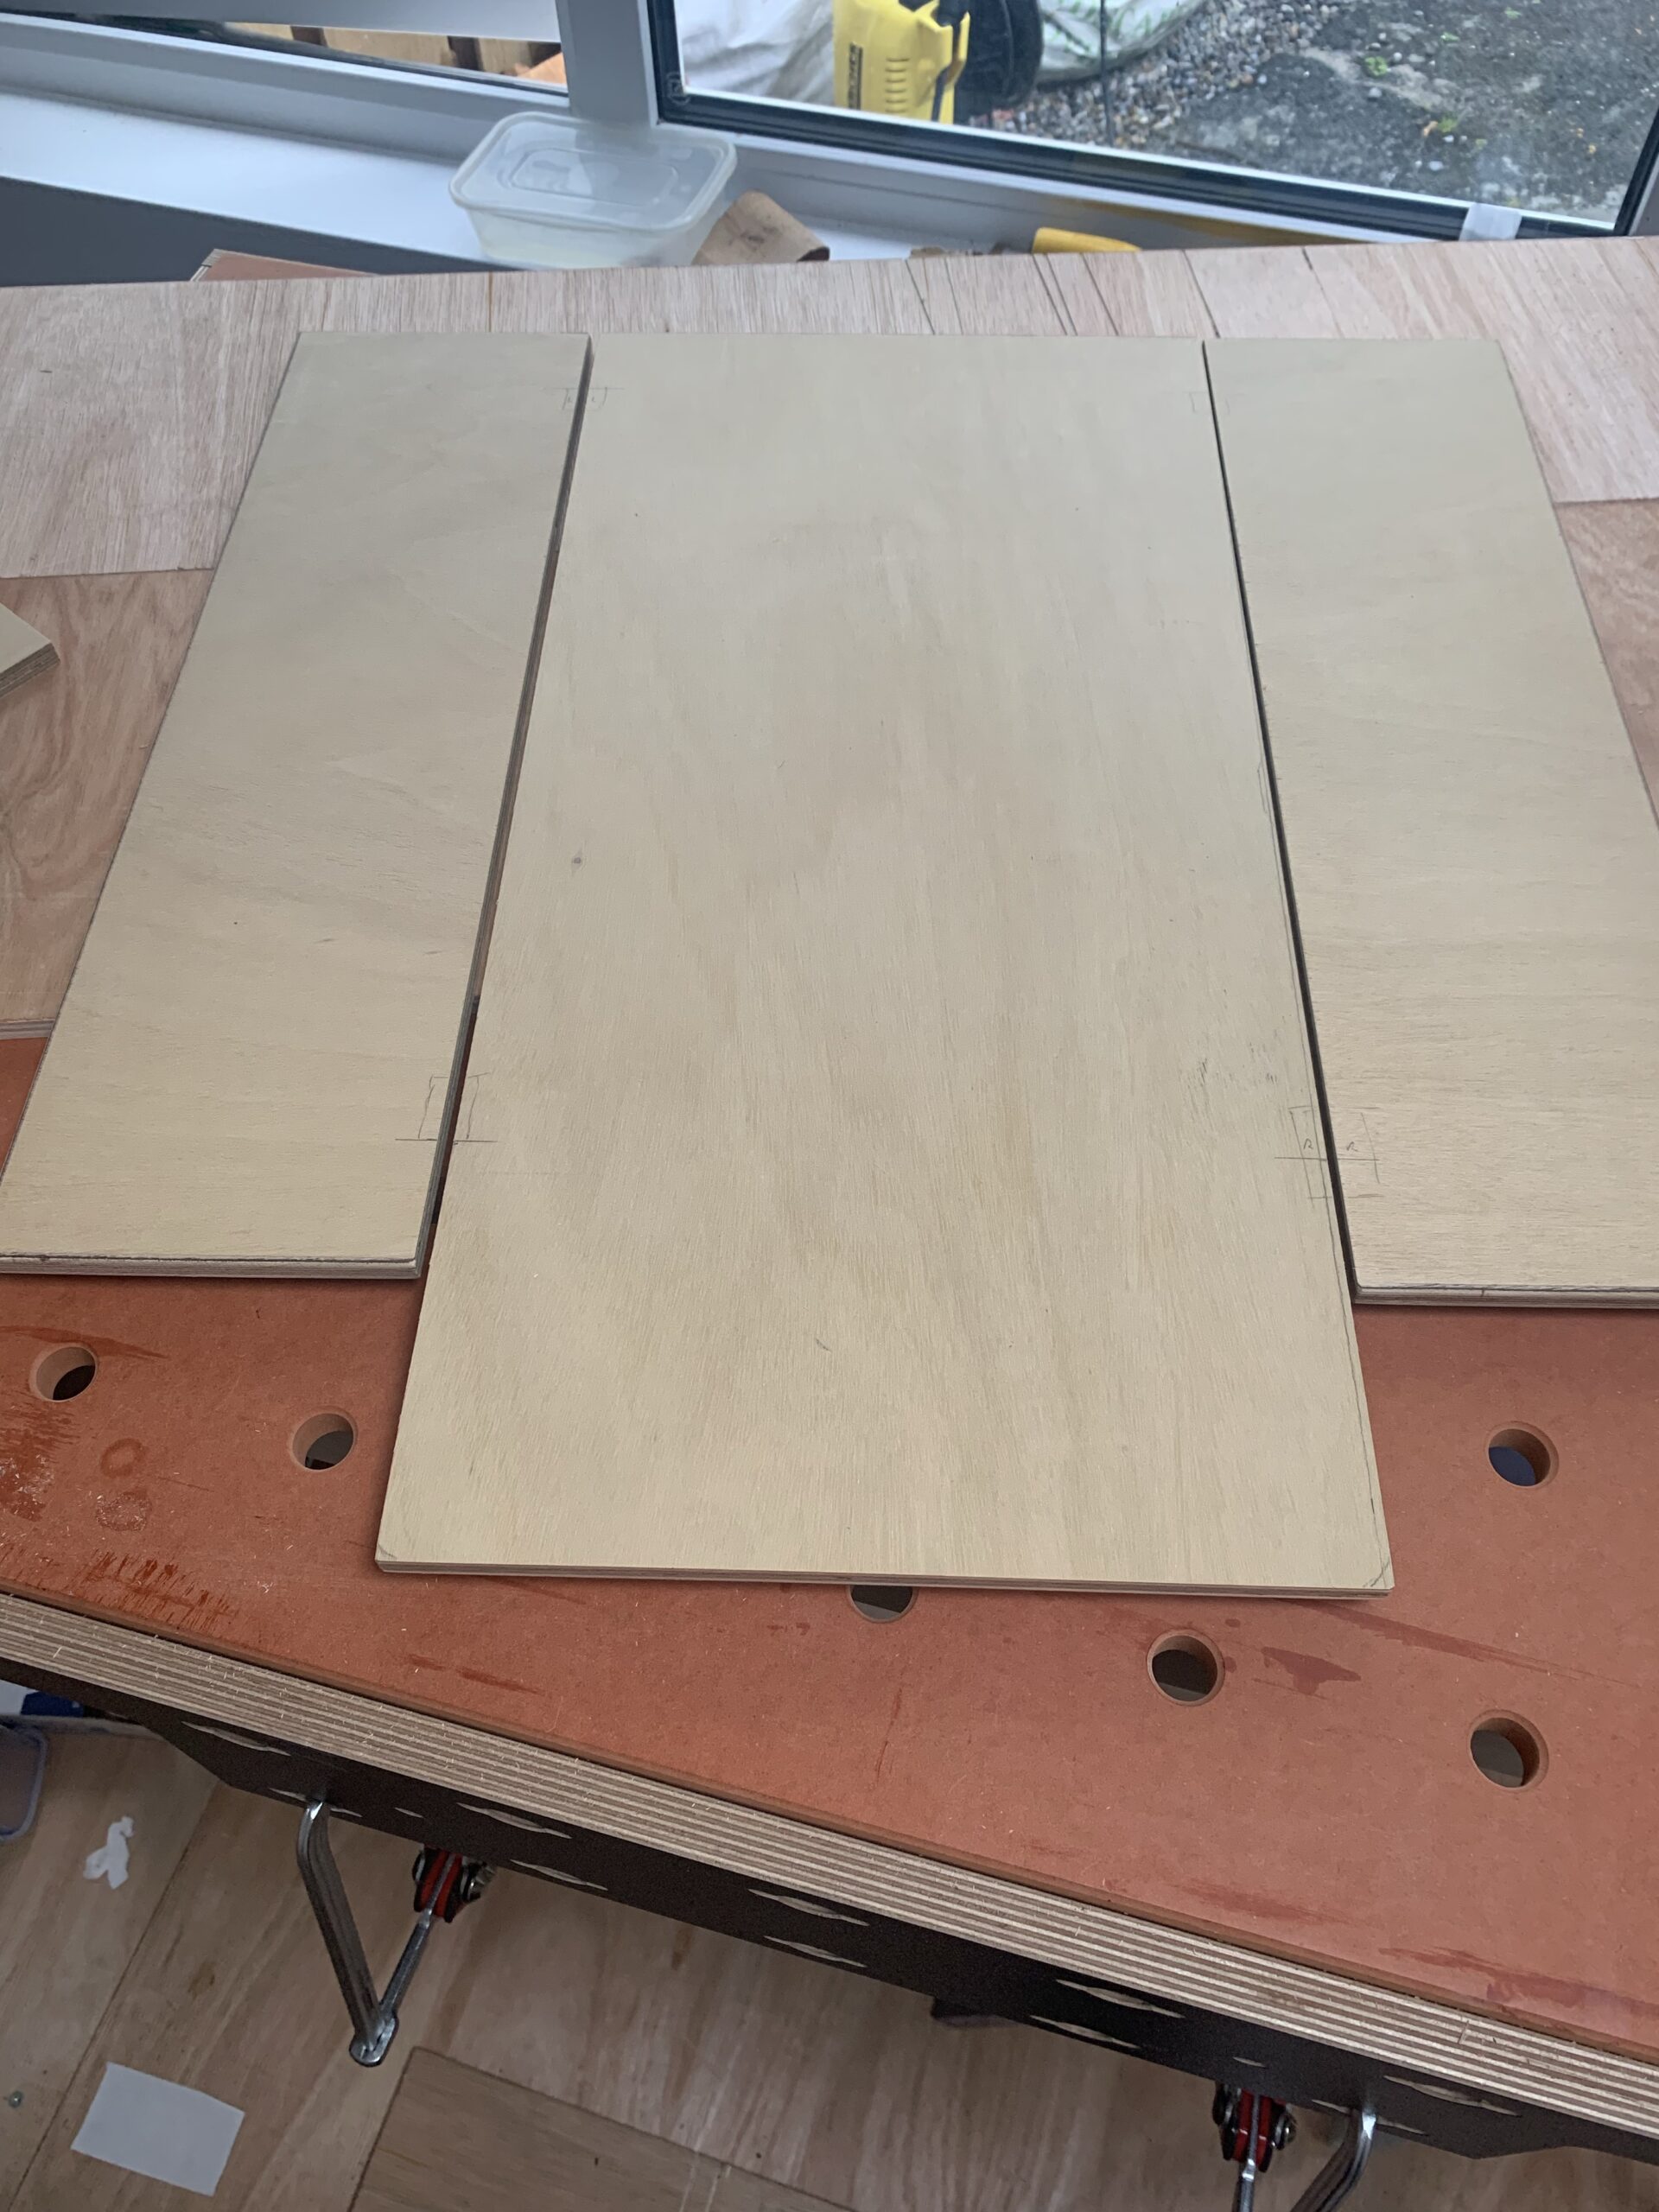
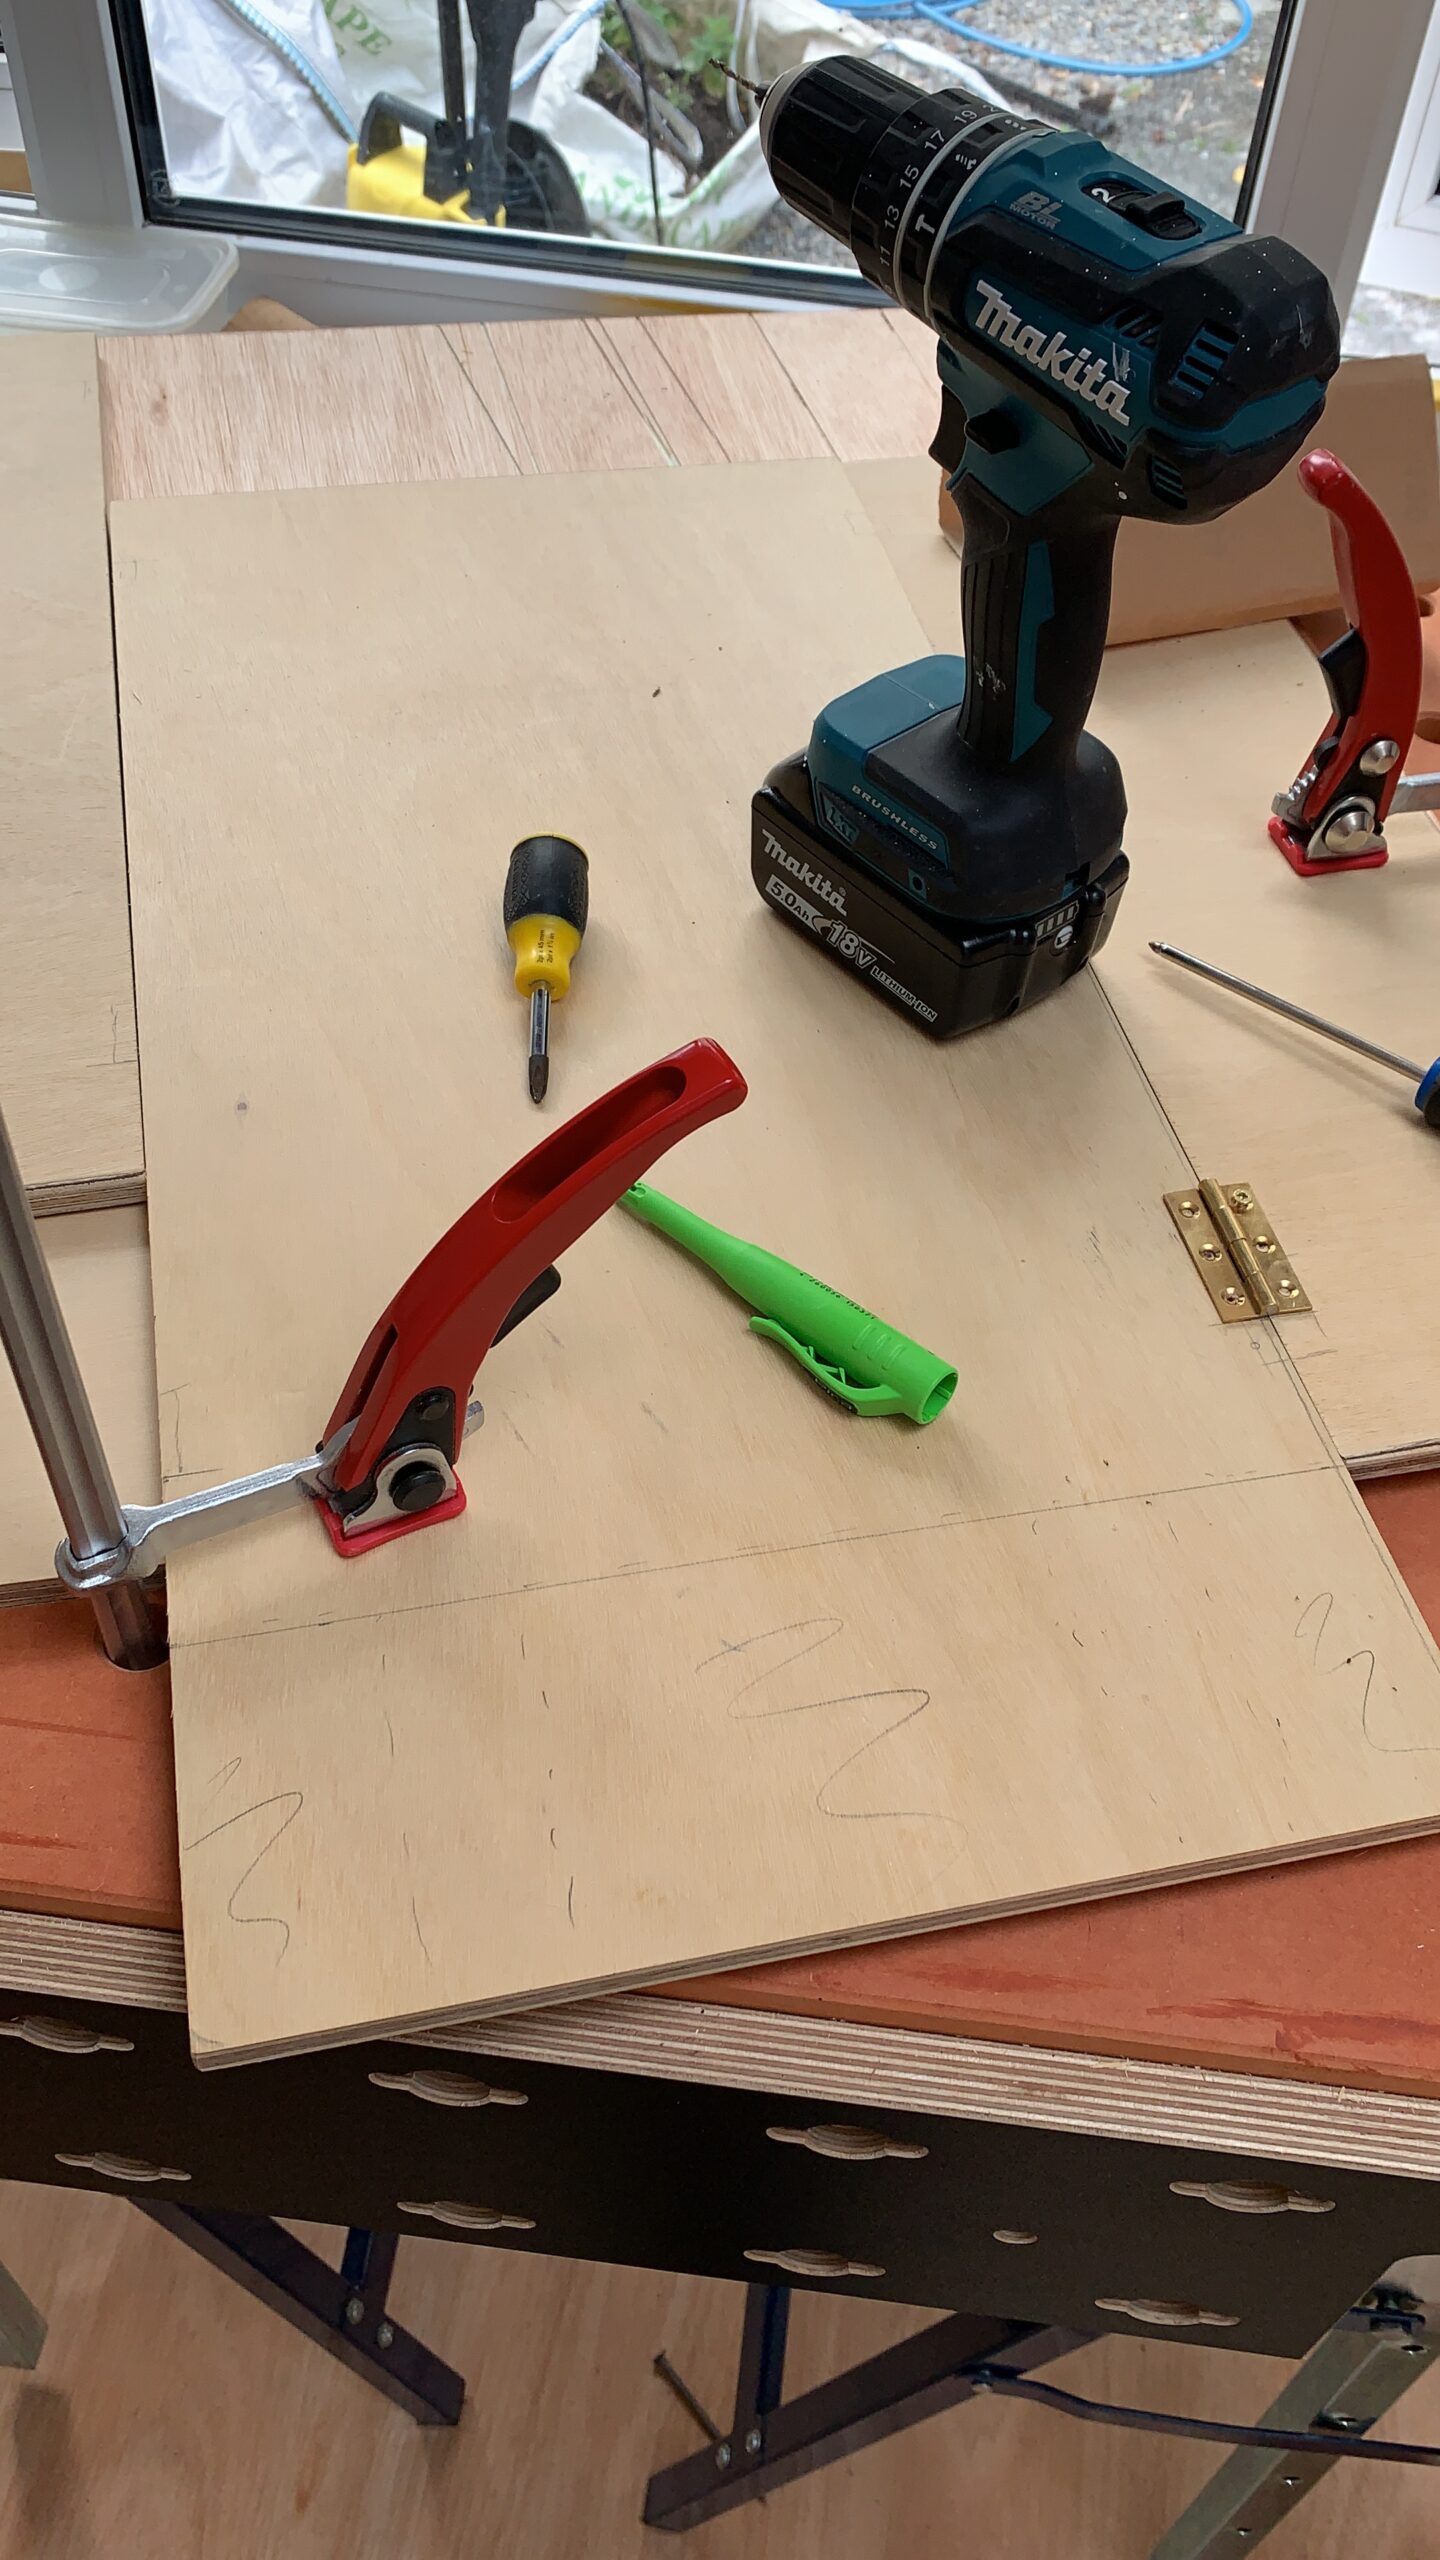
The first attempt resulted in me forgetting about some extra width needed on the core, and I somehow cut it at 250mm wide. Oh well, I’m sure I can re-use that bit of marine ply for something else some day. The leaves were fine though, 150mm wide, right length, and took a nice rounded edge from the round-over bit on the palm router.
The second attempt resulted in a nice core board, of the proper length and width. I got the first rebate cut into it with the router just fine, and the second one (for the hinges). On the third one, it turned out the collet wasn’t clamped down enough, and the cutting bit “walked” down into the wood – I ended up with an 8 mm deep rebate in 12 mm plywood, when I only wanted about 2 mm max.

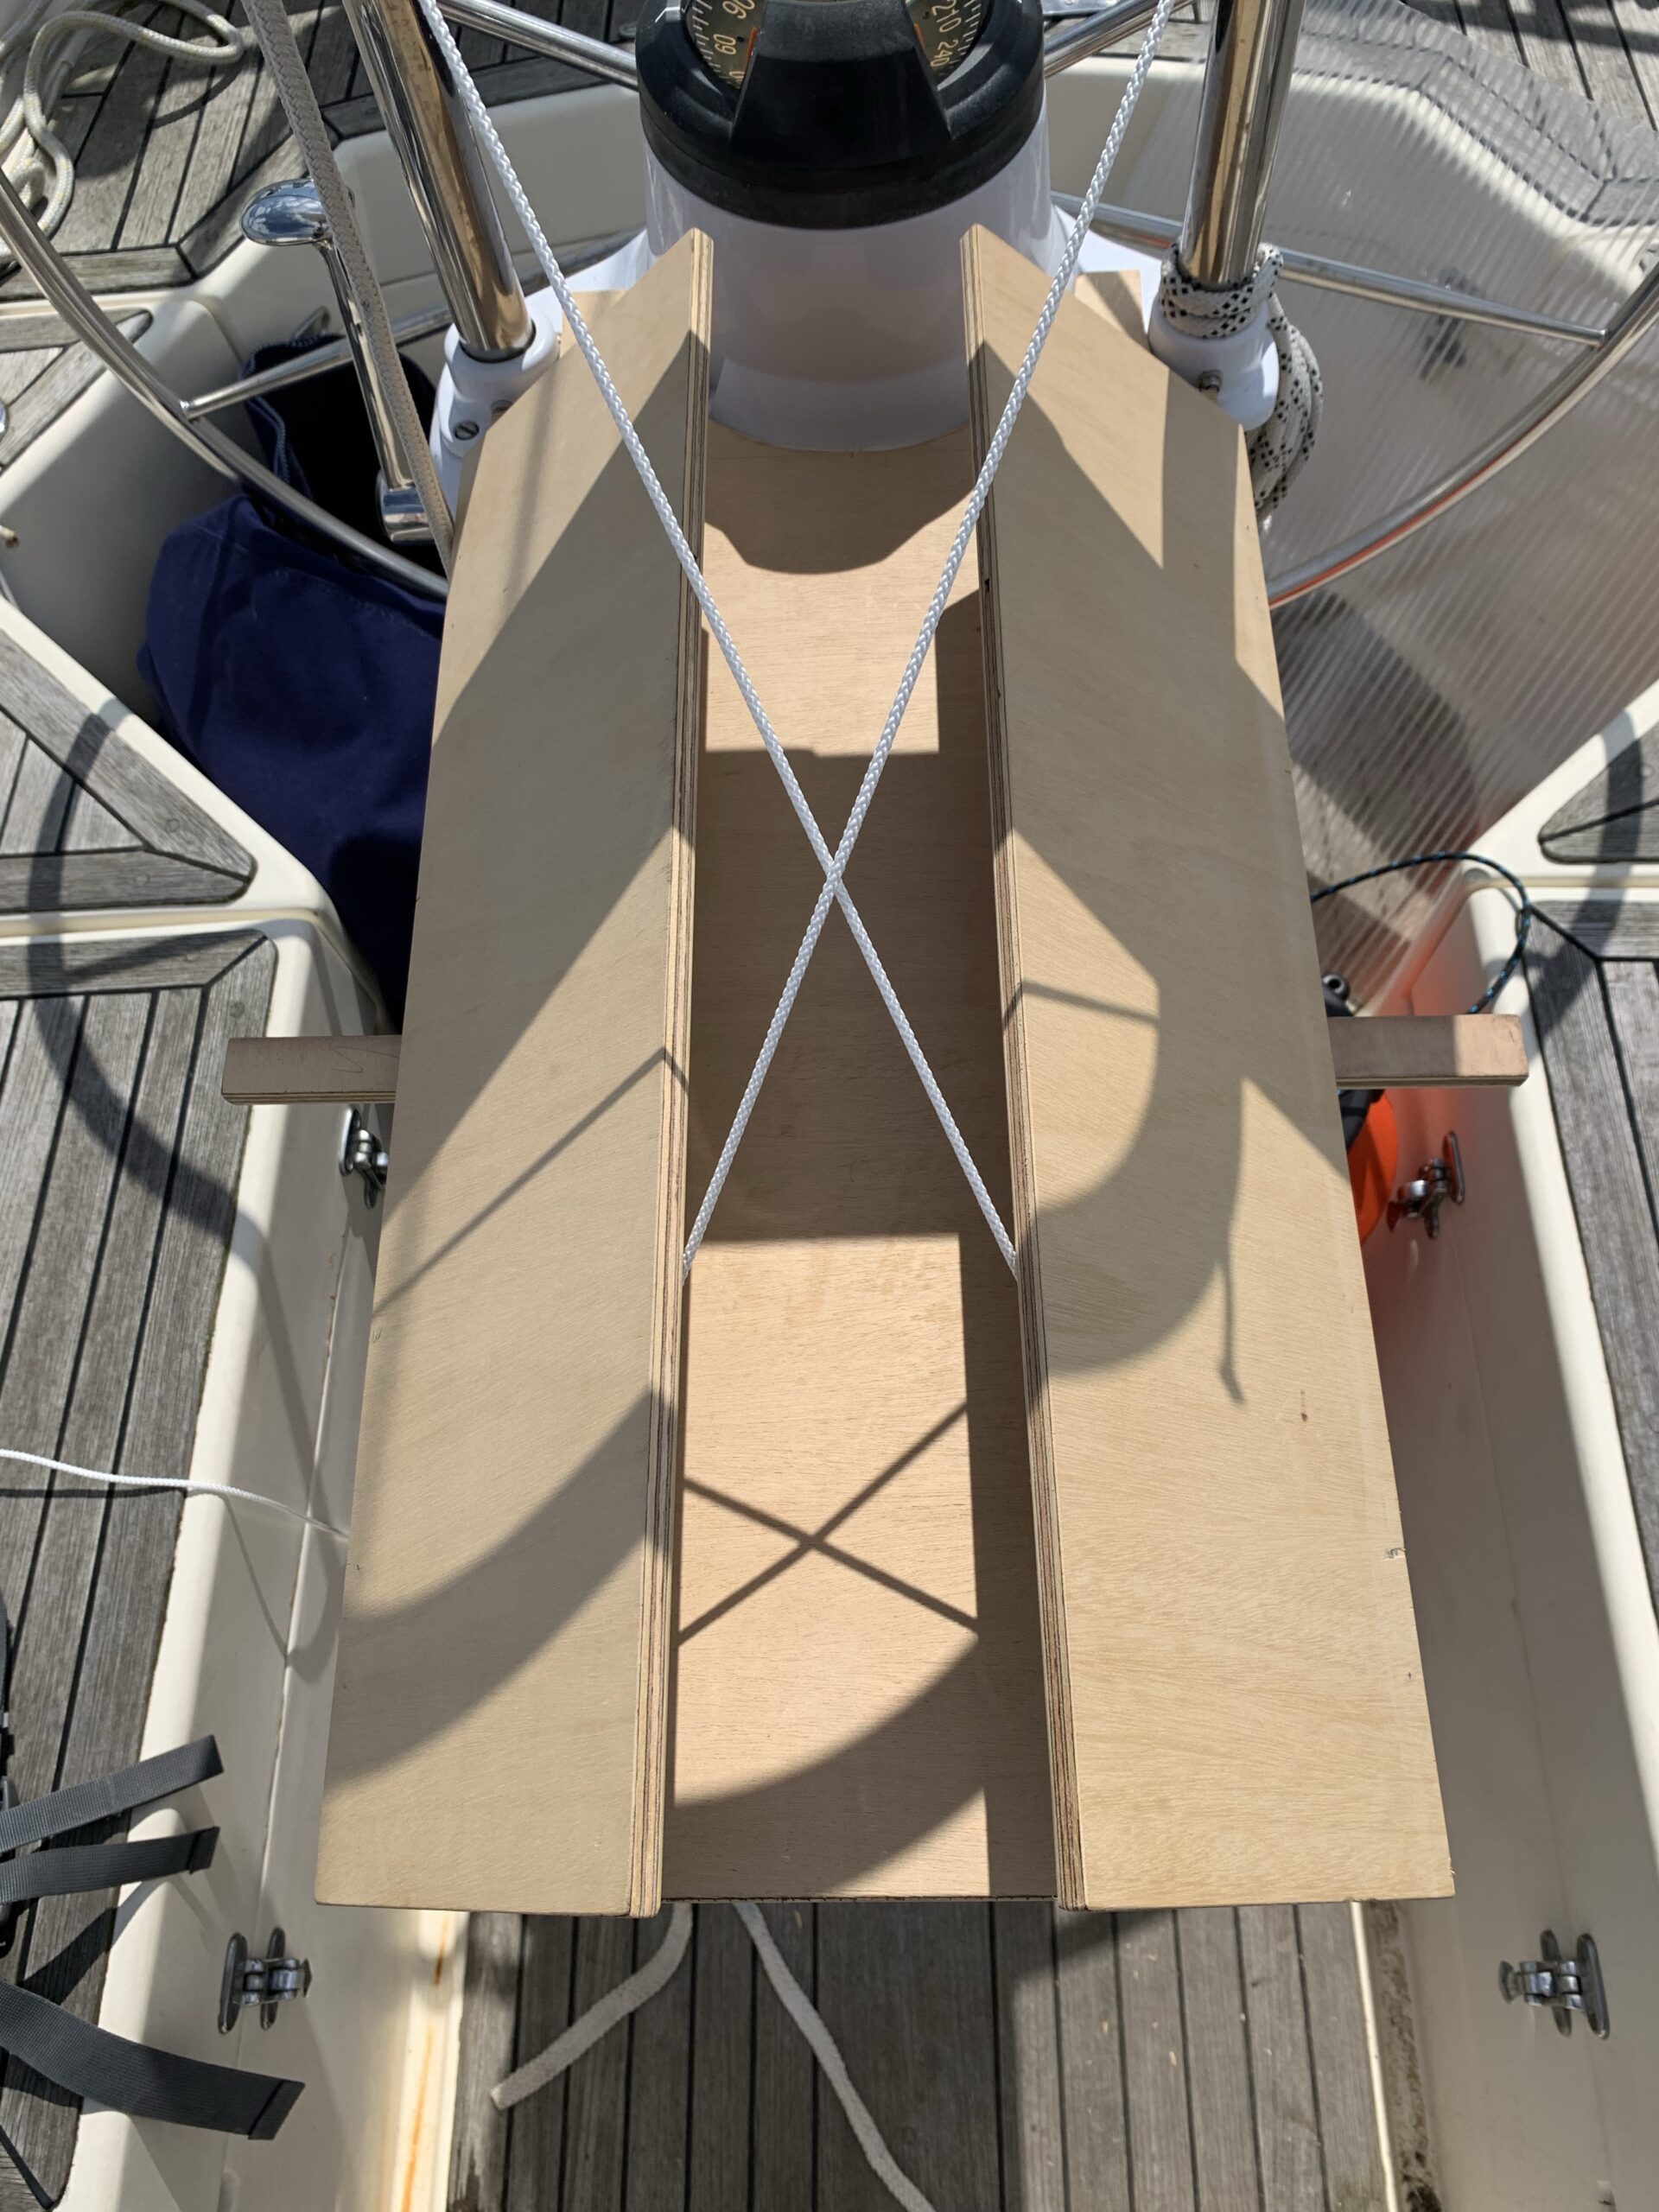
The general shape – three rectangles 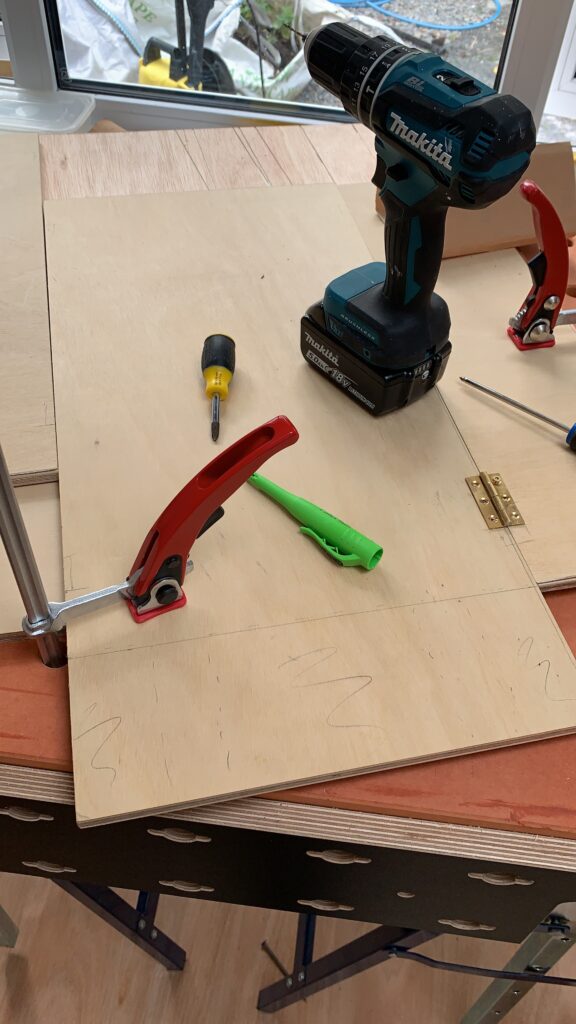
Clamped down to mark out the bits to remove, and line up the hinges 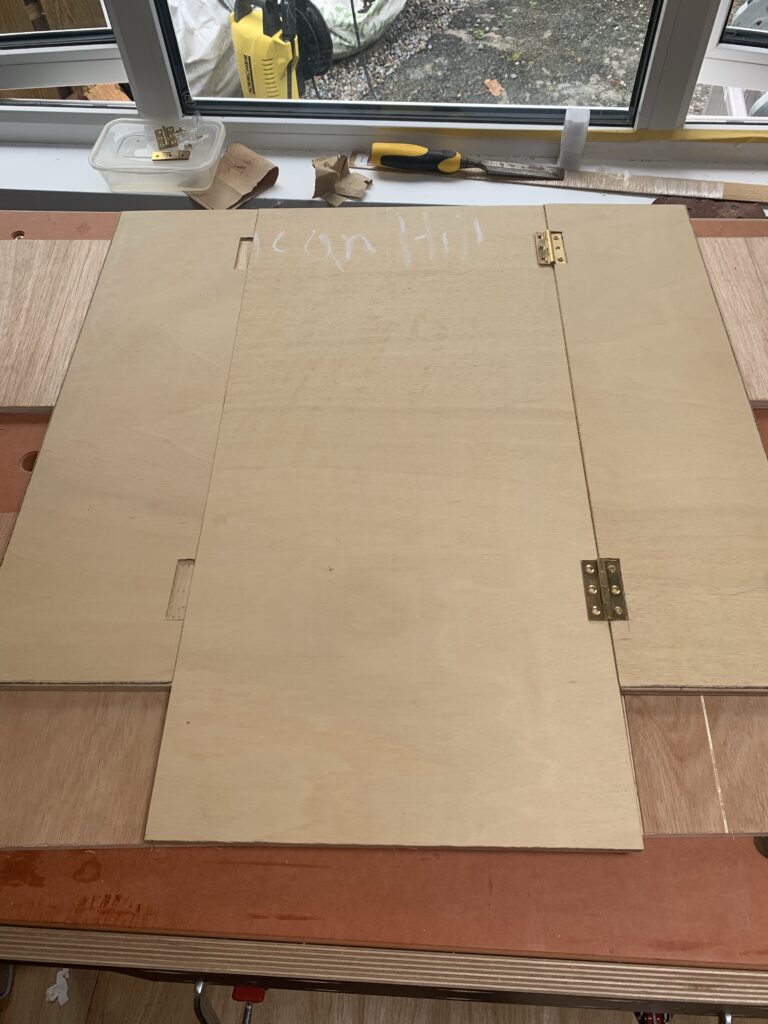
Rebates in for the leaves; third core attempt 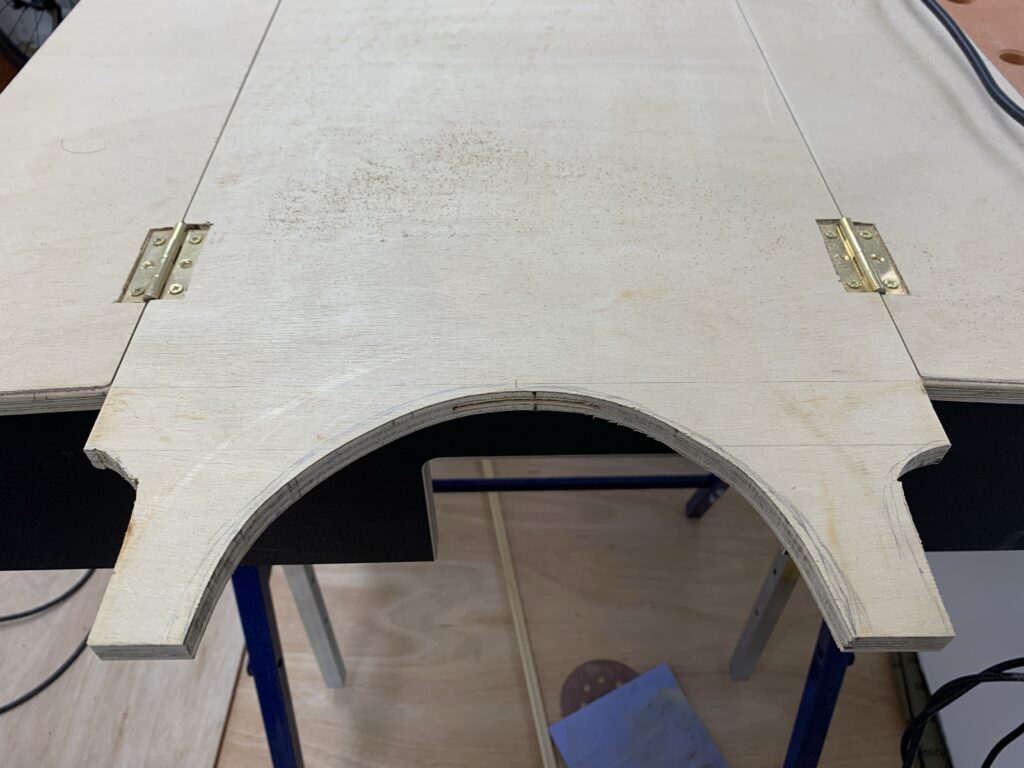
An approximate cutout for the compass
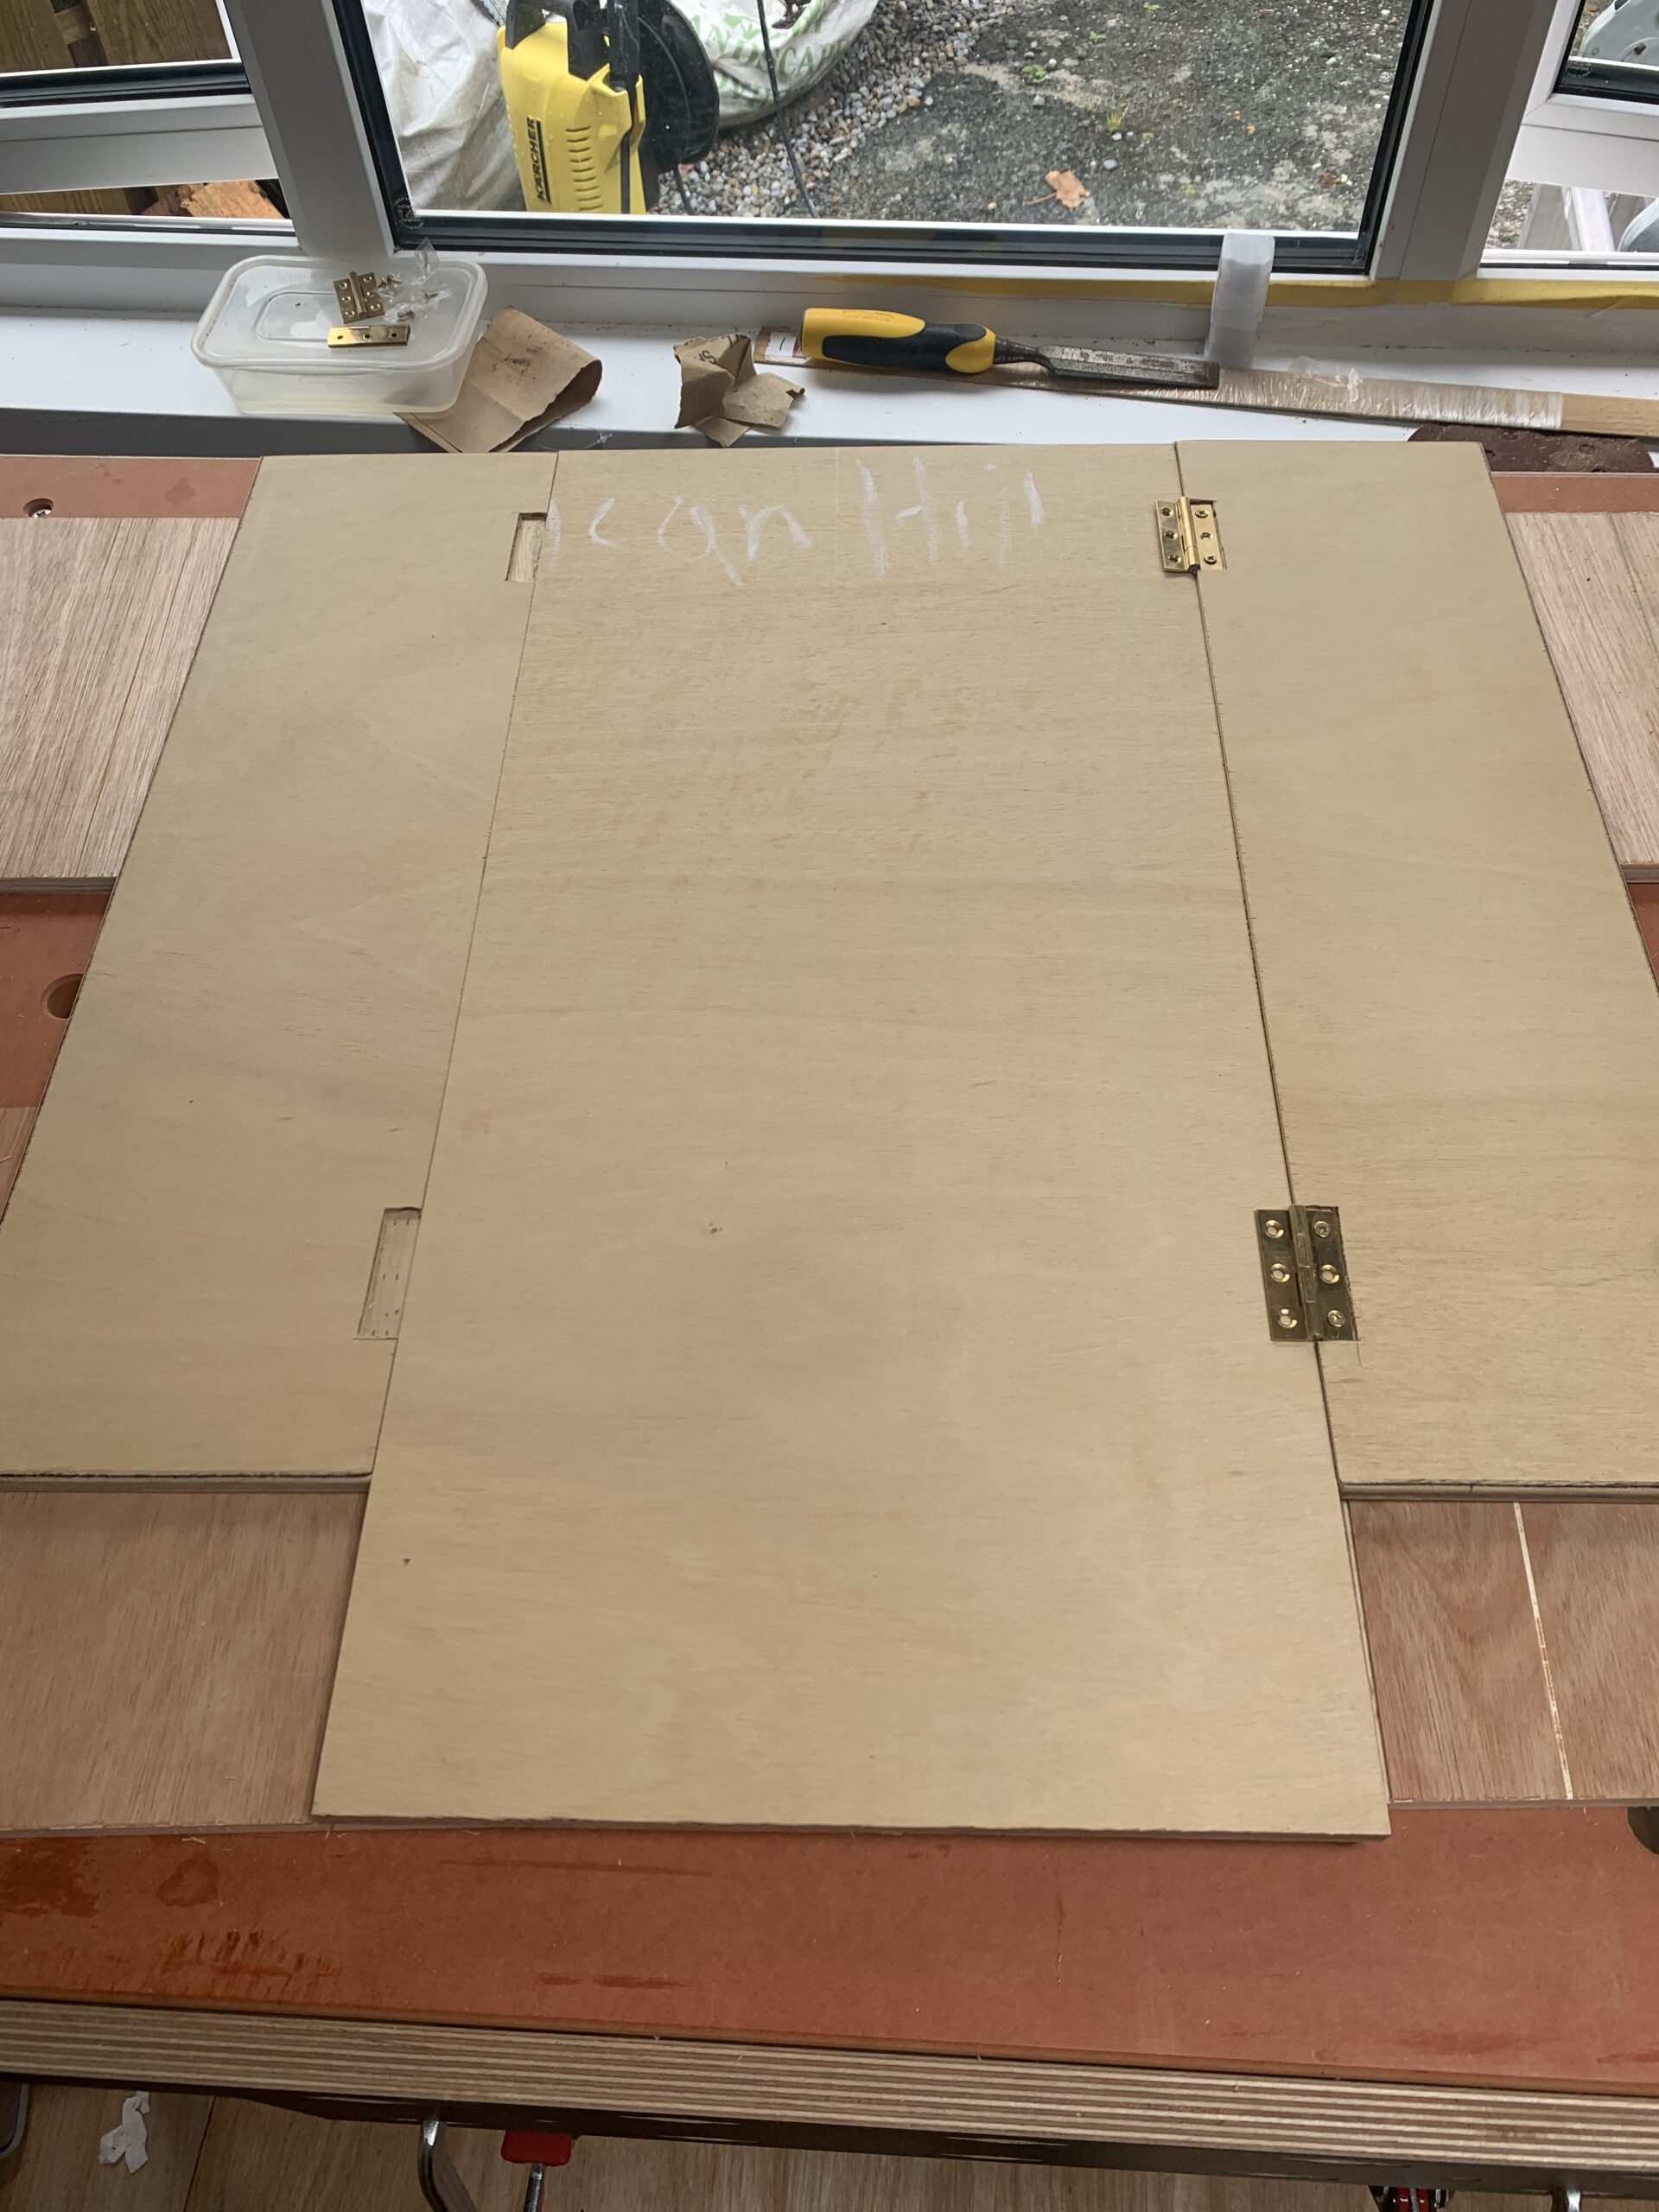
The third attempt went much like the second, but this time I was wise to the collet’s tricks, and tightened it some more! Yet, somehow, the bit still walked 2 mm extra. Rather than cut a whole new core board, I used the router to deliberately shave a lump of plywood down to about 2 mm, and glued that into place in the too-deep rebate. Needed a small bit of card too, as I hadn’t made it quite thick enough to get the hinge to where I wanted.
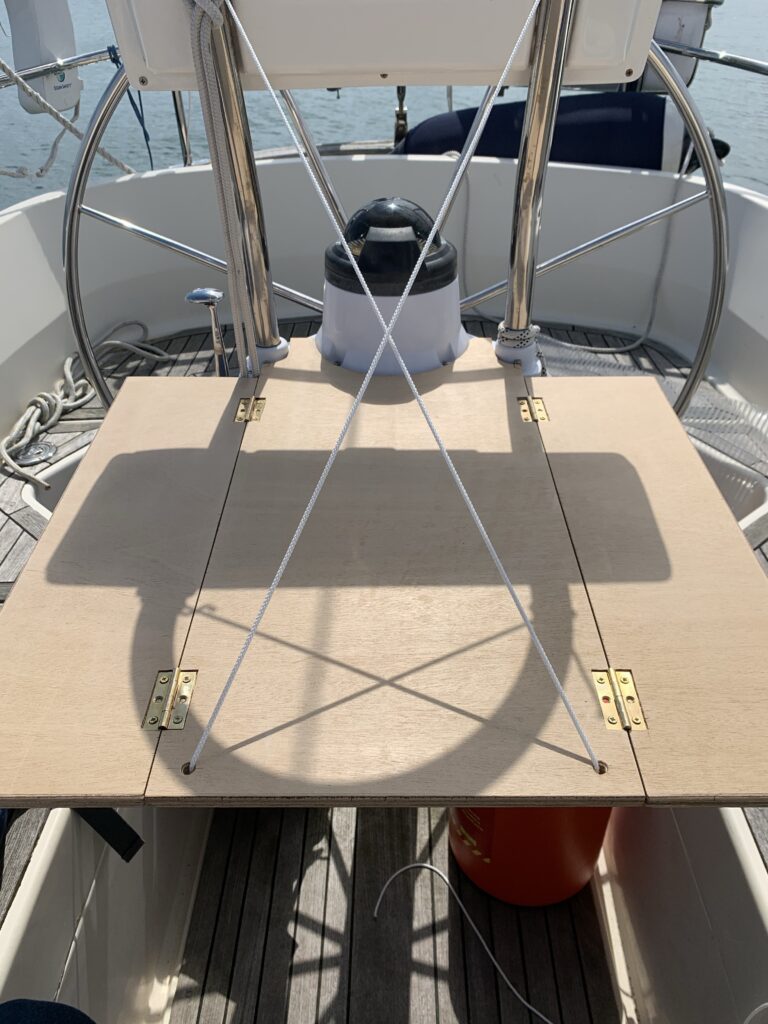
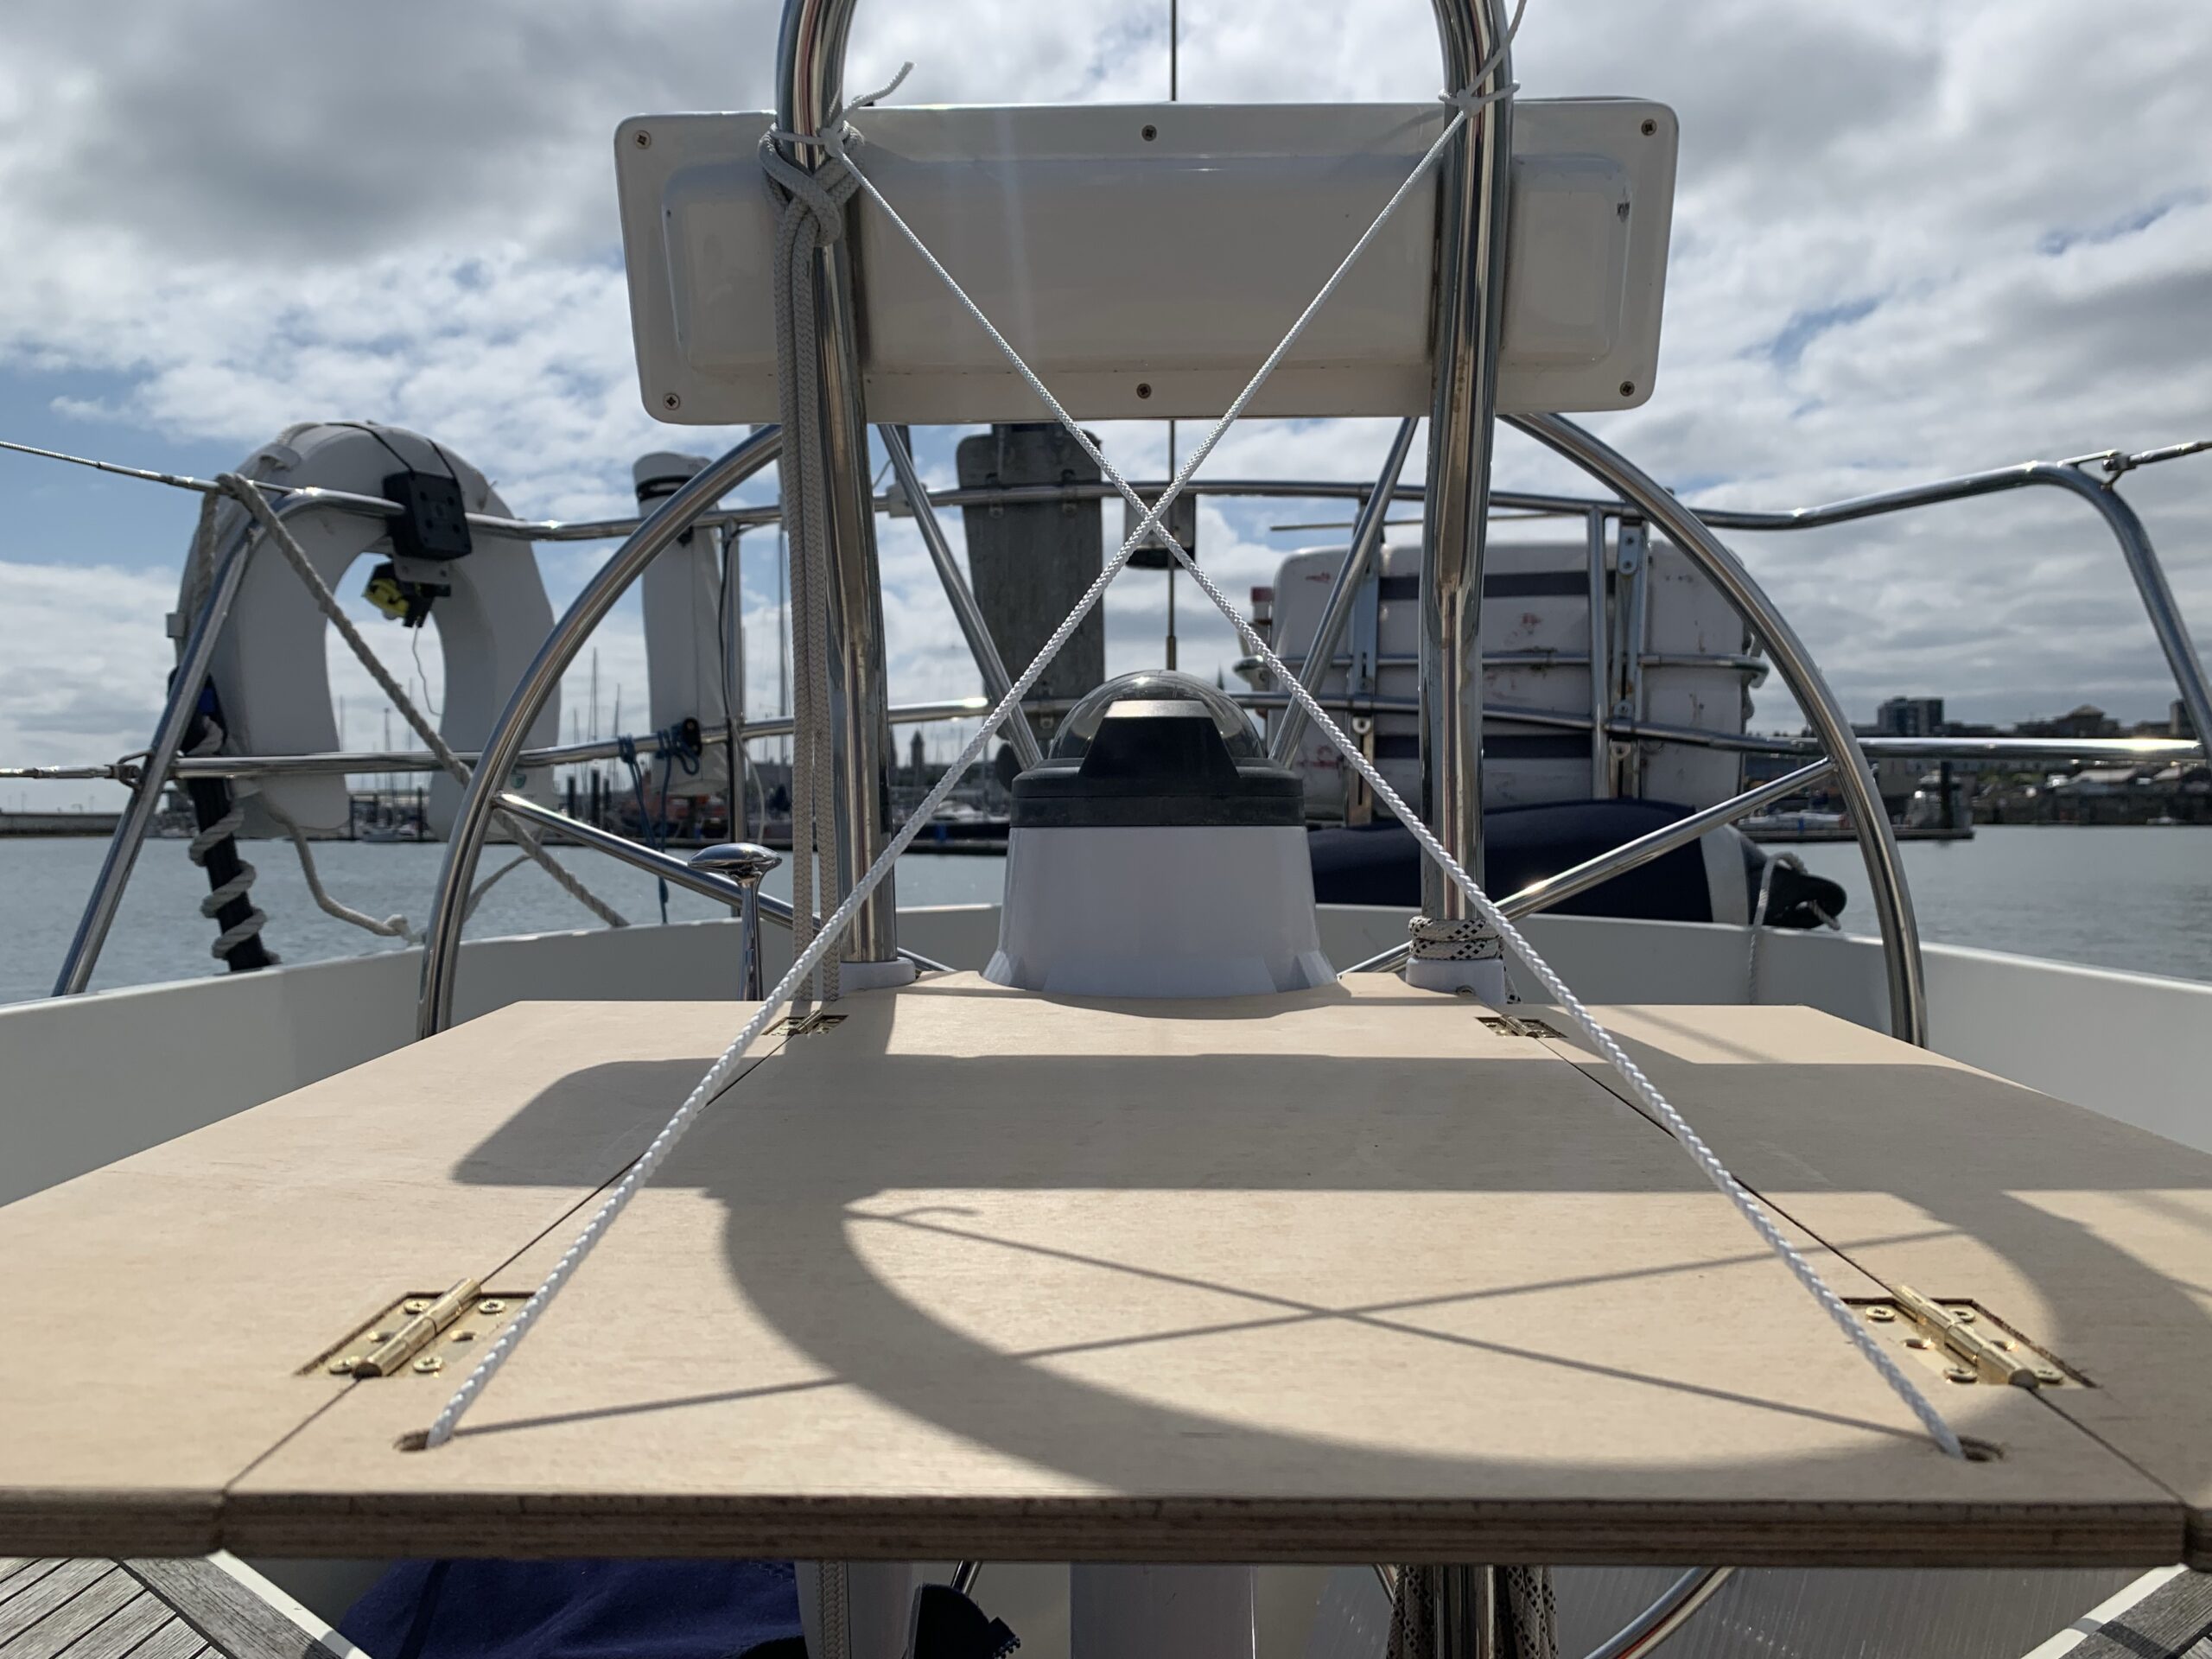
Loosely in place, cross-braced 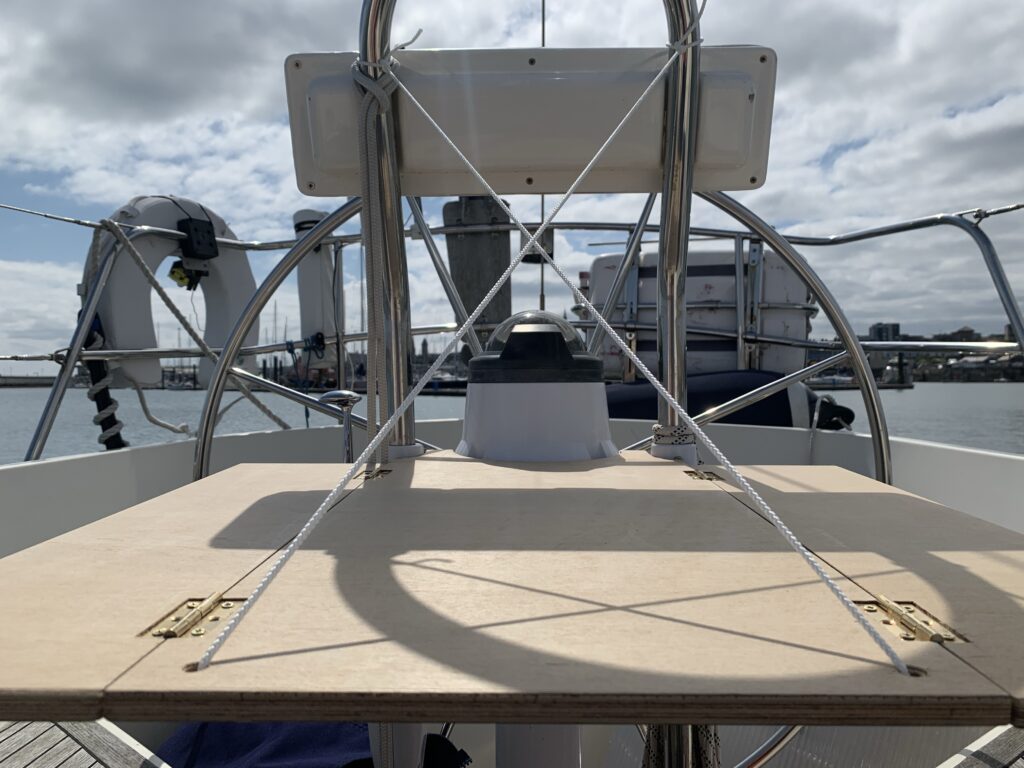
A lower view 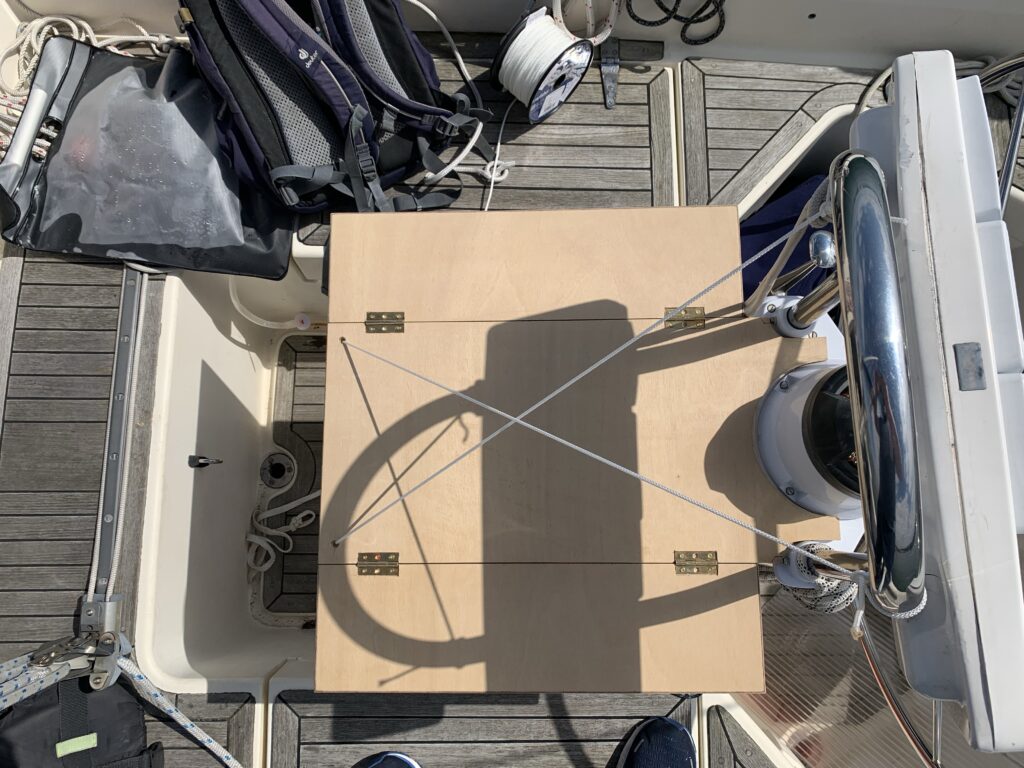
A little short for a storm trooper, but makes it easy to get past 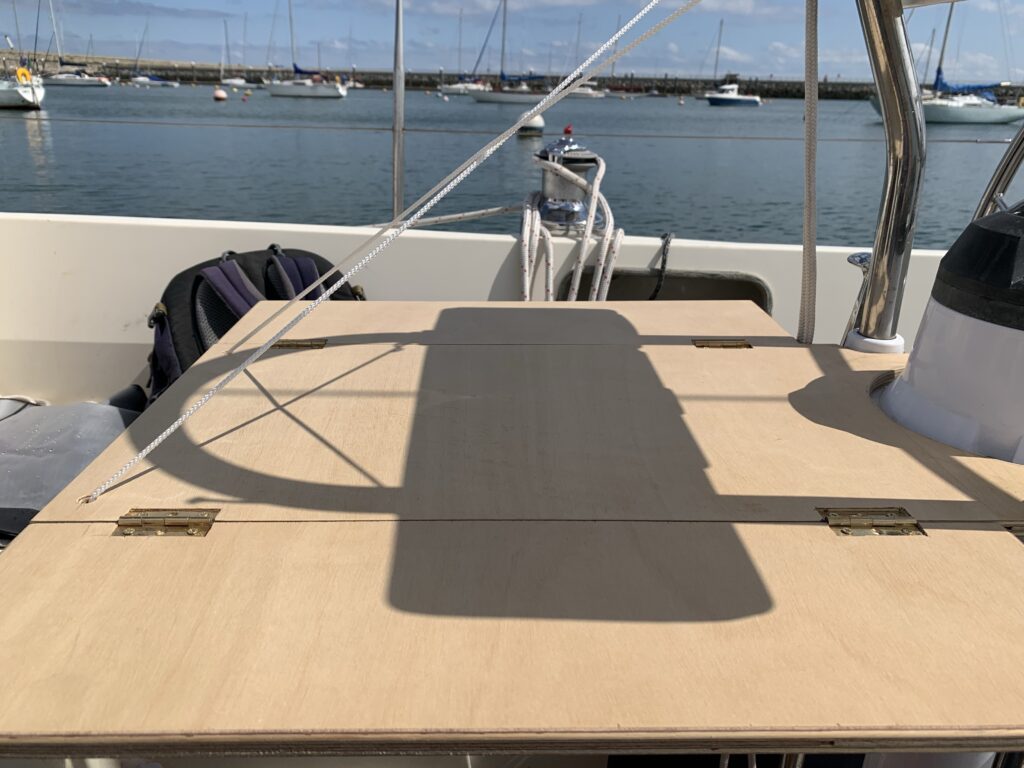
It’ll hold two plates and two glasses and condiments


Overall, it’s a functional table. The batten across the back provides the counter to the fact there’s a 1 mm gap between the leaves and the core (they’d hang down otherwise), and while it’s a bit high up, it’ll do for the trip and I can then decide if I want to buy a height adjustable table or not.
There’s a lot of clearance 
Partially folded
I’ll have to work out the right length for the light line, so it doesn’t tilt as much as it does in these photos. Fixed lengths with a metal hook would work; don’t think I have any on board that are suitable. However, it’s easy enough to get it level, so perhaps that’s a post-trip enhancement. It’s not designed to be used in anything but calm weather either, as evidenced by the lack of fiddles. It folds up nicely, and will fit in the port locker, or perhaps down under a berth.