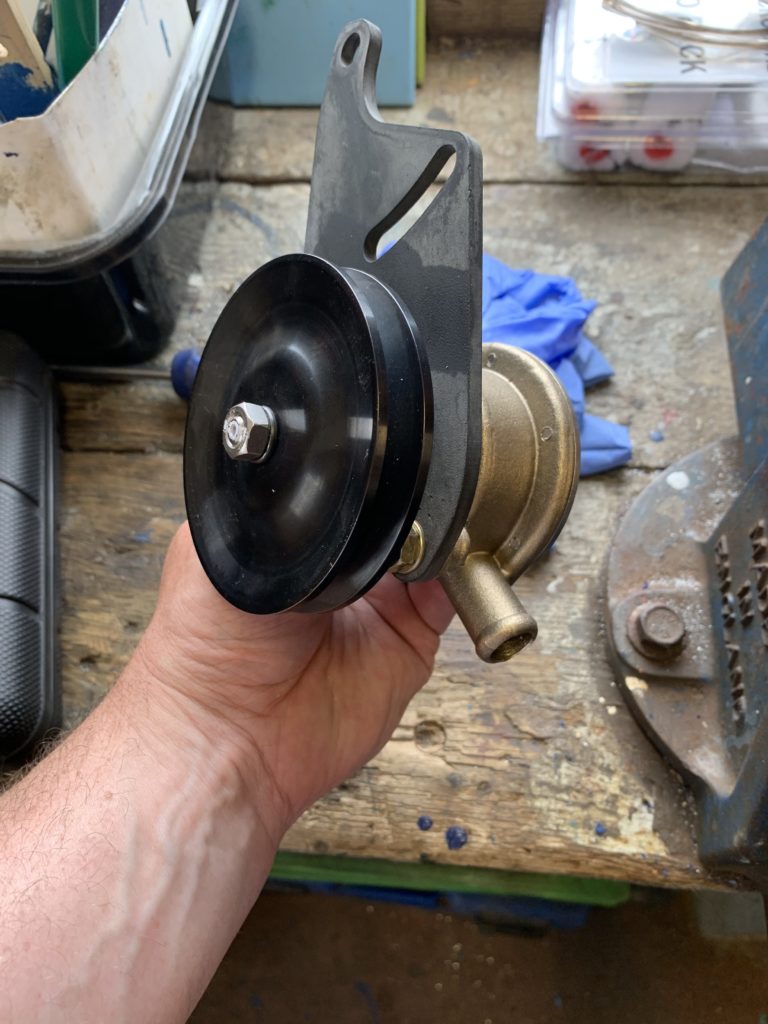
The new pump arrived late on Thursday, and reached my desk on Friday. It’s a nice looking bit of kit, though completely absent of markings to tell you who made it, or what the part number is! Appears to be a cast unit, with a slightly rough surface; not painted in Yanmar grey, but I don’t really care about that.
The design of the pump is such that you have to take the pulley wheel off first, so that the two securing bolts for the plate can be threaded through the plate and into the captures on the pump. The pulley nut is on a spring washer, so a vise to hold the pulley (with some cloth to protect the wheel from the jaws) is advisable.
Break the seal on the nut, take off the pulley, put on the plate, put back the nut. Tighten up until the white marks line up again. Offer up to the engine, grease the two long bolts, get the top one in first and slightly tight. Get the second one into the slot, and barely tight. Fit the belt, and push the pump down and away to get tension into the belt. Tighten up, fit back the inlet hose with a 22mm hose clip.
Open the decompression levers, and give the engine the barest hint of a spin (after opening the seacock), and watch water spew out. Hook up the output hose with another 22mm clip, put the decompression levers back, and start the engine to watch for leaks.
Bone dry, job’s good, water out the stern.
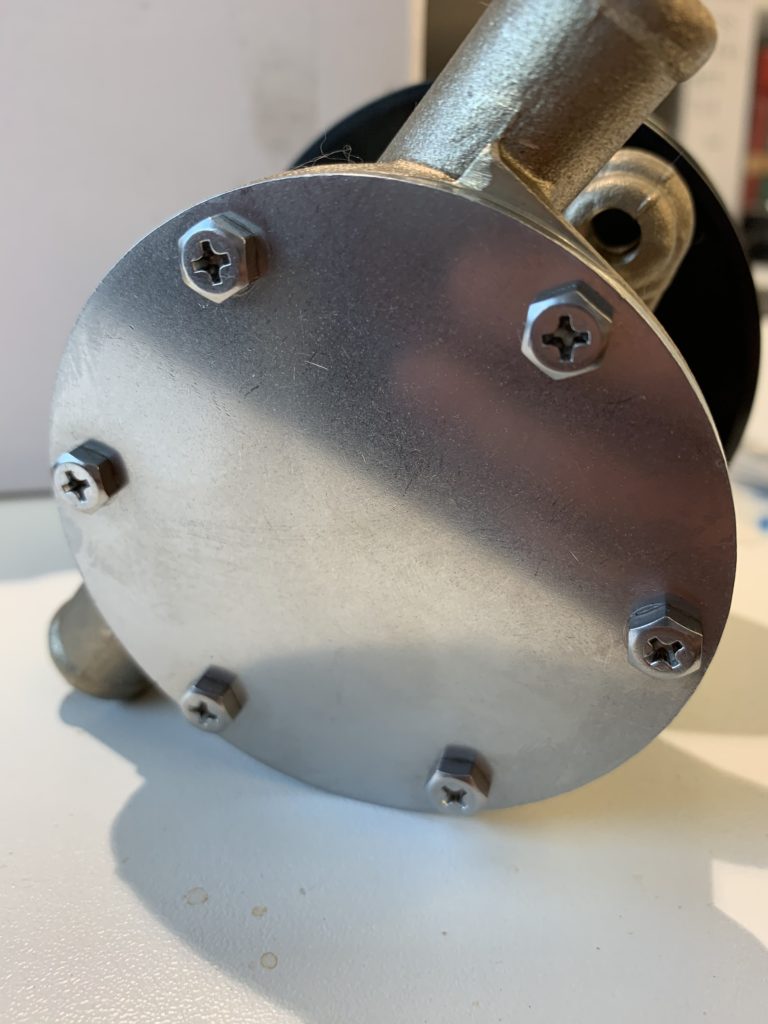
Shiny, but blank, plate 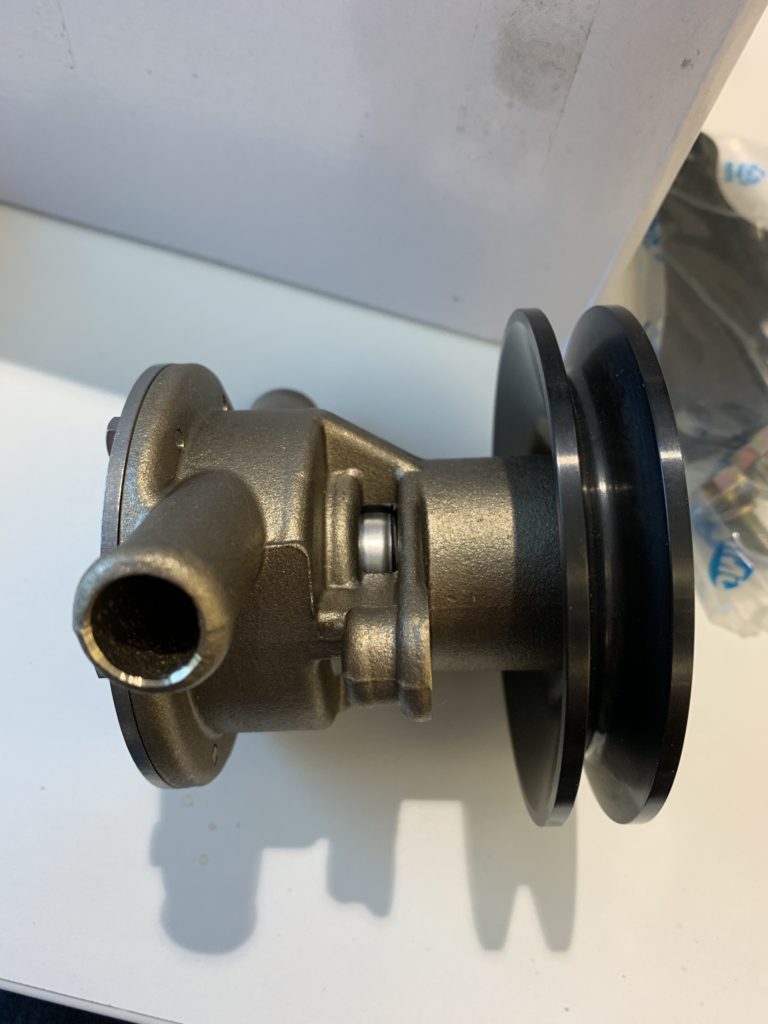
Completely different internal design; stainless bearing, no rubber O ring on the shaft 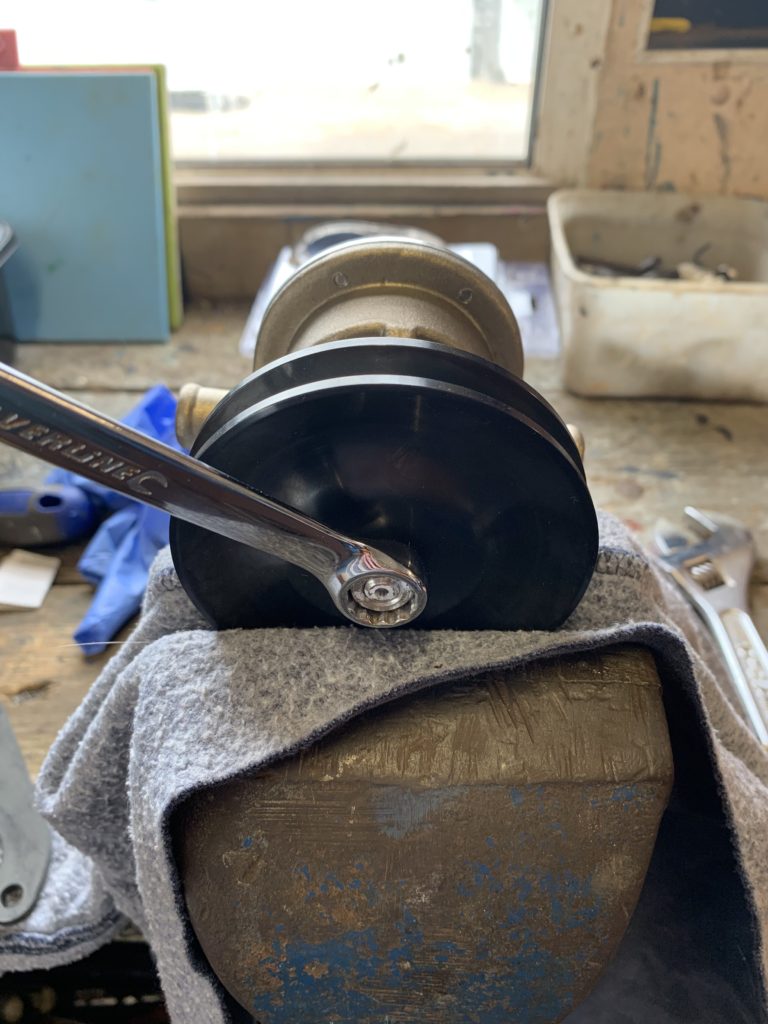
Getting the pulley nut off in the vise 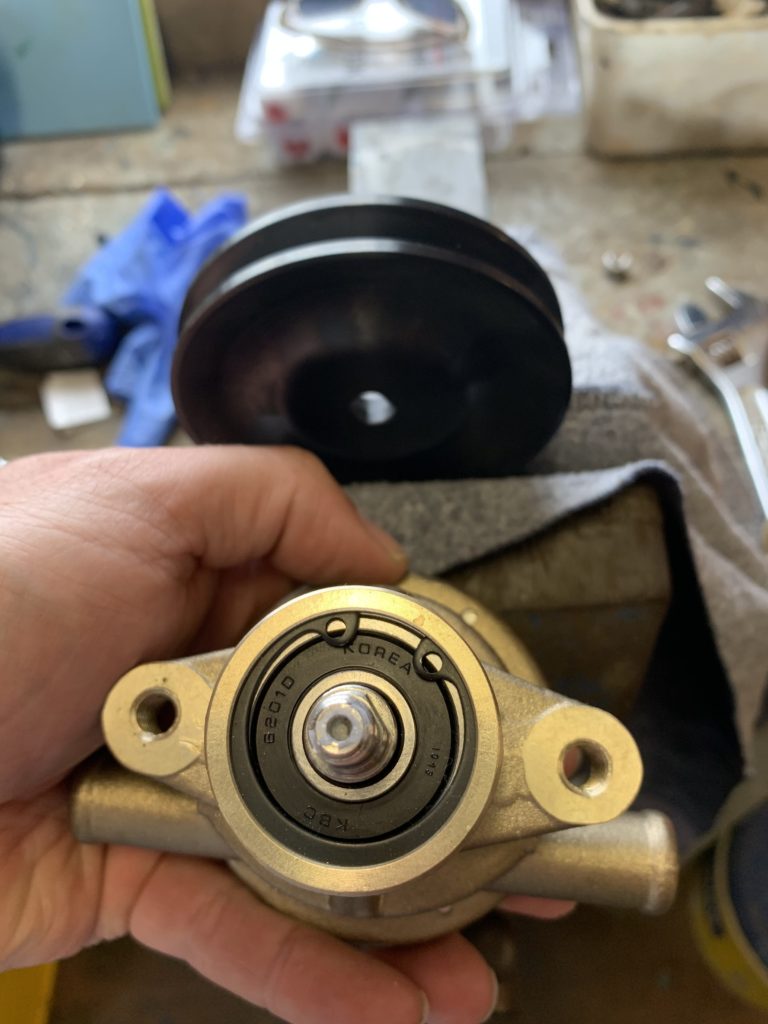
Back together, correctly. 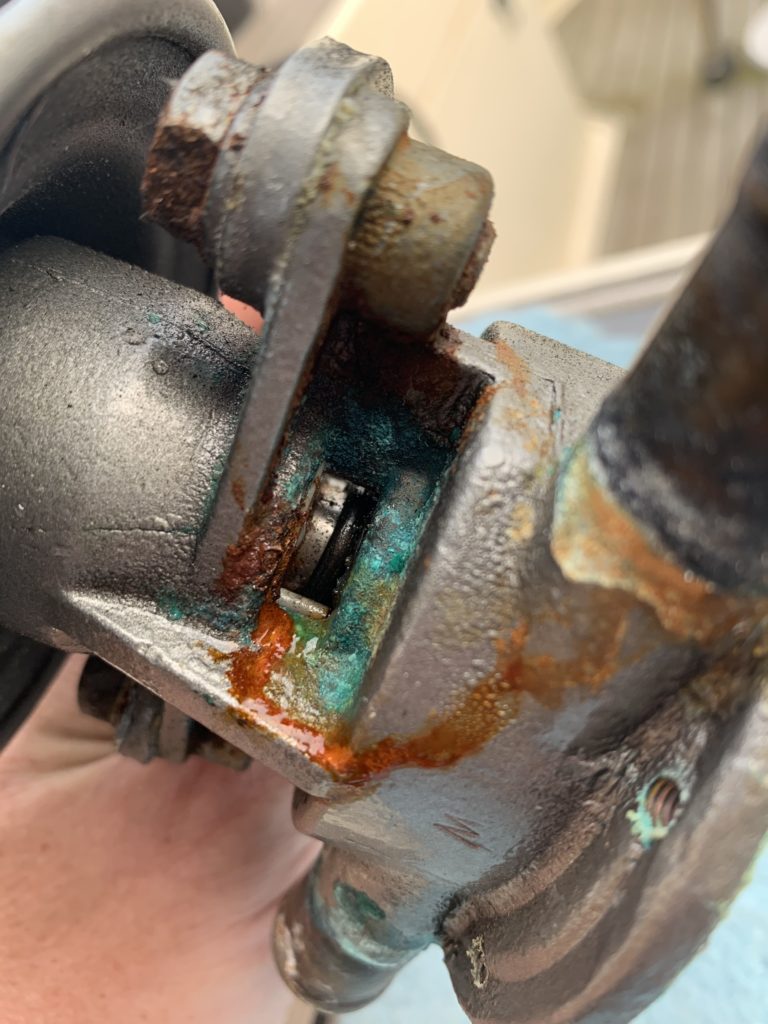
A better view of the signs of damage; can even see the O-ring