Last weekend, Dad and I spent most of three days taking out the head, and the old hoses, and laying in new Vetus sanitation hose. We hooked everything up, tightened up any jubilee clips where there were leaks, and promptly discovered that the Whale diverter valve had failed. I ordered one from a UK company that had the Whale elbows in stock as well, and sat back and waited.
Friday and Saturday evening, I received notifications of deliveries to the Parcel Motel in Dublin, and traveled up earlyish on the Sunday morning (after doing the weekly laundry at the petrol station) to collect them. Inside were some more IP66 junction boxes, some #10 screws, a new diverter valve, a standard terminal crimper (the red/blue/yellow style), terminal ends and so on.. everything but the new jubilee clips, which I’d need to get from Viking Marine in the afternoon.
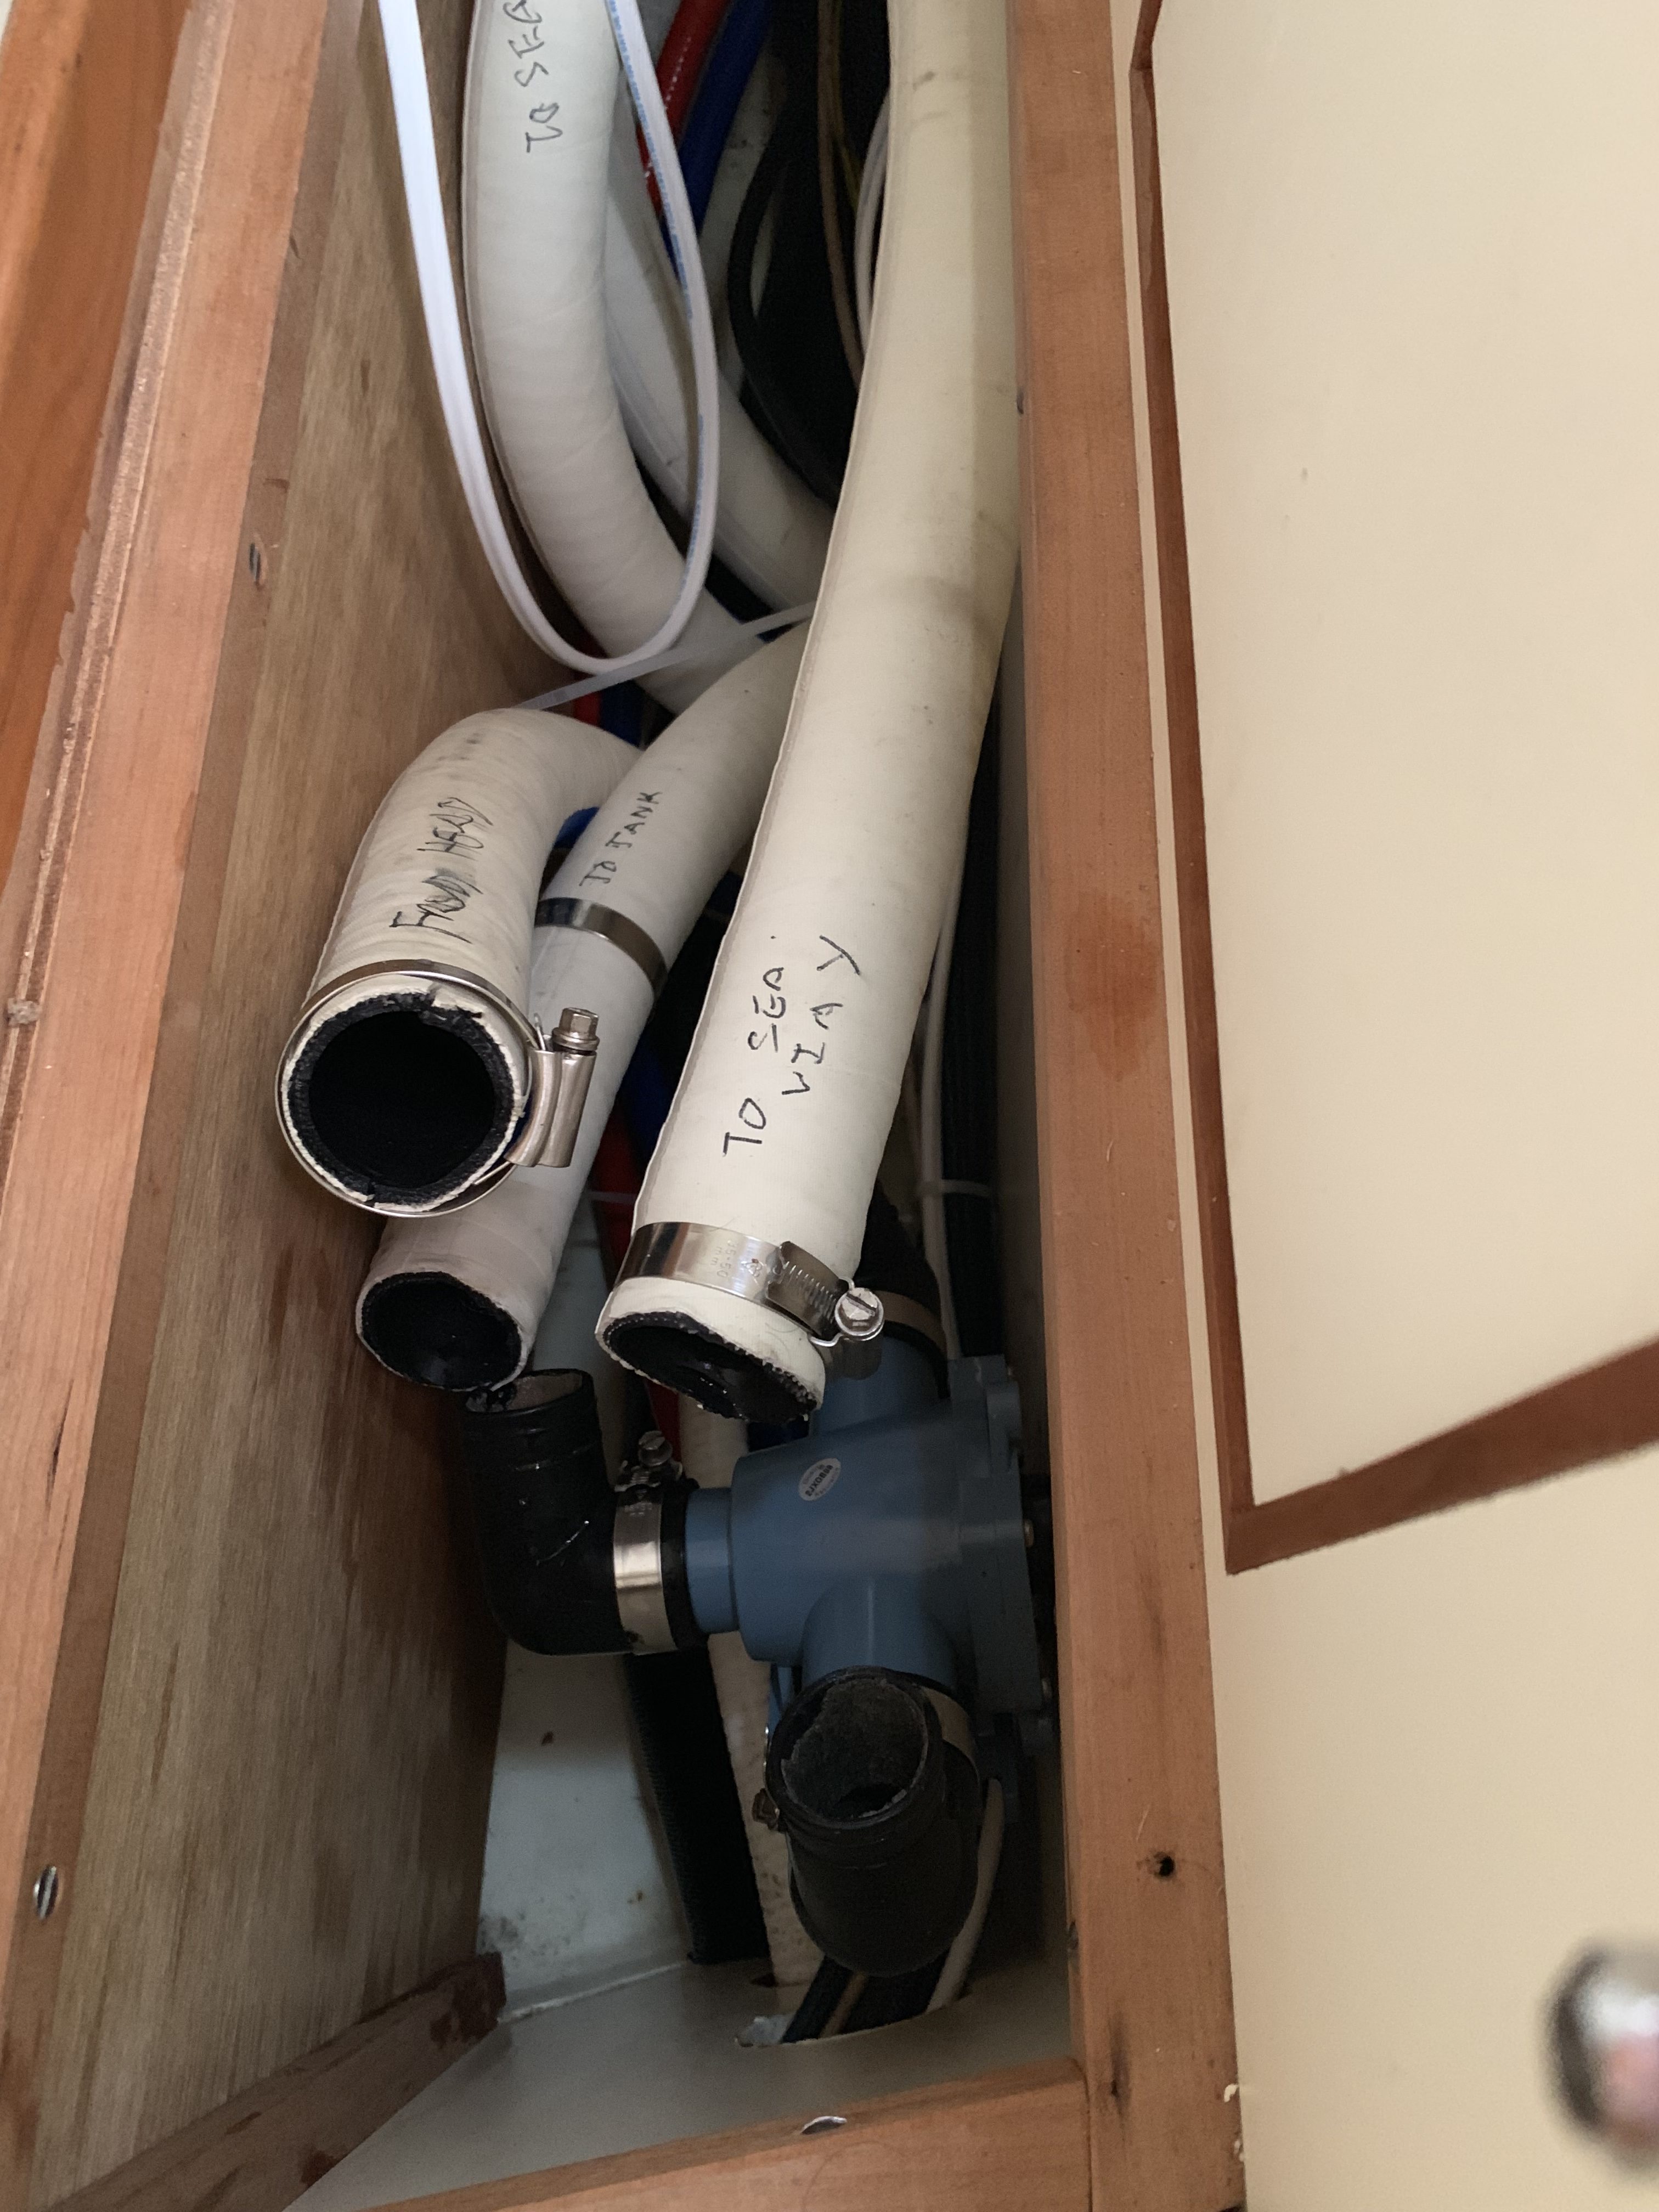
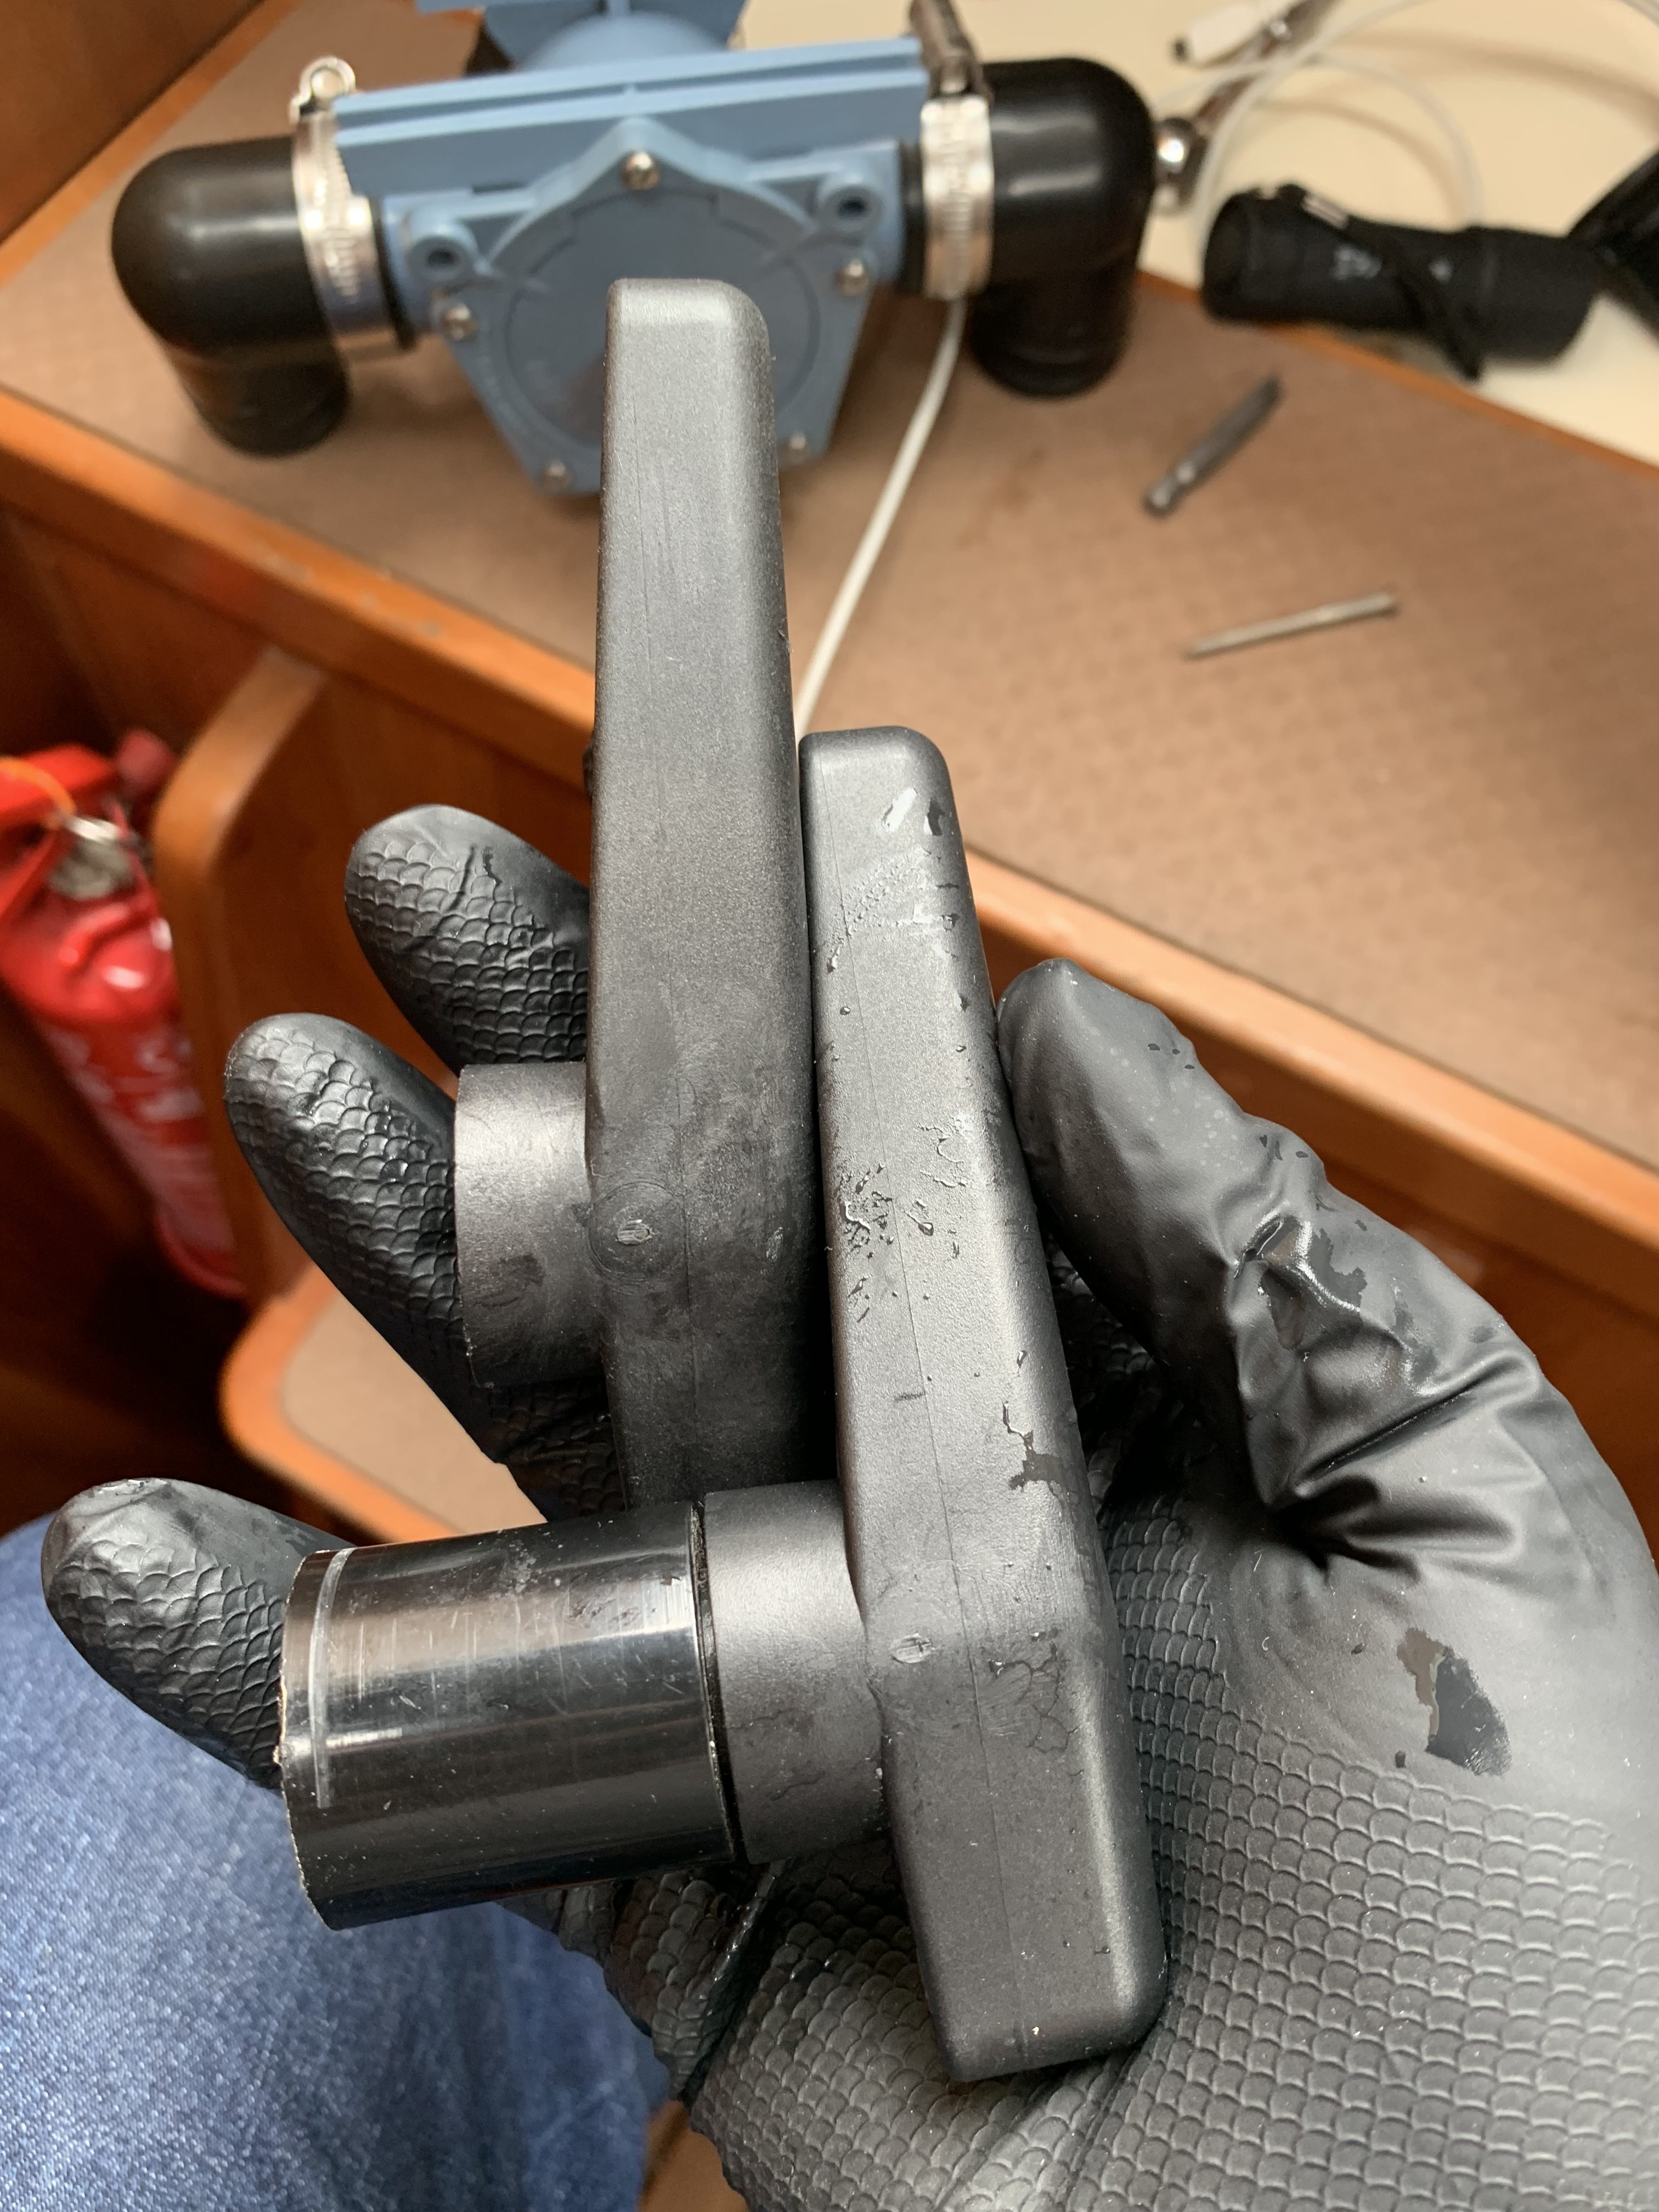
Replacing the diverter isn’t a hard job per se – disconnect the three hoses, unbolt three bolts, unscrew the handle, and lift it out. However, this is a boat, and things are not allowed to be that easy.
Issue one – the Whale diverter has very tight access to two of the nuts/bolts. So tight you cannot get an open jaw spanner in, nor a small socket set head. Jamming a screwdriver in works, as does having very strong fingers. Even so, I managed to drop a nut down into the space below the valve.
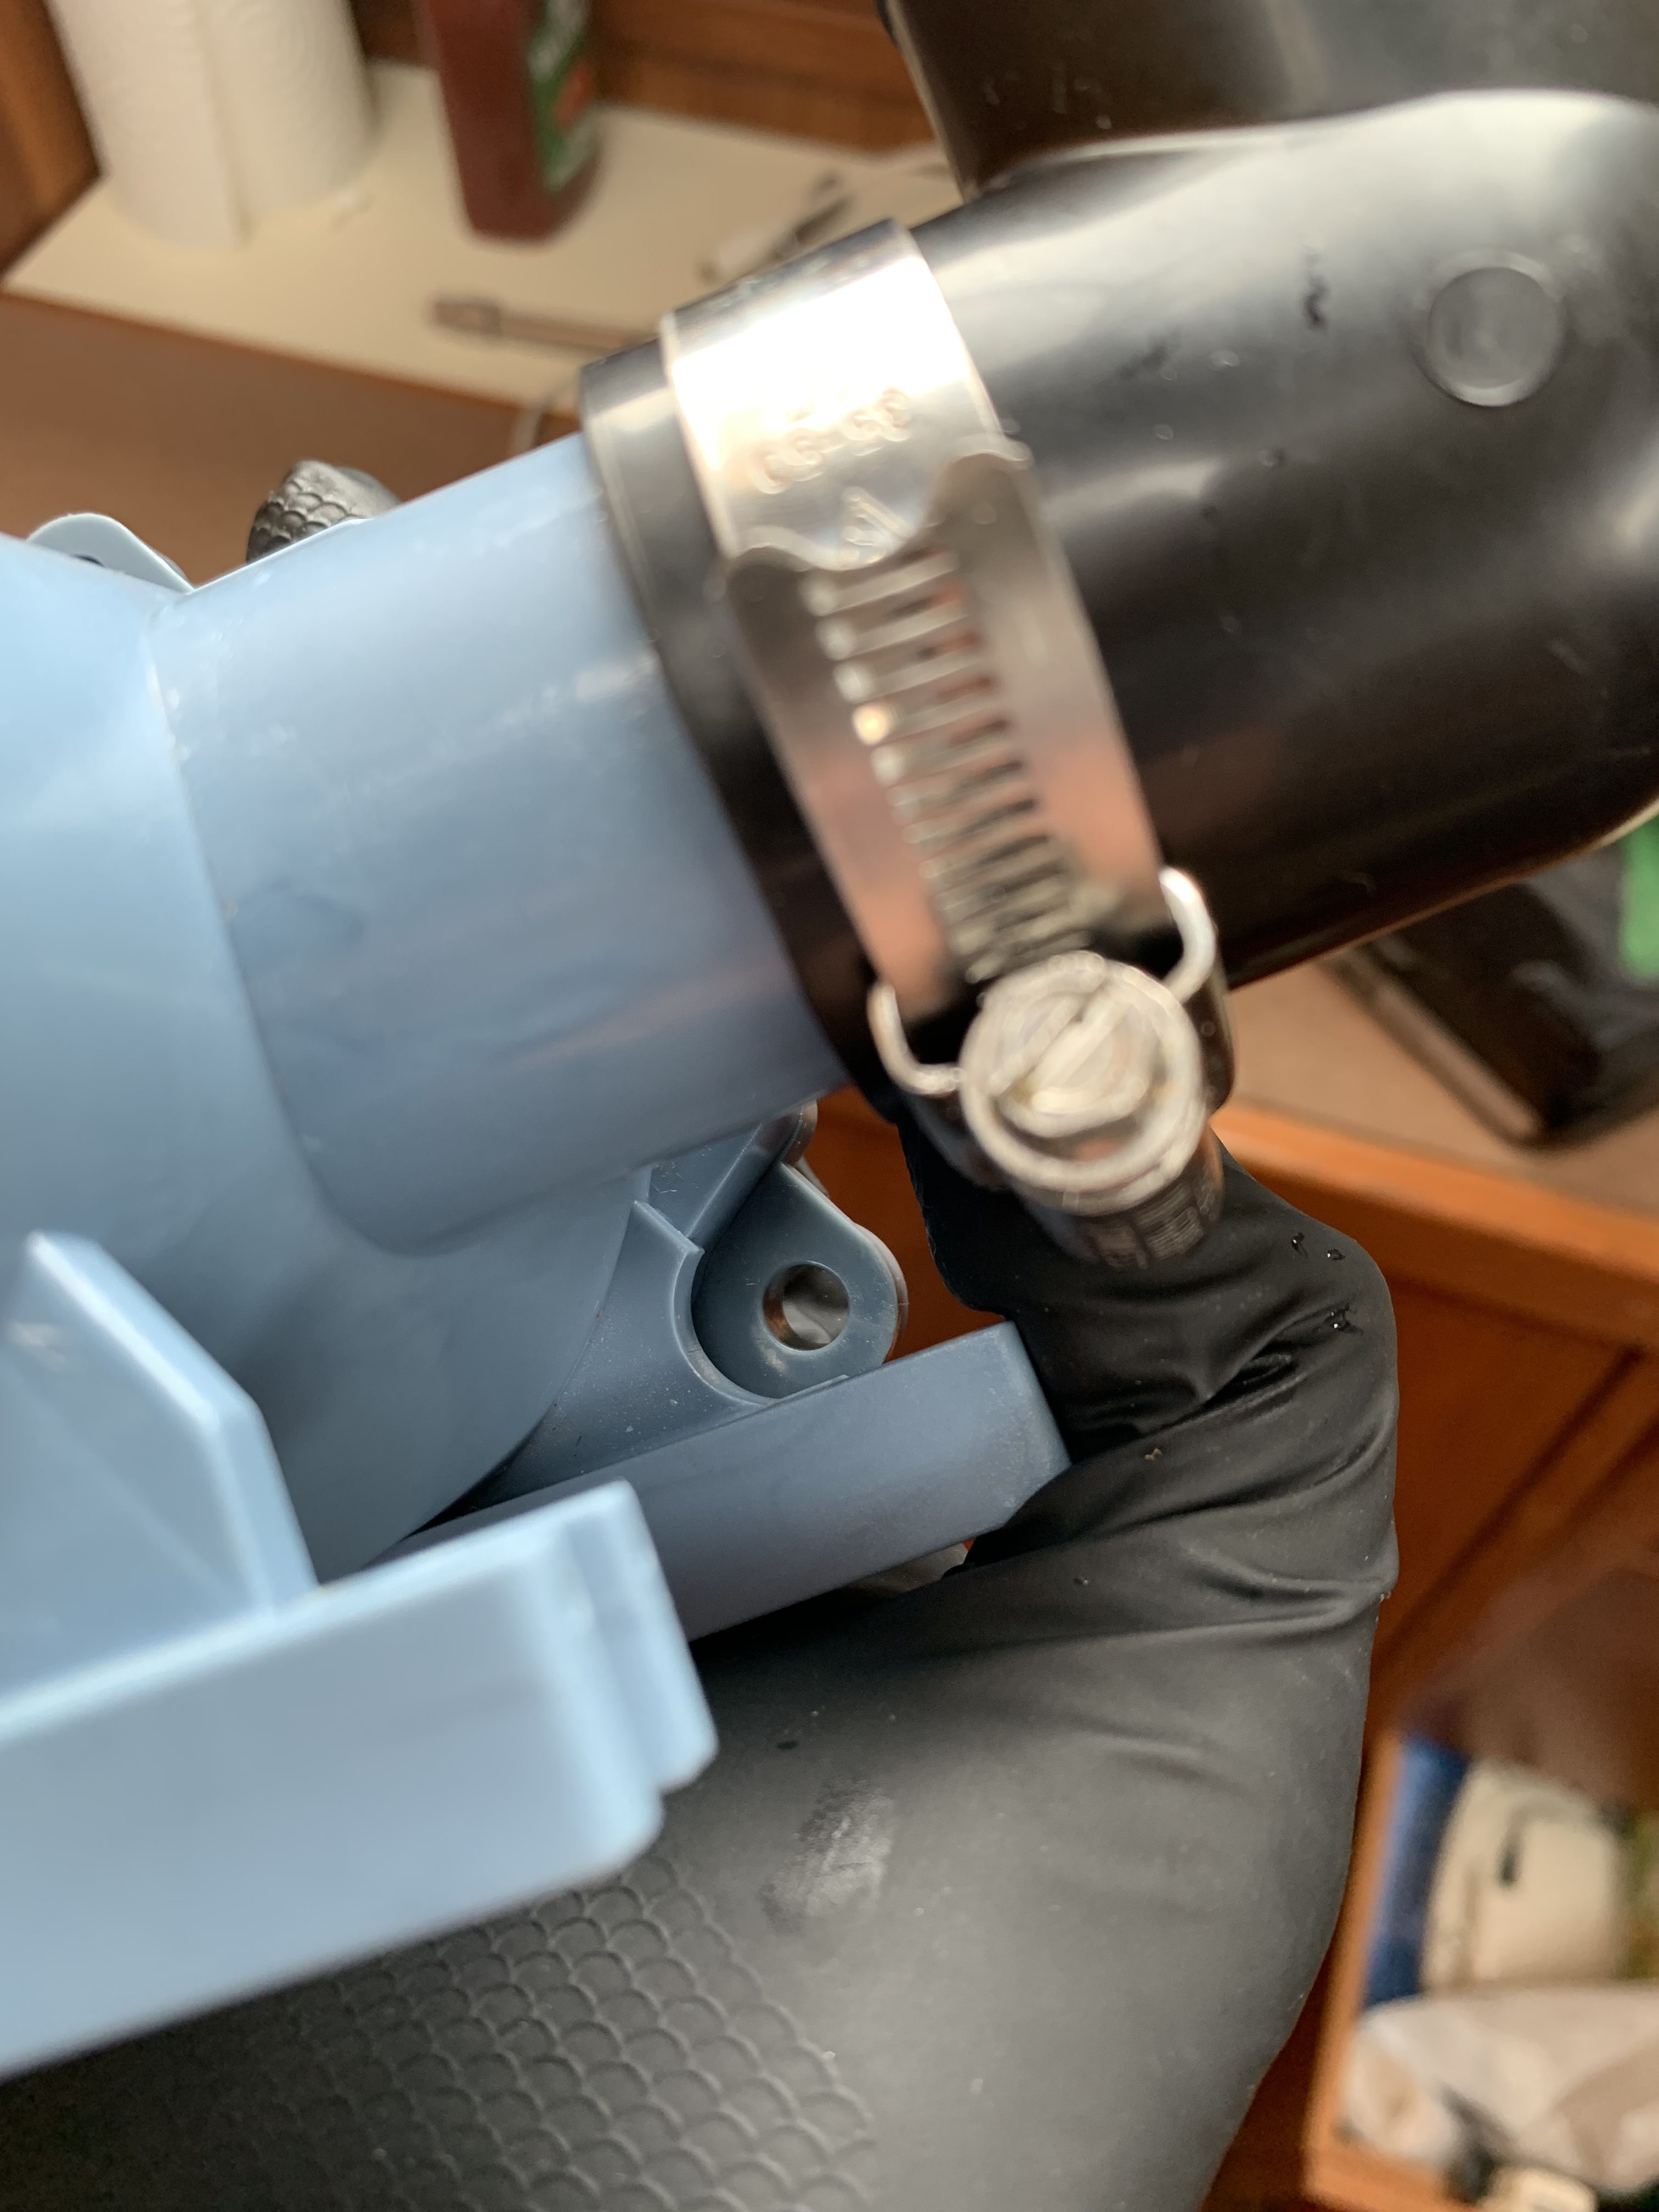
Issue two – the elbows are on at certain angles, and these need to be replicated for an easy fit. A saucepan of water on the stove works for this – double-glove, heat up the elbow in the near boiling water, and jam it over the end of the valve spigot quickly. Push too hard and you’ll have to pull it back, because you’ve just blocked half of the diameter of the elbow – be quick, because it’s cooling rapidly and binding to the valve.
Issue three – the space to work in isn’t really that big, and I’m a big man.
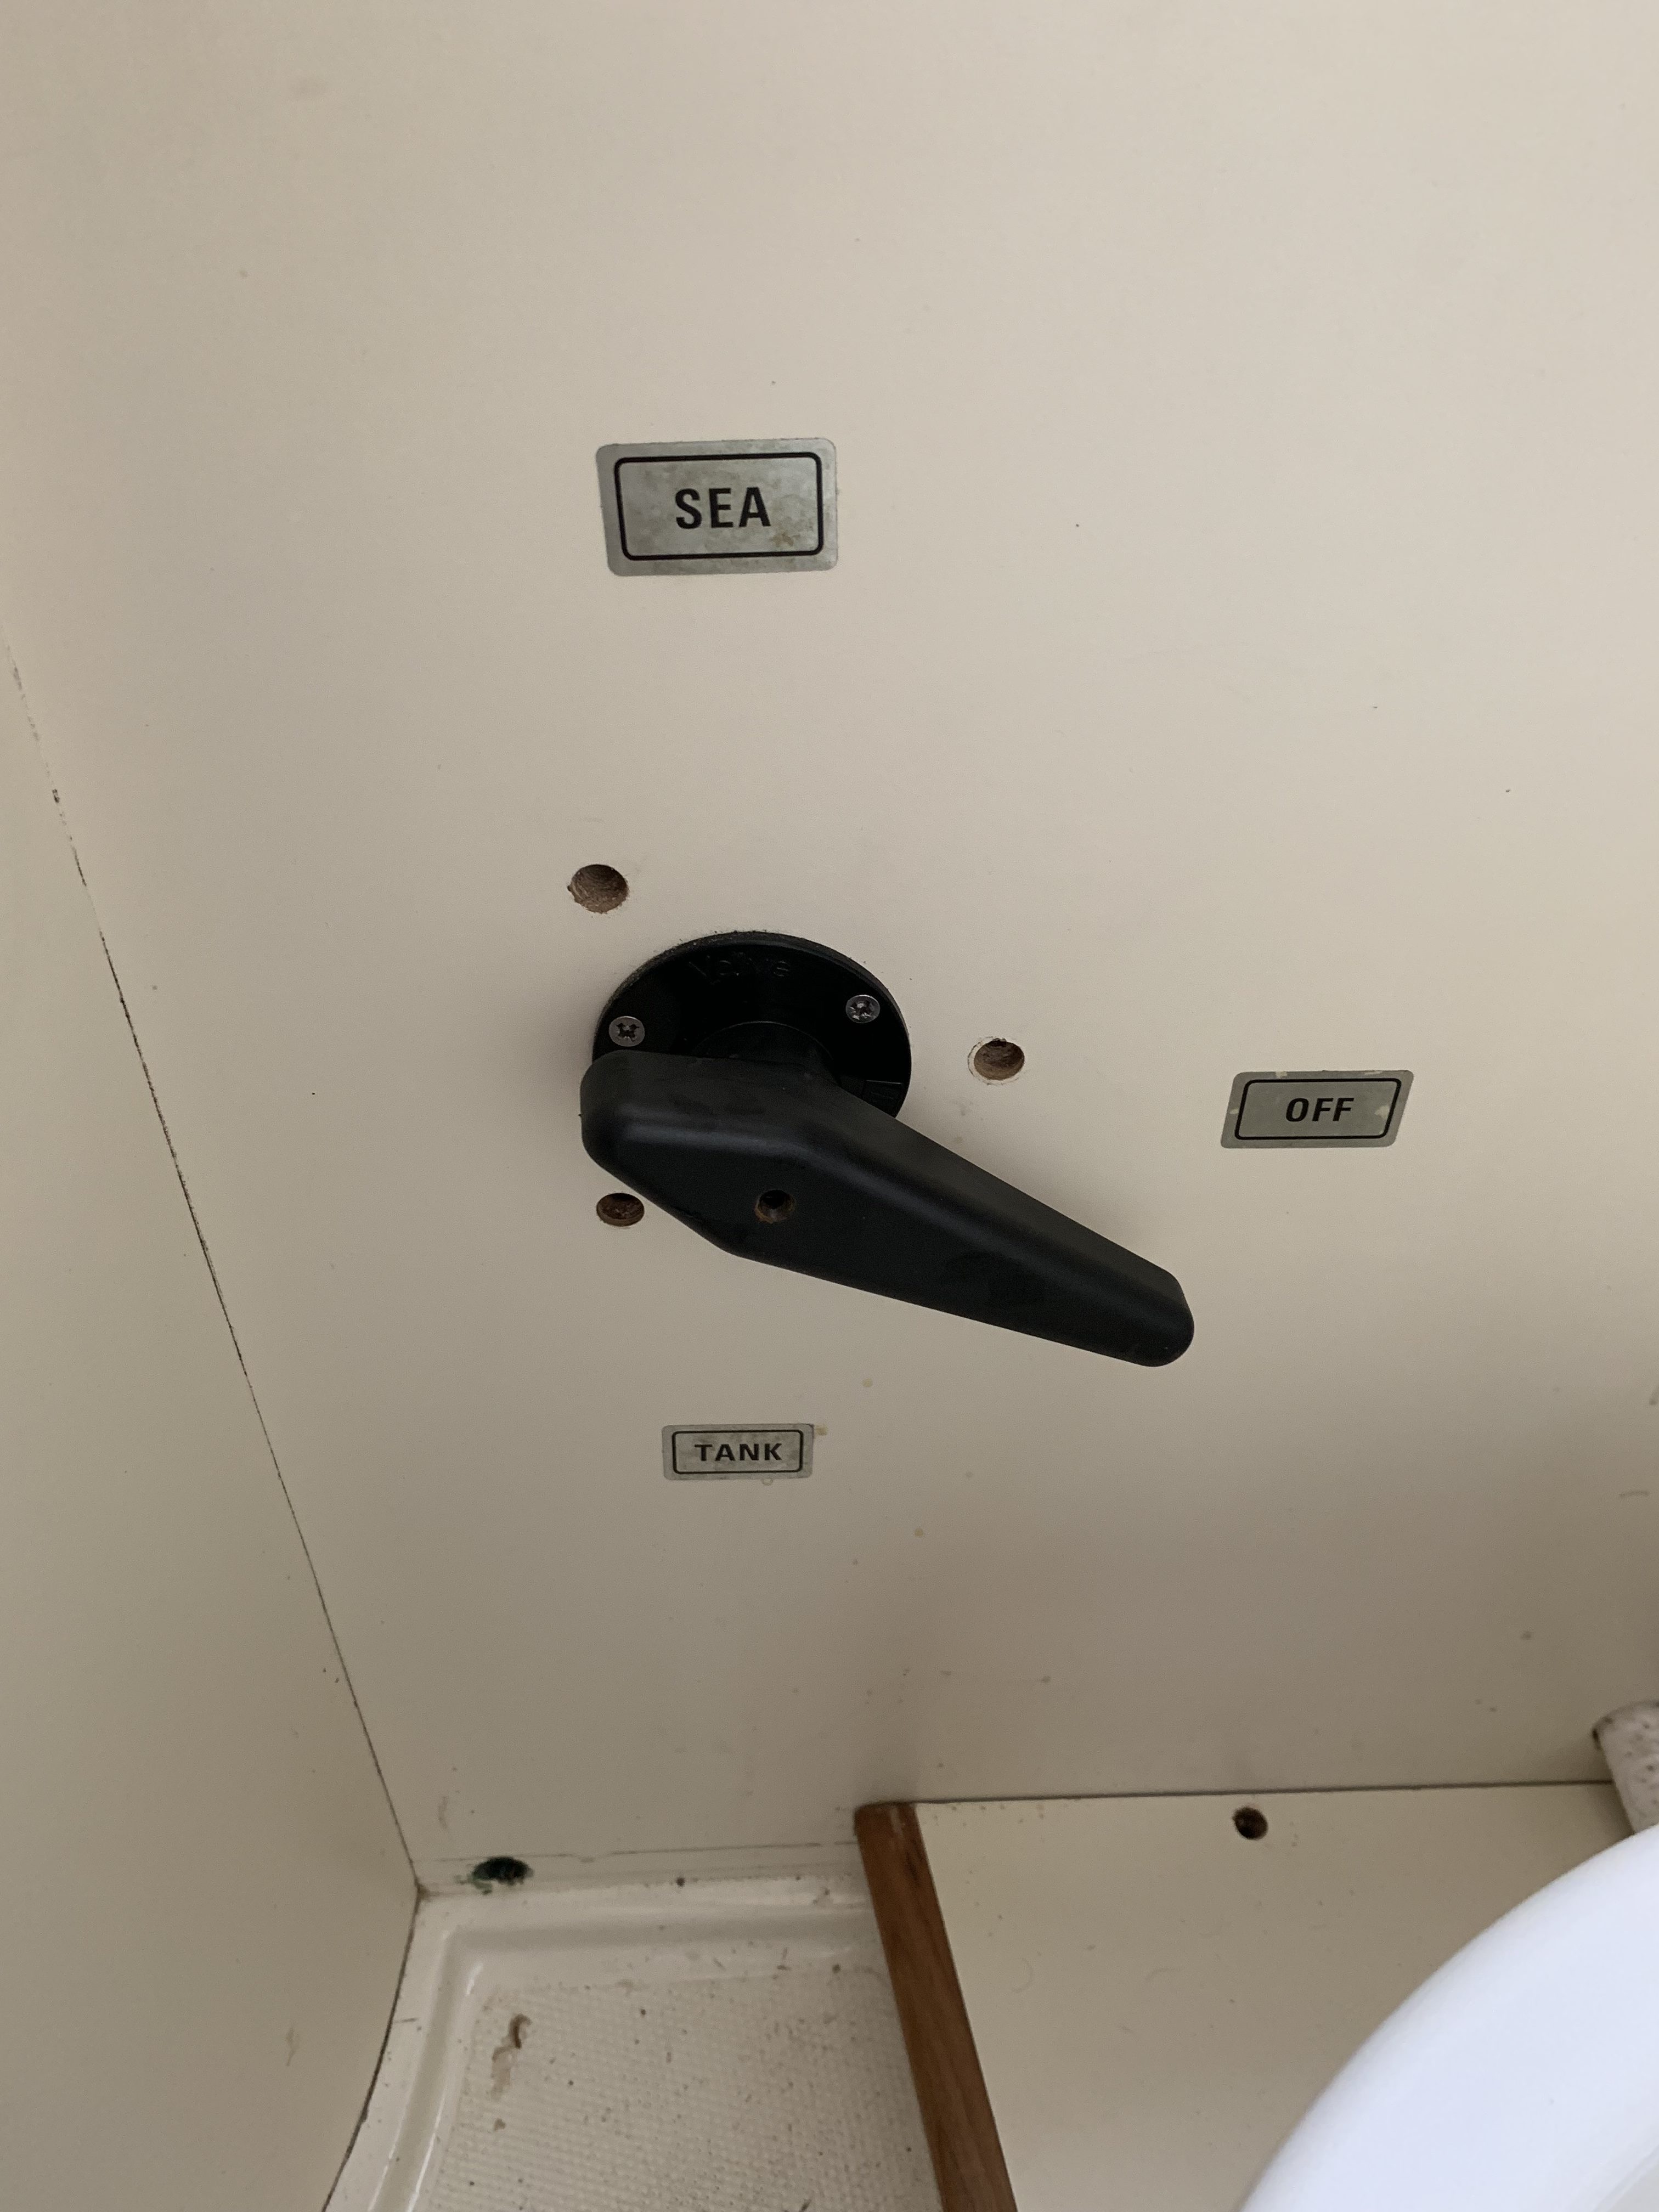
Issue four – minor, but the handle, as shipped, won’t work. Thankfully, the old handle will work just fine – it has an extender to make it all fit.
Issue five – put the valve in, get the three bolts loosely threaded, fit the handle, and then tighten the nuts and fit the hoses. Don’t try to fit the handle after the nuts are tight and the hoses are on, you’ll have to back it all out.. without dropping the nuts down under the hoses and wiring.
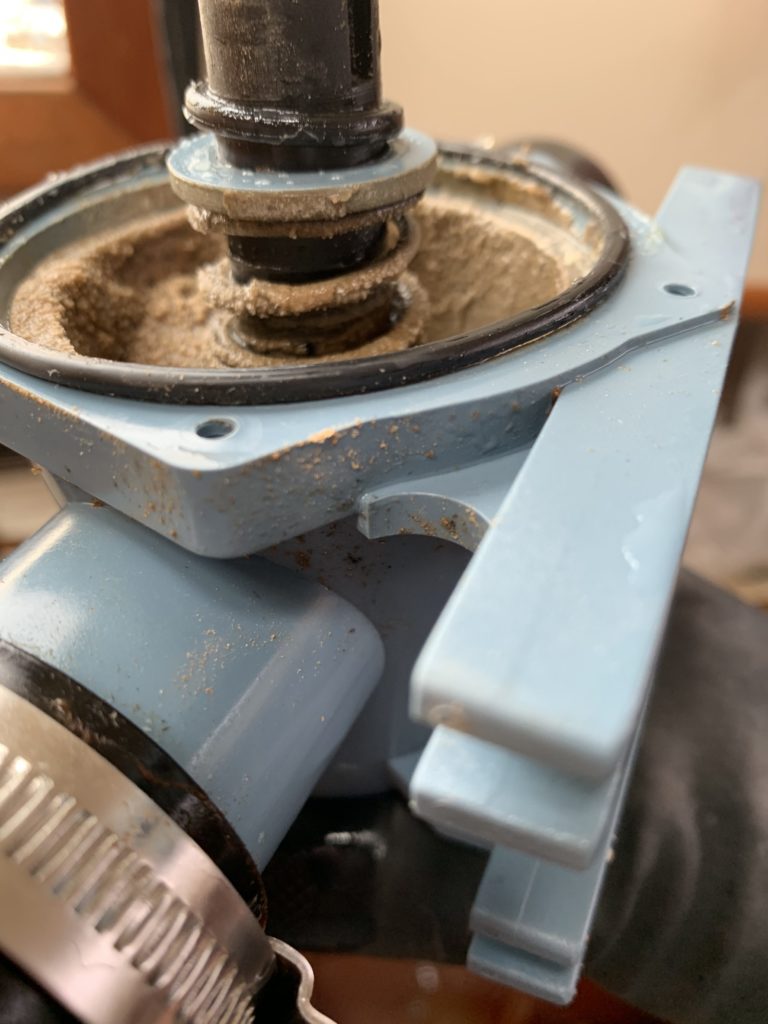
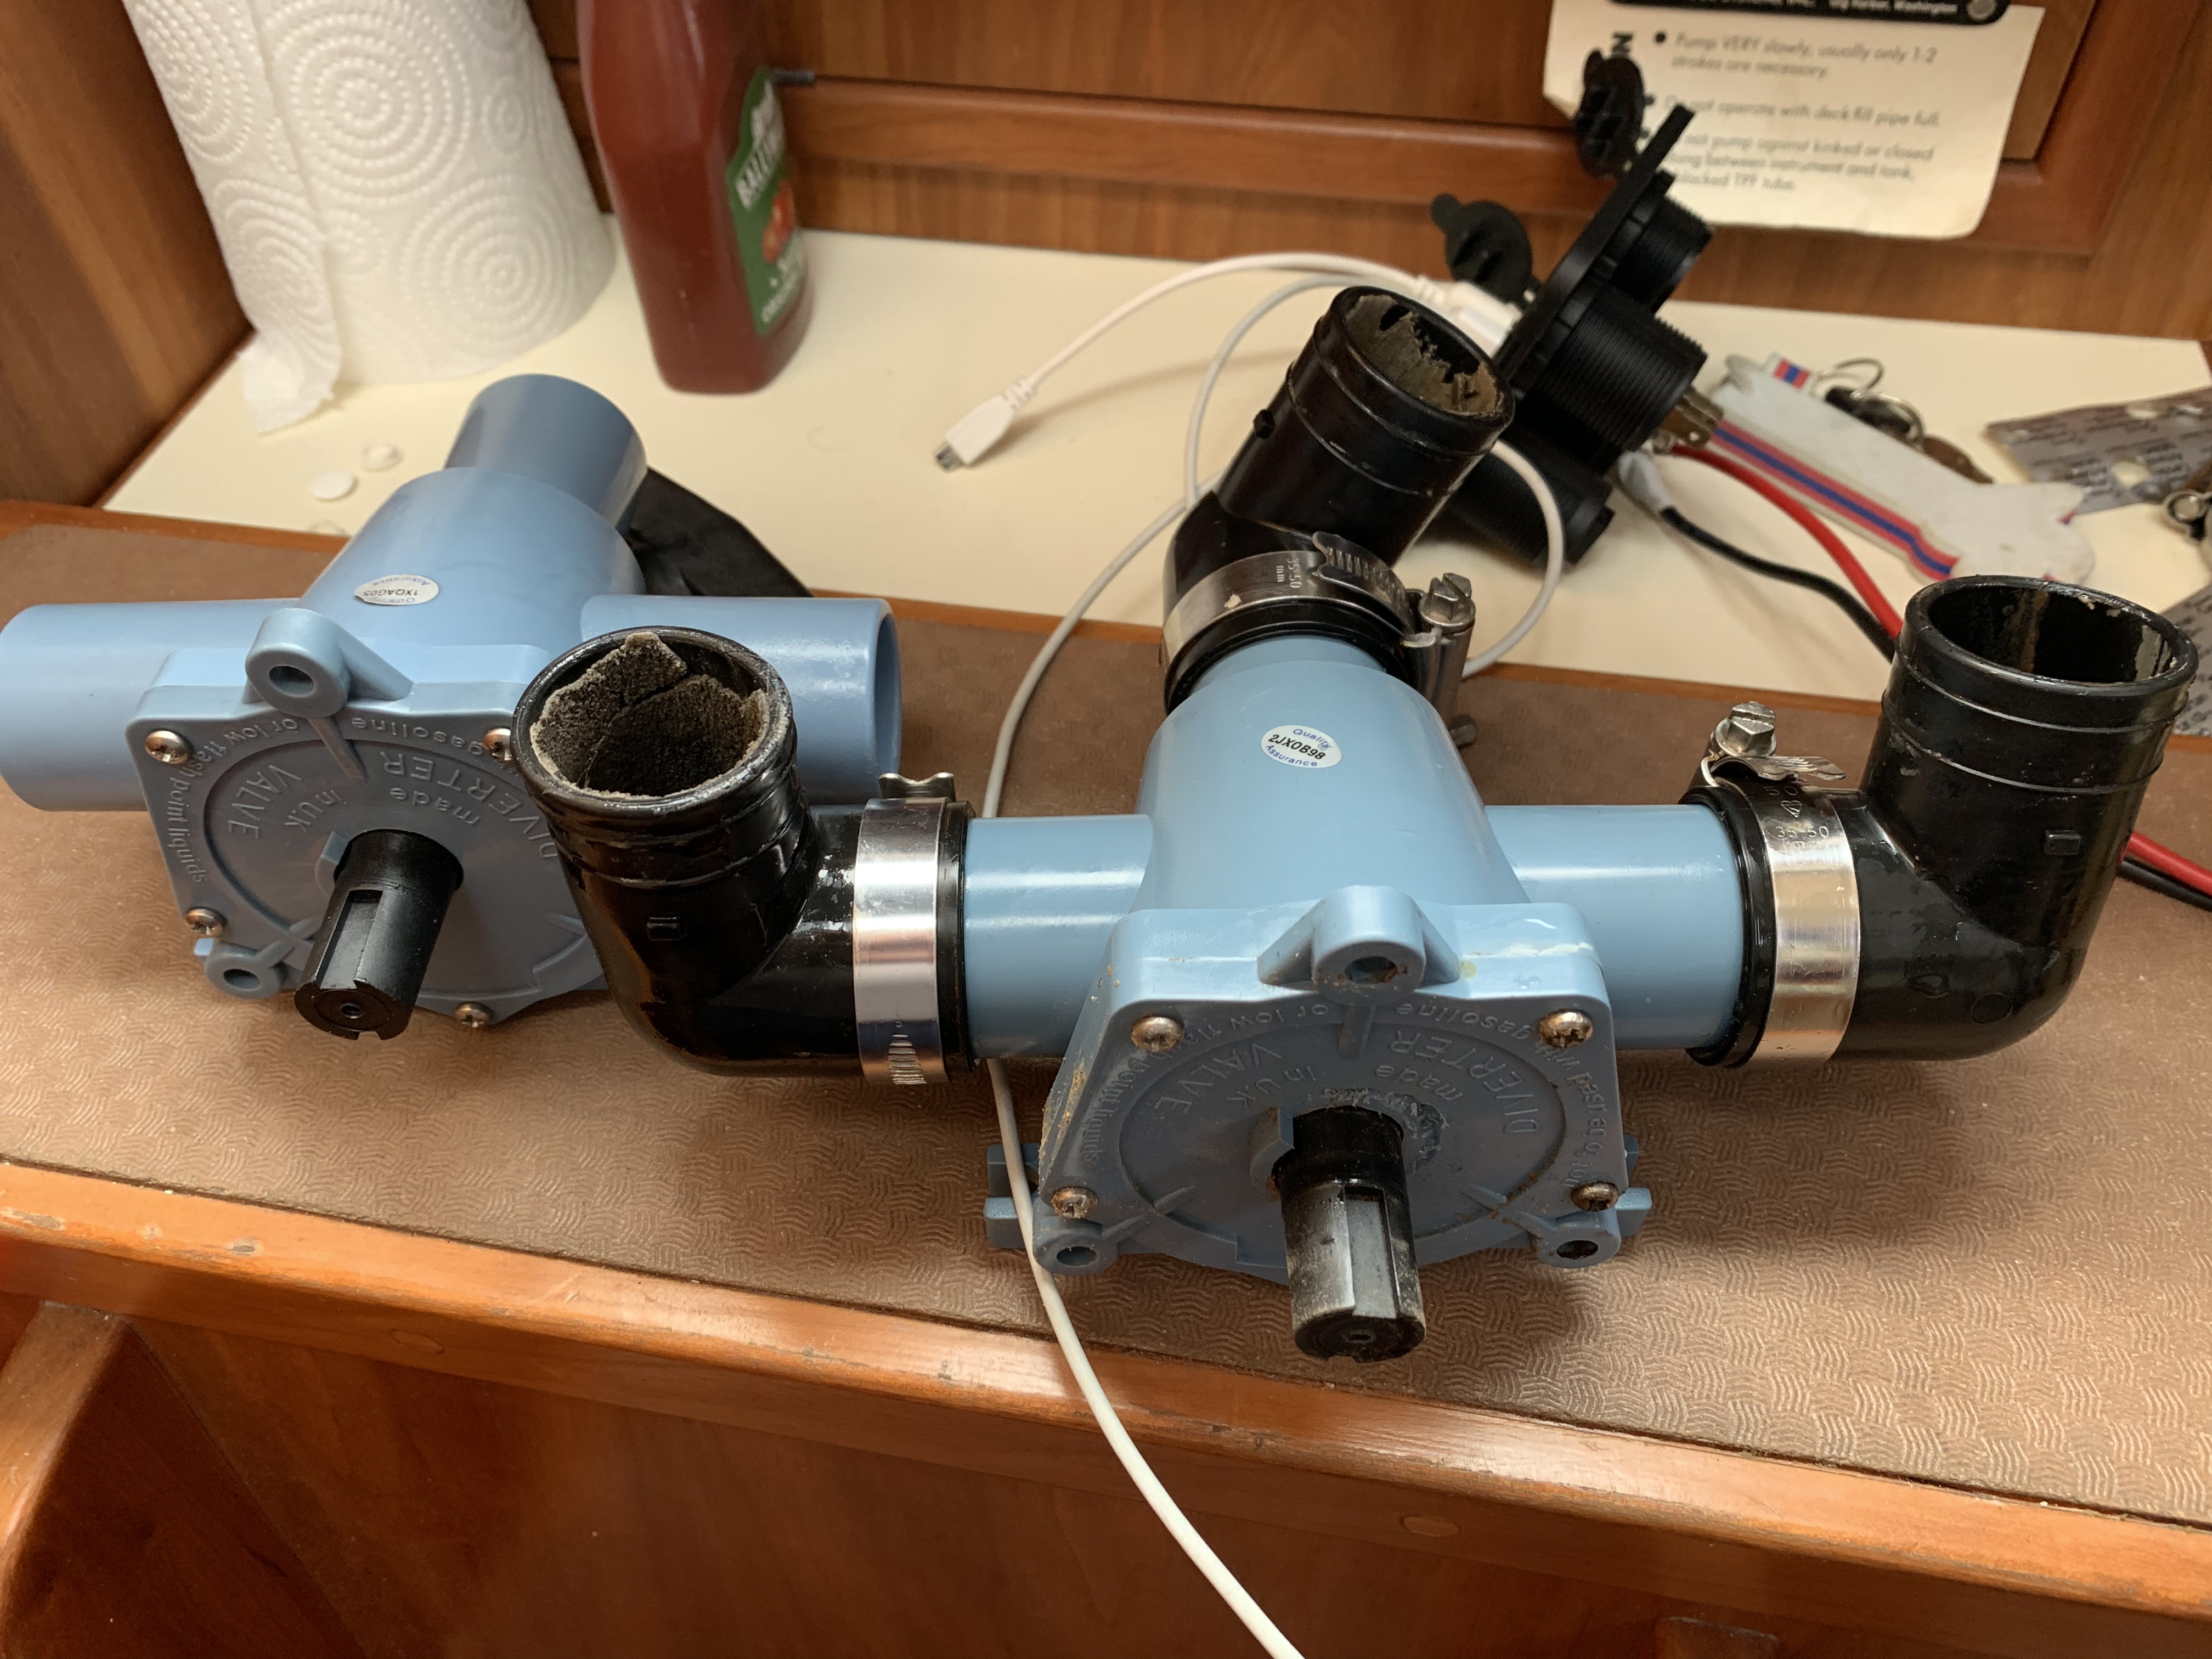
Checking out the blown valve – crud on the outside 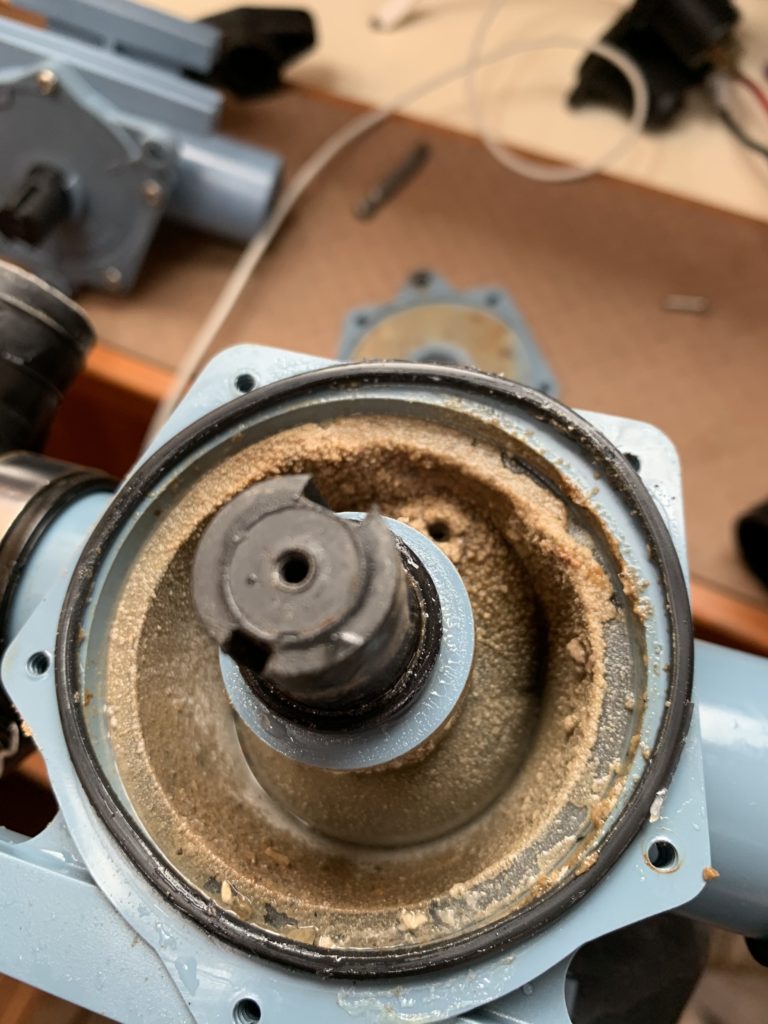
It’s not pretty in there, the O-ring had crud on the outside 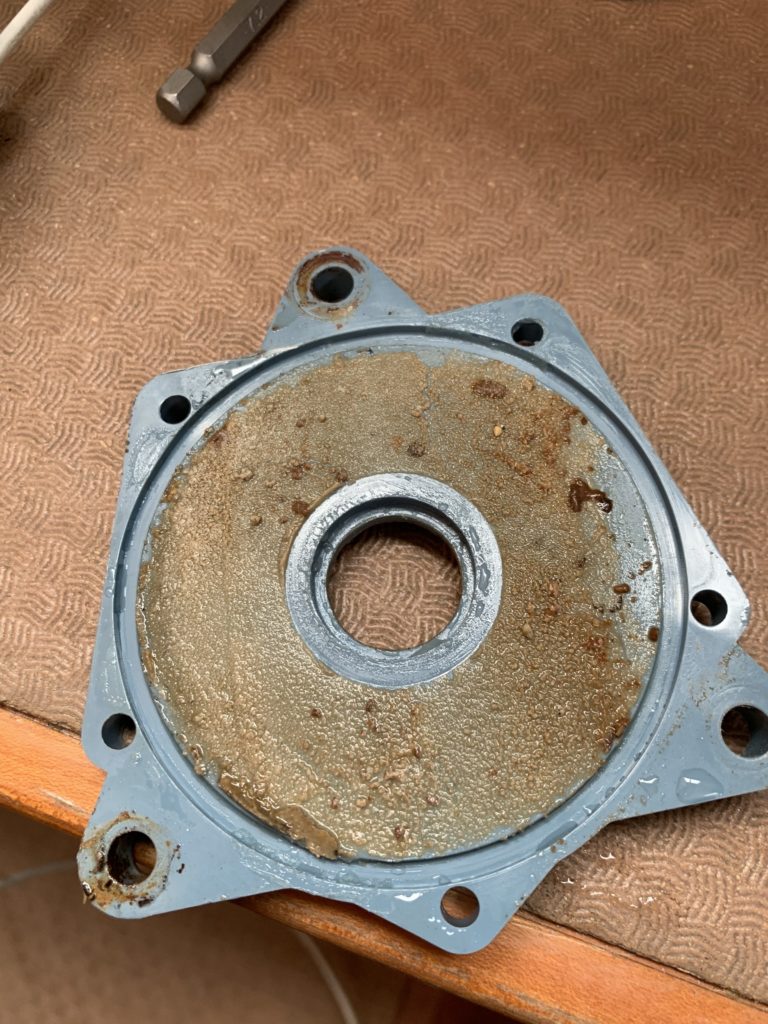
Not bad for what I assume is 20 years of service
The new hose has mostly stopped letting off its own pong, which is good.
With everything in place, tested each connector, looked and listened for water/air boundary issues (ie, hissing/sucking noises), and everything seemed good. Hit the switch for the new electric pump, and the tank was empty shortly thereafter 🙂