With the efforts of Friday, we had got the head out, and the top panel and “pillar” portion of the steel holding tank surround. Onwards to getting the rest of it out! Along the way, we did some GPS wiring while thinking about how to take things to pieces – we wanted to be alongside on the pontoon in case of trouble and easy access to mains power, so the morning was spent making an attempt at deciphering the physical construction of the head surround, and fiddling with signal wires, power wires etc.
Everything pointed at the head surround coming apart from the top down, but things didn’t want to budge. Double-checking that screws were removed, peering down between the vertical panel and the tank, and a bit of “I’m a gorilla, let me try shaking the panel to see what happens” all led to the conclusion that there were some more screws behind the slanted “tread”.
We made an aborted attempt to get in alongside – I thought the tide was high enough based on the DMYC’s Slipcam, but was wrong. At least it’s a muddy channel, and we only touched down briefly (there are two banks between the outer part of the harbour and the pontoon, and they’re about 40 cm shallower than the rest of the channel). Pivoted Blue Opal around using her prop walk, and went back on the mooring for a bit longer.
Came in half an hour later, and while Dad was up in the clubhouse, he ran in to Dave – one of the people who helped me move Blue Opal from Conwy several years ago. He offered to come take a look, an offer we gratefully accepted.
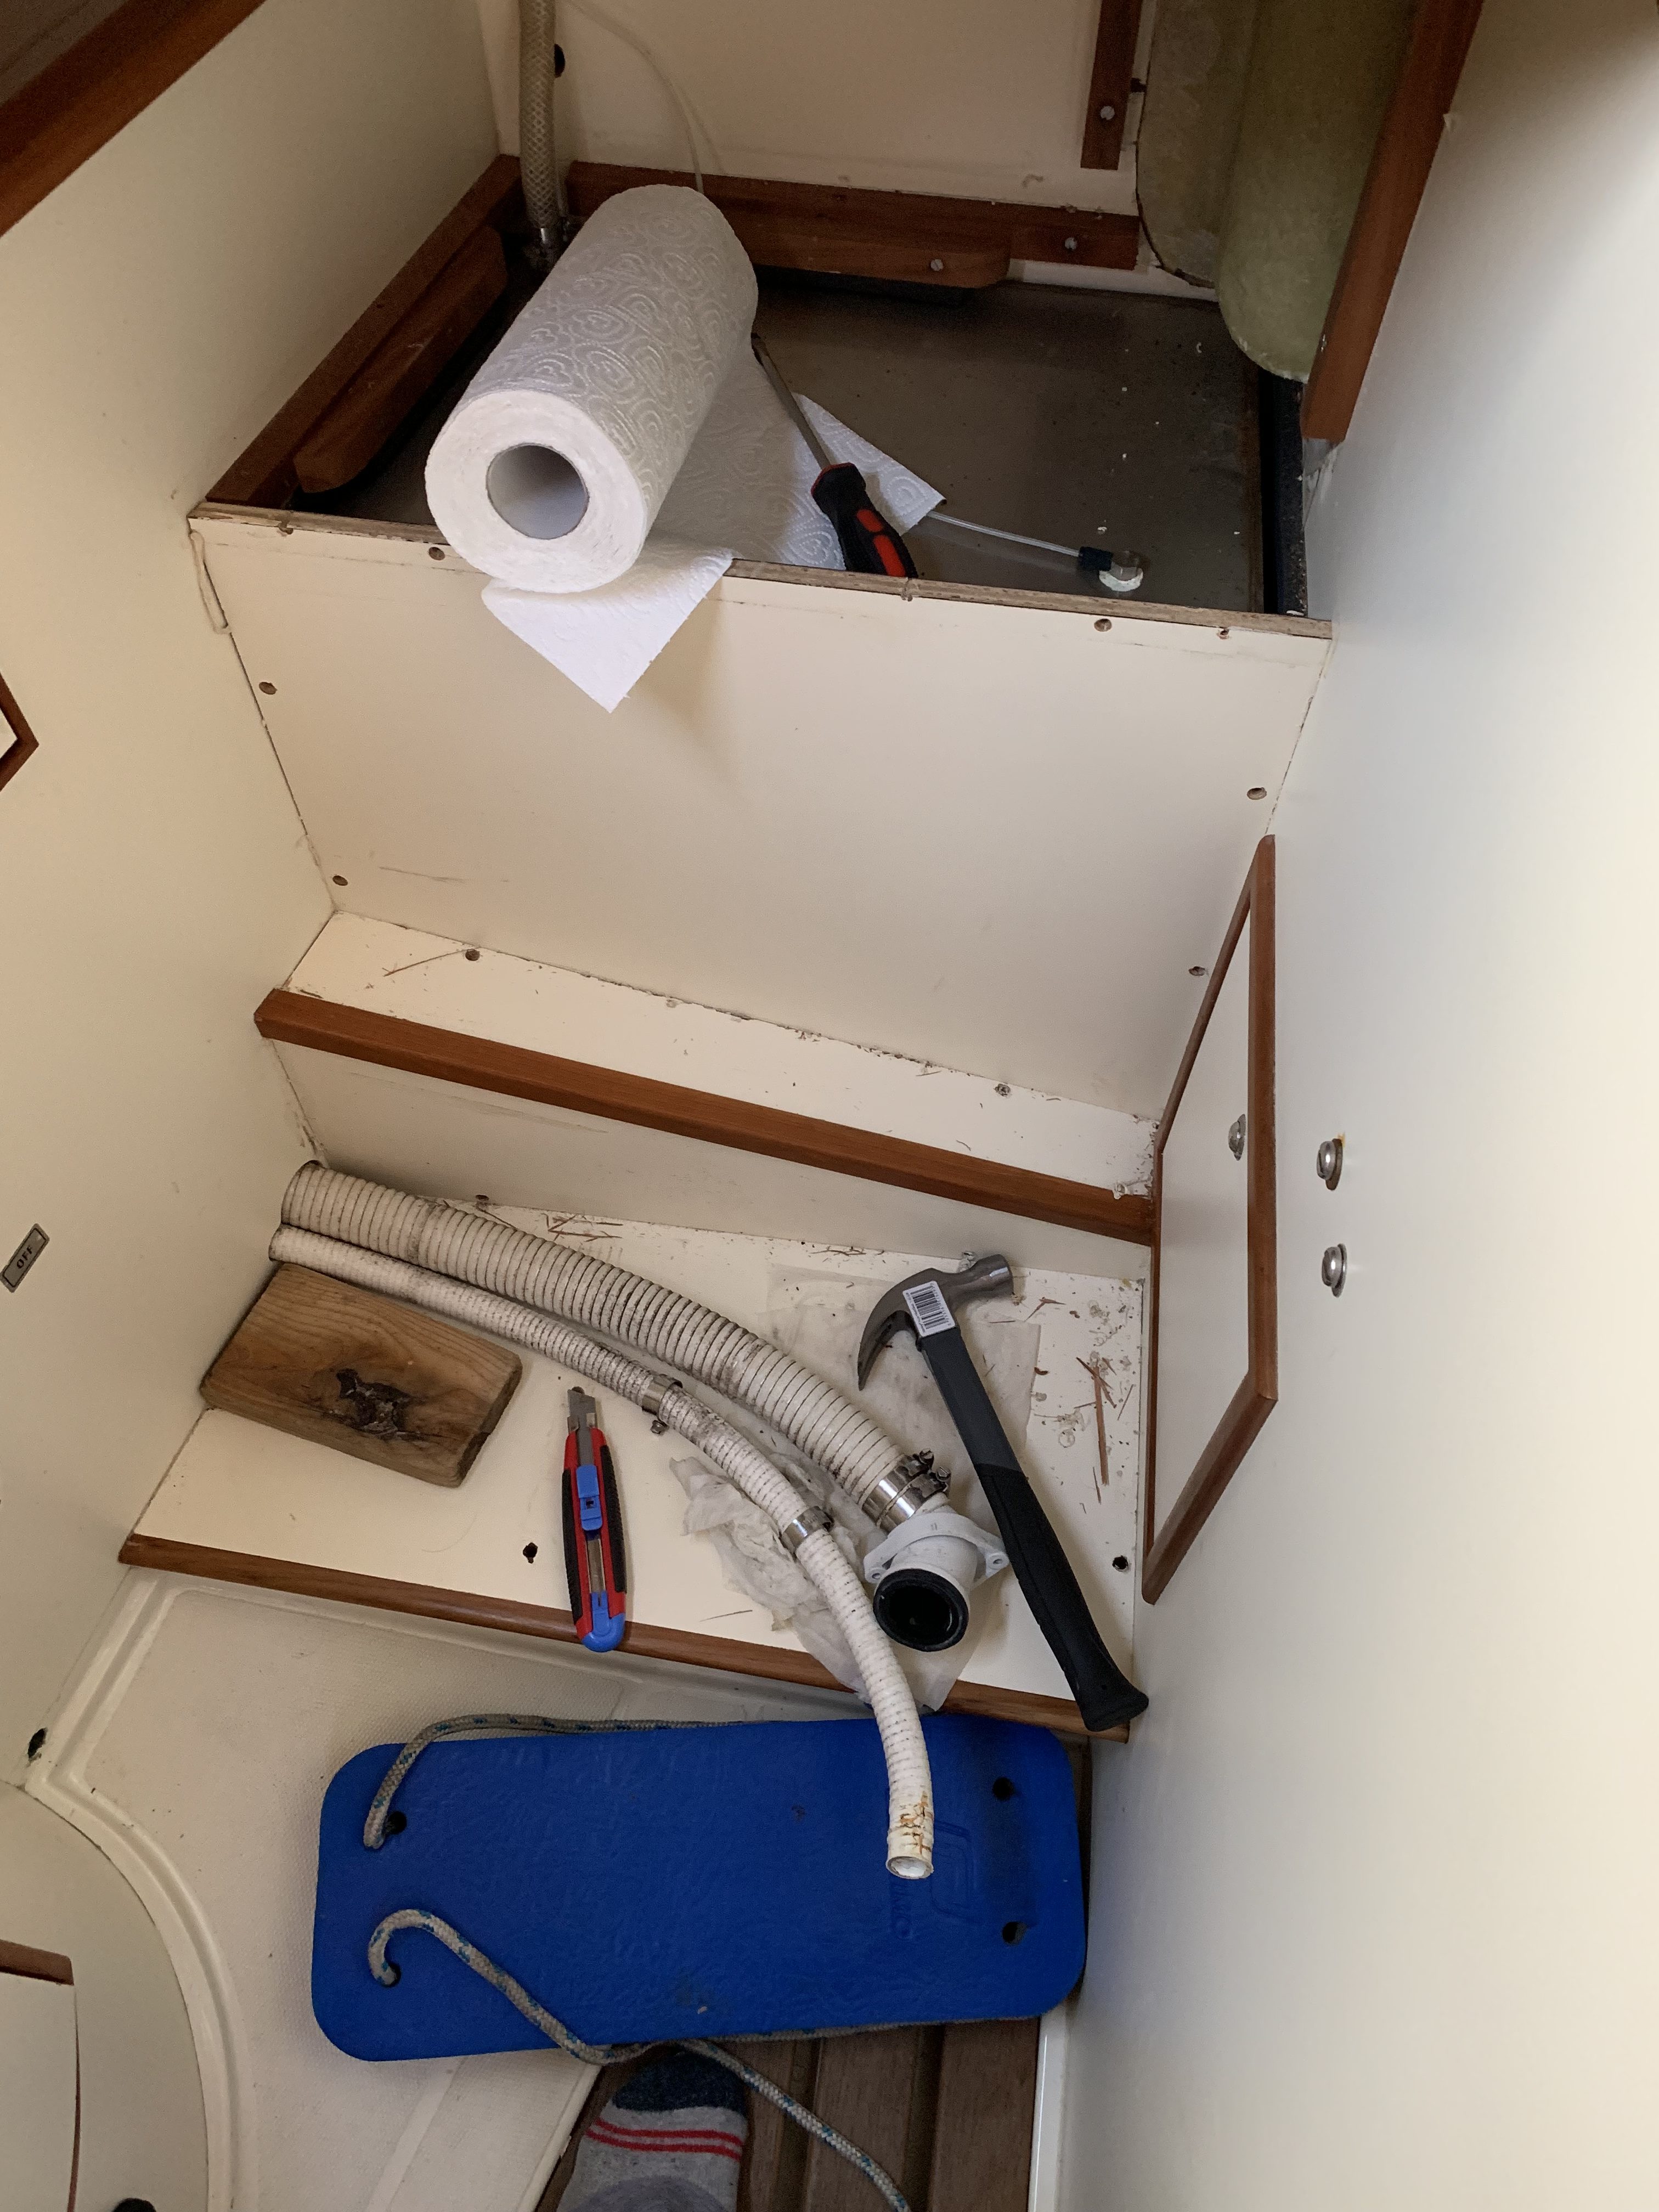
We had tried sharp knife blades, a small chisel, hammering in a ruler, and other ideas – all in the effort to either get the tread to separate from the vertical panel at the back, or the teak trim to separate from the tread and riser. None of it had worked, but I did have some teak shavings to show for it.

Dave teaches us the application of a block of wood to break a Sikaflex seal 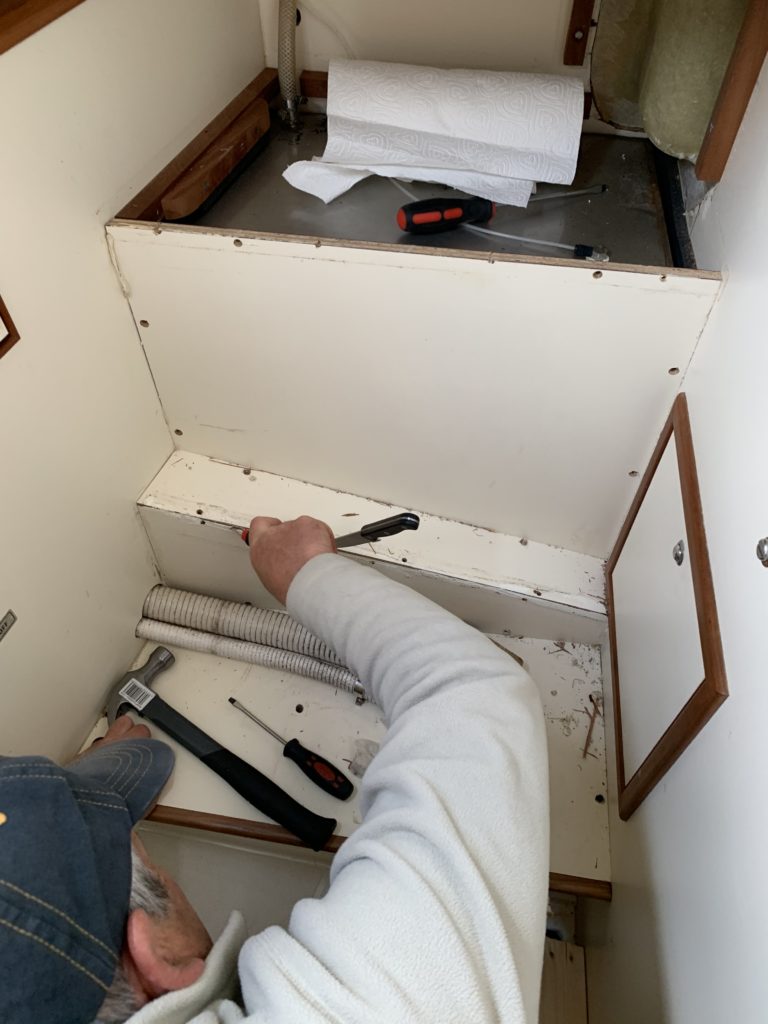
With the trim gone, it’s time to break the seal of the tread 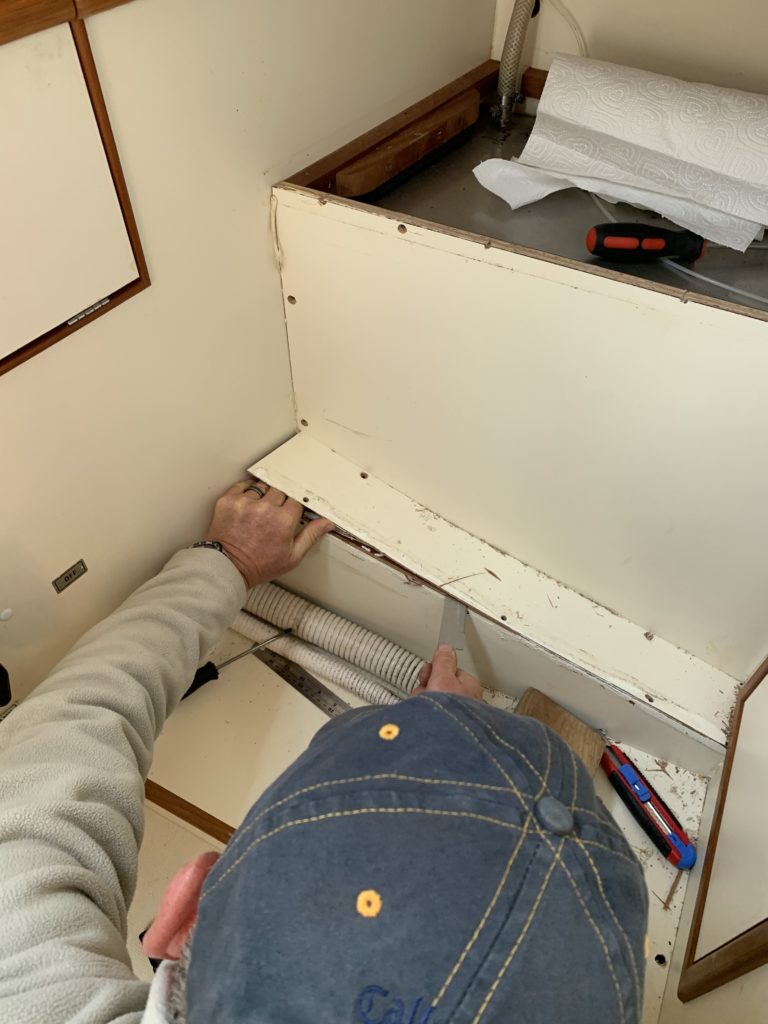
It really didn’t want to come 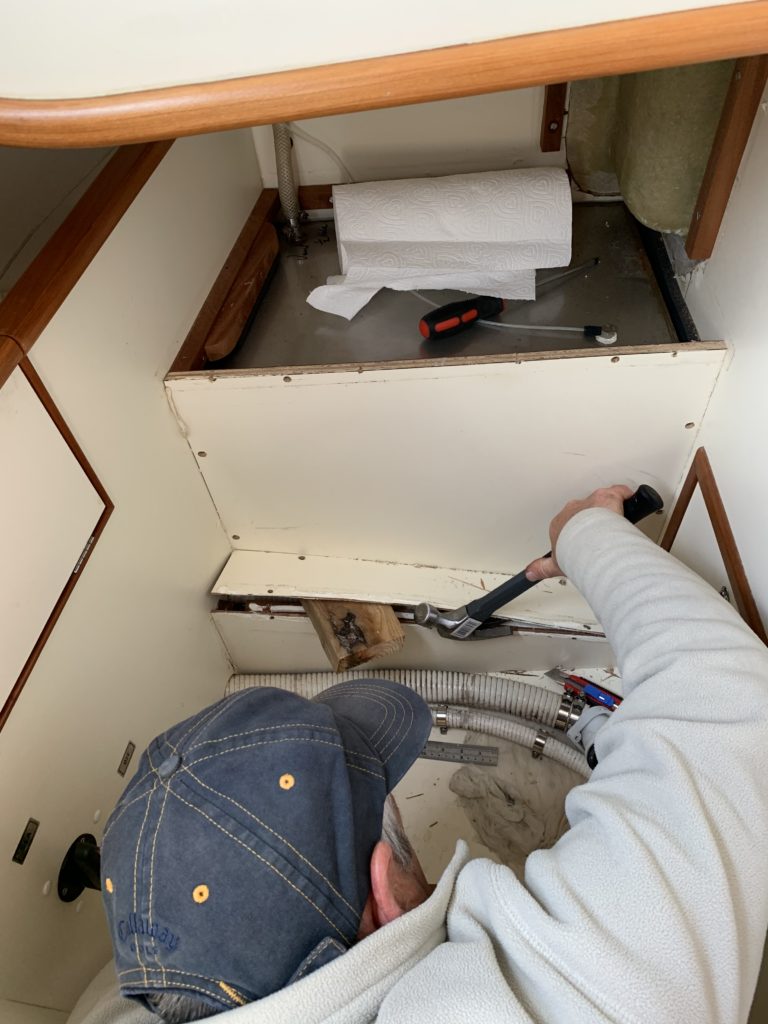
More application of blunt leverage 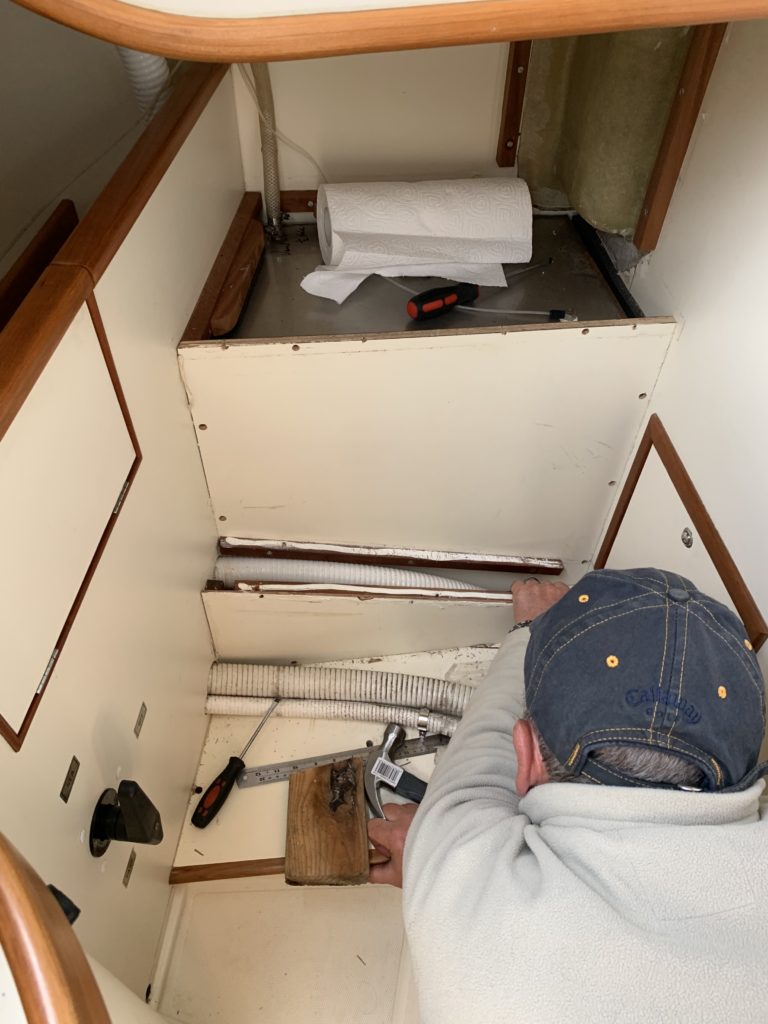
It’s off!
Dave knew a technique we didn’t – apply force over a large area, slowly, and Sikaflex (or the like) will give way and pull apart. We sacrificed a bit of sacrificial wood that I had on board, and he slowly applied pressure along the edge of the teak trim to get the glue join to break.
Once it broke, we found what looked like a mitred join behind it, and more #8 screws. However, there’s no way it could be mitred if there were screws (no sensible way at least), and it turned out the tread was just a bit of faced 3mm plywood, held on with even more Sikaflex (it might not be Sikaflex, but I’m calling it Sikaflex for the rest of these posts).
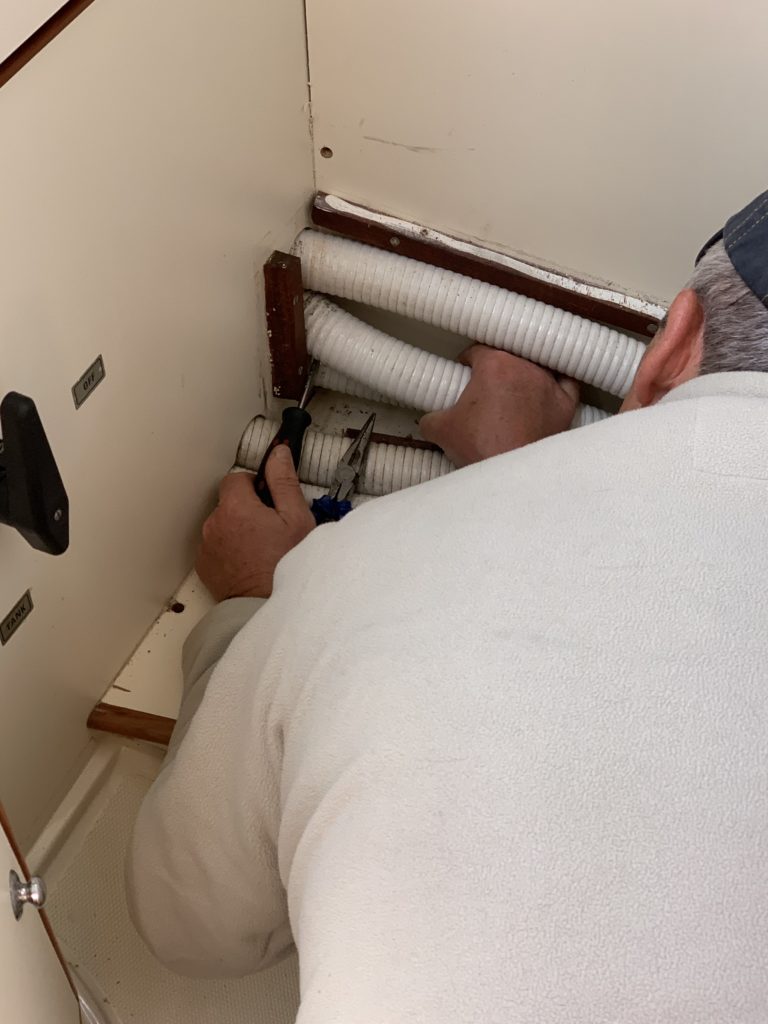
Getting at that one damn screw behind all the pipes 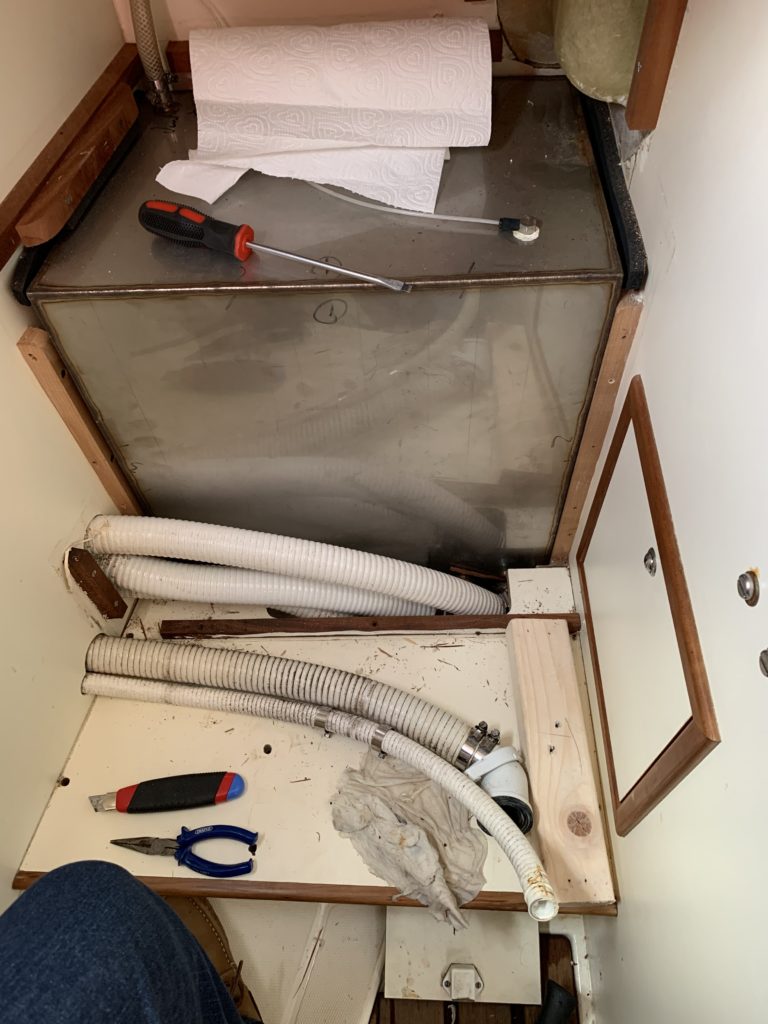
Vertical panel out! 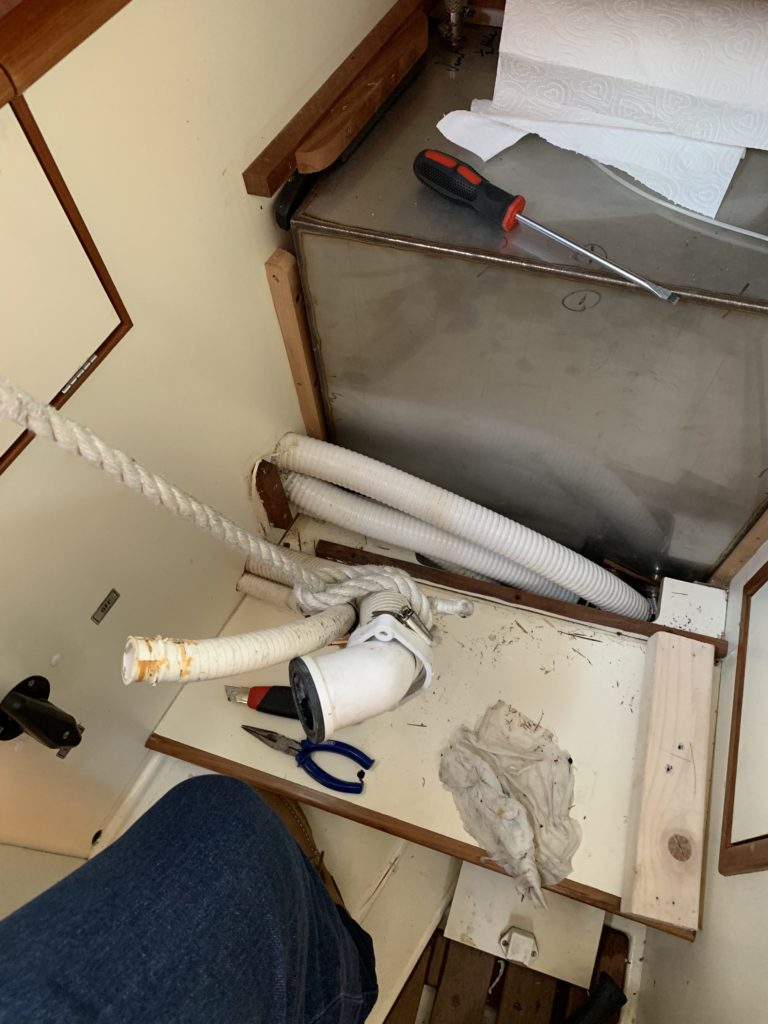
Hoses tied up to give access to the battens 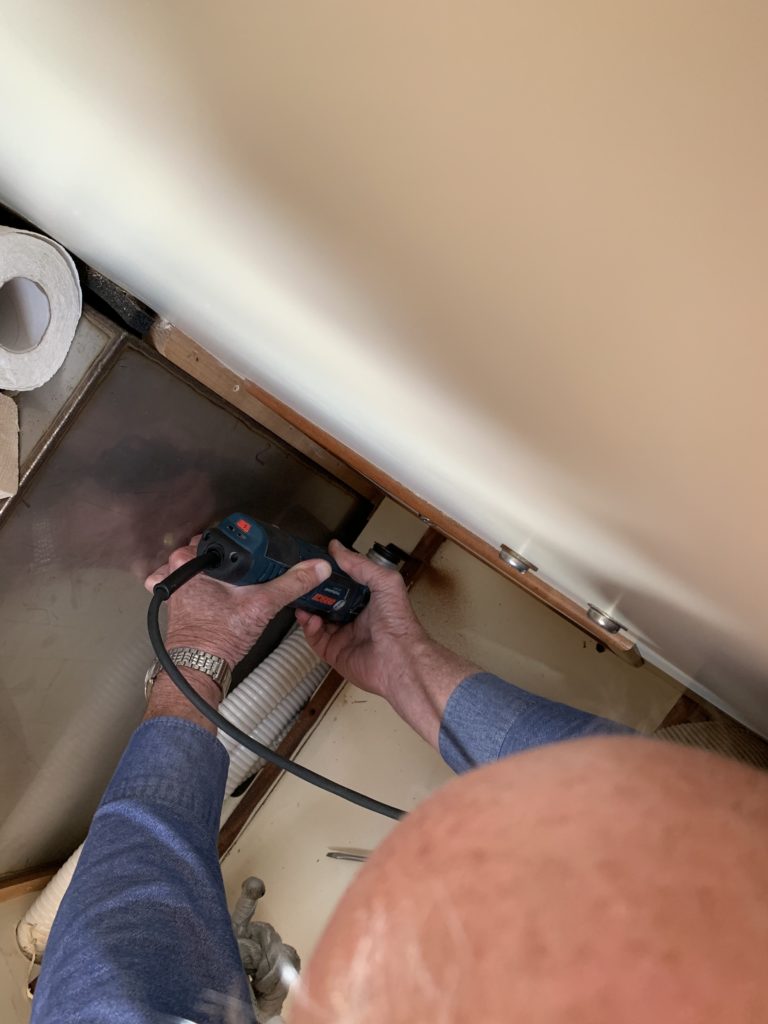
We think there’s a screw under that batten 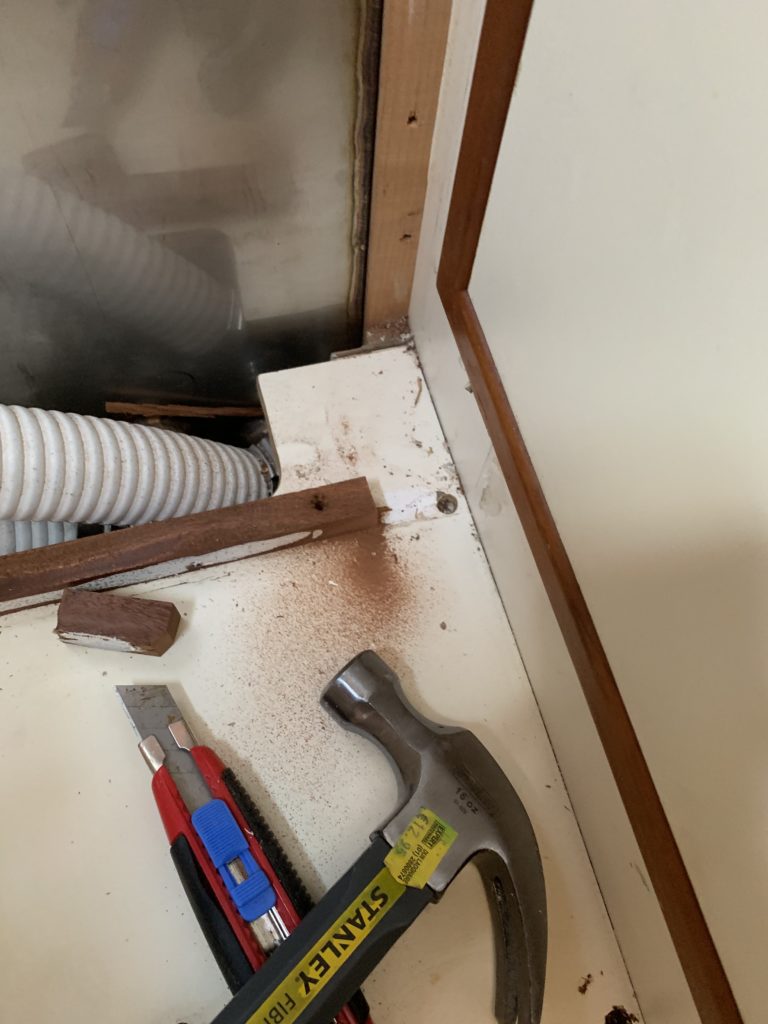
Bosch multitool made short work of the batten, and one smack with a hammer removed the lump
There was one last screw holding the vertical panel in at this point, and it was hidden behind the tank pipes. It will not be going back in, because that’s an impossible place to get to without 4 arms and 2 heads.
We unscrewed all of the screws holding the base panel down, and it still wouldn’t lift. Most odd. Eyeballed where the rear screw was, looked closely at the batten, and promptly sawed off the end so we could get at the last hidden screw. Oh yes, the batten was held in with screws and Sikaflex. I think the yard had shares in whichever firm made the sealant they used.
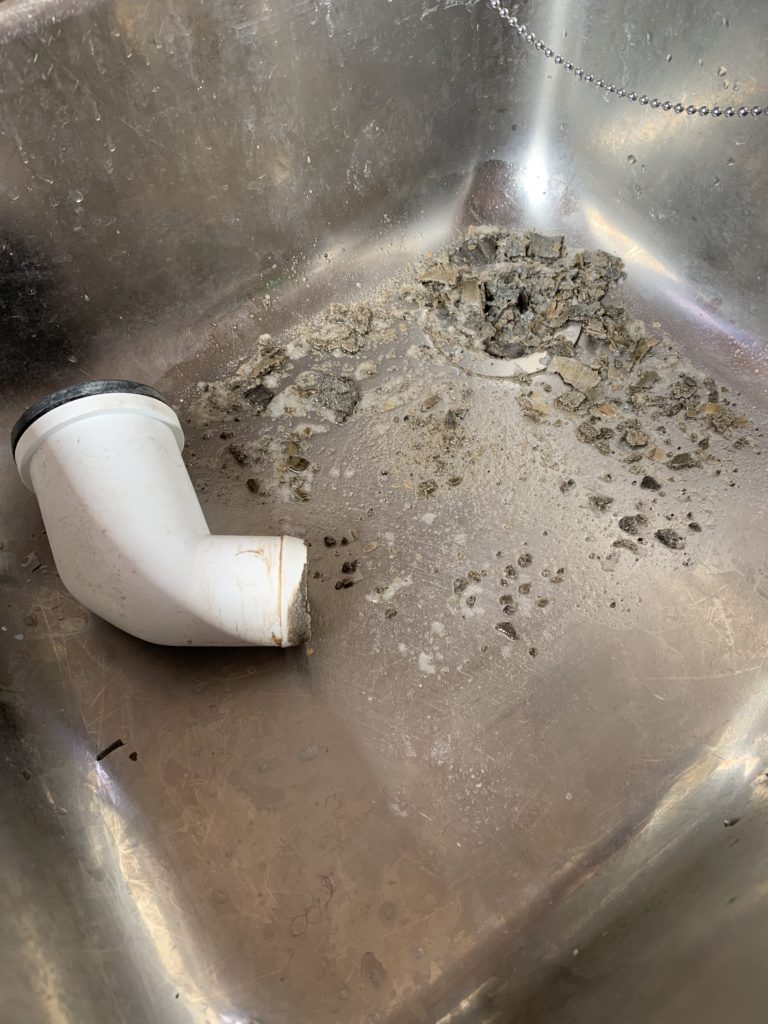
Emptying the elbow on the back of the Jabsco head 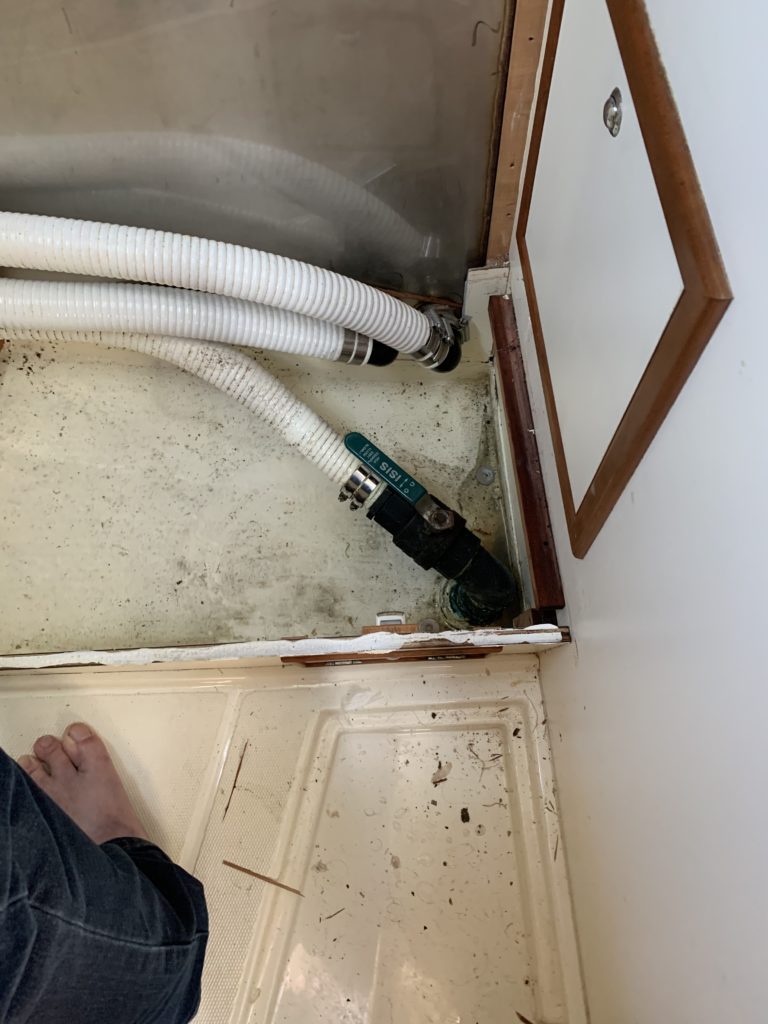
The panel is up!
The final challenge was getting the base panel removed. Even with all four screws removed, it didn’t want to come. It would hinge around the leading edge (which has nice teak nosing), but the bond really didn’t want to break.
Earlier on, a Legend 38 rafted up to us and we had a chat, and George offered use of any of the tools he had etc. We had just come back from a lateish lunch, and George asked how we were getting on. I explained the issue with the panel, and he offered to take a look – saying he didn’t doubt us, but he might see something we hadn’t seen.
So, he’s in the head space, poked the join a bit, and then asked for a sharp knife. Performed one or two left to right cuts, almost like he was cutting open the side of a large animal, and the base panel popped right off.
Sikaflex. A massive bead of it between the panel and the riser.
Thank you Dave, George – your assistance was invaluable.
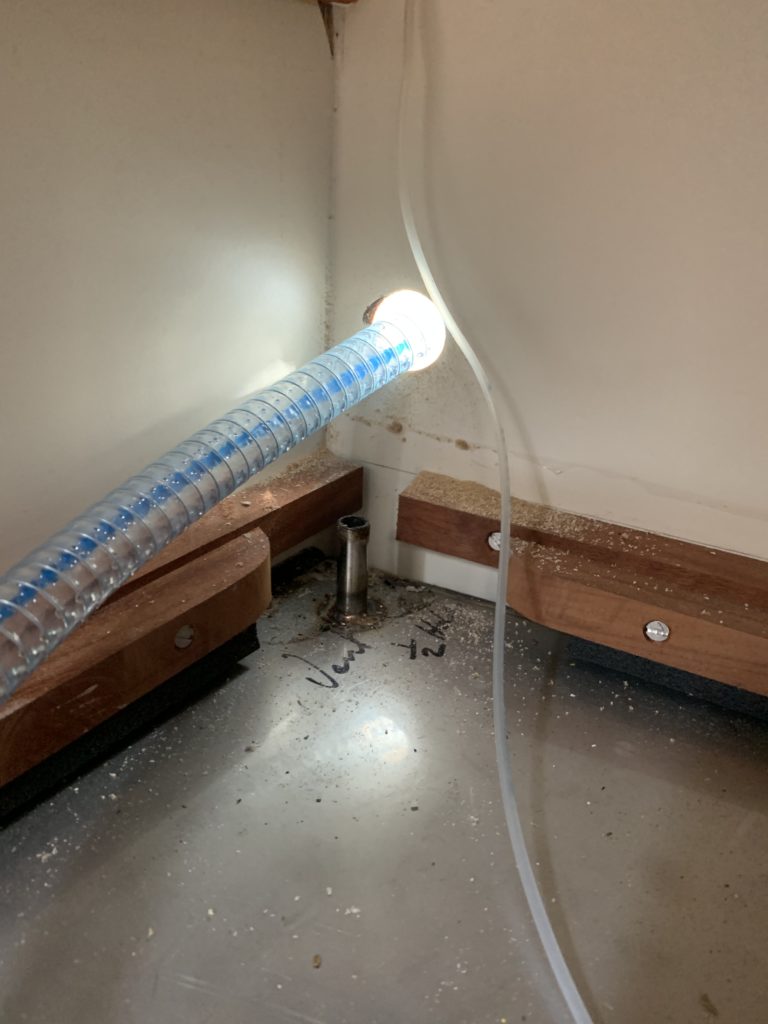
Running new vent line 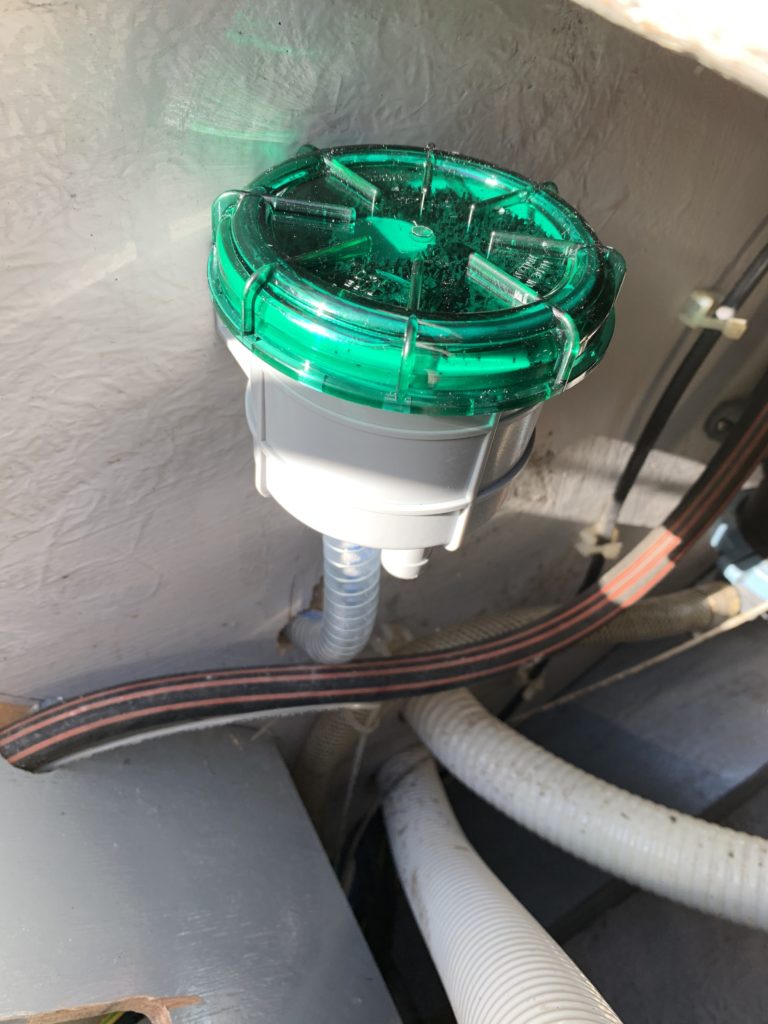
The filter, bolted in place
The final task for the day was to replace the vent line, so that we could fit the carbon filter. The small Vetus filter takes a 16mm hose, and the top of the tank and the existing line is a 13mm hose. The first order of business was to open up a larger hole into the cockpit locker to pass the new vent line.
The second order of business was to try and fit the filter with #10 screws, but there’s no way to get a screwdriver head in; the angle is just all wrong. So, re-measured slightly, popped two bolts through, and with some penny washers to spread the load, bolted the filter in place.
The third order of business was to clamp the new 16mm line on to the tank spigot. Before doing so, I noticed that a bit of limescale-like material fell off when I pulled the old 13mm hose out. Rodded the spigot, and a whole bunch of material fell into the tank, so I suspect the bonging sound I’d been hearing was down to the vent spigot being unable to pass a sufficient volume of air. I really should fit some 13mm hose on that spigot though, and then put the 16mm around the 13mm.
The fourth order of business was to reconnect the coaming vent to the filter. Unfortunately, I hadn’t left sufficient length of hose to reach the filter, and so I was looking at needing a 13mm to 16mm adapter to join the hoses. However, Dad had the idea of heating up the16mm host in a pan of boiling water, and sure enough, it expanded just enough to let me force the 13mm hose inside of it. It’s just an air line, so it doesn’t even need clamping.
So endeth Saturday. Oh, and we went out for dinner at Bistro Le Monde, because it’d been a long day, and a hot dinner sounded like a really good idea.