We returned to Malahide again this weekend gone, spending Saturday afternoon doing the last bits before the yard closes up the boat (i.e., puts the engine back in).
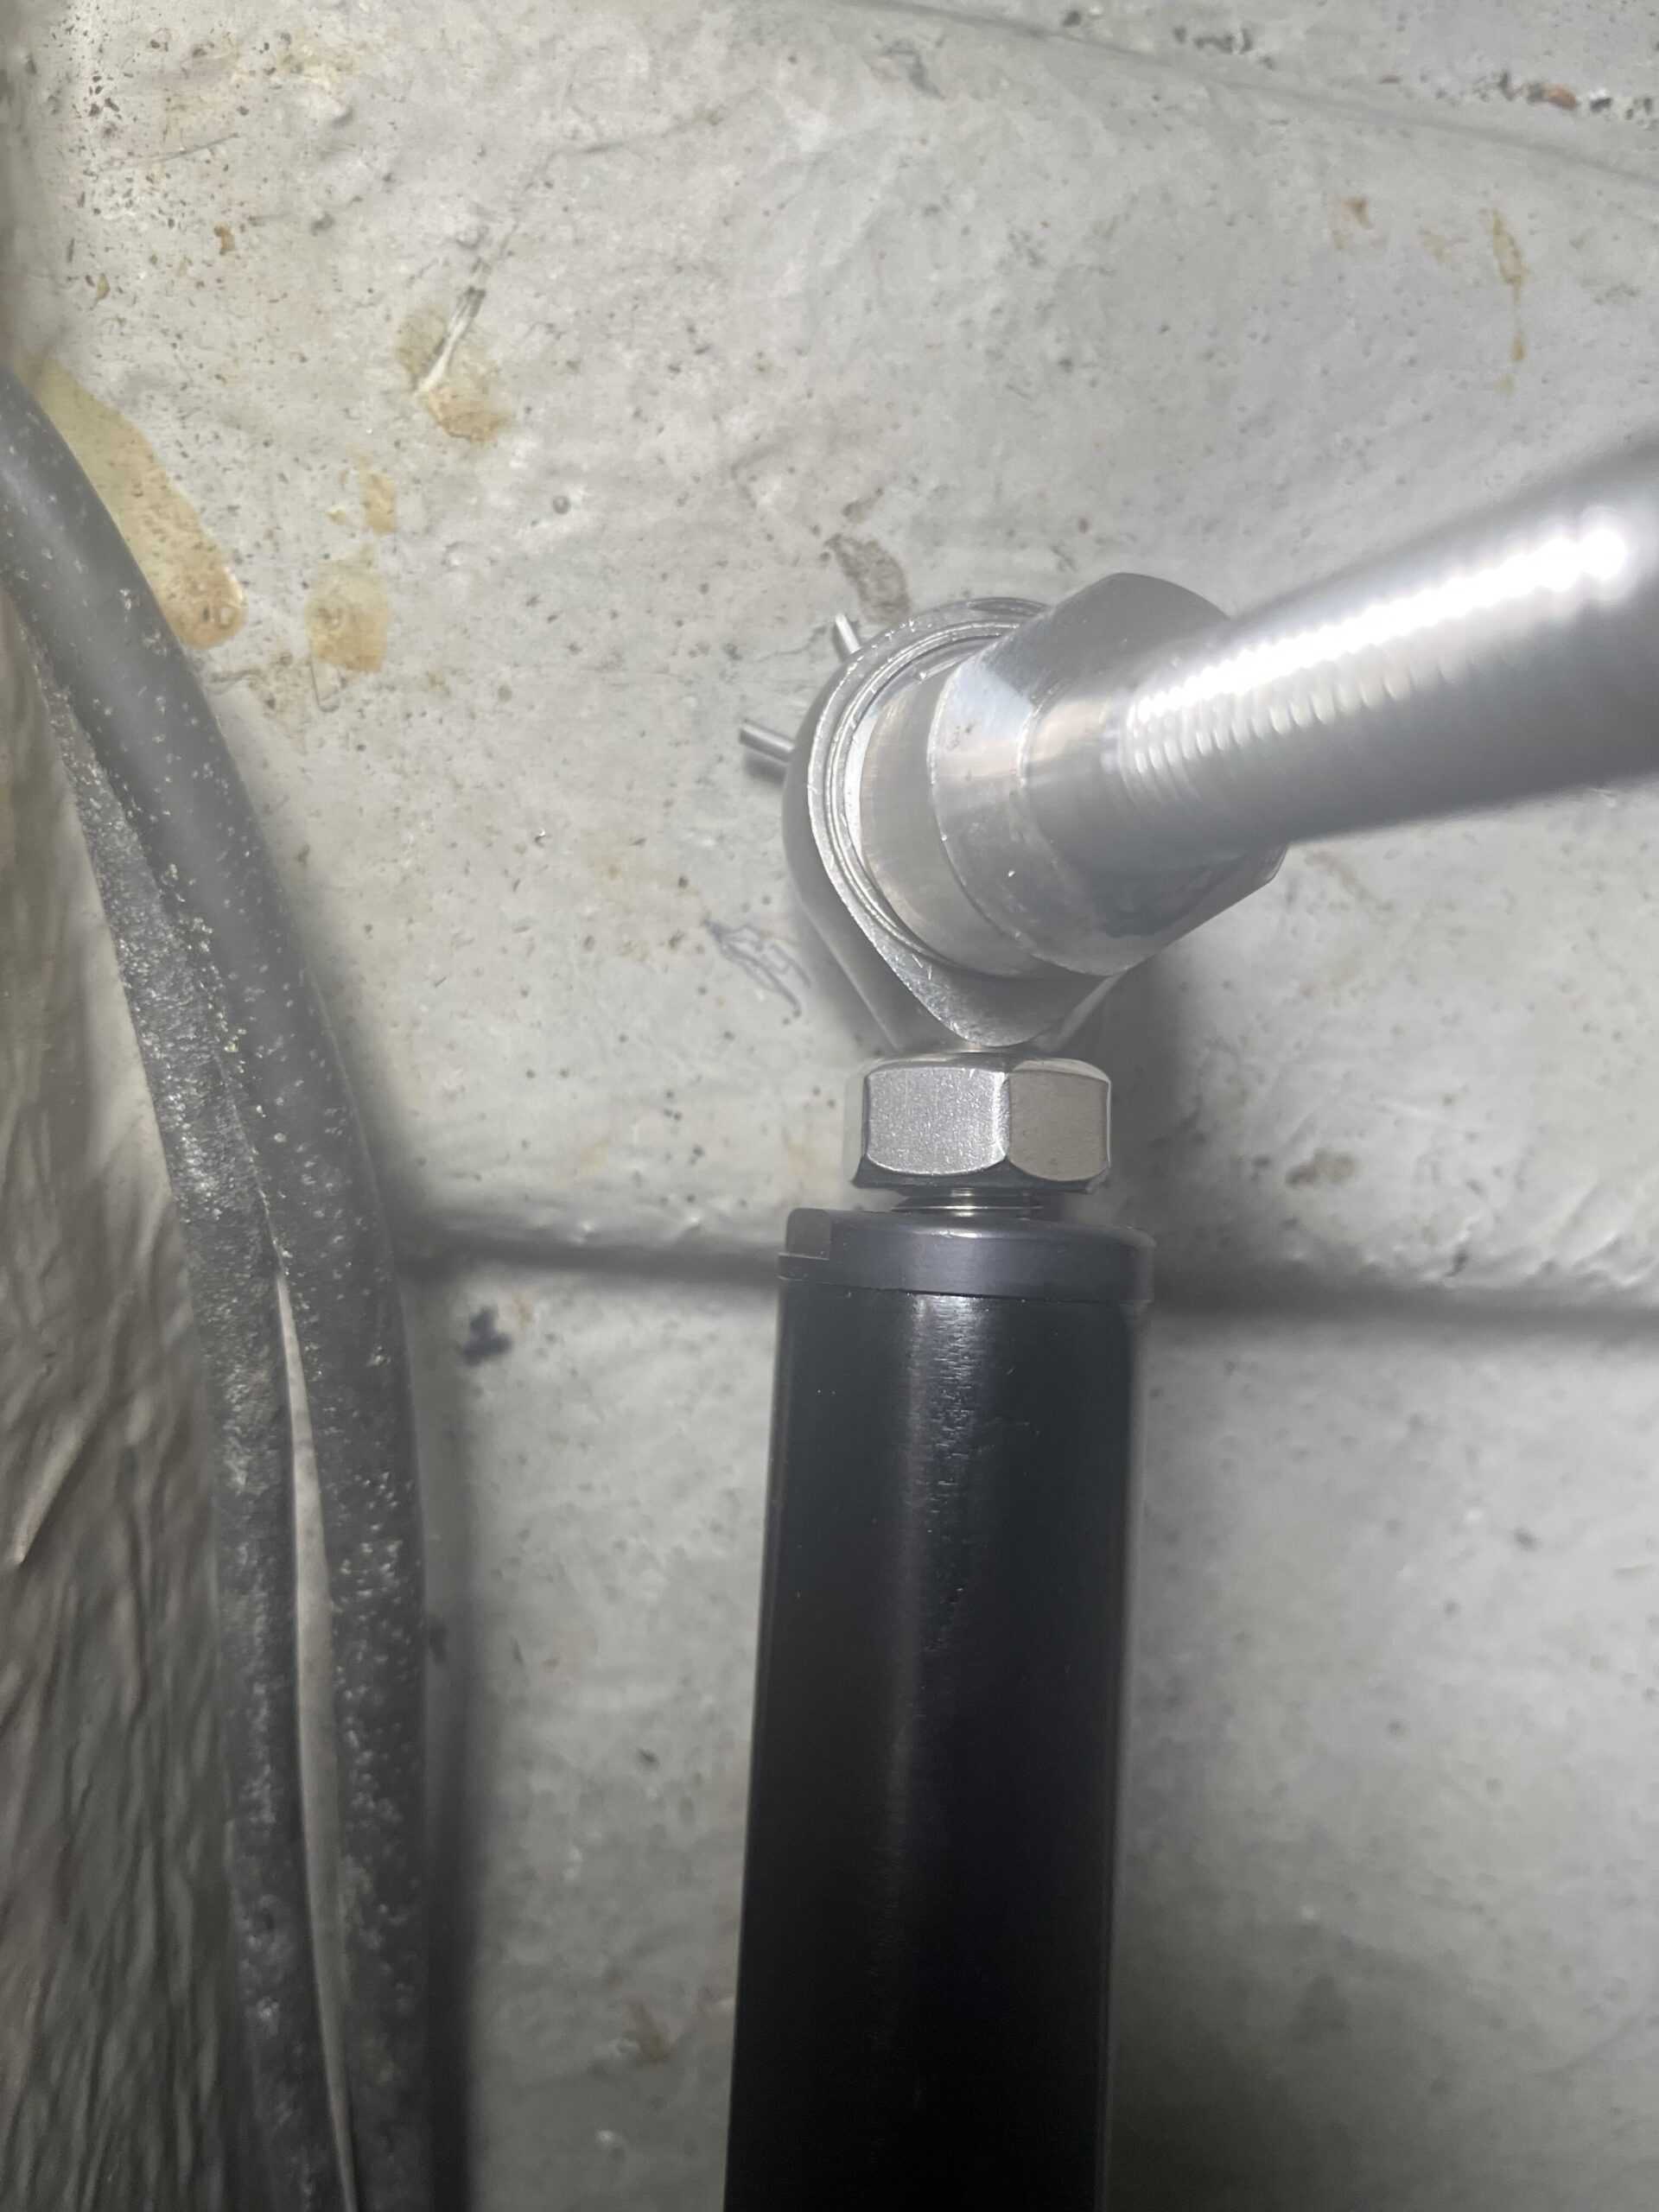
In one of the previous visits, I noticed the binding of the helm on a starboard turn, but not on port. I had asked the yard to deal with it (which they agreed to), but then got an email mid-week saying they couldn’t do it as they didn’t have expertise in what I was requesting. Thus, it fell on me to work out how to do the job. That bit was easy, and the process became
- Full port lock
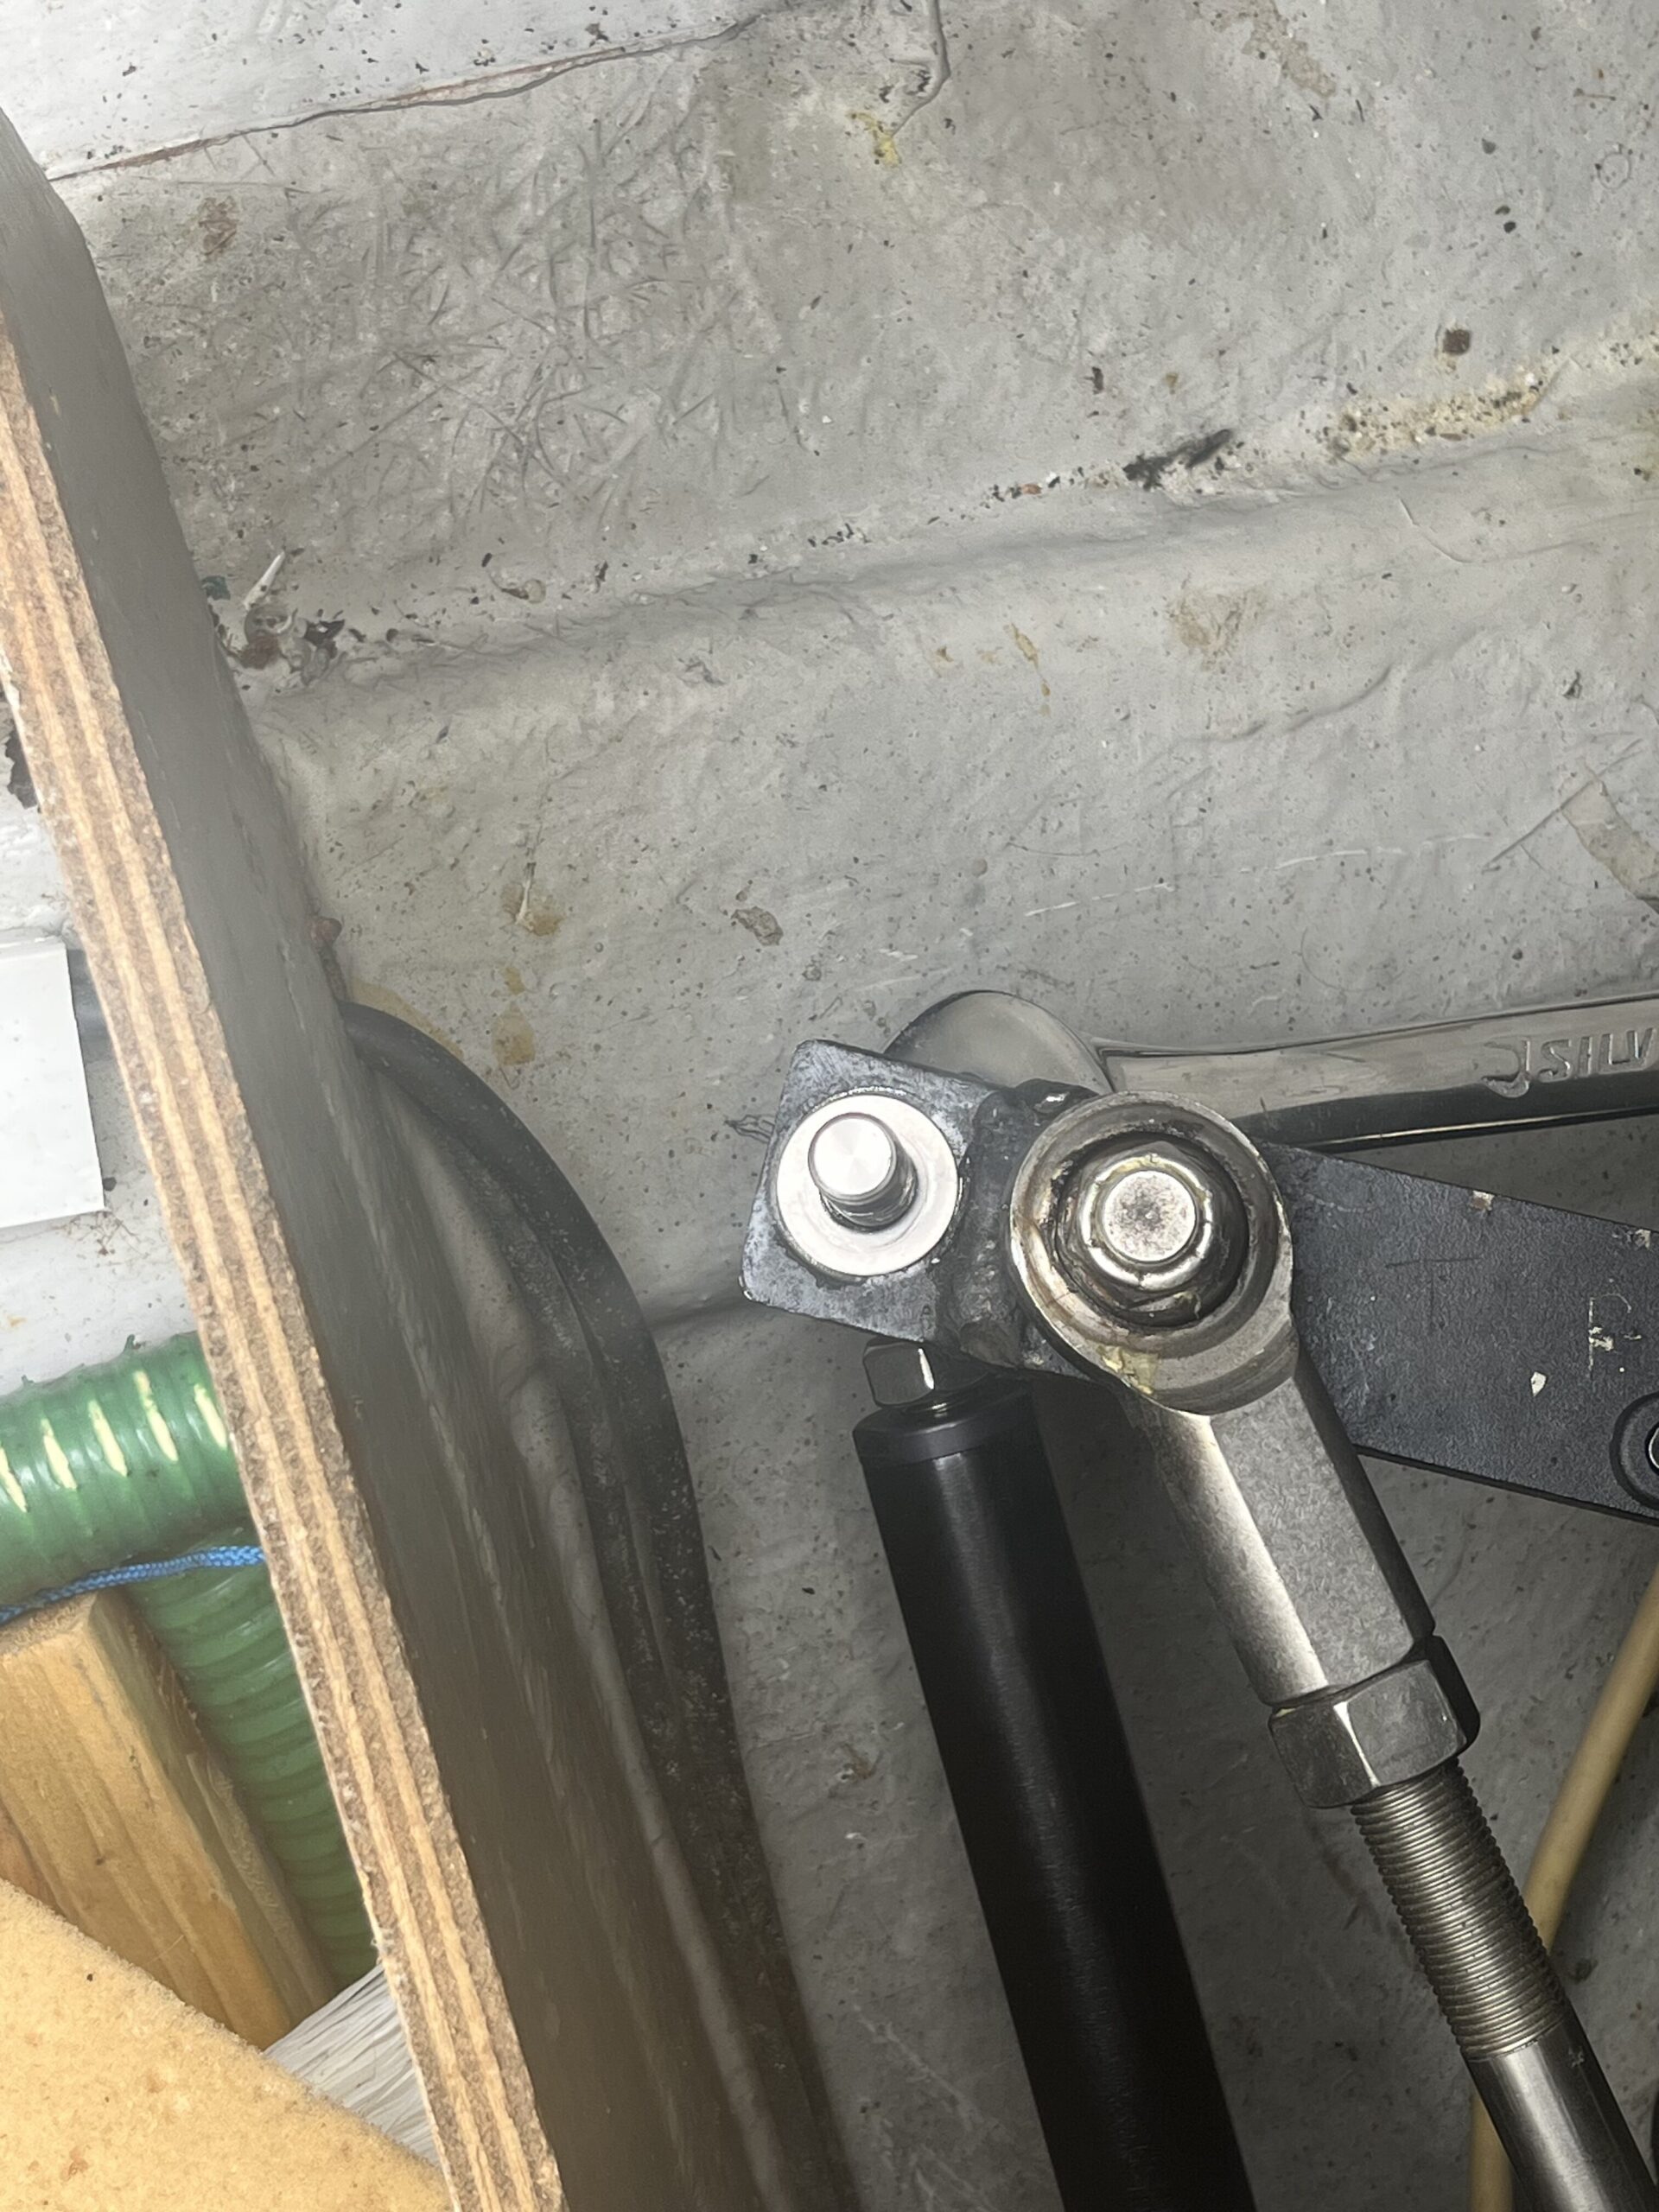
- Disconnect the pin out of the rudder arm
- Extend the arm as far as it will go to see how much extra length is available
- Re-attach the pin
- Unbolt the drive
- Move it towards the bow by the extra extension minus a smidge
- Drill and bolt in place
Unfortunately at step 3 I discovered that I had all of ~1.5 cm available travel. So step 4 was done, and then I closed up the access panel, re-attached the rudder stock greaser, muttered some imprecations at boats, and moved on. I did wonder whether the two pins could be swapped, but decided to not try and find out. It’s clear that the drive has been attached with a welded extension, and the drag link (to the helm) is a fixed length bar. The end of the linear drive rod looks like it might unthread to extend, but that doesn’t help me either, as that doesn’t increase the travel distance of the rod.
So we’ll live with the auto-pilot set to 22 degrees of port/starboard helm, and know that we should not fight the resistance we get on starboard lock. Bother.
The insulation work is almost complete by the yard, but it’s evident that the adhesive backing isn’t sticking, so they’ll be doing mechanical fixings as well. The wiring from the helm has been hidden underneath the insulation, which is definitely not what I want done – had a word with the yard on Monday to ask why it was done this way (manager didn’t know), and to please not do that because I can’t swap the cabling without taking the insulation panels down.
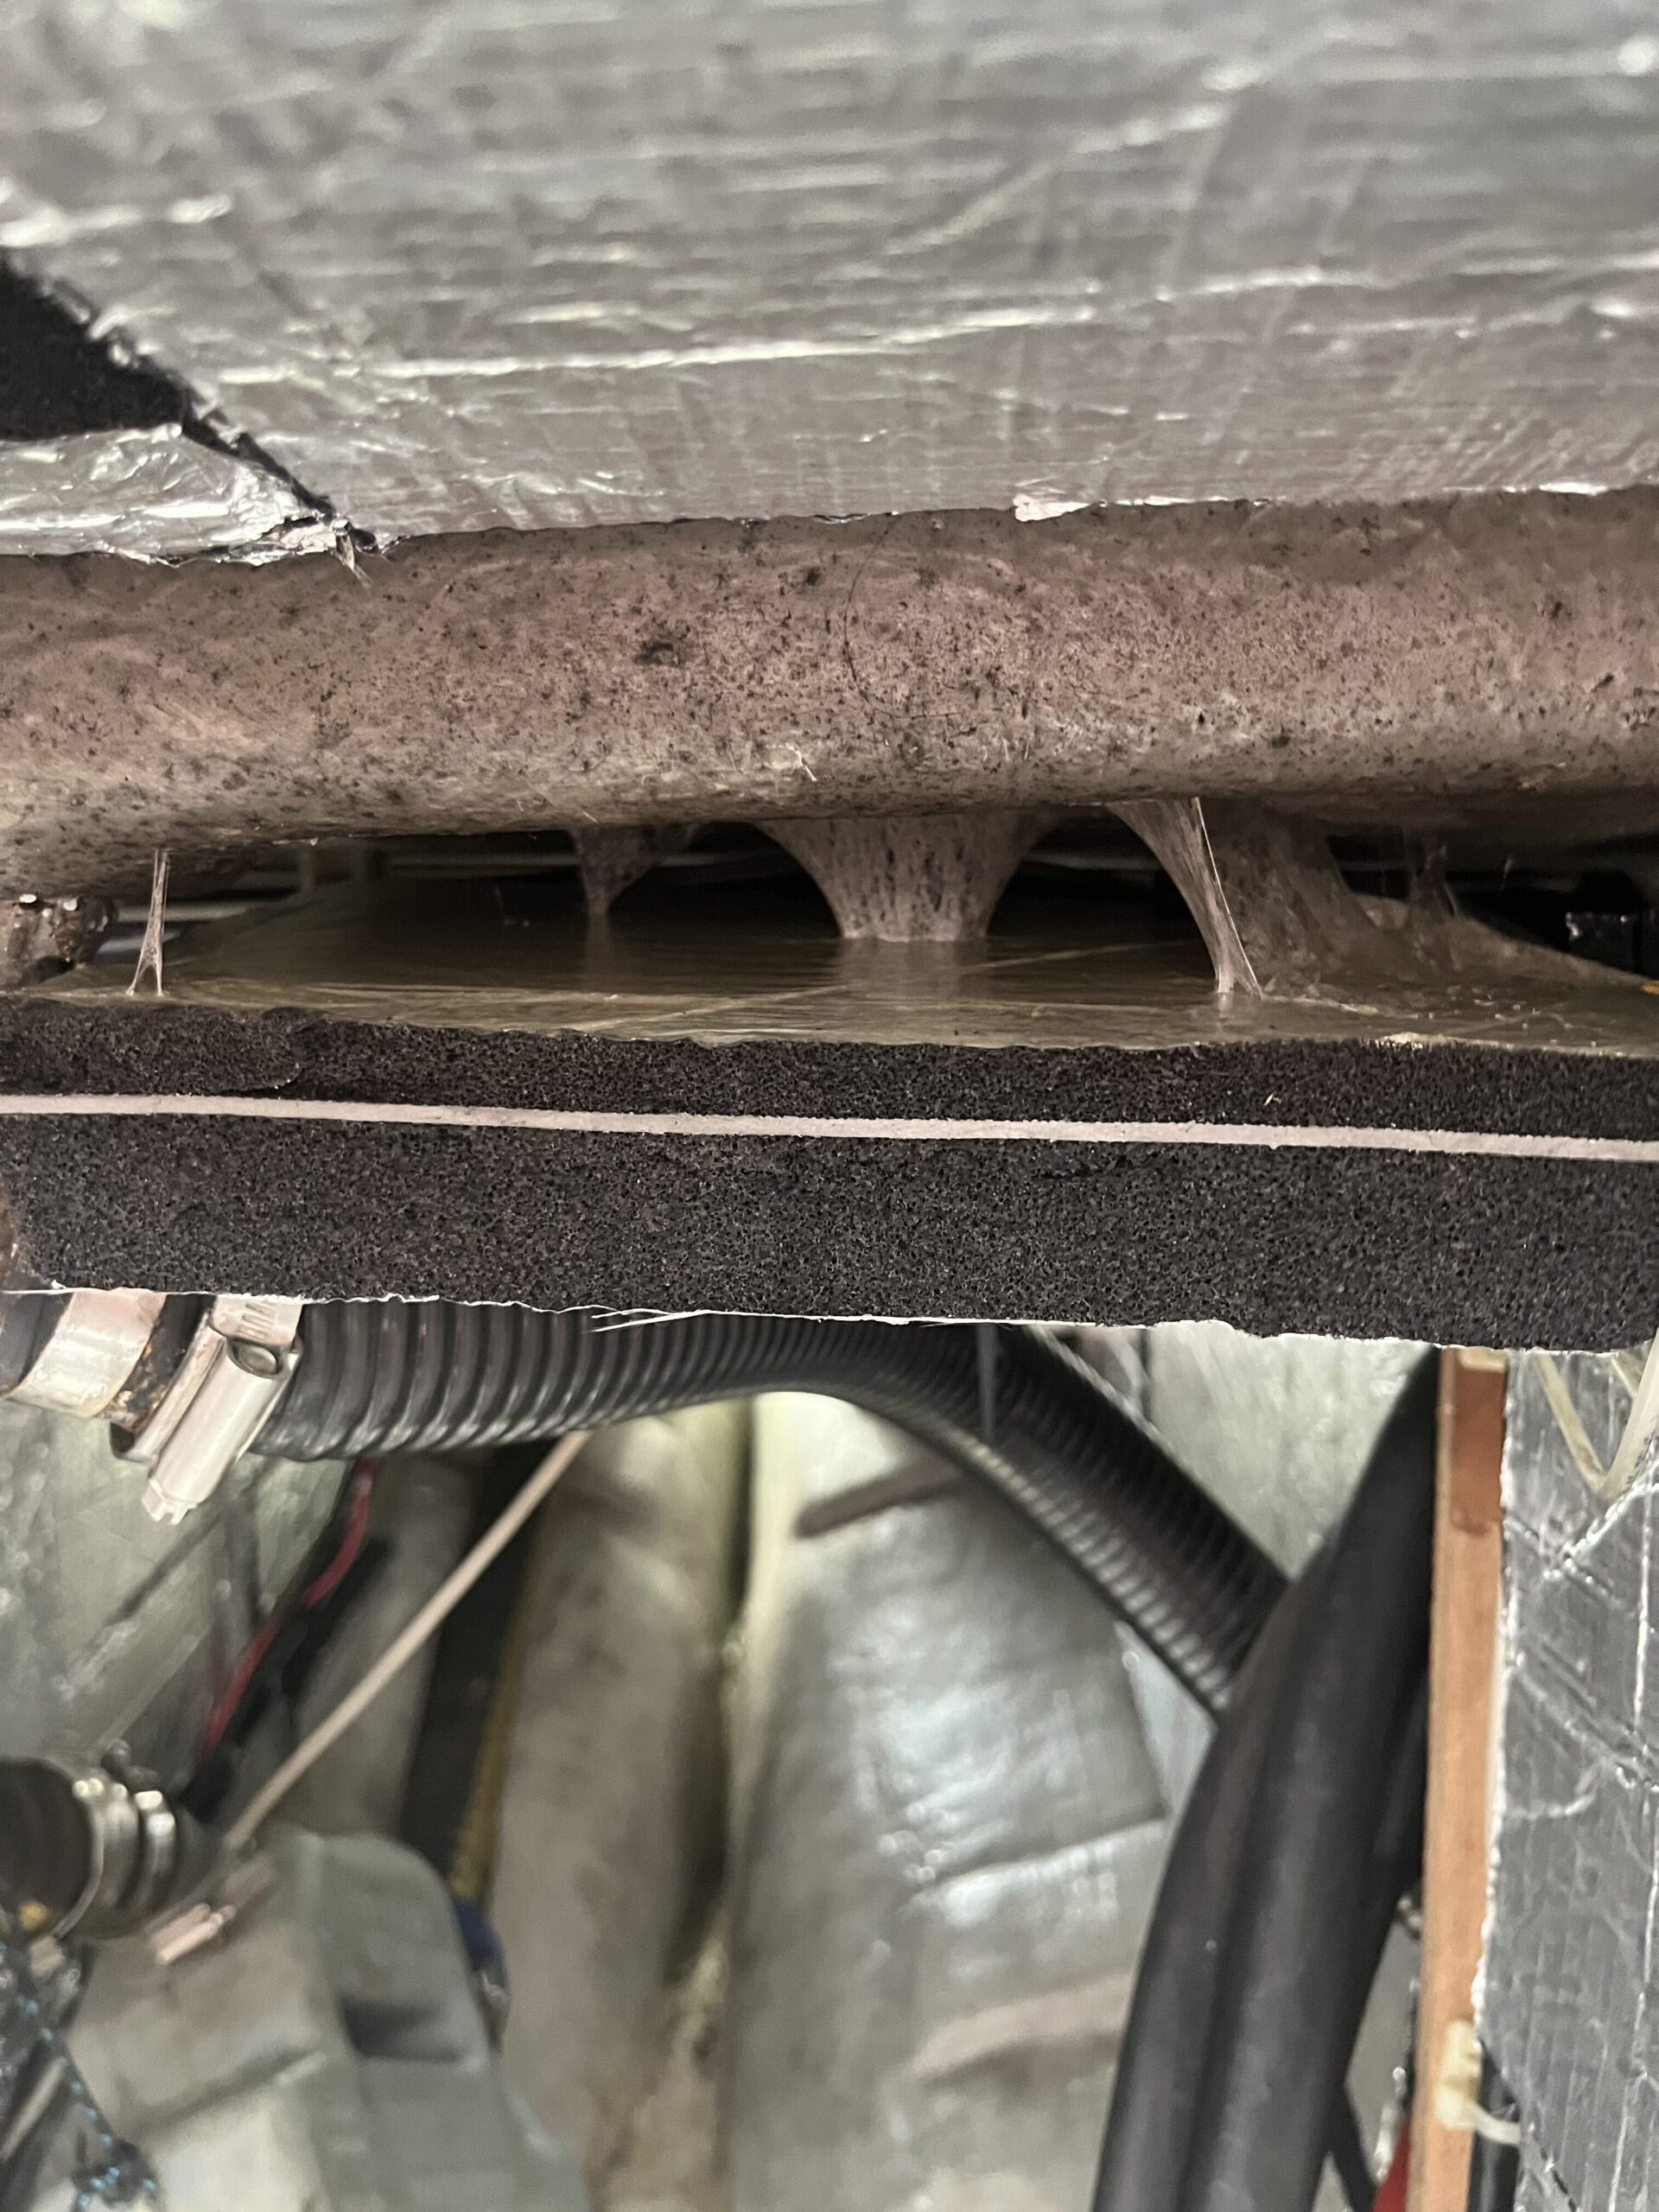
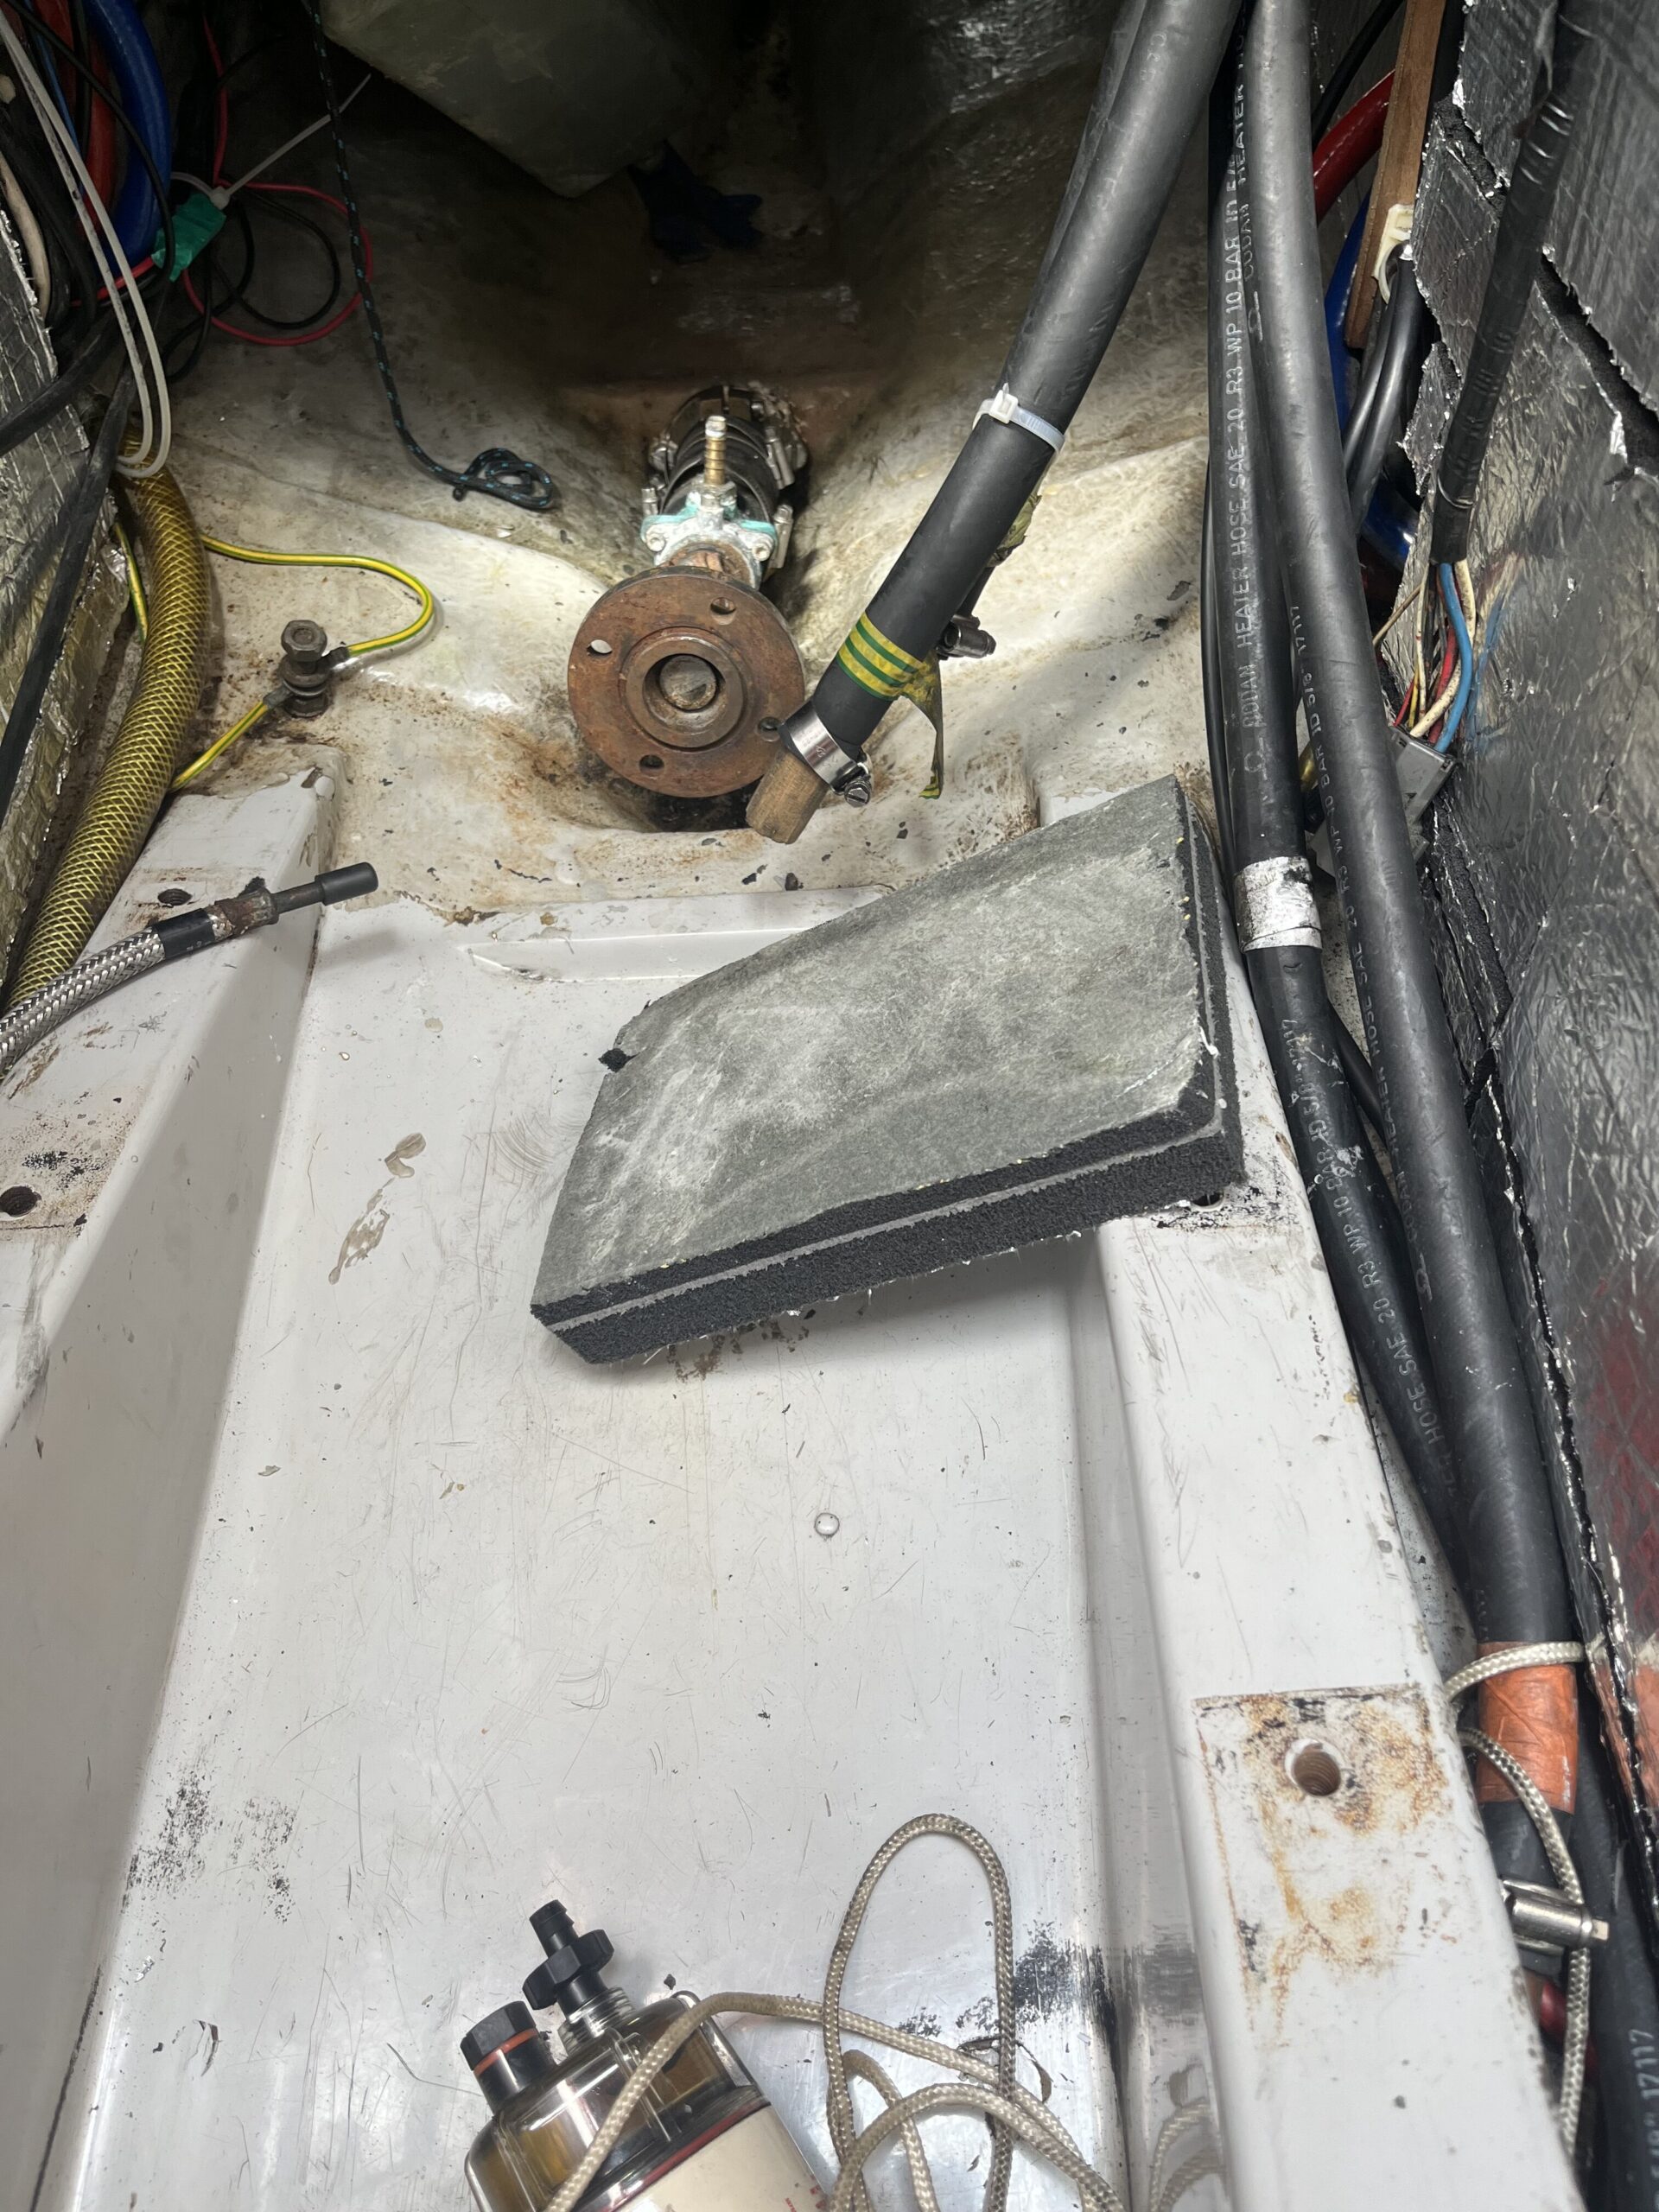
They still need to apply the silver tape to seal all the joints; it’ll look better at that point. The goal isn’t total sound isolation, but to get at least some reduction in the noise that shows up in the cockpit. Given the open-to-the-rear nature (which is covered over by the wooden half-box that holds the greaser), there’ll be some noise coming up still, but my hope is that the additional sound insulation absorbs more of the engine noise making for a quieter cockpit.
The new anchor is also installed. K and I unwrapped our badly disguised Christmas present, and then we attached it to the chain and slotted it into the bow roller. Turns out the certified shackle I bought for the chain-to-anchor join is a hair too large on the pin. Looking at the second link at the end of the chain, I think the pin might fit that one, so I need to chop off the last link to make that change. For now, the anchor is attached with a cheaper uncertified shackle, and looking at the pin eyes from the side there’s a very clear manufacturing quality difference. The swap can wait until the boat is back in Dun Laoghaire though.
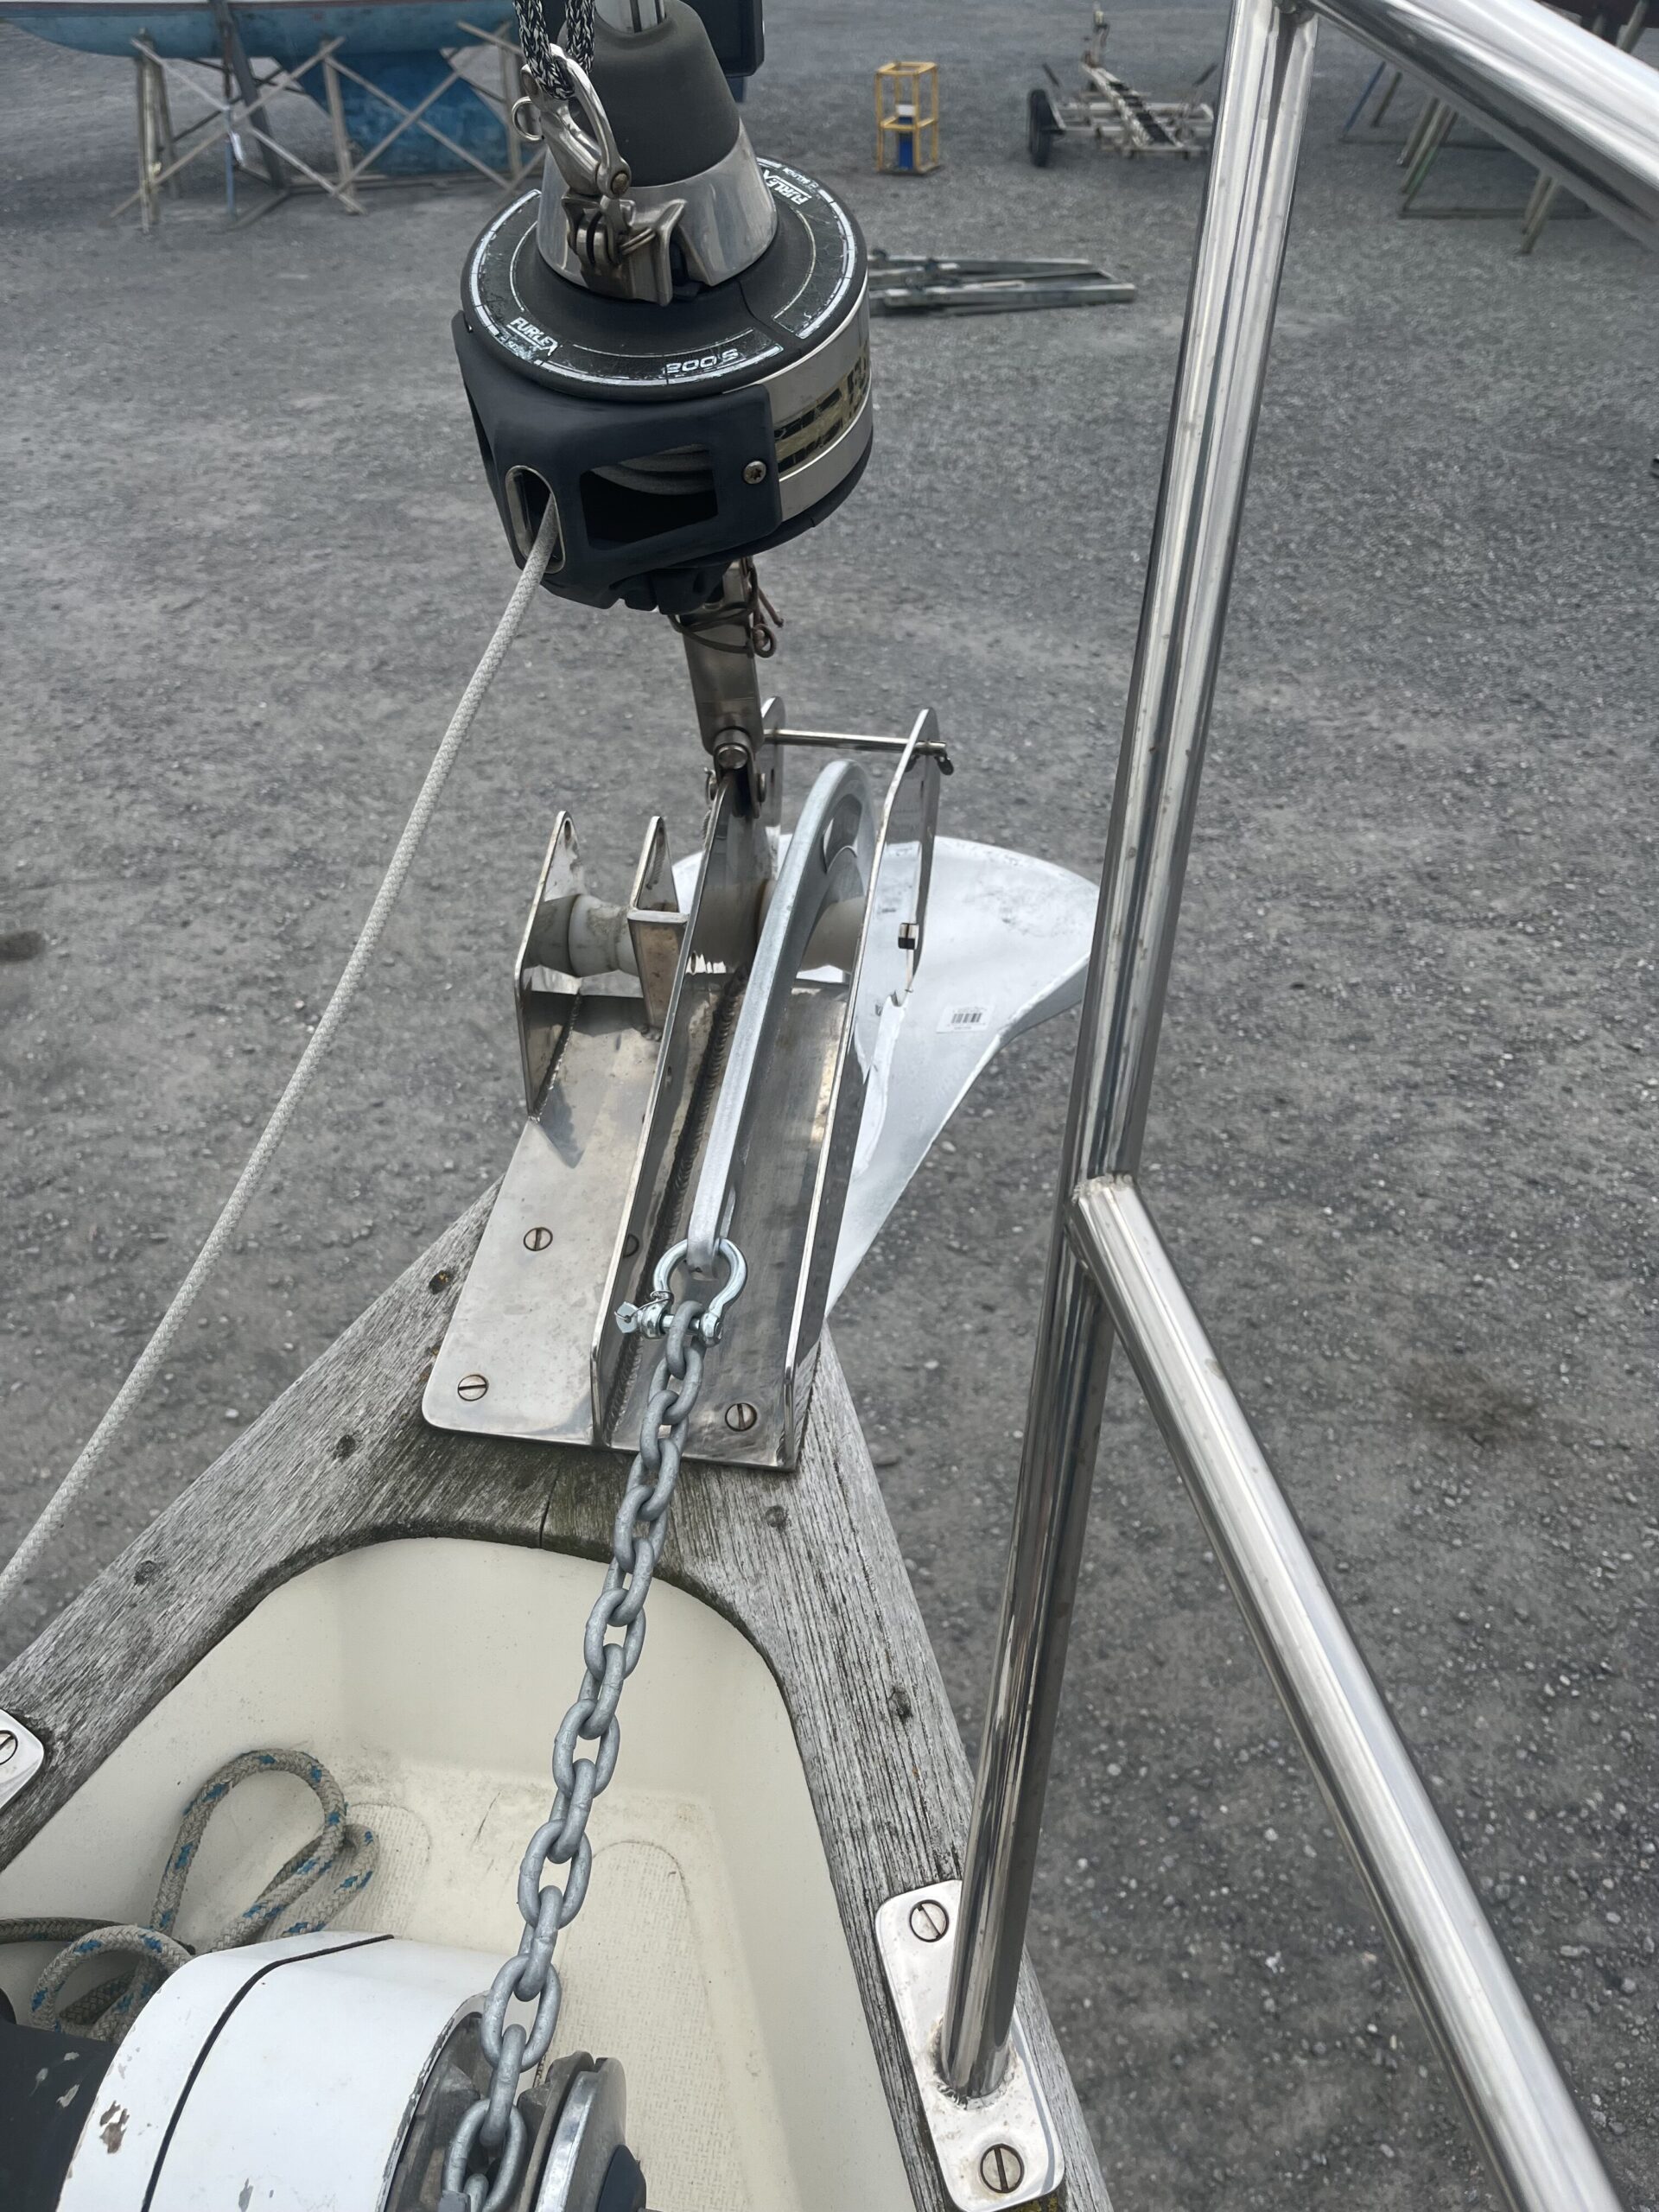
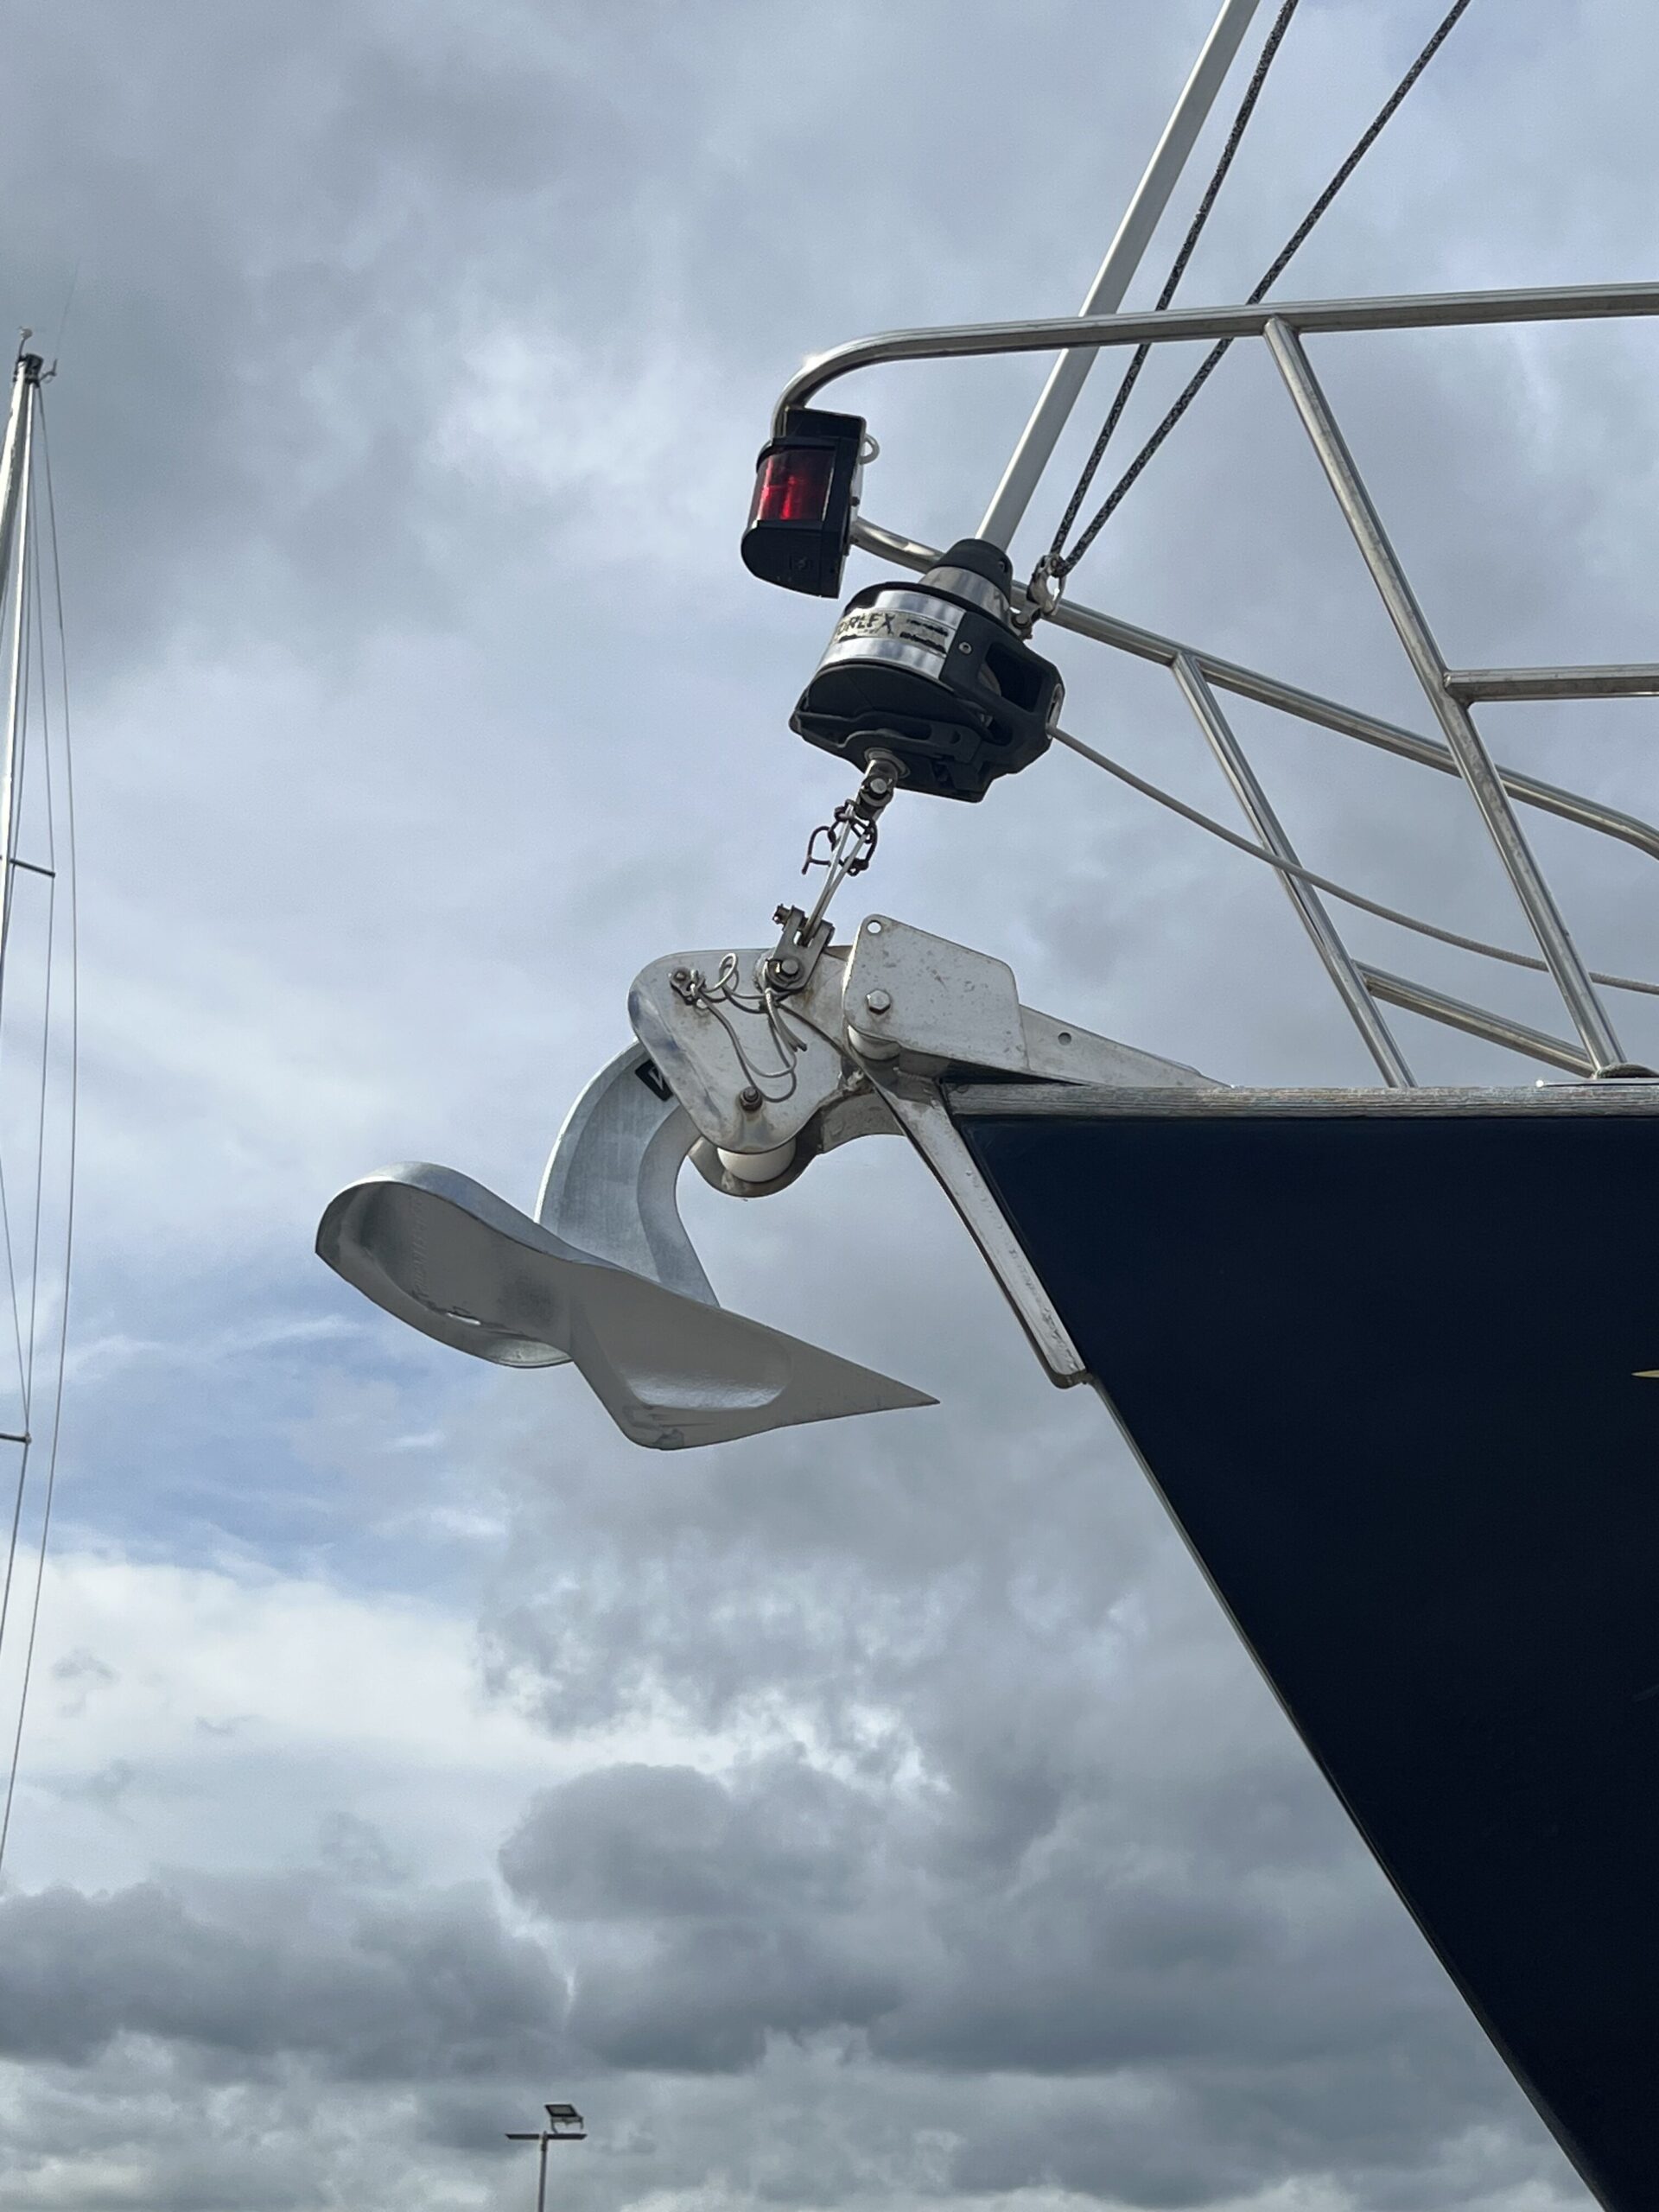
The CQR anchor shank came all the way back to the windlass wildcat, and indeed I’ve pulled it in so far that the shackle got jammed into the grip of the wildcat. The Vulcan doesn’t come anywhere near as far back, though I wouldn’t want to try it in the port roller. Amazingly, despite looking so small compared to the 35 lb CQR that was there, the fluke has an area of 1.02 square metres. Next up will be installing the chain markers, since this windlass is so old it doesn’t have a chain counter (which would be something like a Hall effect sensor, or reed and magnet, so possibly a thing I could hack in?).
Finally, before tidying up and taking all the tools etc off, I poked at the chart table area to satisfy a few questions.
- Can I fix a 9″ Axiom+ where the radar is?
- Should the fuel gauge go in the hole, or do I put something else there?
- Did K want to see what the chart plotter was like?
The answers to which are
Yes, sort of, but better off fitting a 7″ and living with the depth it needs to fit. A 9″ requires a fairly wide cut-out, and I think the wood panel would be weakened too much.
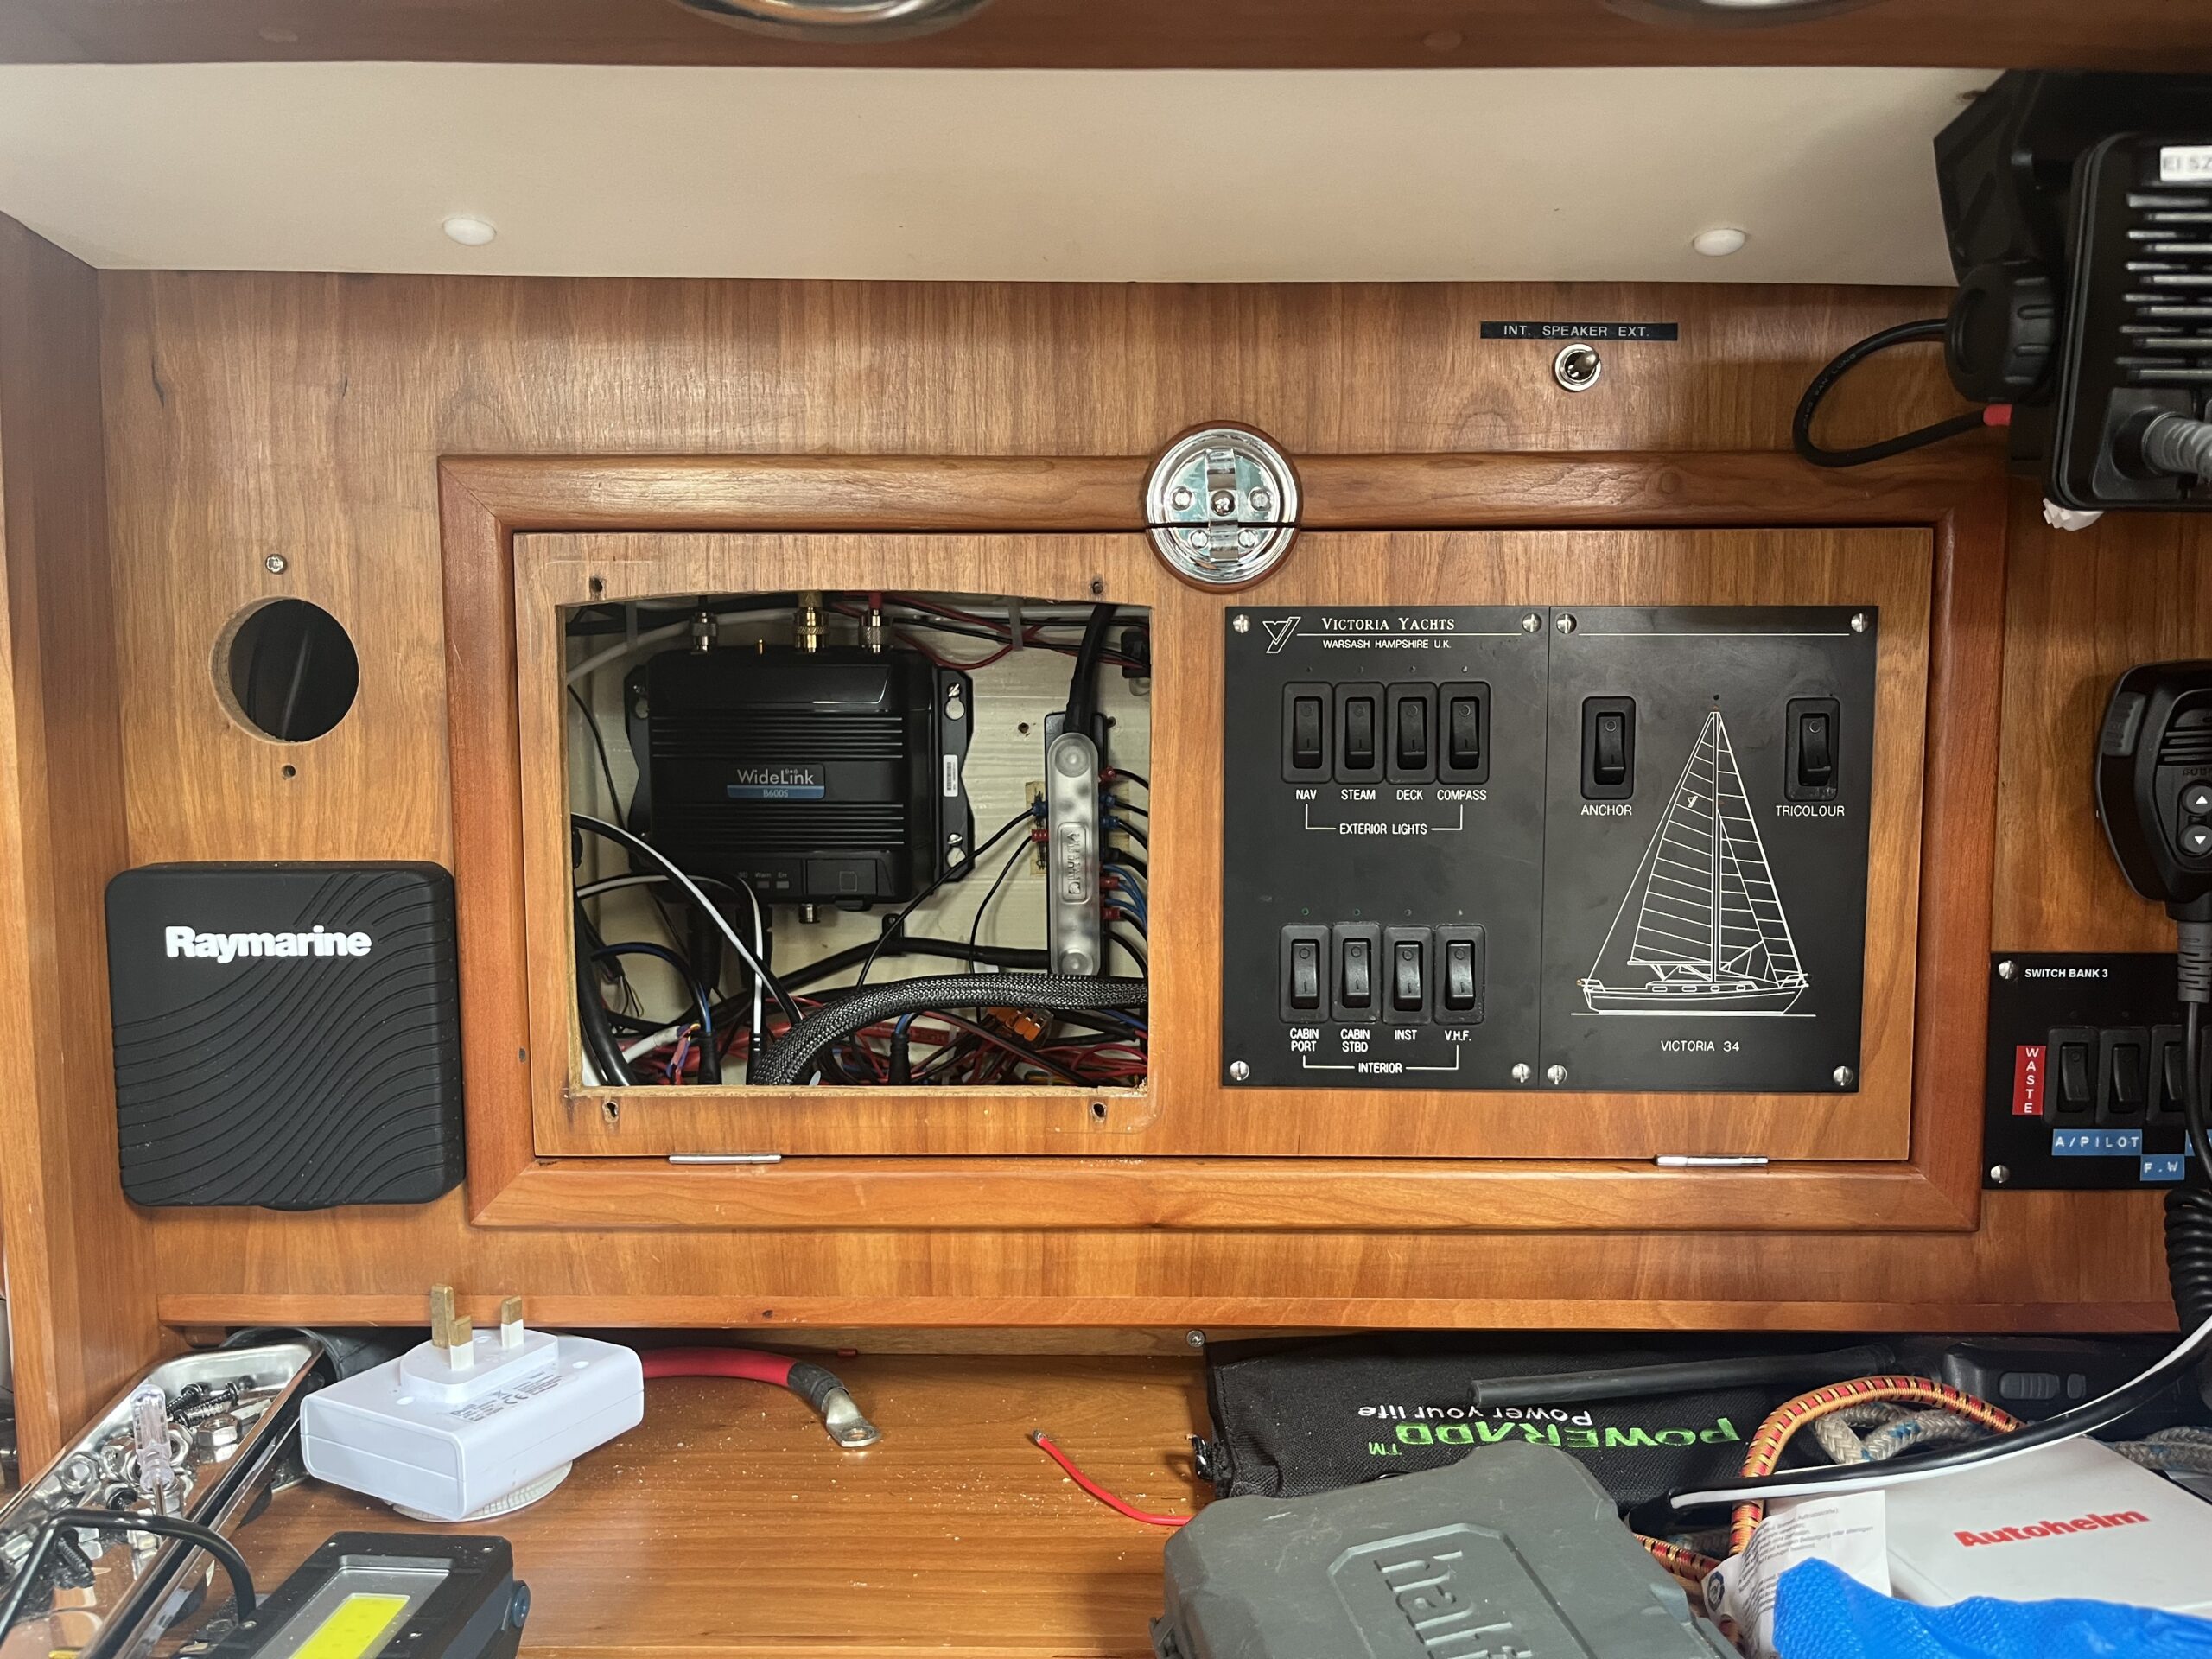
The door panel is grain-matched to the rest of the panel at the chart table, so replacing it is possible, but it won’t look as good. The 9″ would necessitate removal of wood from both sides of that big hole, and there’s no way the door panel will remain strong if I take more wood from the left edge.
I discussed the fuel gauge idea with K, as we’d want to run cabling from the fuel tanks to the chart table for the sender (and Saturday would have been a good opportunity), and her input convinced me that I don’t need the gauge all the time, but something like a BlueSea Systems M2 battery monitor would be more useful. The existing battery voltage monitors are below knee level, and require bending over to see if the number is a 1 or a 7; bringing them up to near eye line would make a lot of sense.
Finally, we poked at the chart plotter, just so K could get an idea of how it works. The first feedback (which I agree with) was that physical knobs and buttons would be nicer. I’ve emailed someone at the club who had the relevant bit of gear available (as he ordered it, but decided to not install it) to see if it’s still available and how much. Can always get it direct from SVB if needed.
With all of that done, we tidied up, put things away, and offloaded a bunch of stuff (like two vacuum cleaners) to the car. A quick trip to the butcher for some steaks, and a nice walk on the beach area concluded our visit to Malahide.