Saturday
The initial plan for Saturday was
- drive to Howth,
- collect the new Raymarine equipment,
- drive onwards to Malahide,
- do some installation work
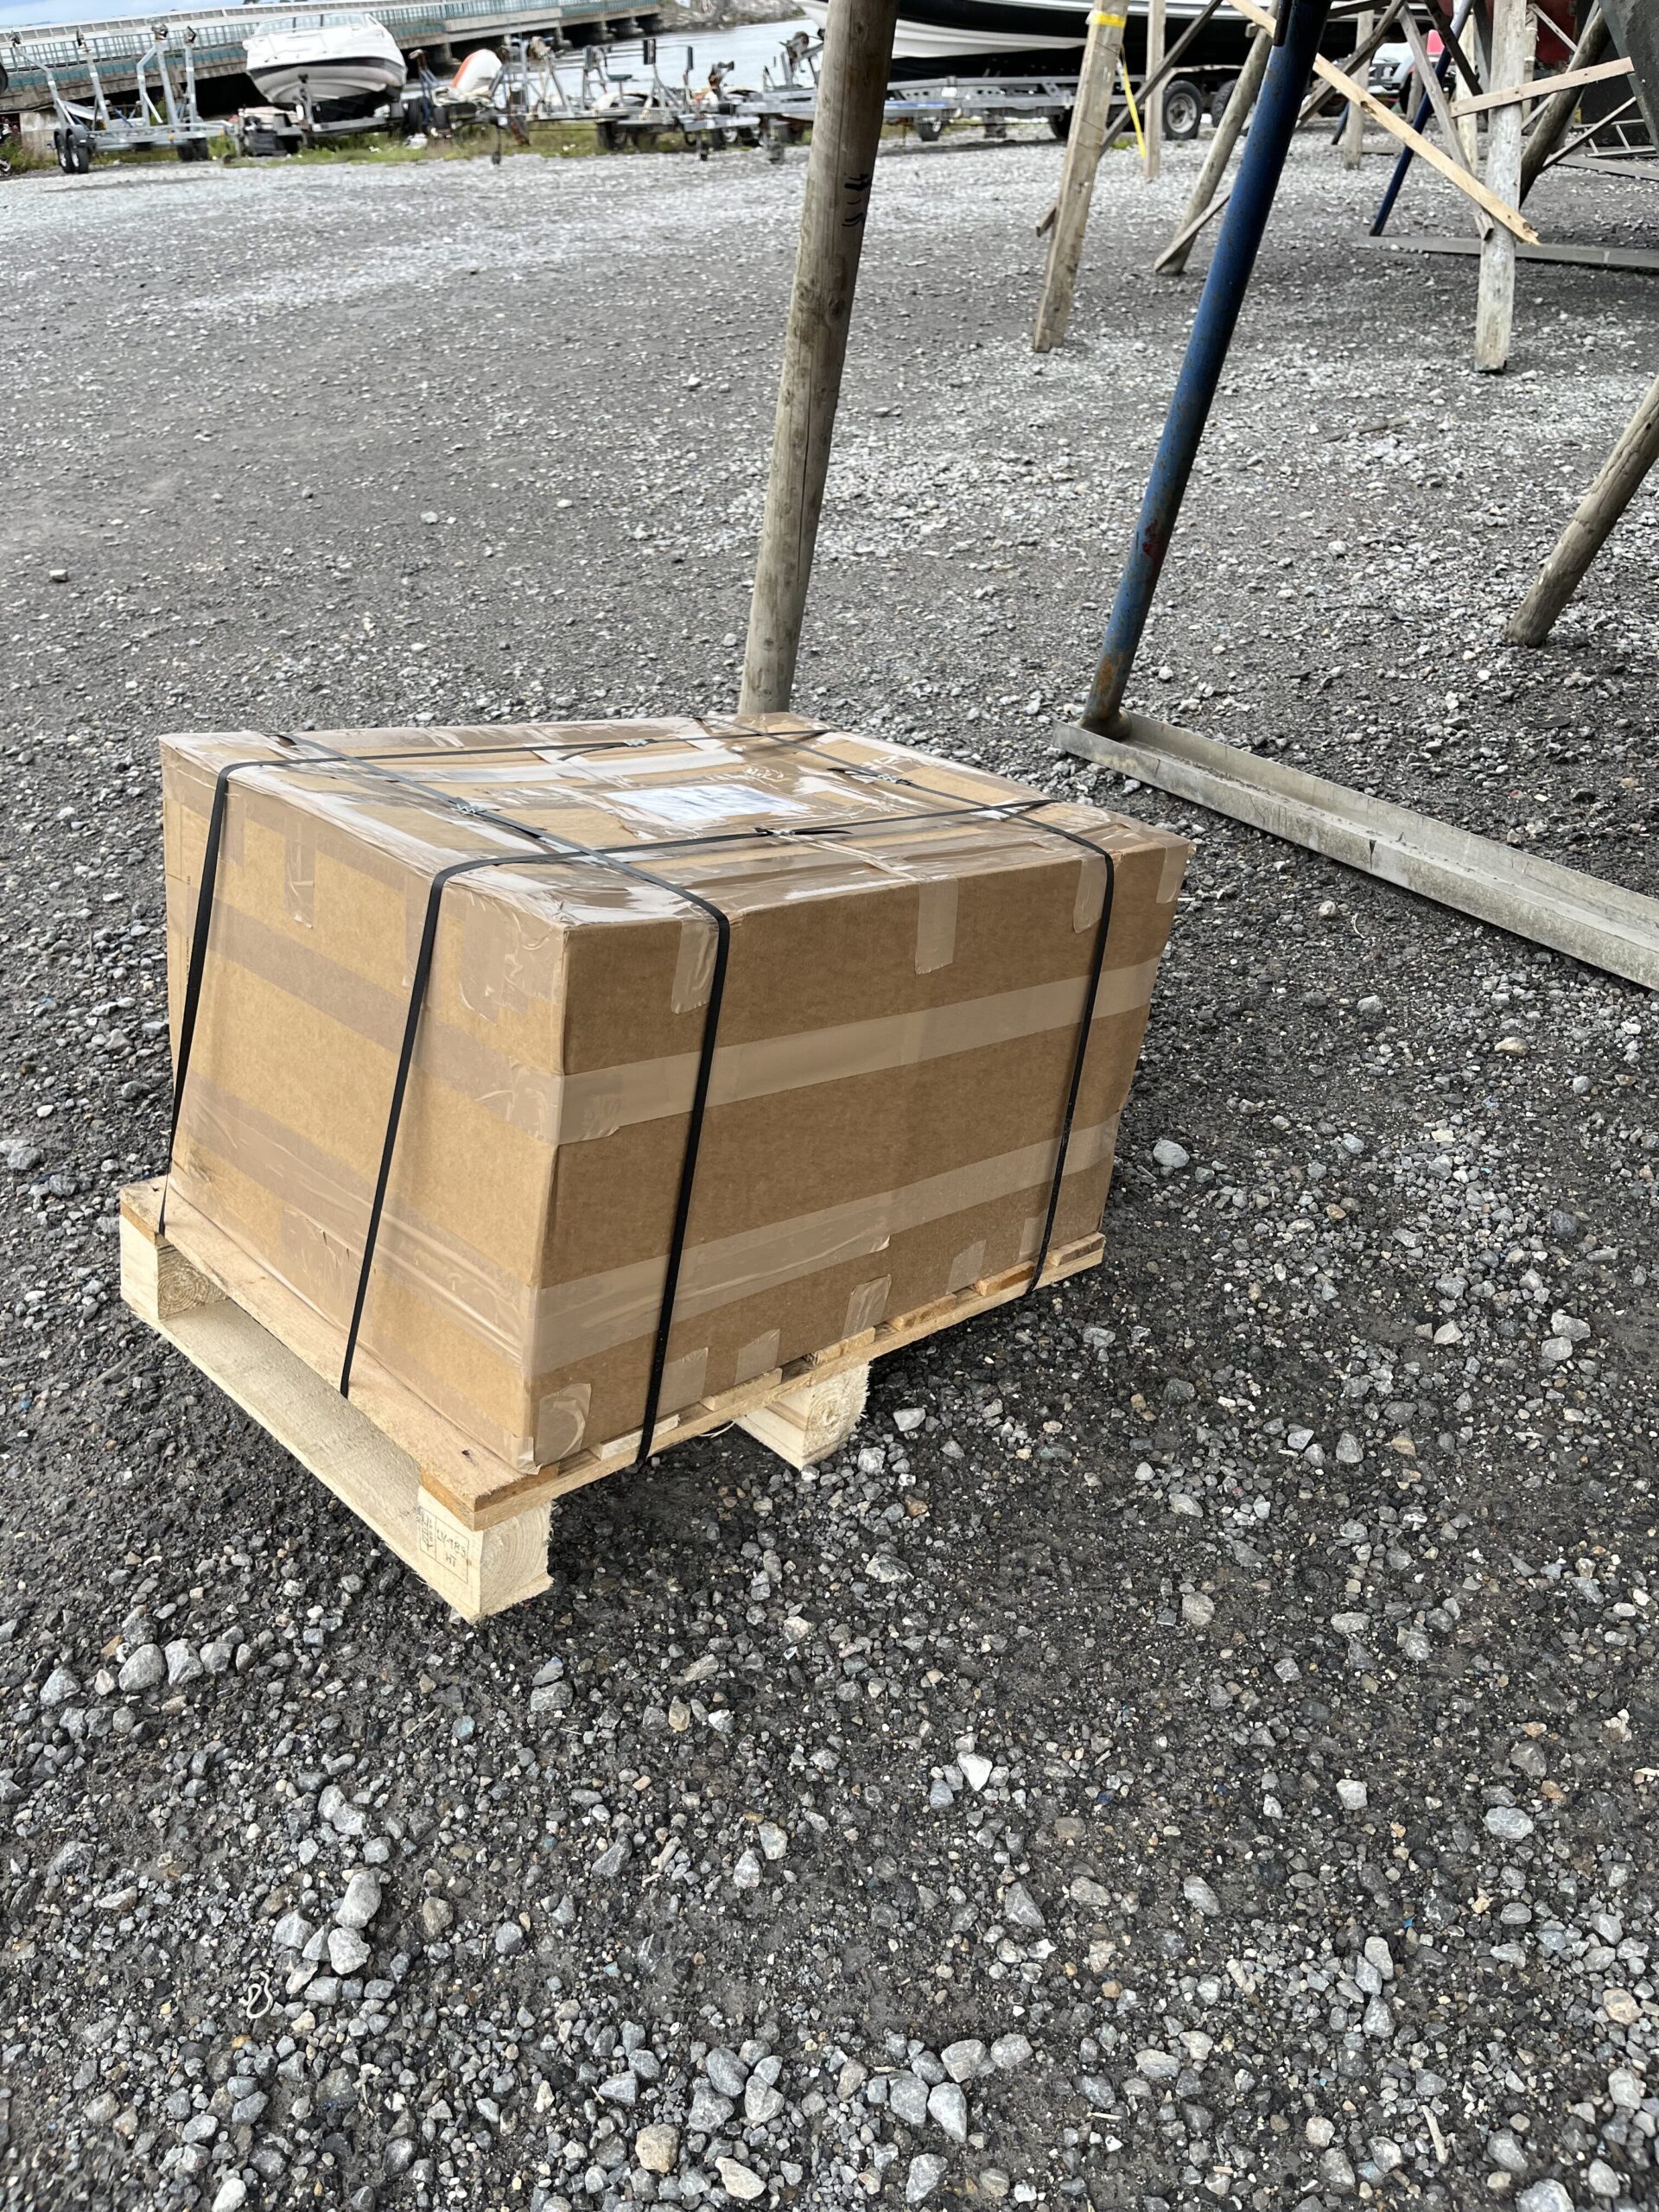
After reaching Howth and collecting the equipment, we looked at the weather (wet), and the new weather forecast (wet all day) and turned for Ballymun (and Ikea) instead of onwards to Malahide. Drove into the parking lot of Ikea and drove right back out – apparently there was a sale on, and all of Dublin had gone to Ikea for the afternoon – pissing down rain, and all three of the parking lots were full, not just the one under the building. Hit up Lidl on the way home (taking the long way, the M50 toll), and then played with all the boxes of Raymarine gear for the rest of the afternoon and into the early evening (firmware updates).
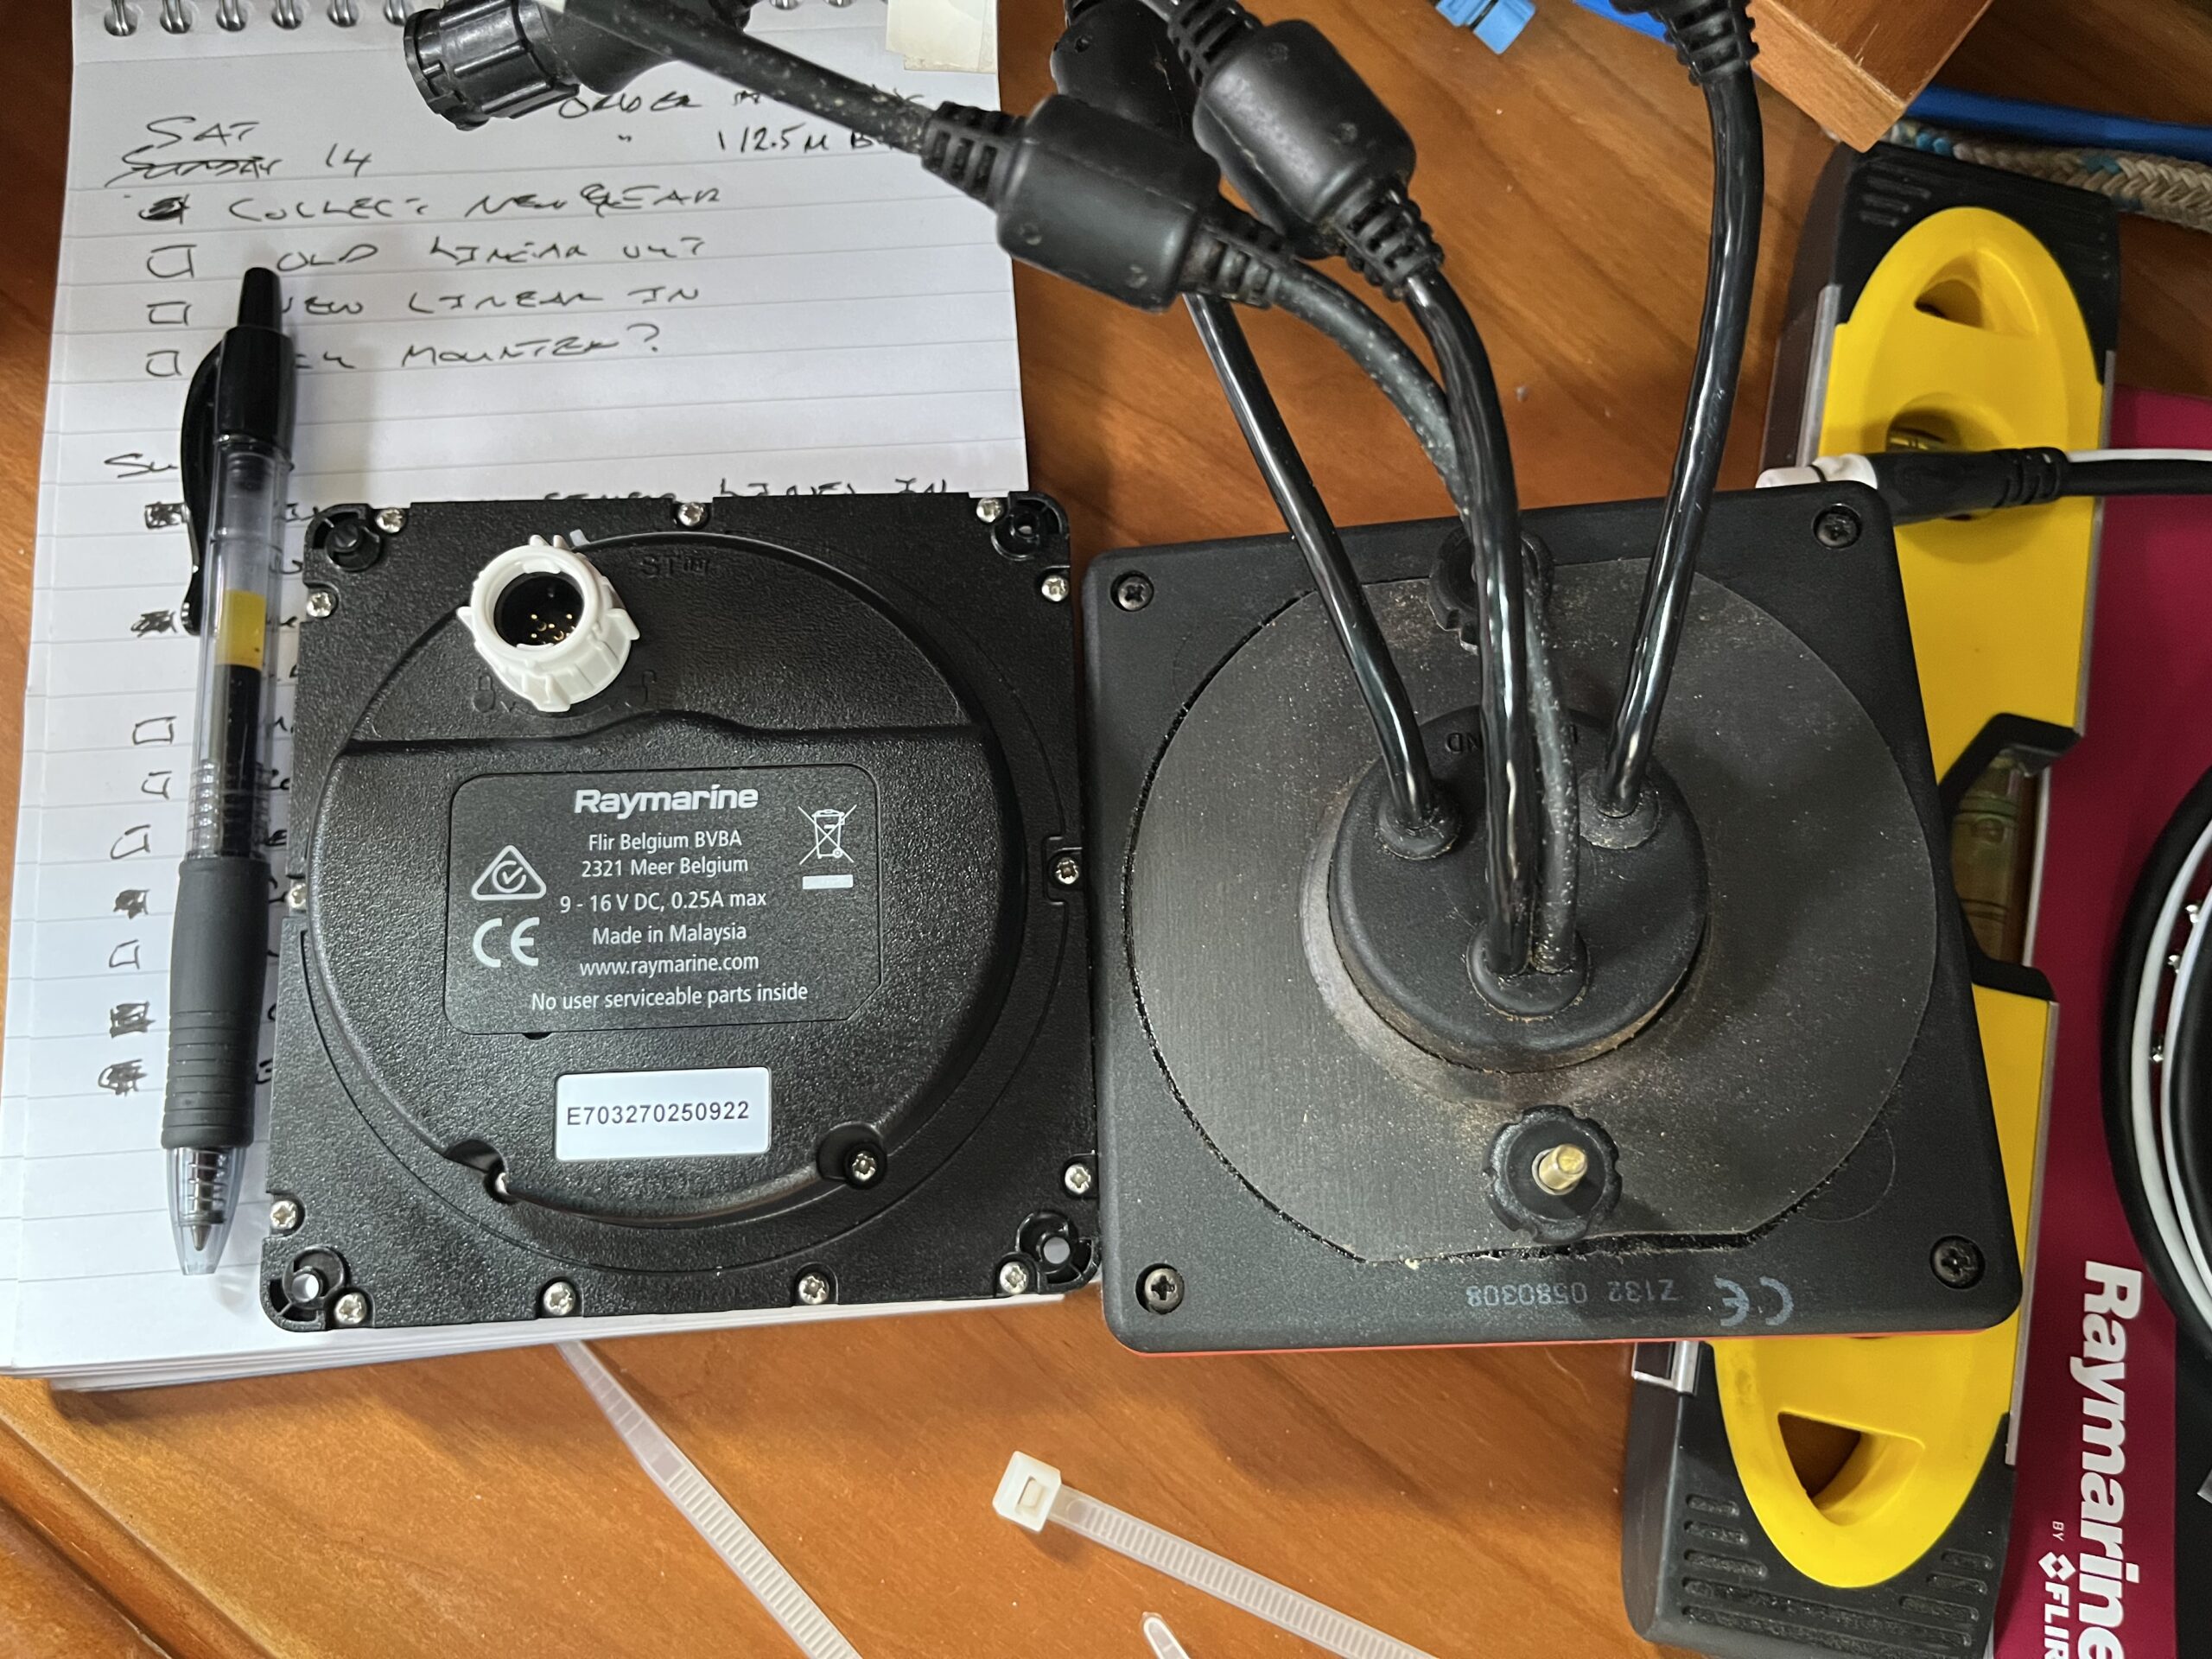
From running the equipment on the bench at 12.9V over short cables, the Axiom+ needs just under an amp, the ACU 200 needs 0.2 amps (without doing anything obvious other than a light saying “on”), and the i70s and p70s need about 0.1 amps. I didn’t try to power up the Type 1 linear drive, but I know it’ll be a few amps when it has to move the rudder – indeed, the ACU 200 is fused for 20 amps (and blade fuses, so like every other <30A fuse on Blue Opal).
This is when I learned how big the ACU 200 is. More on that later.
Sunday
With the car rented through to Monday morning, so I can go to the post office depot to collect the 4mm2 power cable for the ACU 200 to Type 1 drive power feed, we headed to Malahide after a mid-morning breakfast. On the list for today were
- unmount the old linear drive, since the diesel tanks had been removed during the week
- mount the new linear drive, using the nice new 10mm nyloc nuts (foreshadowing…)
- install the ITC-5 in the bow, probably in the locker on starboard in the master cabin
- re-route the wind transducer cable from port to starboard, to the ITC-5
- install the ACU 200, a rather large bit of kit, somewhere on board
- pull some SeaTalk ng backbone cabling
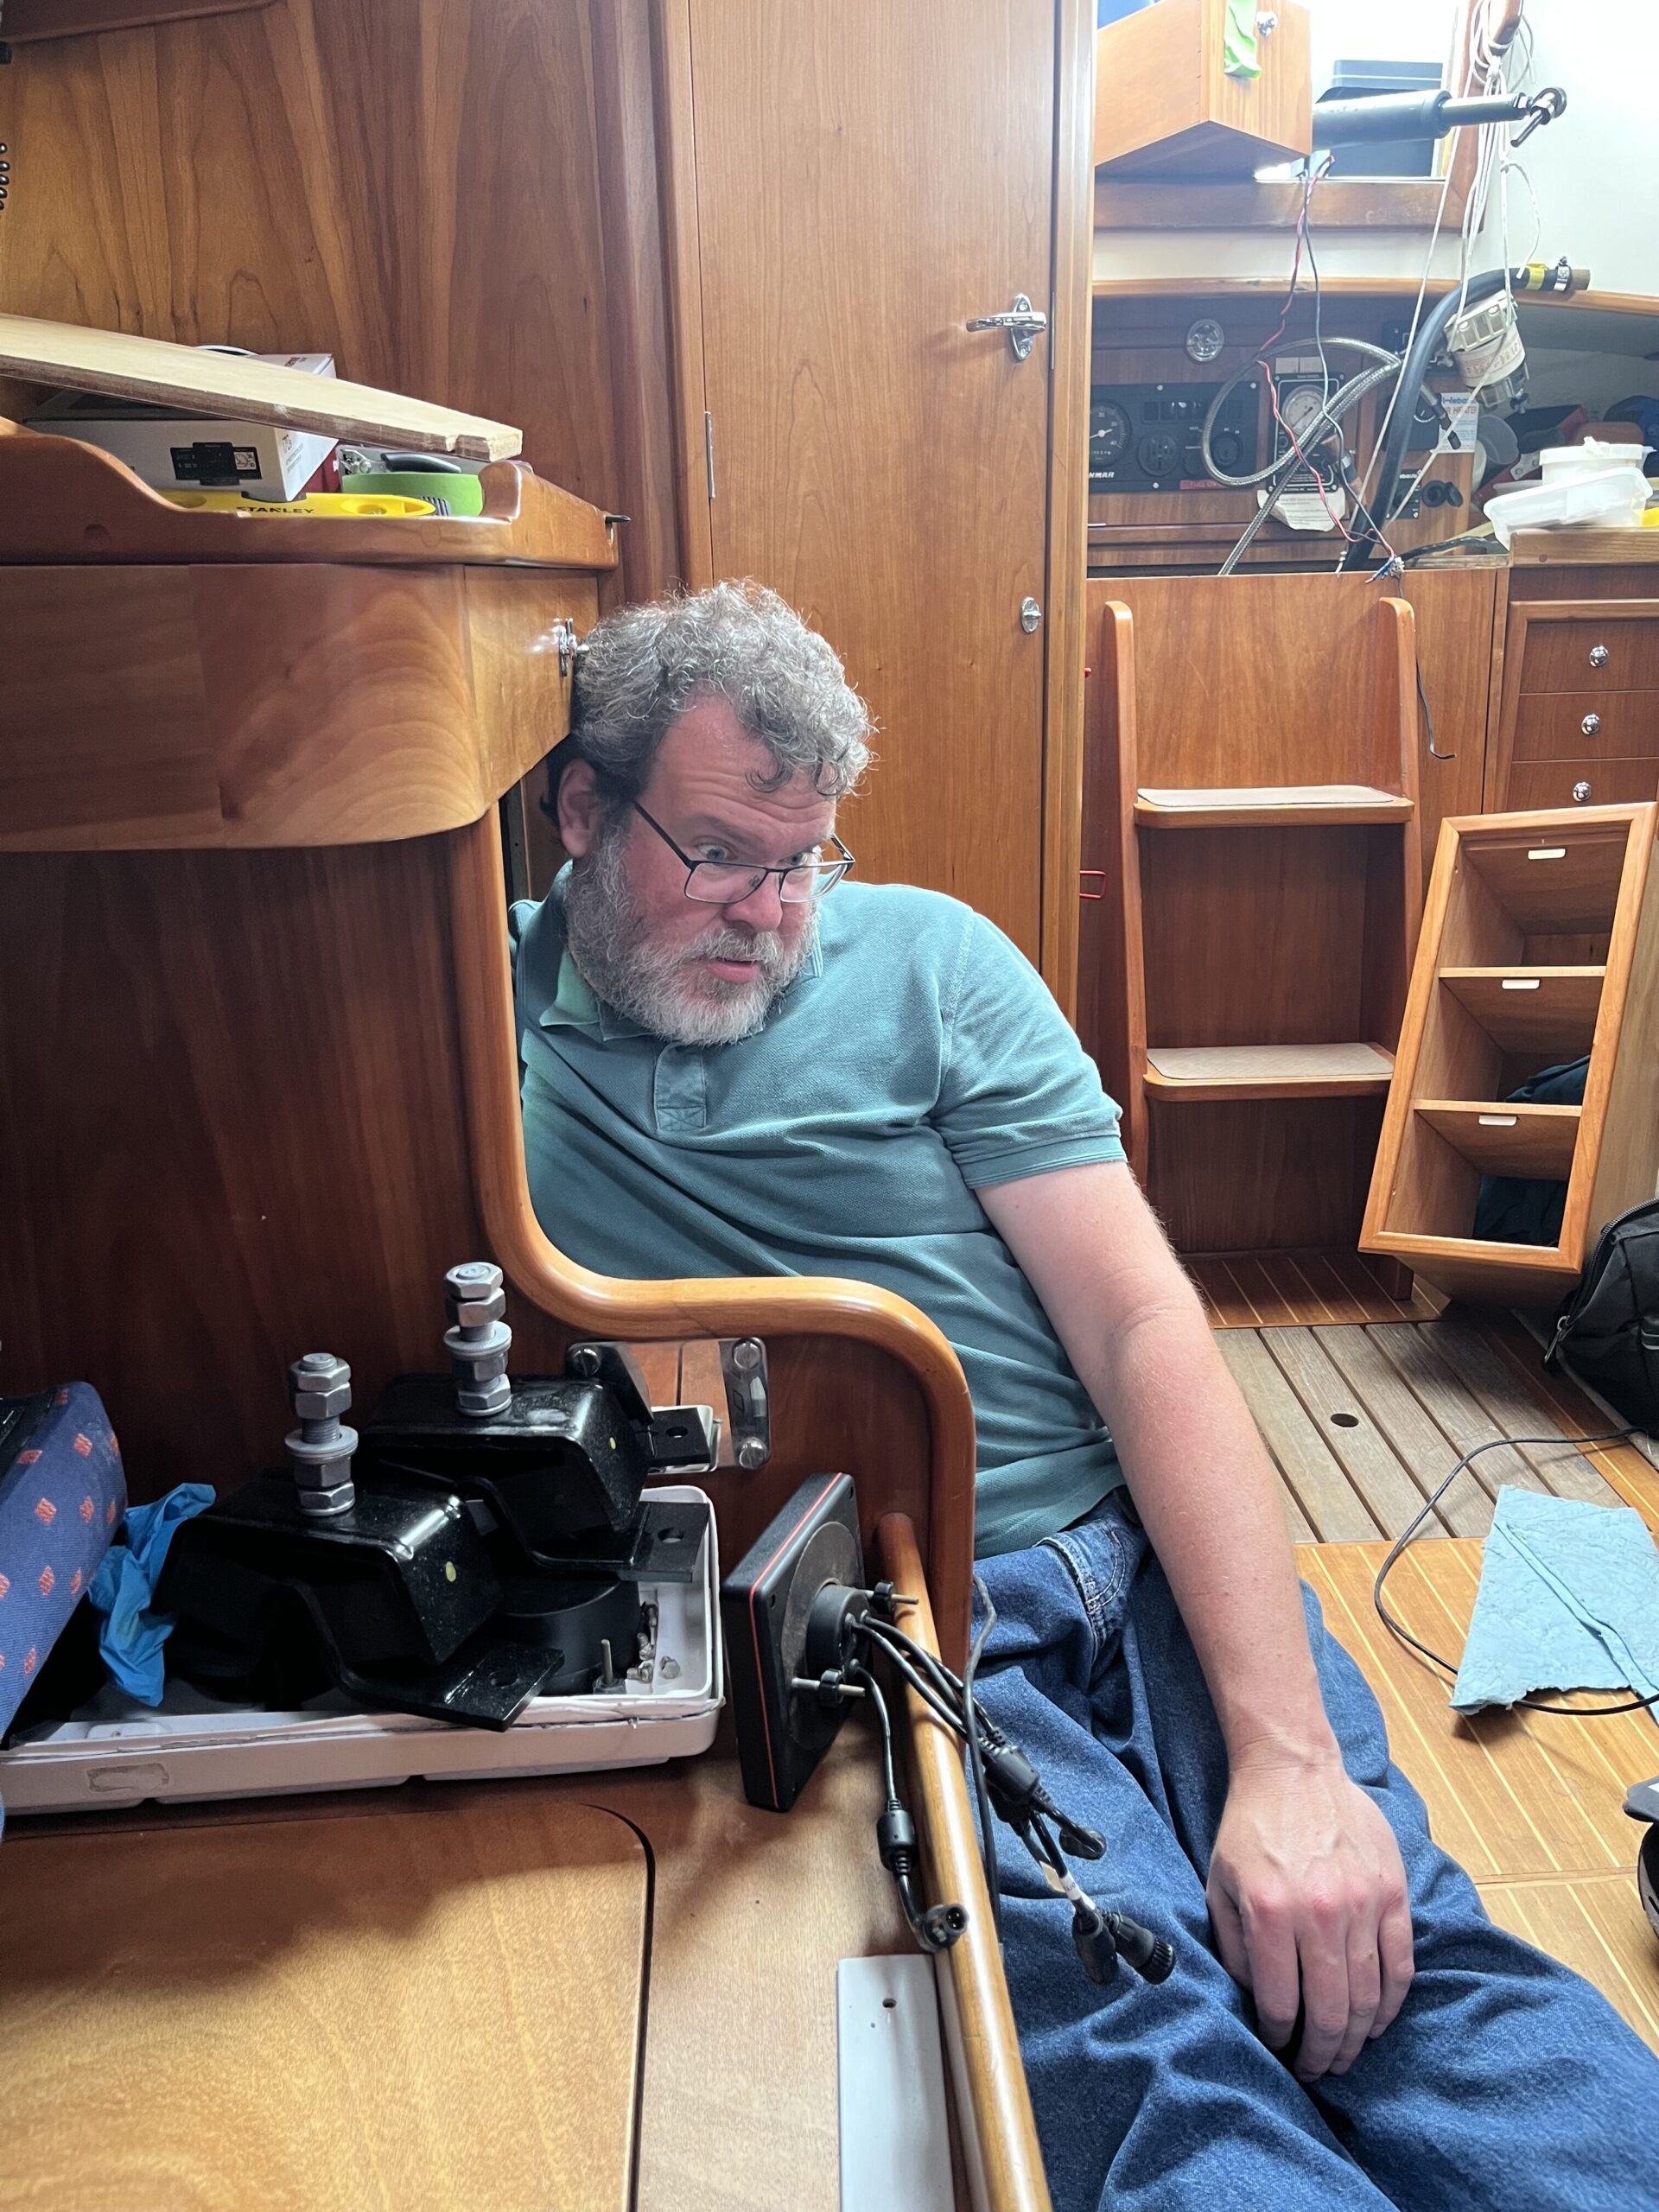
With the diesel tanks removed, getting access to the bolt heads for the old Type 1 drive was simple. The builders of Blue Opal had even thought to use an aluminium plate between the bolt heads and the wood/fibreglass bulkhead. K opted to go in the hole to undo the nuts, while I held the bolt heads with a spanner. After a few rounds of trading ratcheting drivers and spanner, we got all four nuts off, but the drive refused to come off. Handed K a screwdriver to try and break the seal, and she couldn’t even get it between the mounting plate and the bulkhead.
We traded positions, and judicious application of a weighted mallet was sufficient to break the seal and the unit pulled away. It was actually bedded in to the fibreglass – like the builders had mounted it to the wood, and then glassed around it.
I had been eyeing the old mount askance while doing all of this, because it looked like the base had a square pattern for the holes, and the new one has a trapezoid. Thankfully Raymarine have kept the same base across the last 30 years or so, and once the old one was out I could confirm that they had an identical bolt pattern.
What did bite me was “the manual says 10mm bolts, so I’ll order 10mm nyloc locking nuts”. The builders must have had no 10mm bolts on hand that day, and used 8mm hex-headed bolts instead. I should have realised this after I tested the nut driver on the installed nuts before ordering the new nylocs; 12mm driver can’t be used for a 10mm bolt; there’s not enough metal to make a strong fastening – indeed, my 10mm nylocs use a 17mm driver!
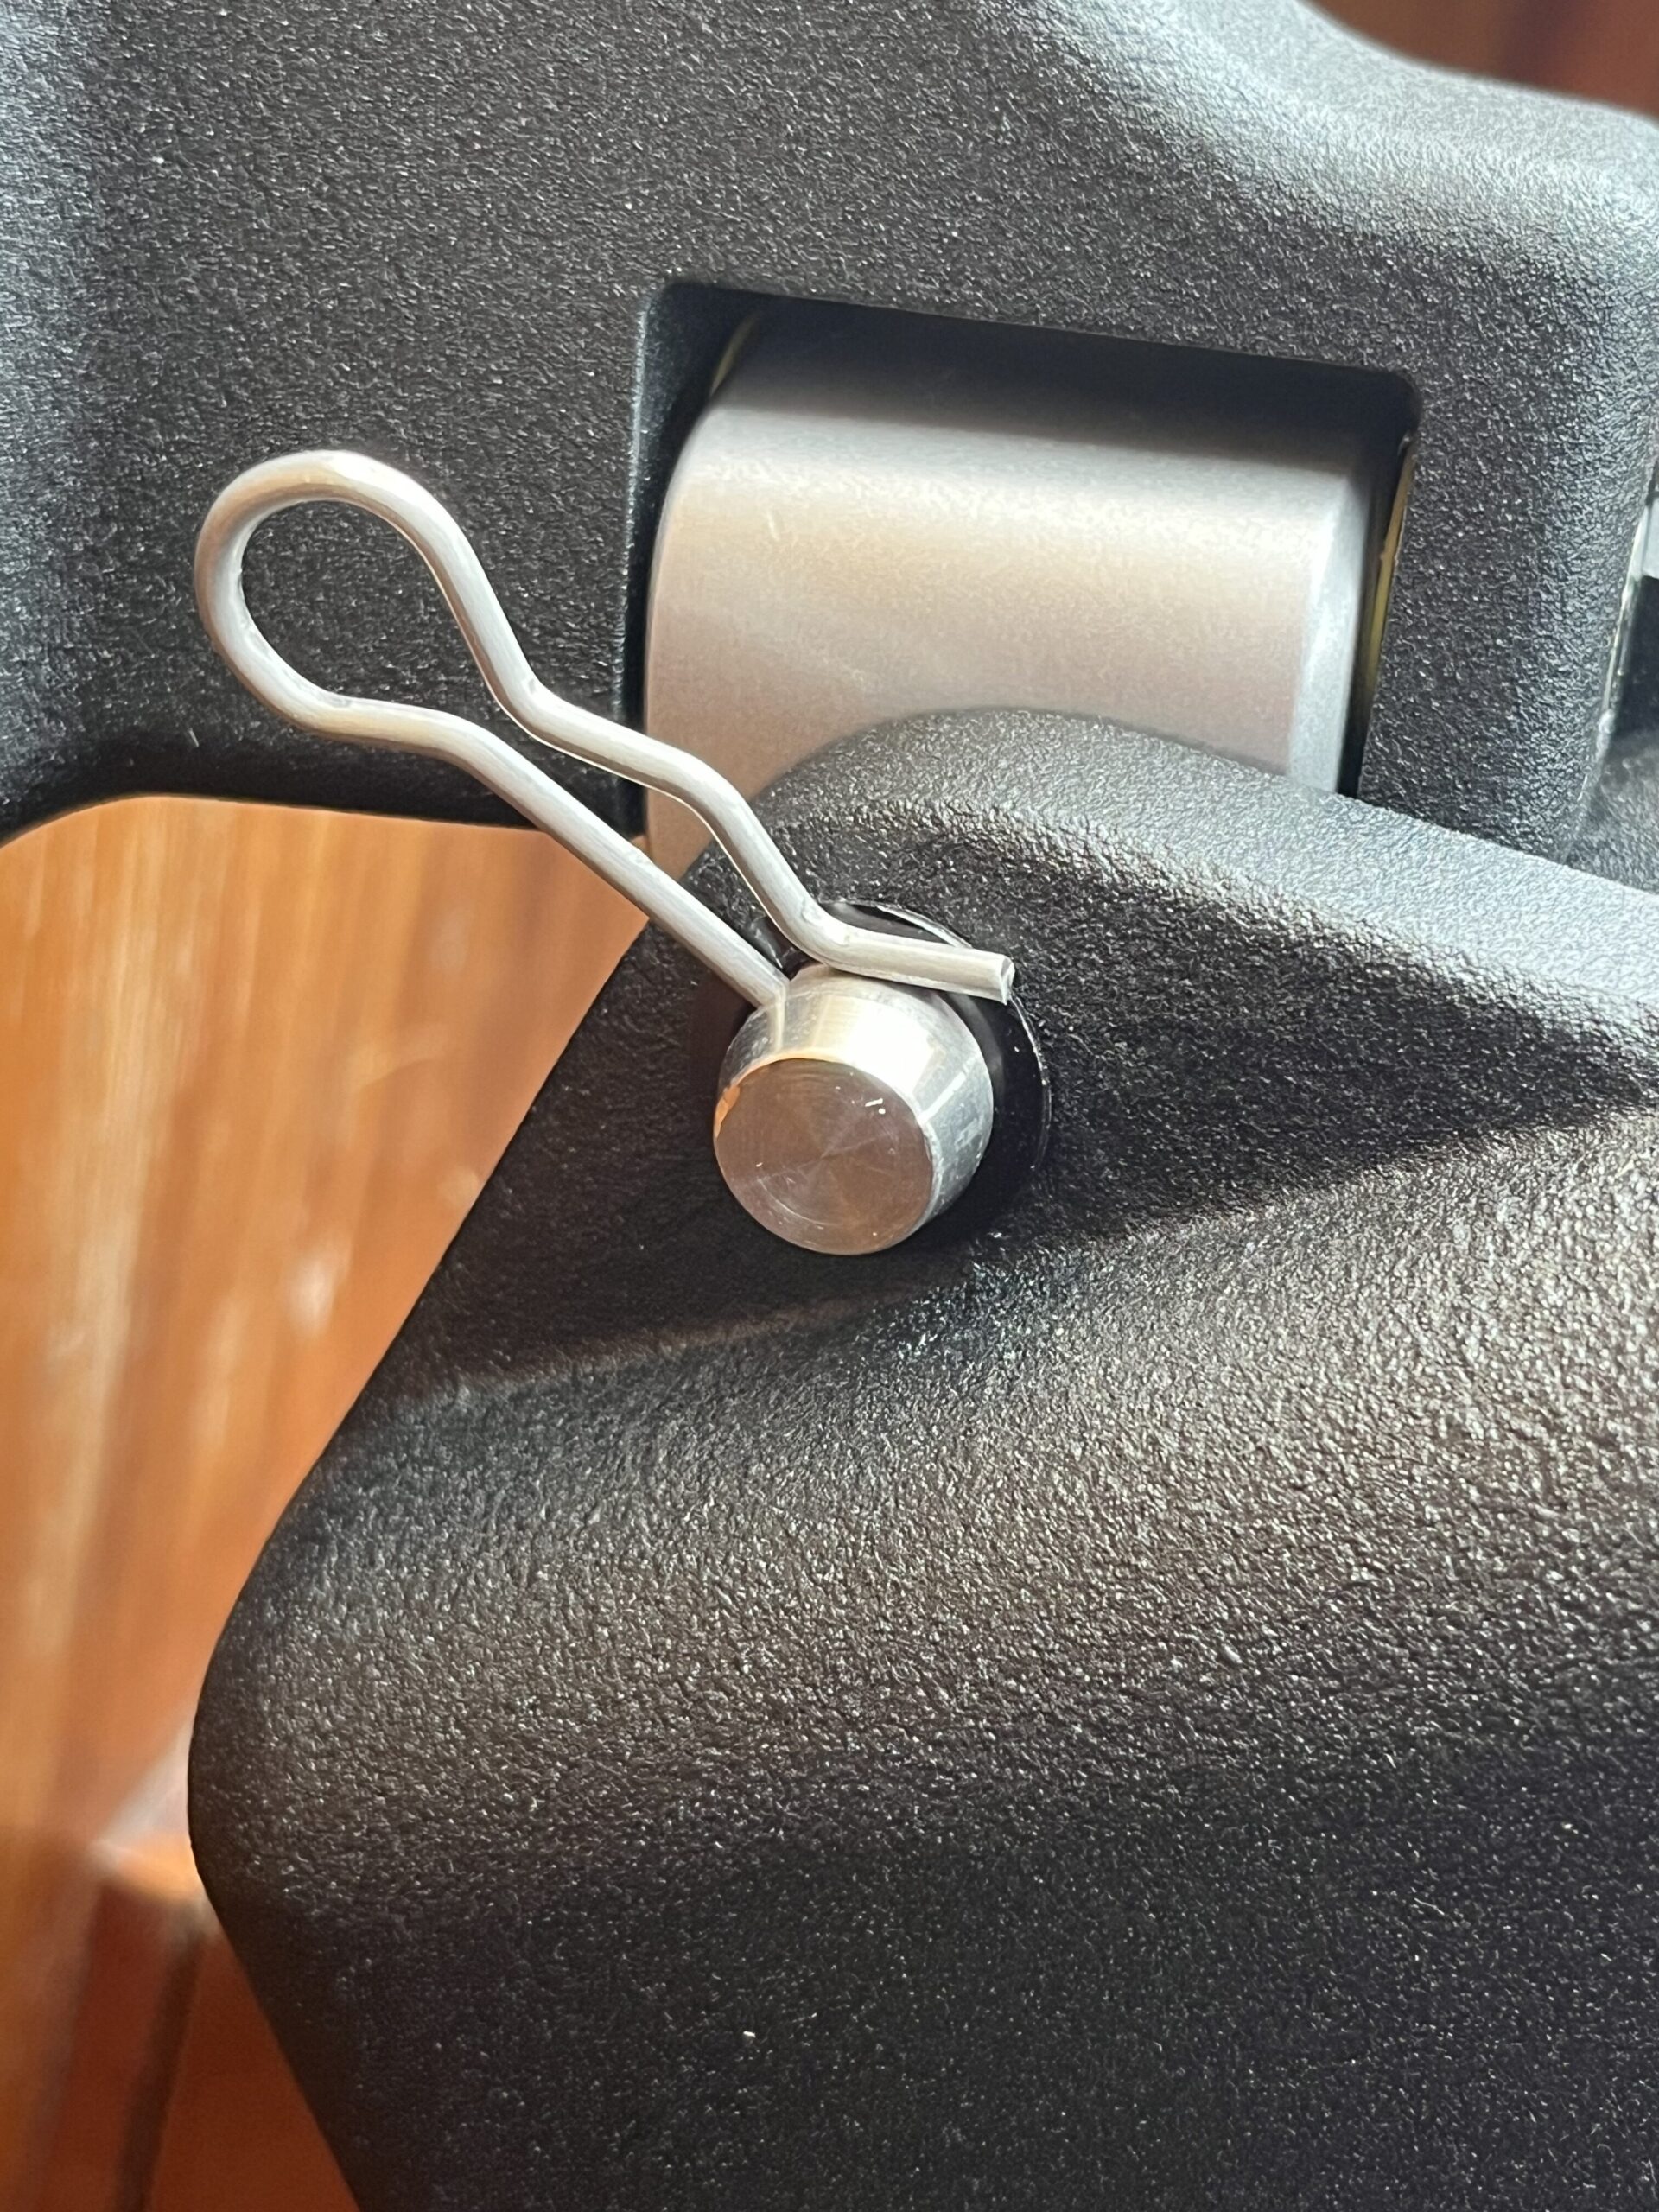
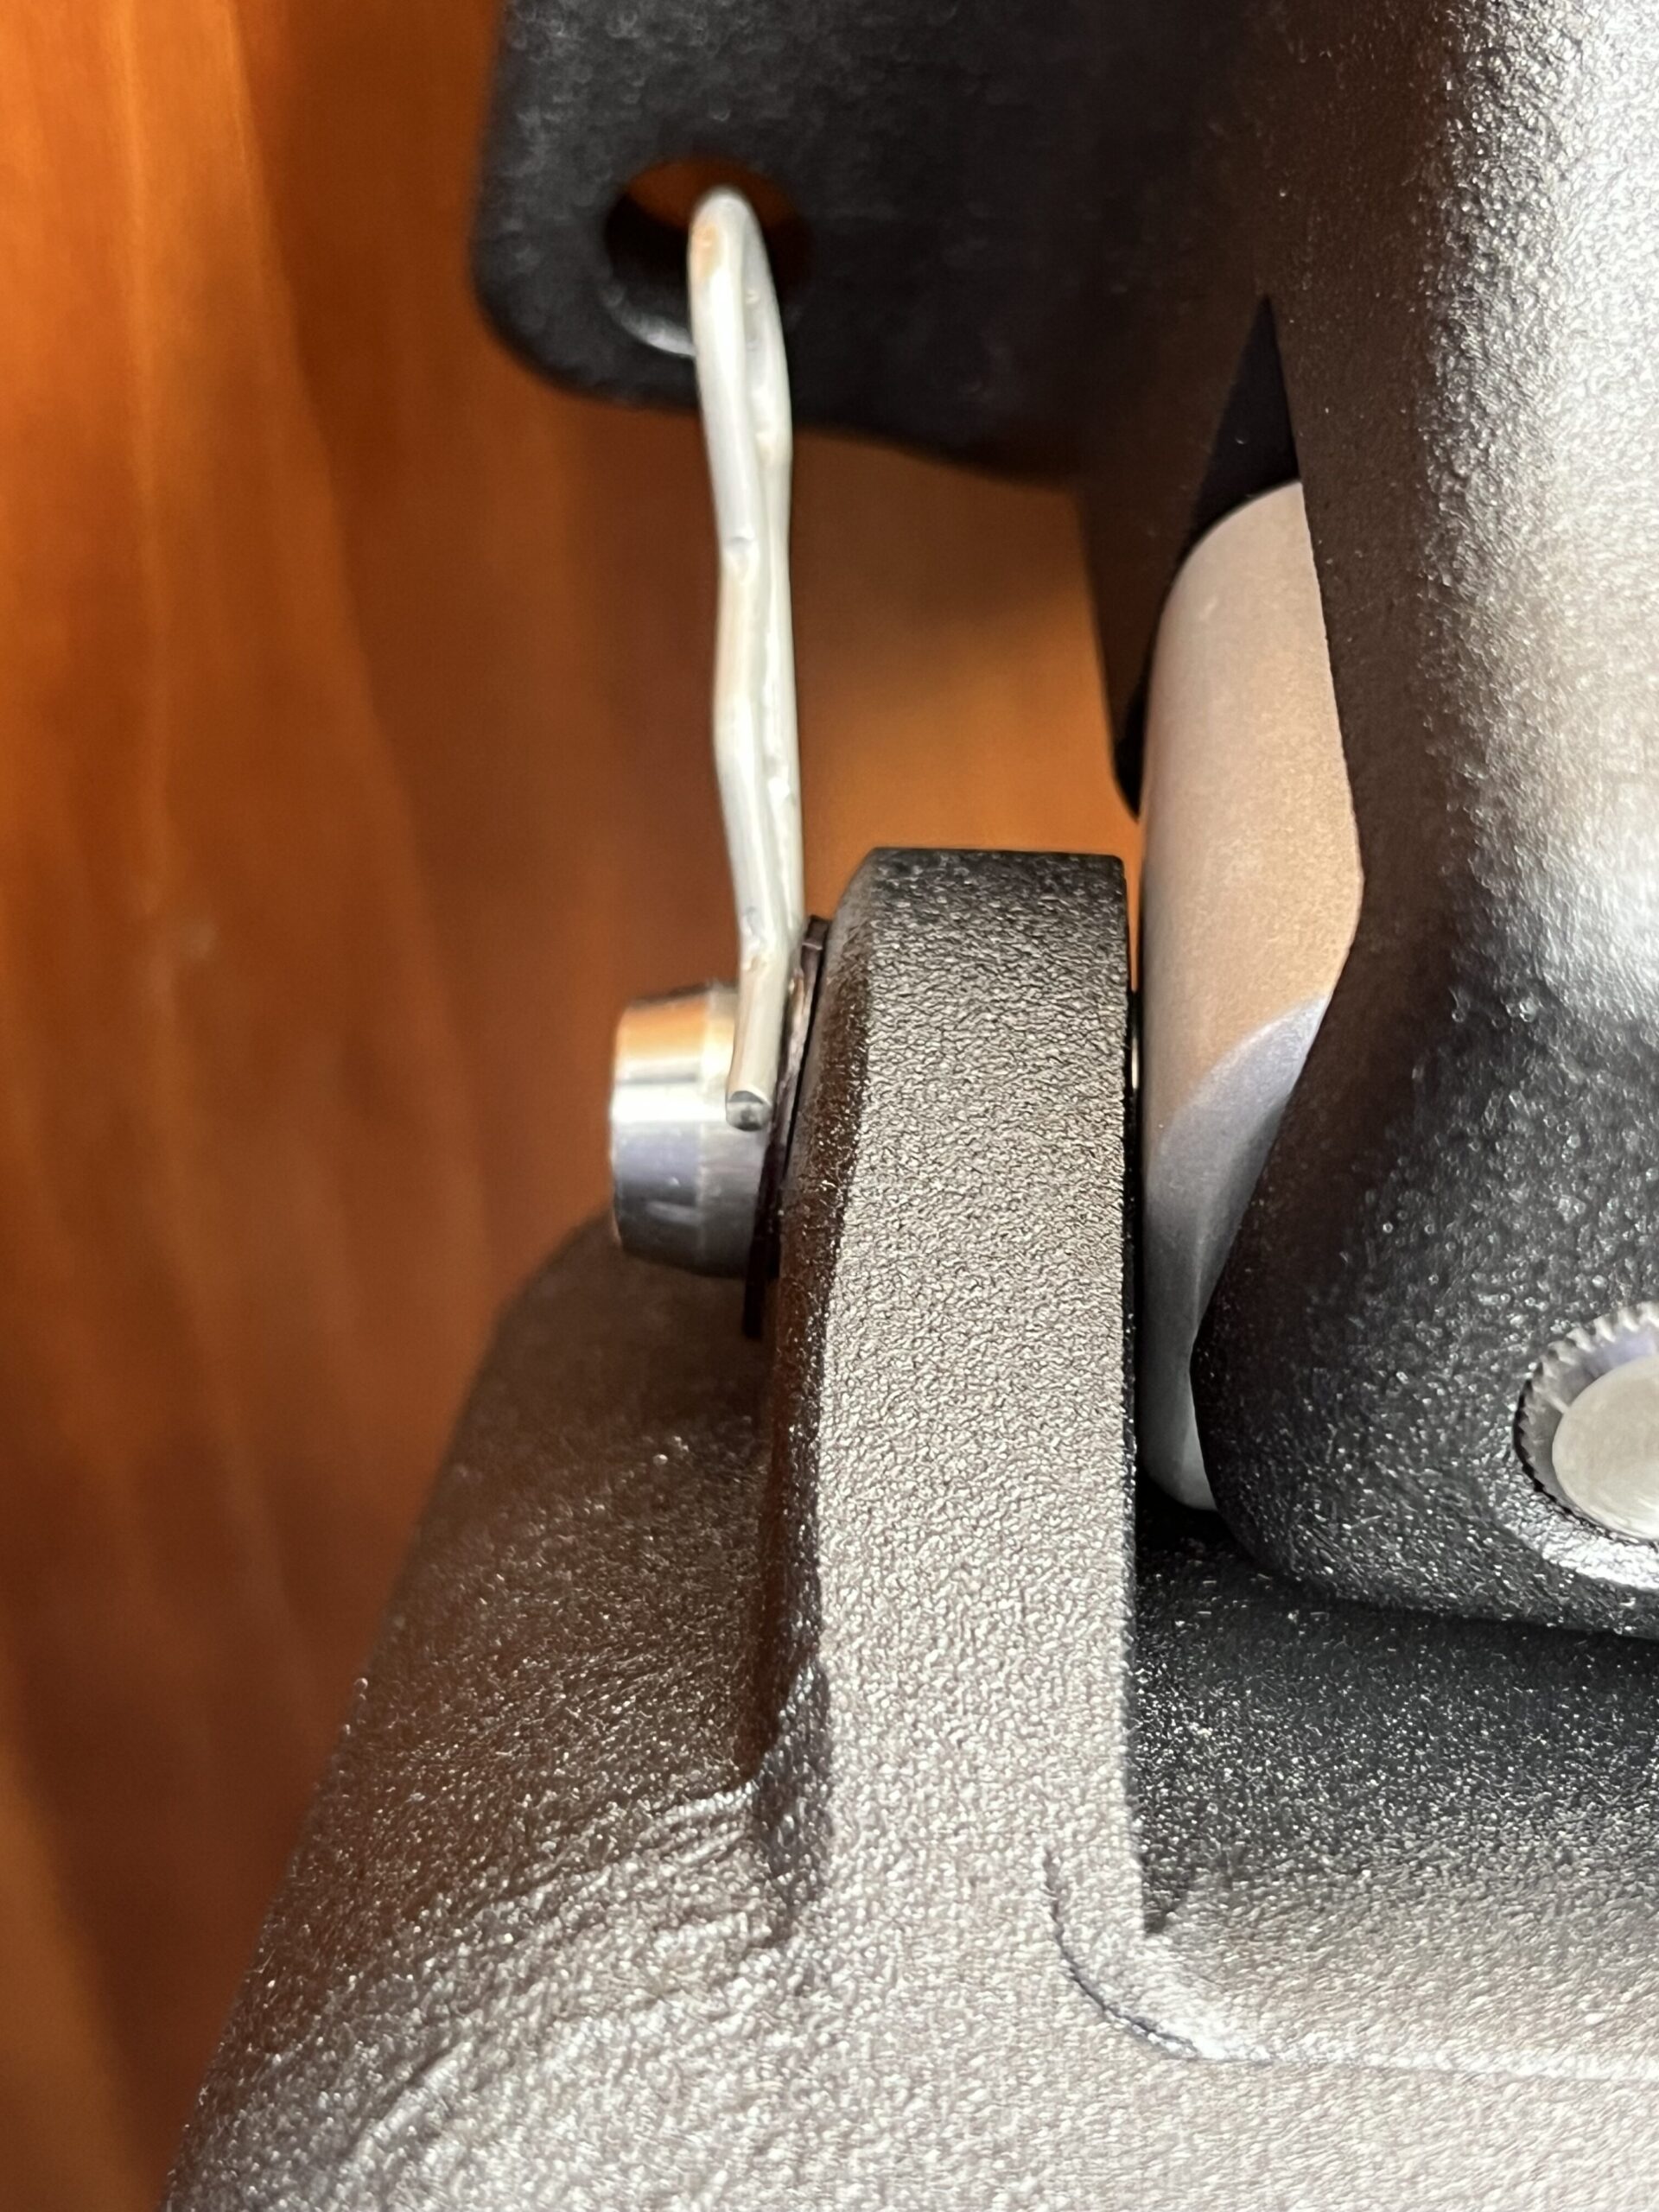
So now I need to order new 8mm locking nuts, and the supplier where I got the 10mm ones is out of stock for 8mm. Thankfully, I remembered inox.ie exists, and while the shipping for 3 euro of nylocs is 9 euro, I need the nuts and they have them in 316 stainless. Hopefully they will arrive before the weekend. For the time being, the new linear drive is mounted with some normal nuts, just to have it in place for connecting the rudder arm end. On that note, the new rudder arm pin is substantially bigger for the piece that you put a spanner on, so it should be much easier to hold and fit. Otherwise it’s the same 12mm (ish?) bolt.
Getting the R-clips into place was a right pain in the rear. I eventually noticed that the flanges for the pivot bolt are angled, and getting the clip in place with the washer also being in place required the clips to be inserted “up” the flange, rather than across it. One of the washers has gone missing though, so I may need to revisit the installation (or at least make sure the washer that didn’t go missing is on the bottom R-clip, not the top one). If you try to put the pins in going across, the holes are basically inaccessible. The R-clip also tries to go under the washer at the far side of the pin. All in all, a tricky installation.
Lunch break! Phad Thai.

Next up was pulling out the transducer cabling from the wiring locker / cubby, and terminating it in the locker of the master cabin. This locker doesn’t get a lot of use, and if I mount the ITC-5 high enough, the terminator and backbone connector won’t get knocked. Can always make up a protective box for it if there’s a problem. The idea of putting it in the forward cabin locker is essentially space. The wiring cubby is pretty full, and the ITC-5 doesn’t need to be in there. Under the saloon berth would also have been an option, though I’d have had a lot of backbone cable coiled up. In the end, two of the transducers are in the bow, and the third comes down the mast, less than a metre away (though it’ll be a multi-metre cable run) – the ITC-5 gets power from the bus, so it can live in the cabin locker.
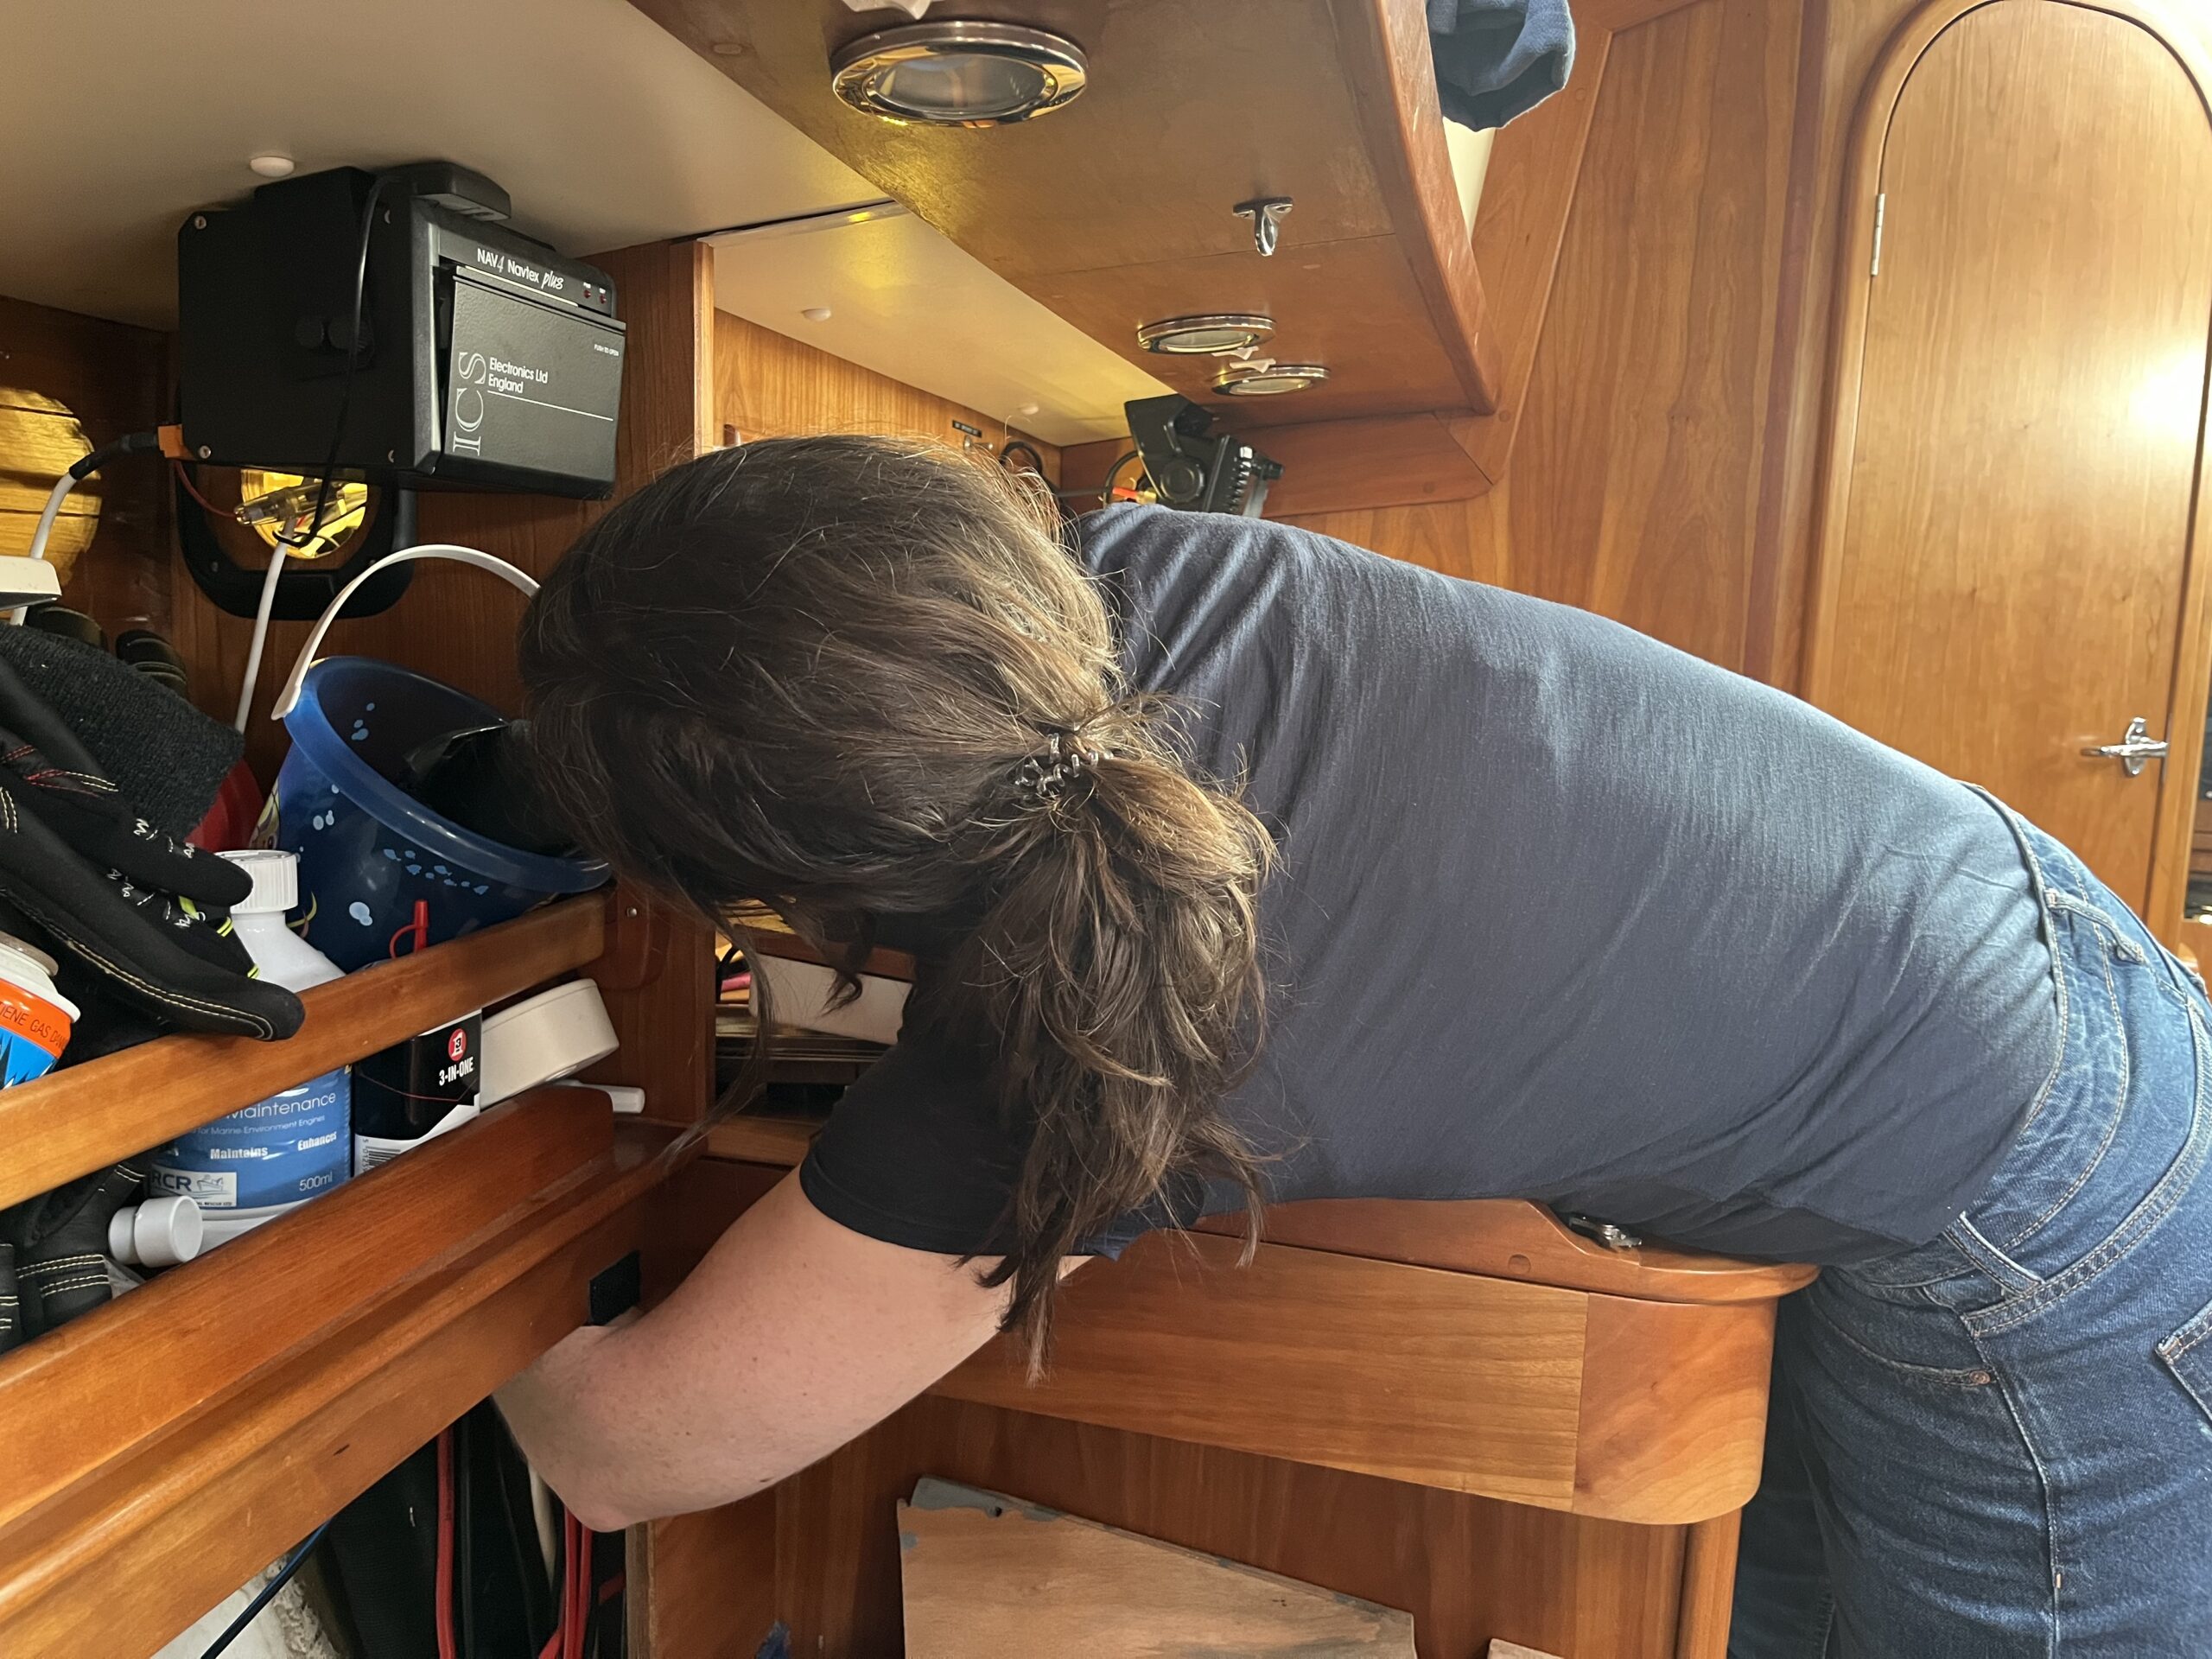
You’d think pulling some <4mm cable out of the wiring cubby, through the space behind the chart table, and then down into the storage under the saloon berth would be easy. It wasn’t. In the end the snips came out and the cables got cut, several times. Getting the cables out of the cubby was easy – sit with my back to the heads door, reach all the way up into the space under the chart table (it’s where the chart table drawers sit; the whole assembly comes out), and tug. Getting them to pull out from the other side of the chart table was impossible – wouldn’t budge. I’ve concluded (as I cannot see, nor get a camera in to see) that the cables are either twisted around other cables, or the spare loops of length are buried in there. These cables are pre-terminated with Raymarine’s older SeaTalk connectors, so there’s a good chance there’s metres of cabling buried behind the chart table.
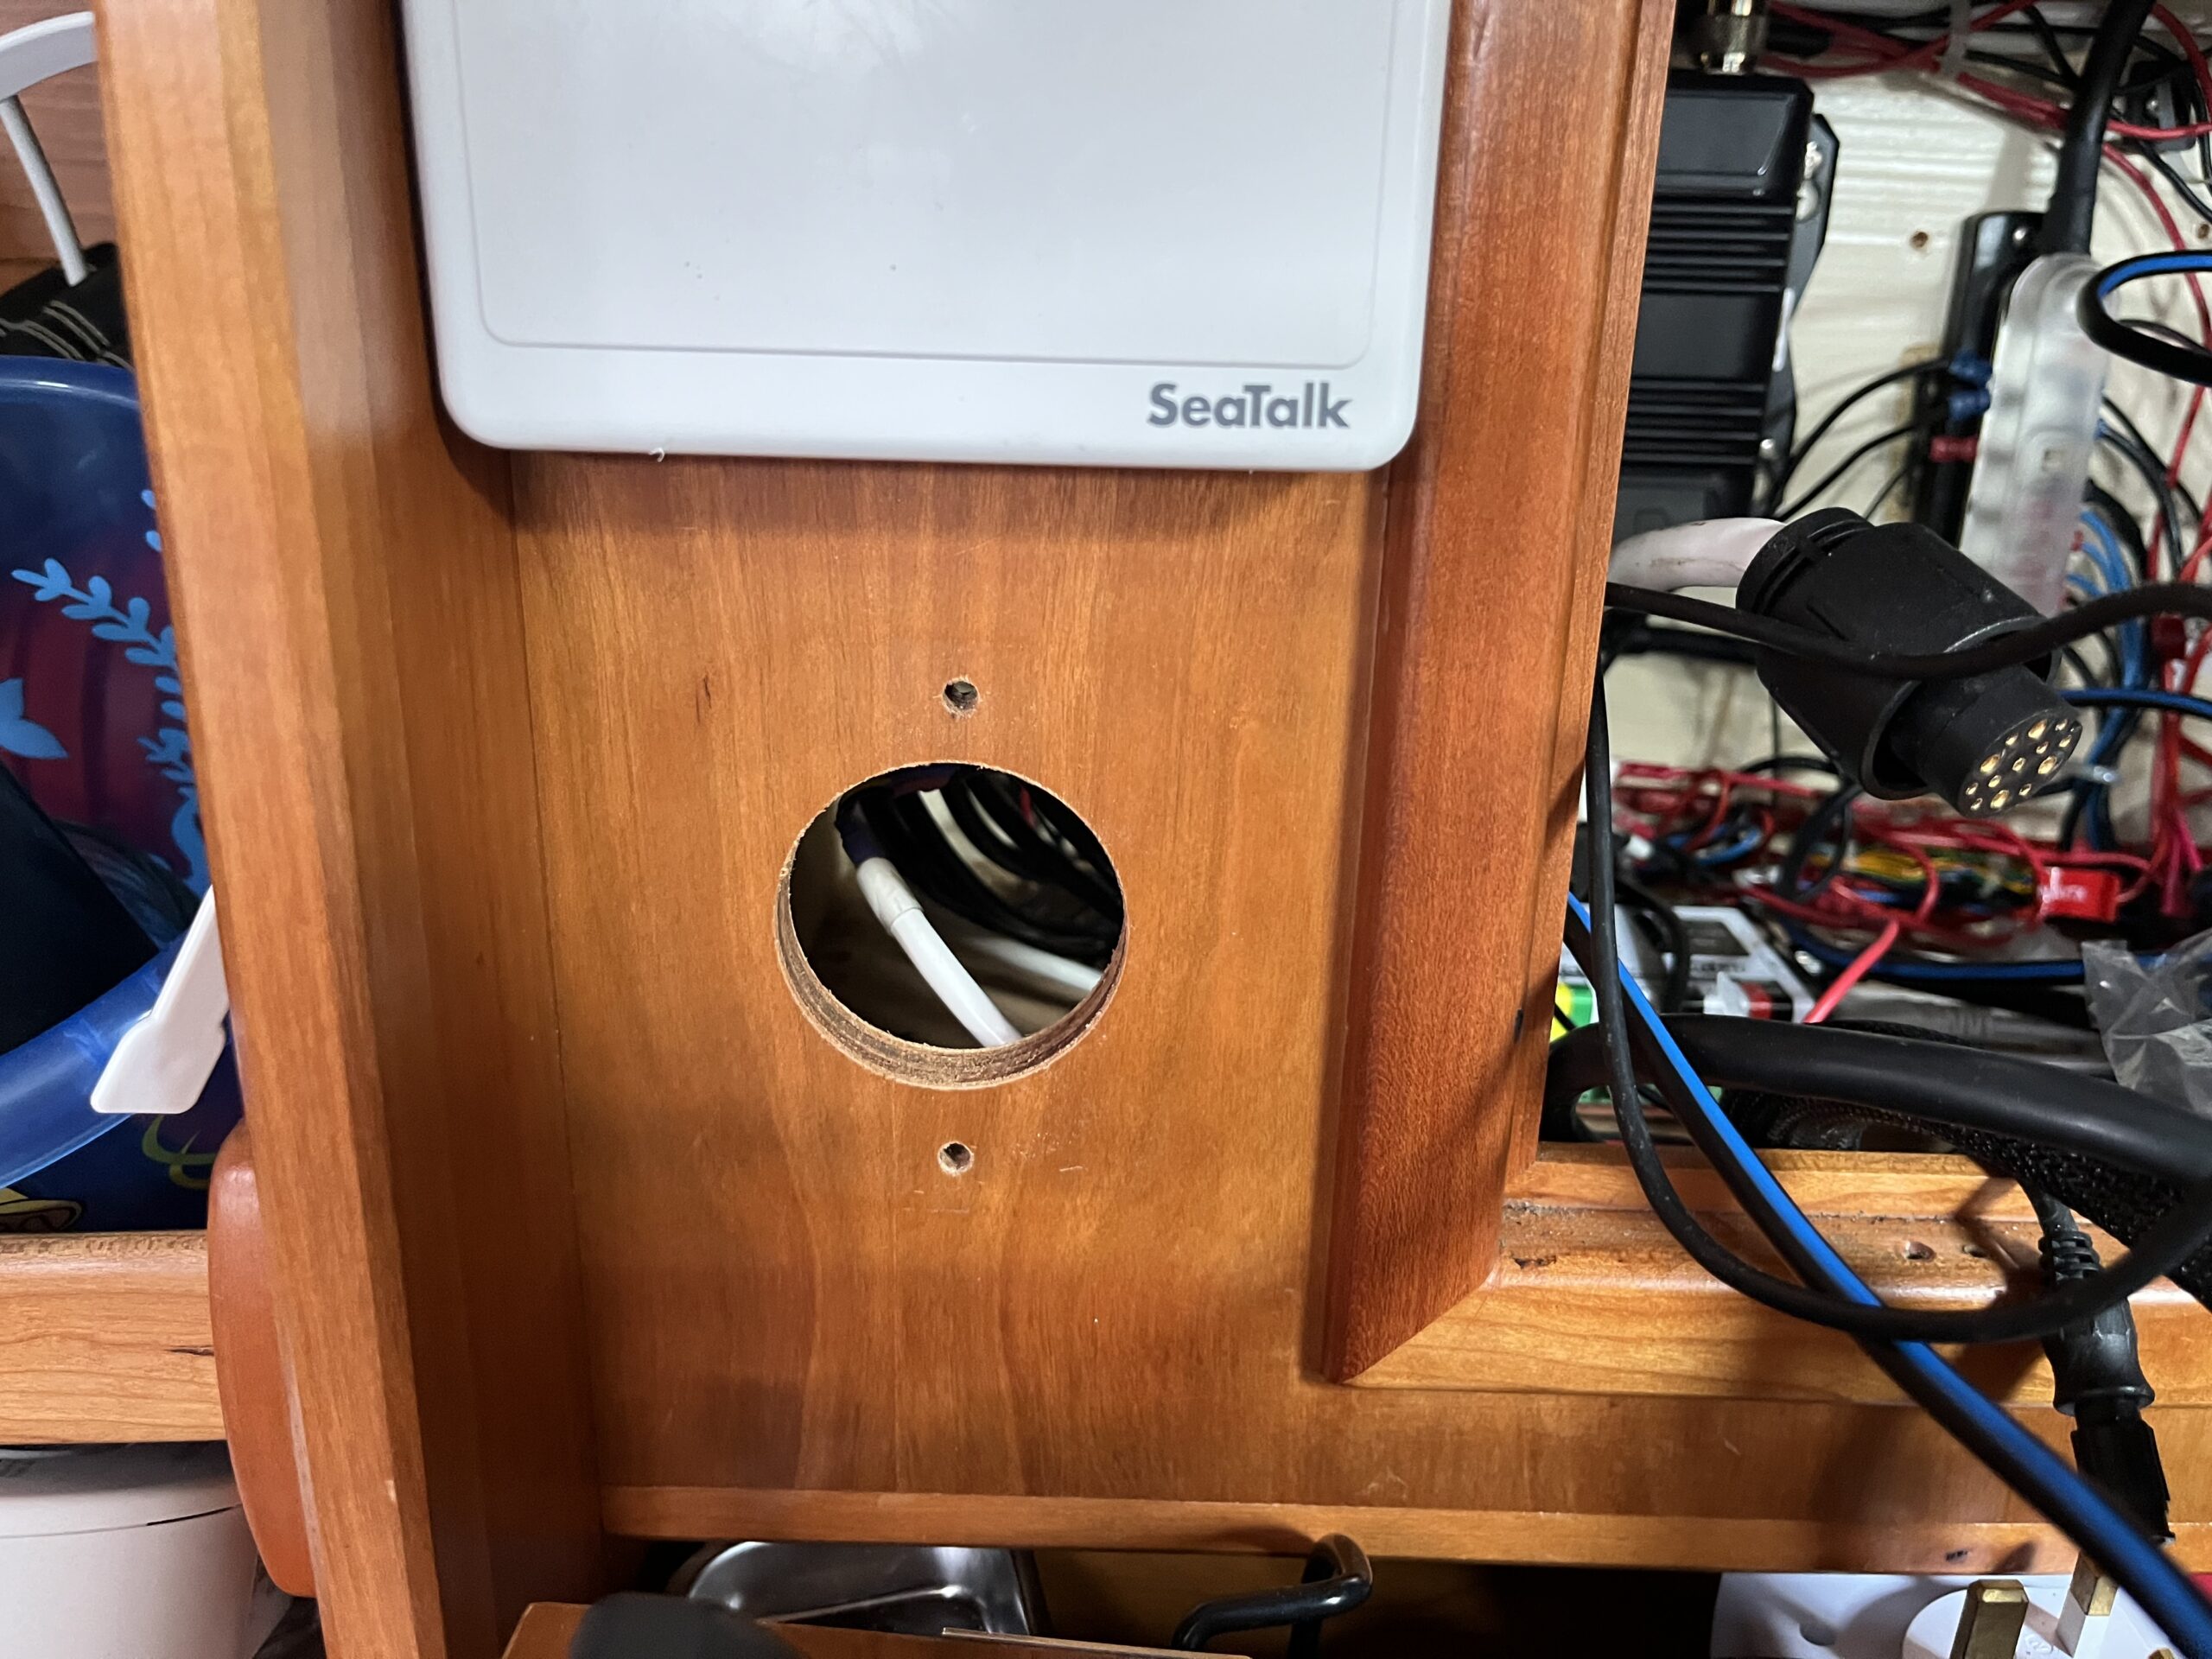
I also removed the Tridata ST60+ head, as there’s a new i70s to go in that space. First, however, I’m going to need a much bigger hole saw and some way to align the new saw on the old hole. This is a problem to be solved by future me, however.
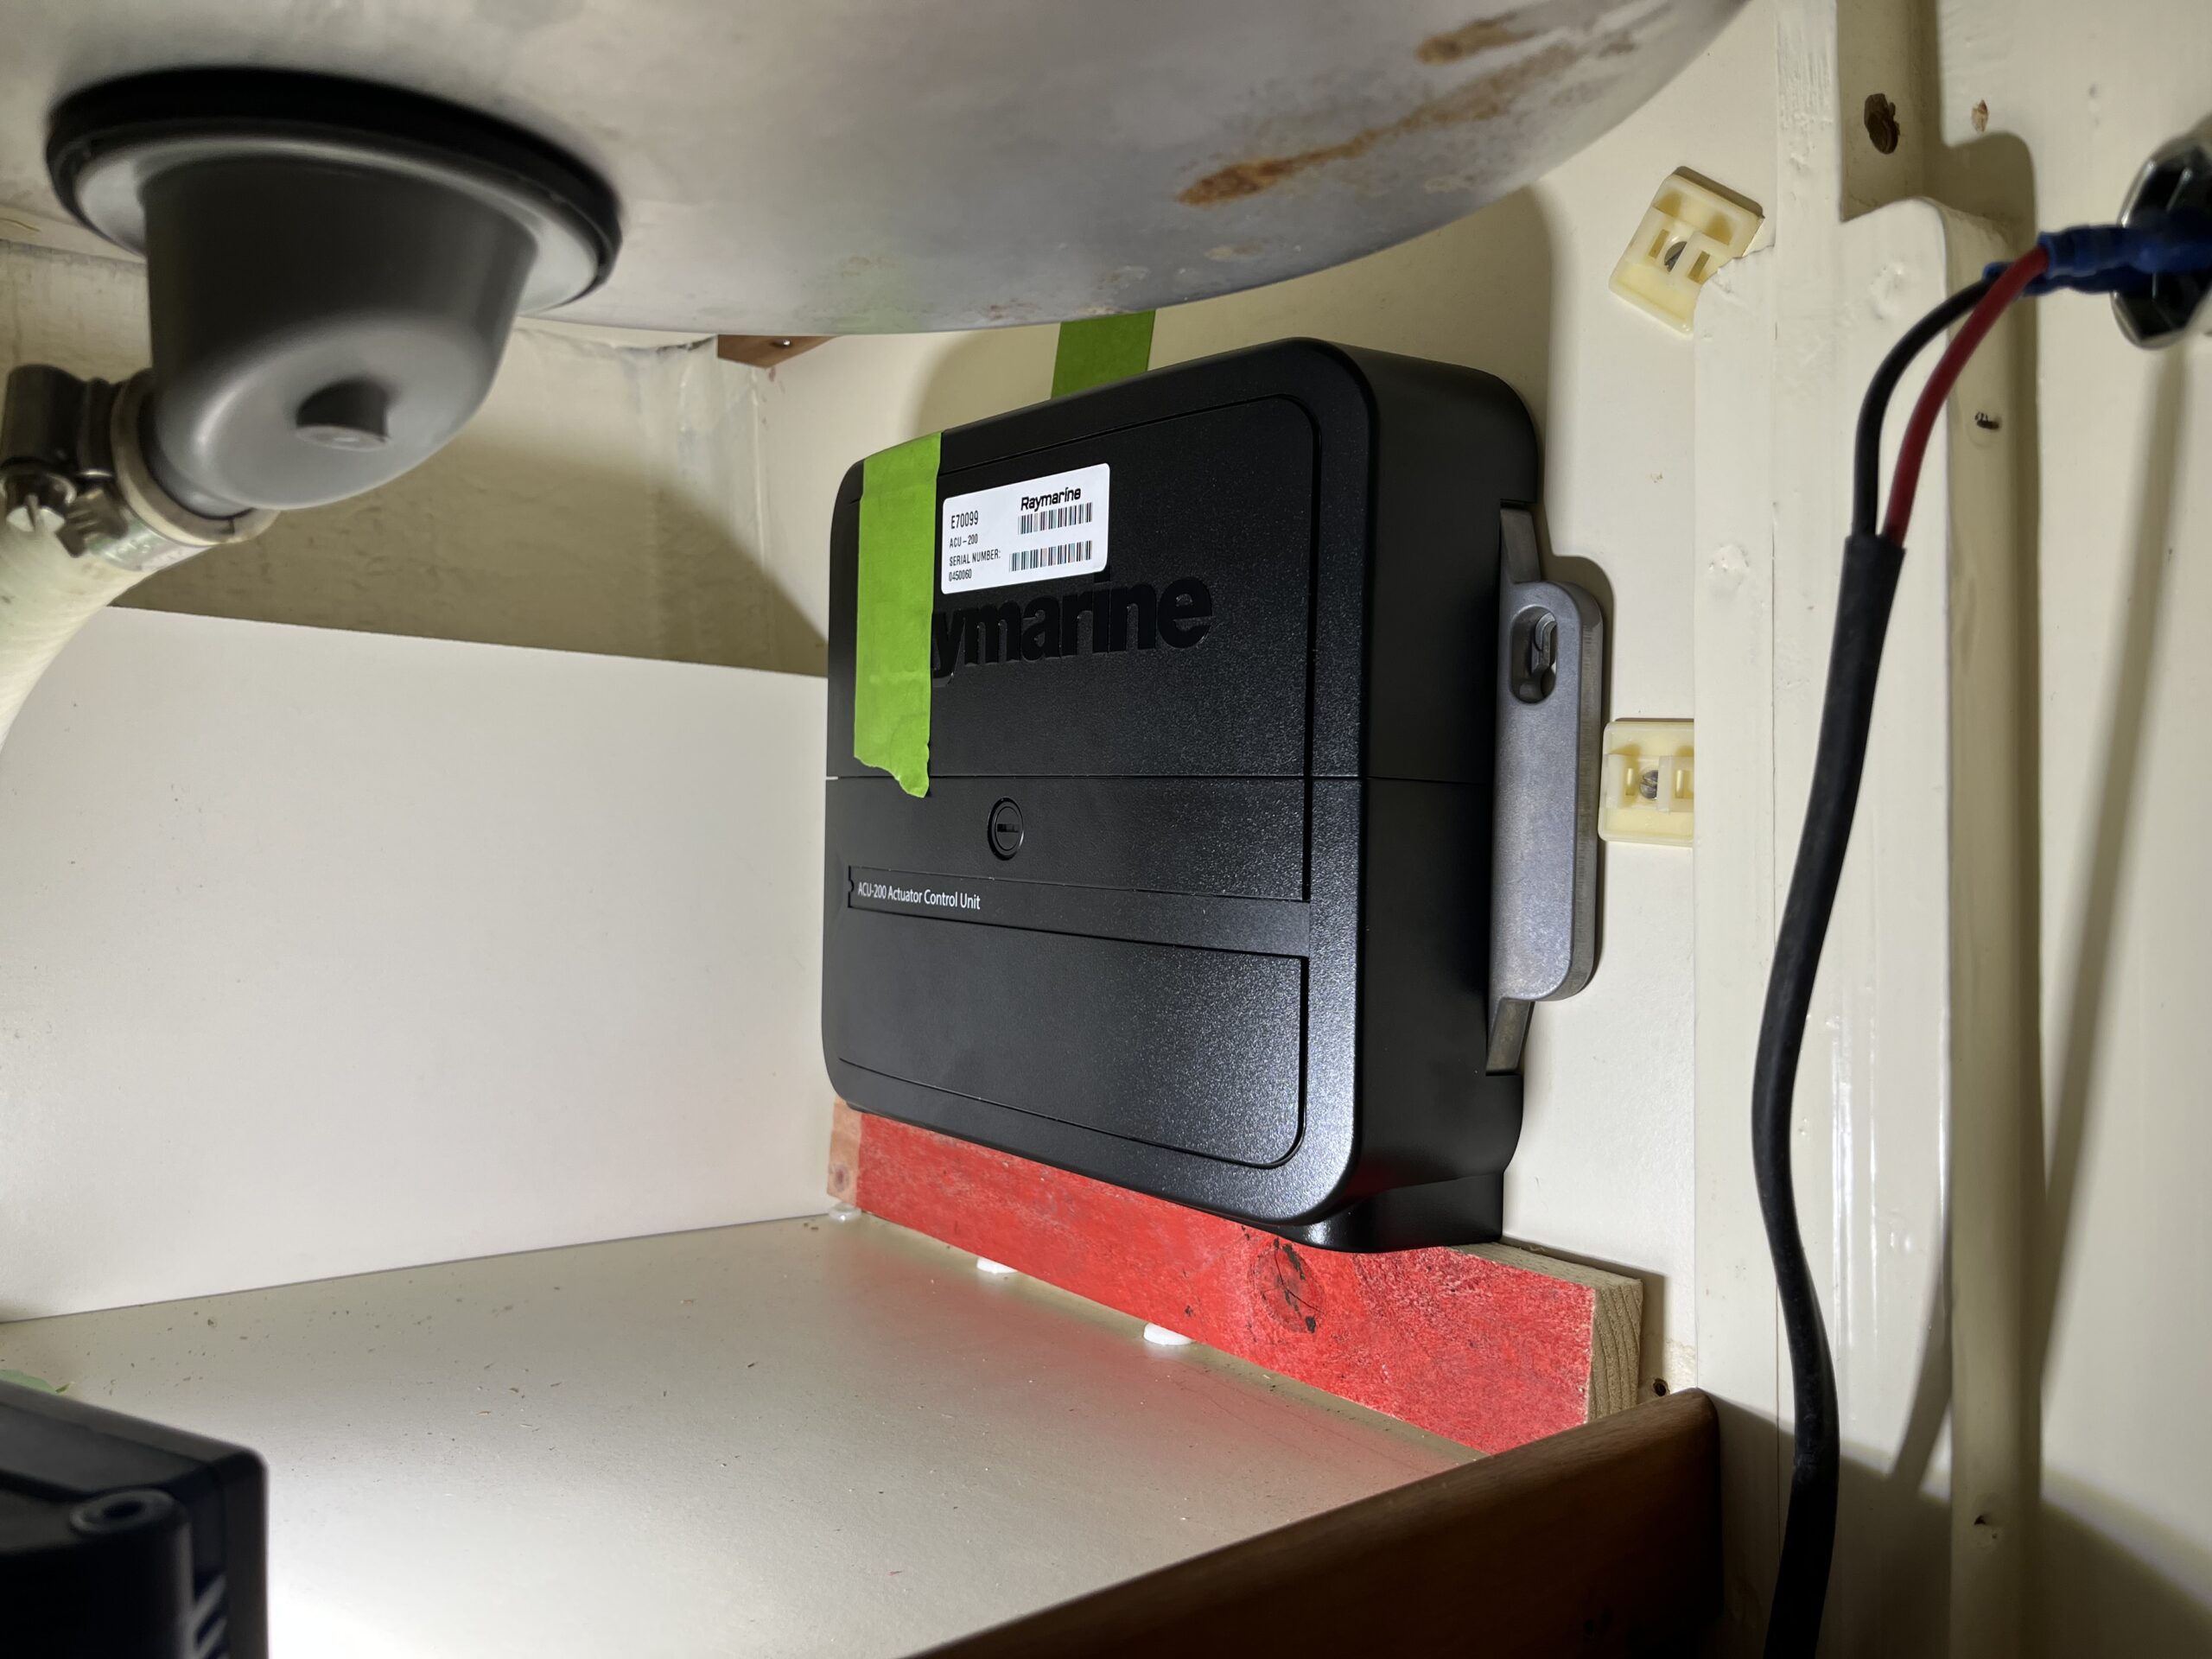
It turns out the ACU 200 is a bloody huge thing. Raymarine went from powering the Type 1 drive from the control head (installed at the helm) to using a dedicated hunk of metal with power, clutch, and NMEA 2000 (SeaTalk ng) wiring. This makes the helm p70s head a simple one-cable installation, connected to the STng bus, but it also means I needed space for something that’s 285 x 211 mm, plus cable clearance at the bottom. It also weighs over 2 kg – most of that is the heatsink I think.
Victoria 34s, at least mine, are not exactly full of “below decks, near the battery” spaces that can take something as large as the ACU 200. Given it pulls 0.2 amps when turned on, it’s not something I can put right next to the battery and just leave on all the time either; forgetting to turn the house battery off would be not great. If there was nothing in the wiring cubby, it would have fit on the plywood that’s glassed to the hull, but the wiring cubby is full (some day I might pull it all out, assemble it on a board, and then put the board in – it’d be neater!). The only part of the wiring cubby I’m not using is the top, and that’s the deck.
In the end, the locker under the sink in the heads is where I opted to install the ACU 200. I’ve been carrying a piece of wood for weeks now, thinking “perhaps this will be useful”, and it was finally useful. Used it to prop the ACU 200 up off of the shelf, a bit of tape to hold the unit against the bulkhead, and I could mark the position for the screws. A bit of finagling to get the drill into the space – I’m having to sit outside of the door, and reach around / lean in – and the unit is mounted. Has to come back off and get wired up, but it’ll work in that space.

I won’t get the diesel tanks reinstalled until the new nylocs are installed, and then we’re into the “put it all back together” stretch of the job. That’ll be
- sound insulation install
- diesel tanks back in, connected
- new diesel filter installation
- water tank access hatch
Oh, and there’s a new anchor to install, and an old anchor to bring home to the garden – once I can get the shackle pin to release; pretty sure I need an angle grinder.