I’ve been planning to add solar power to Blue Opal for a year or more now, and I’ve finally got around to doing it. A combination of a Phaesun Mare Flex 55W panel (archive), and a Votronic MPP 250 solar regulator (archive) are pretty much all I needed to order from SVB to make it happen. The Votronic is just every so slightly on the overkill side, as it can handle up to 250W of solar panels, and I’ve only put on a 55W panel; however, I’m keeping an eye to the future, and the price difference between the 165 and the 250 was negligible (about €30).
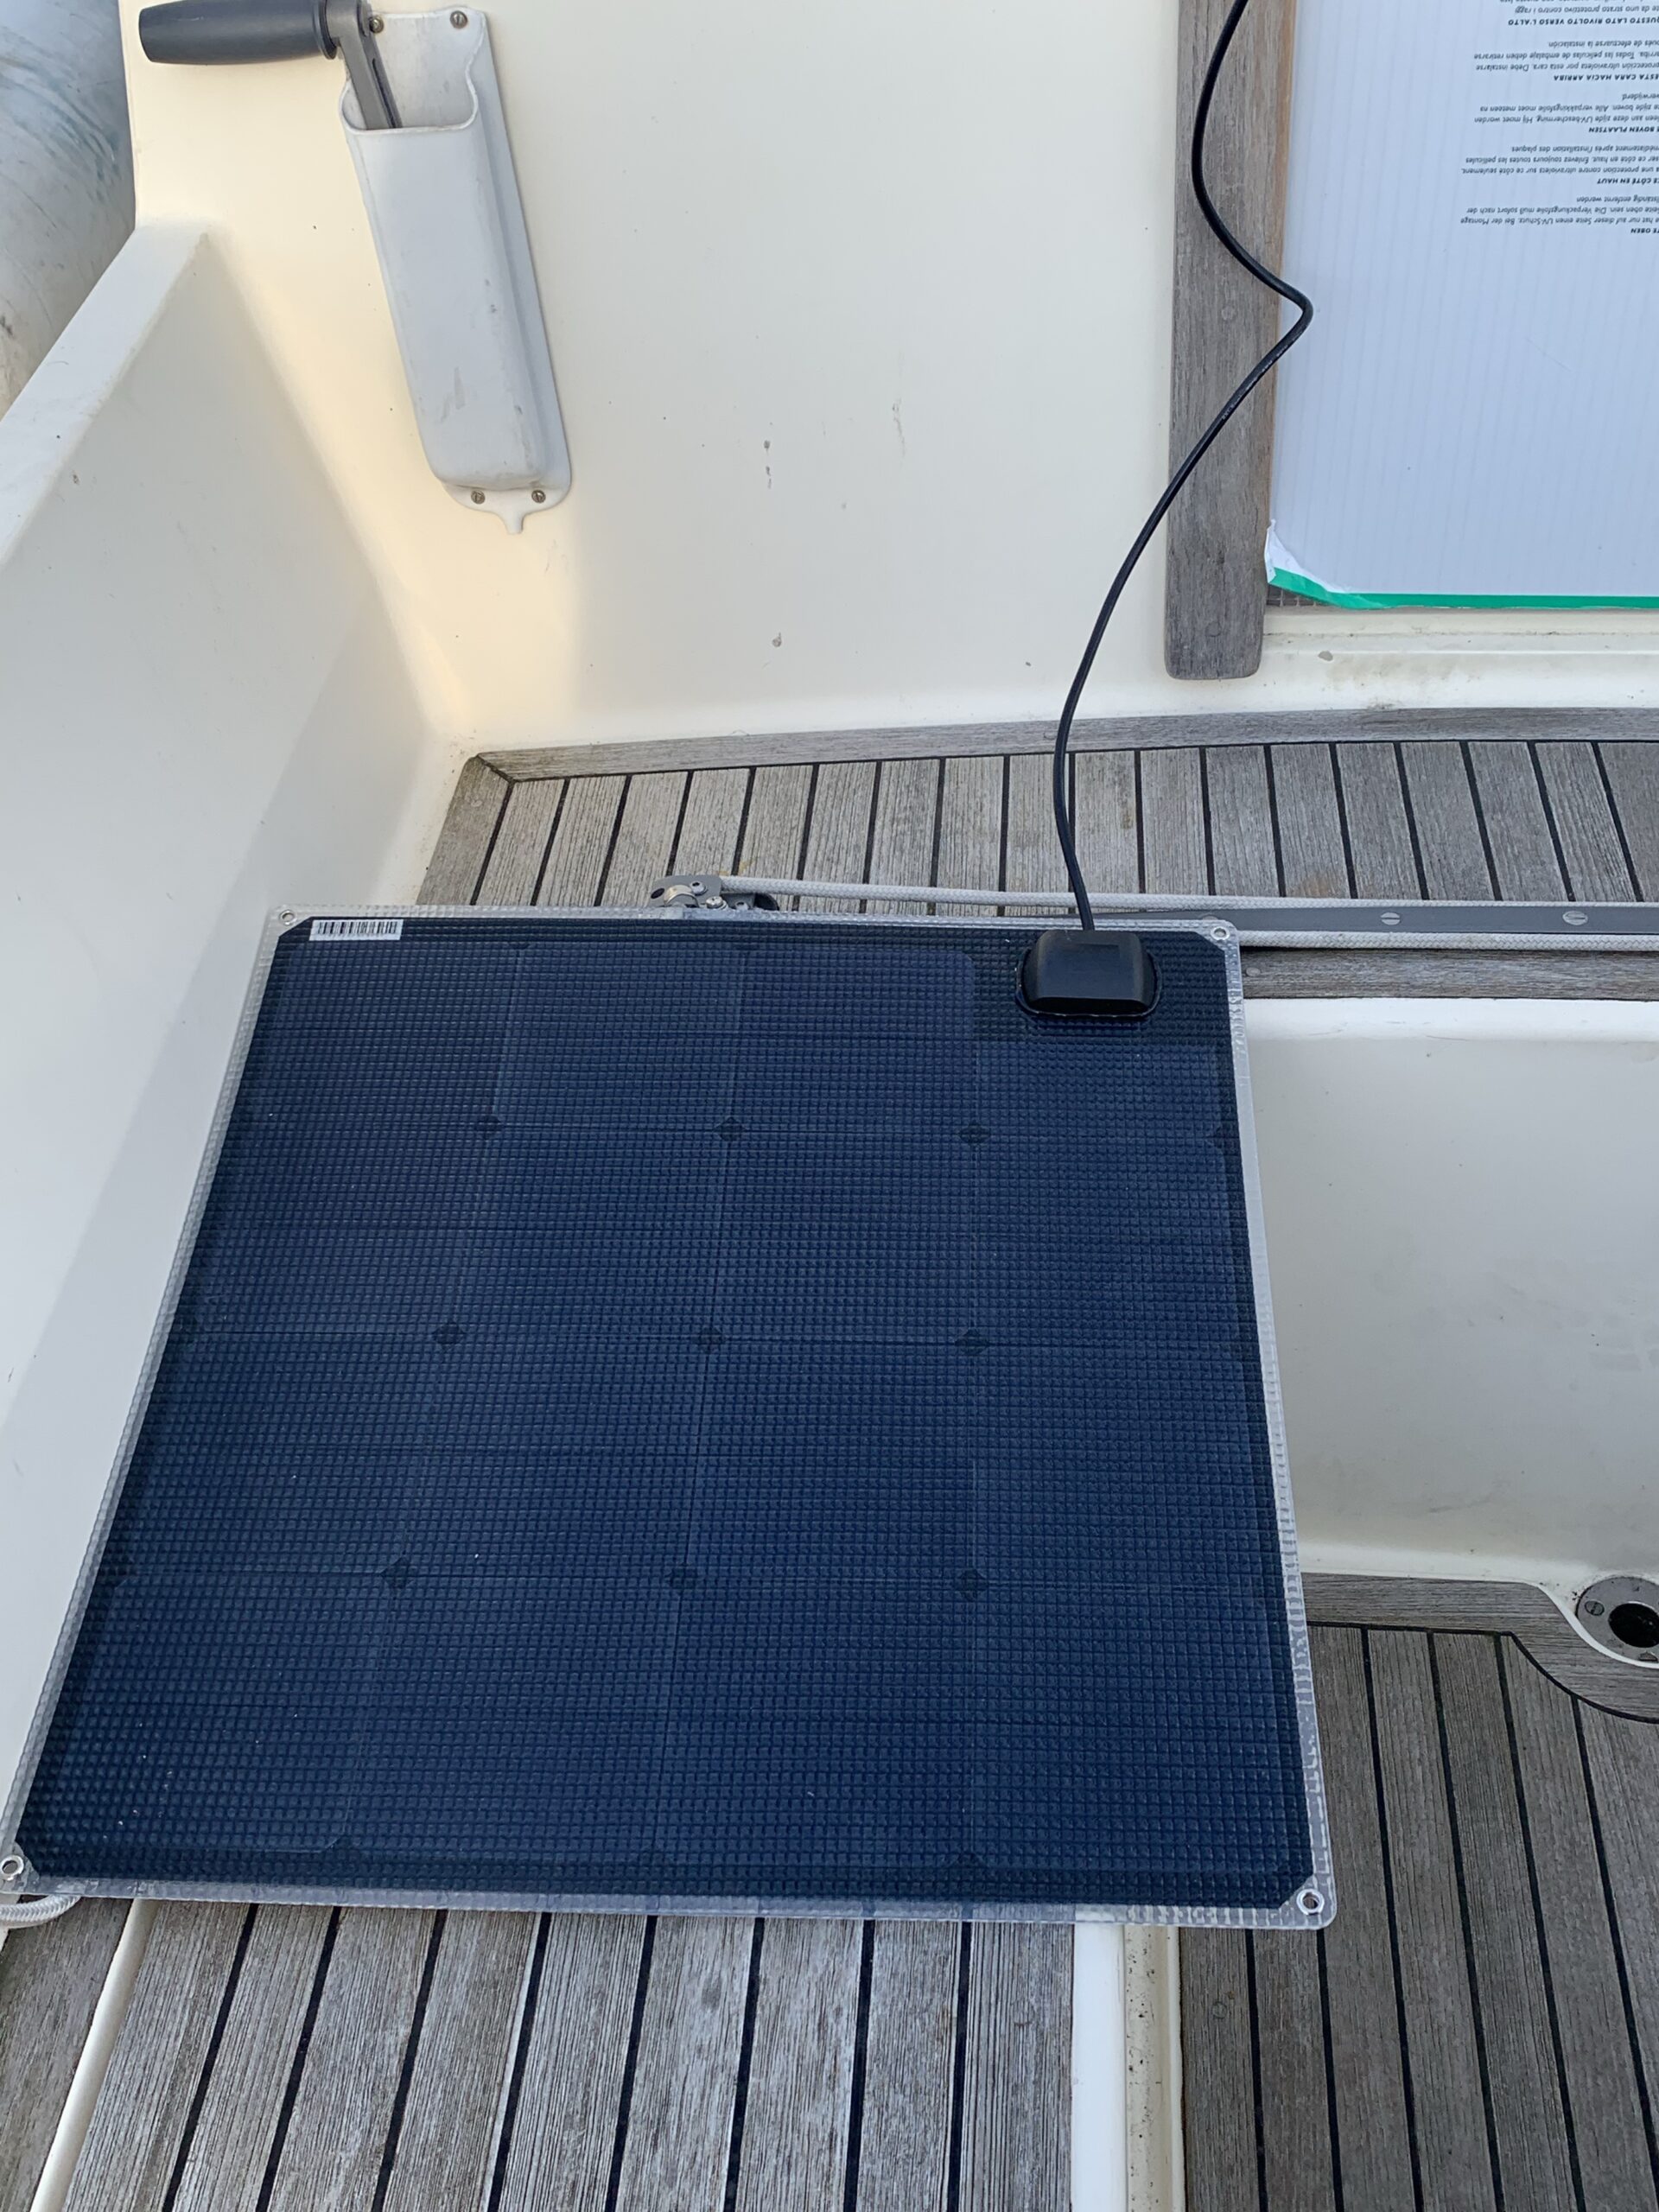
The Phaesun Mare panel is pretty much 0.5 x 0.5 metres, and has an interesting convex grid over the cells; I presume to act as lenses and focus light onto the cells. It’s flexible, but I don’t intend to use the flexibility too much initially. For now, it’s going to sit in the cockpit while I work out how to wire up a protected socket in the port cockpit cubby hole. The 240V inlet is already in that hole, and I think there might be enough room for a compact socket that the panel could plug in to. APP connectors are probably not the right idea here; they’re fine down below, but in and of themselves they’ve got a terrible IP rating and are probably unsuitable for the exterior marine environment.
At 0.5×0.5, the panel will fit in the chart table when not in use – this meant tidying the chart table, which is no bad thing.

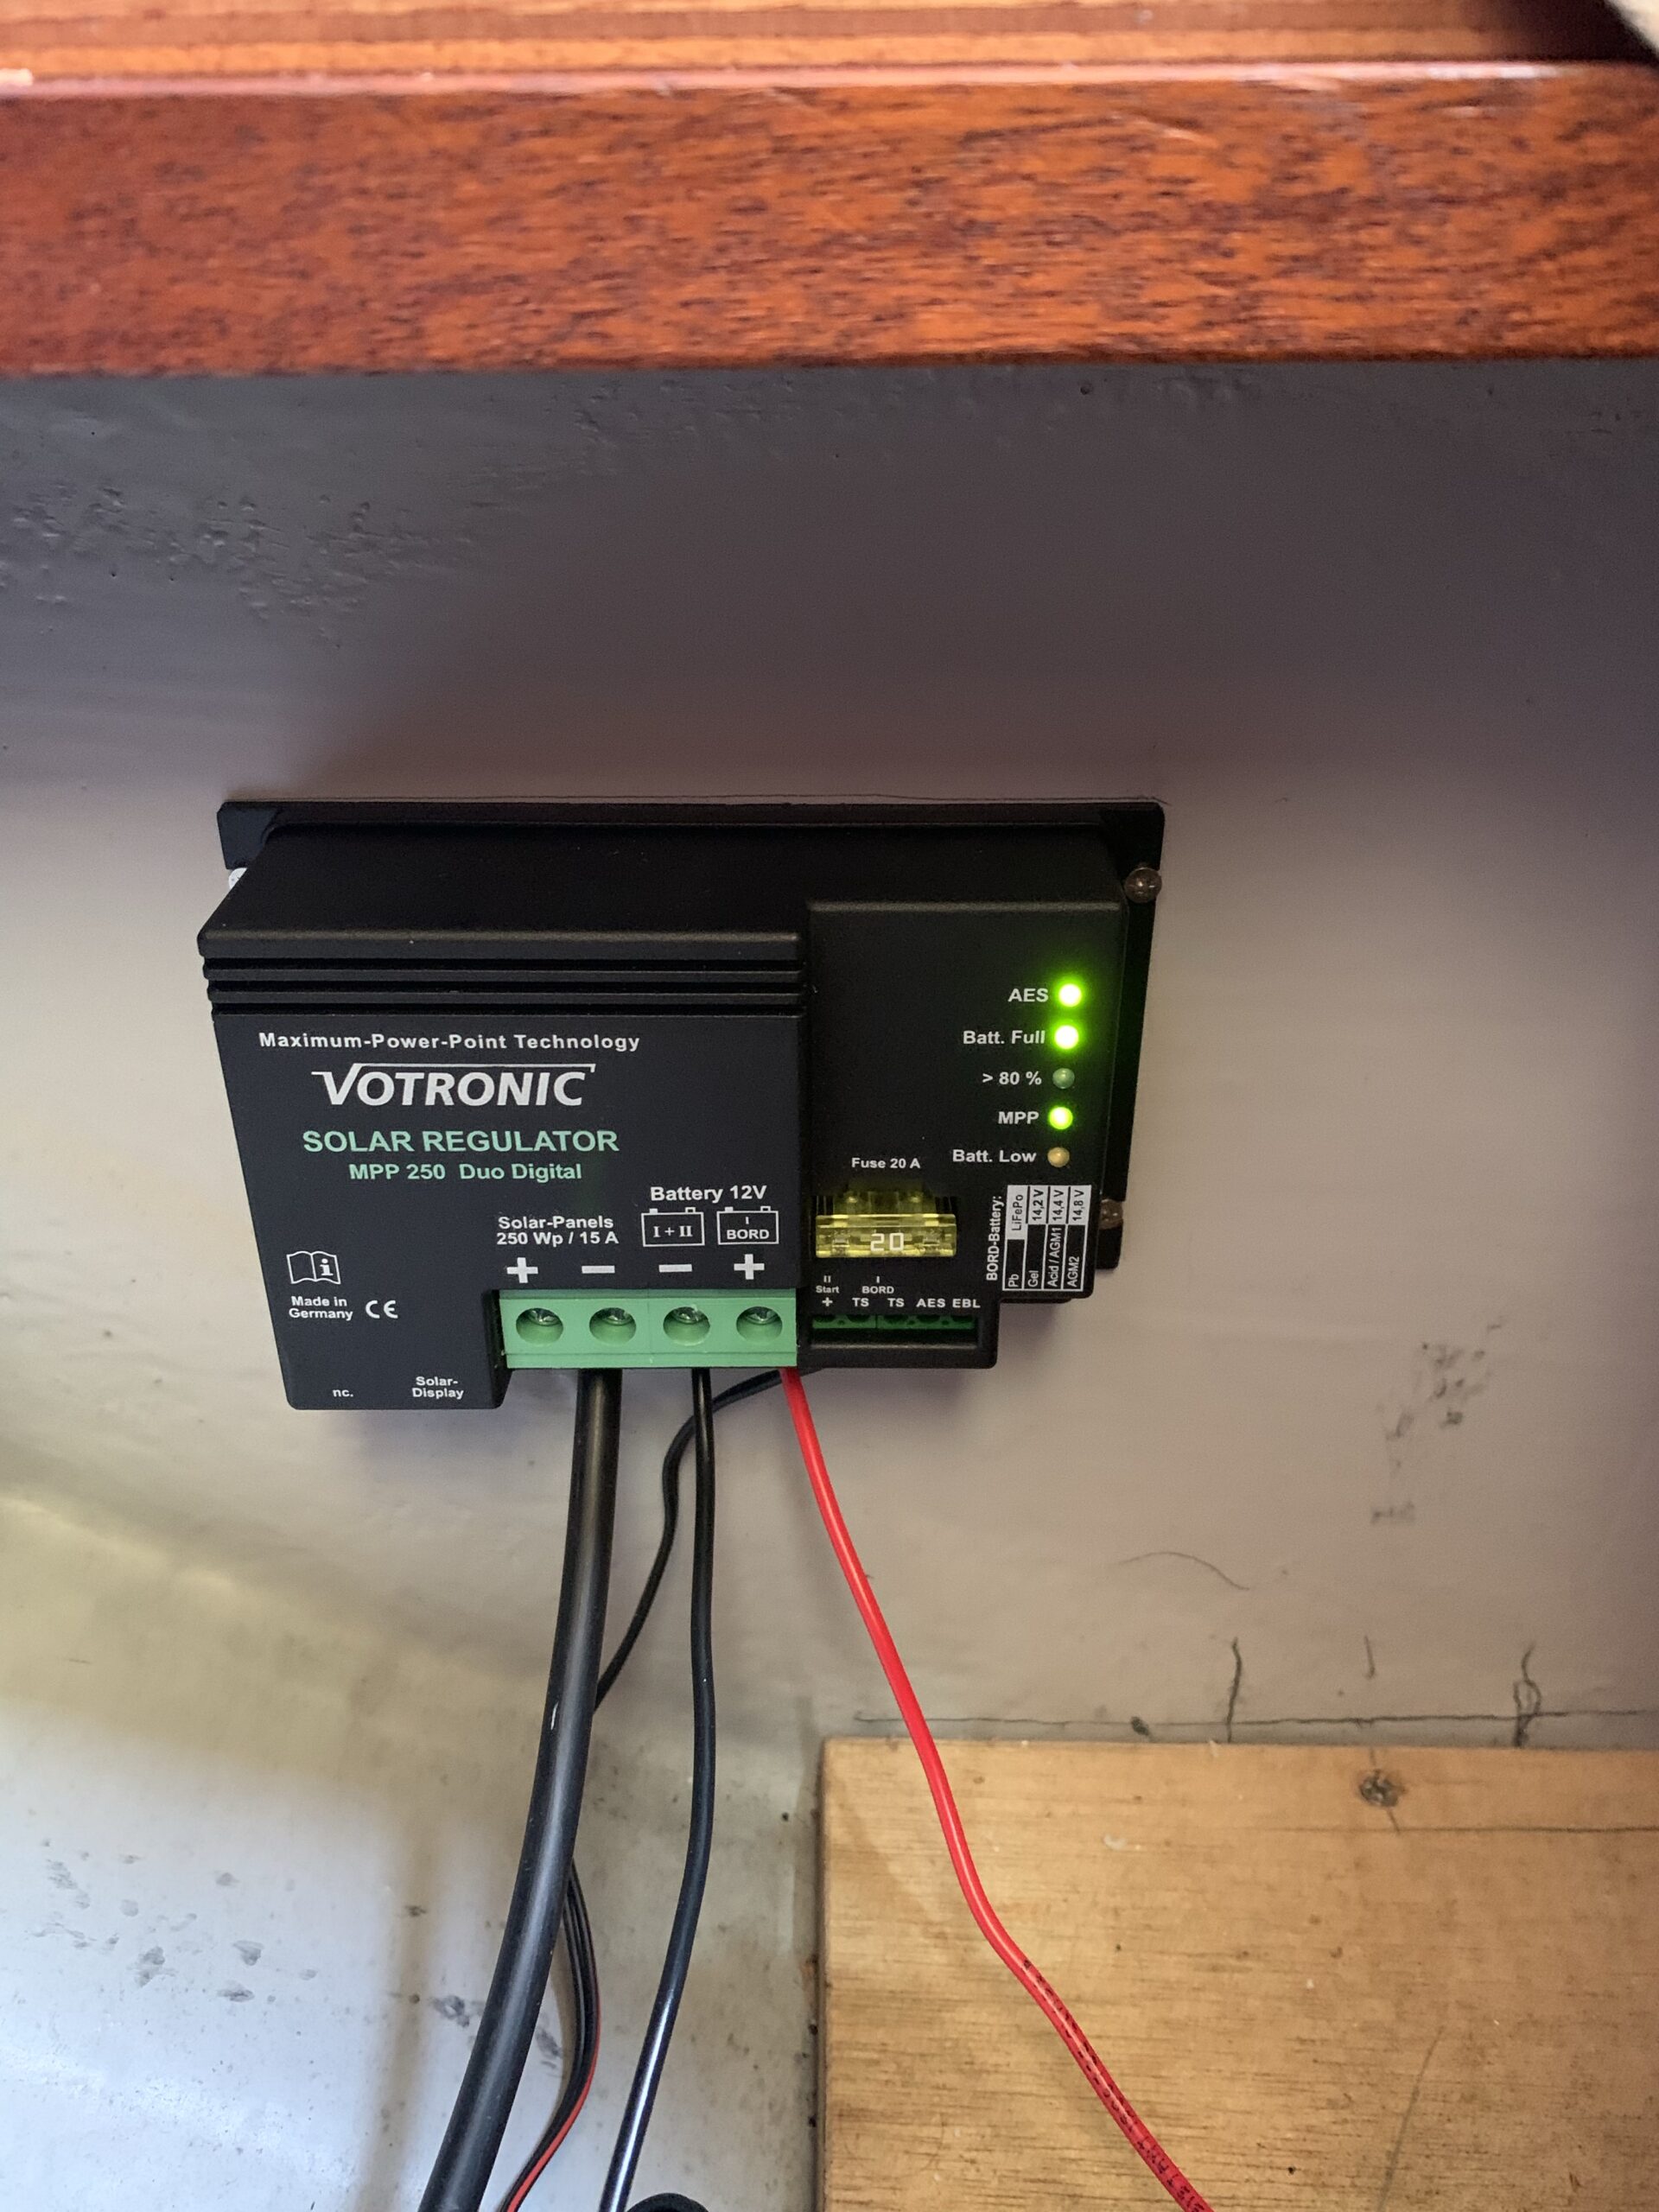
Wired up; APP on the solar input, battery lugs on the battery wires, and a thermal sensor 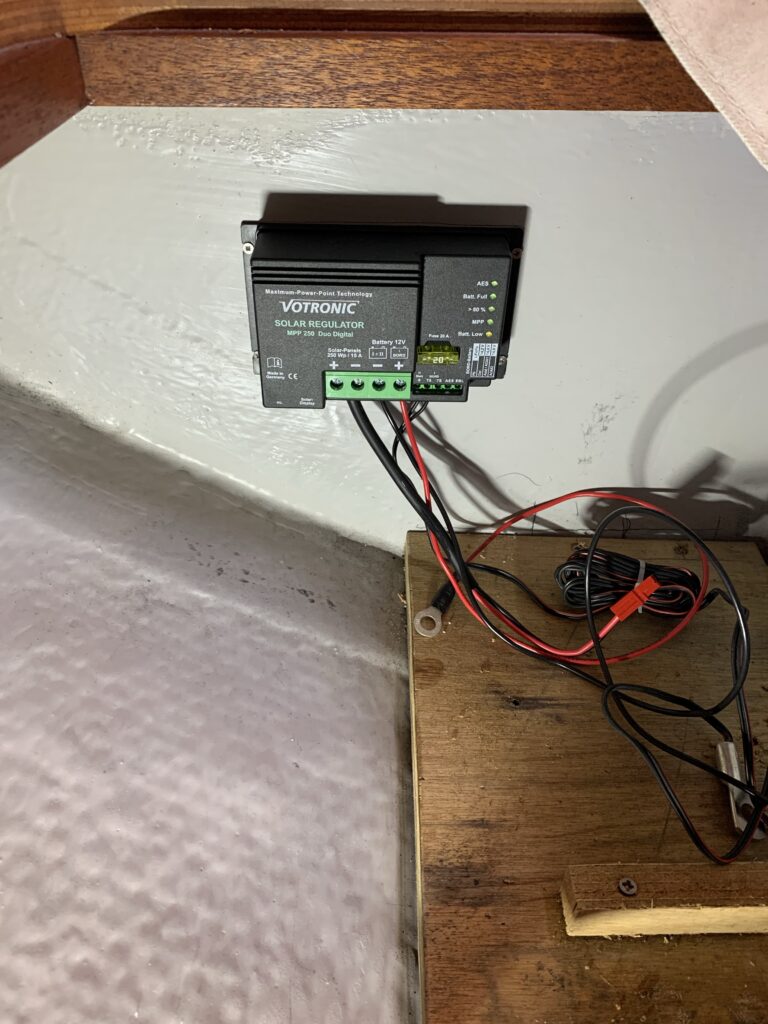
Mounted in place, ahead of the batteries 
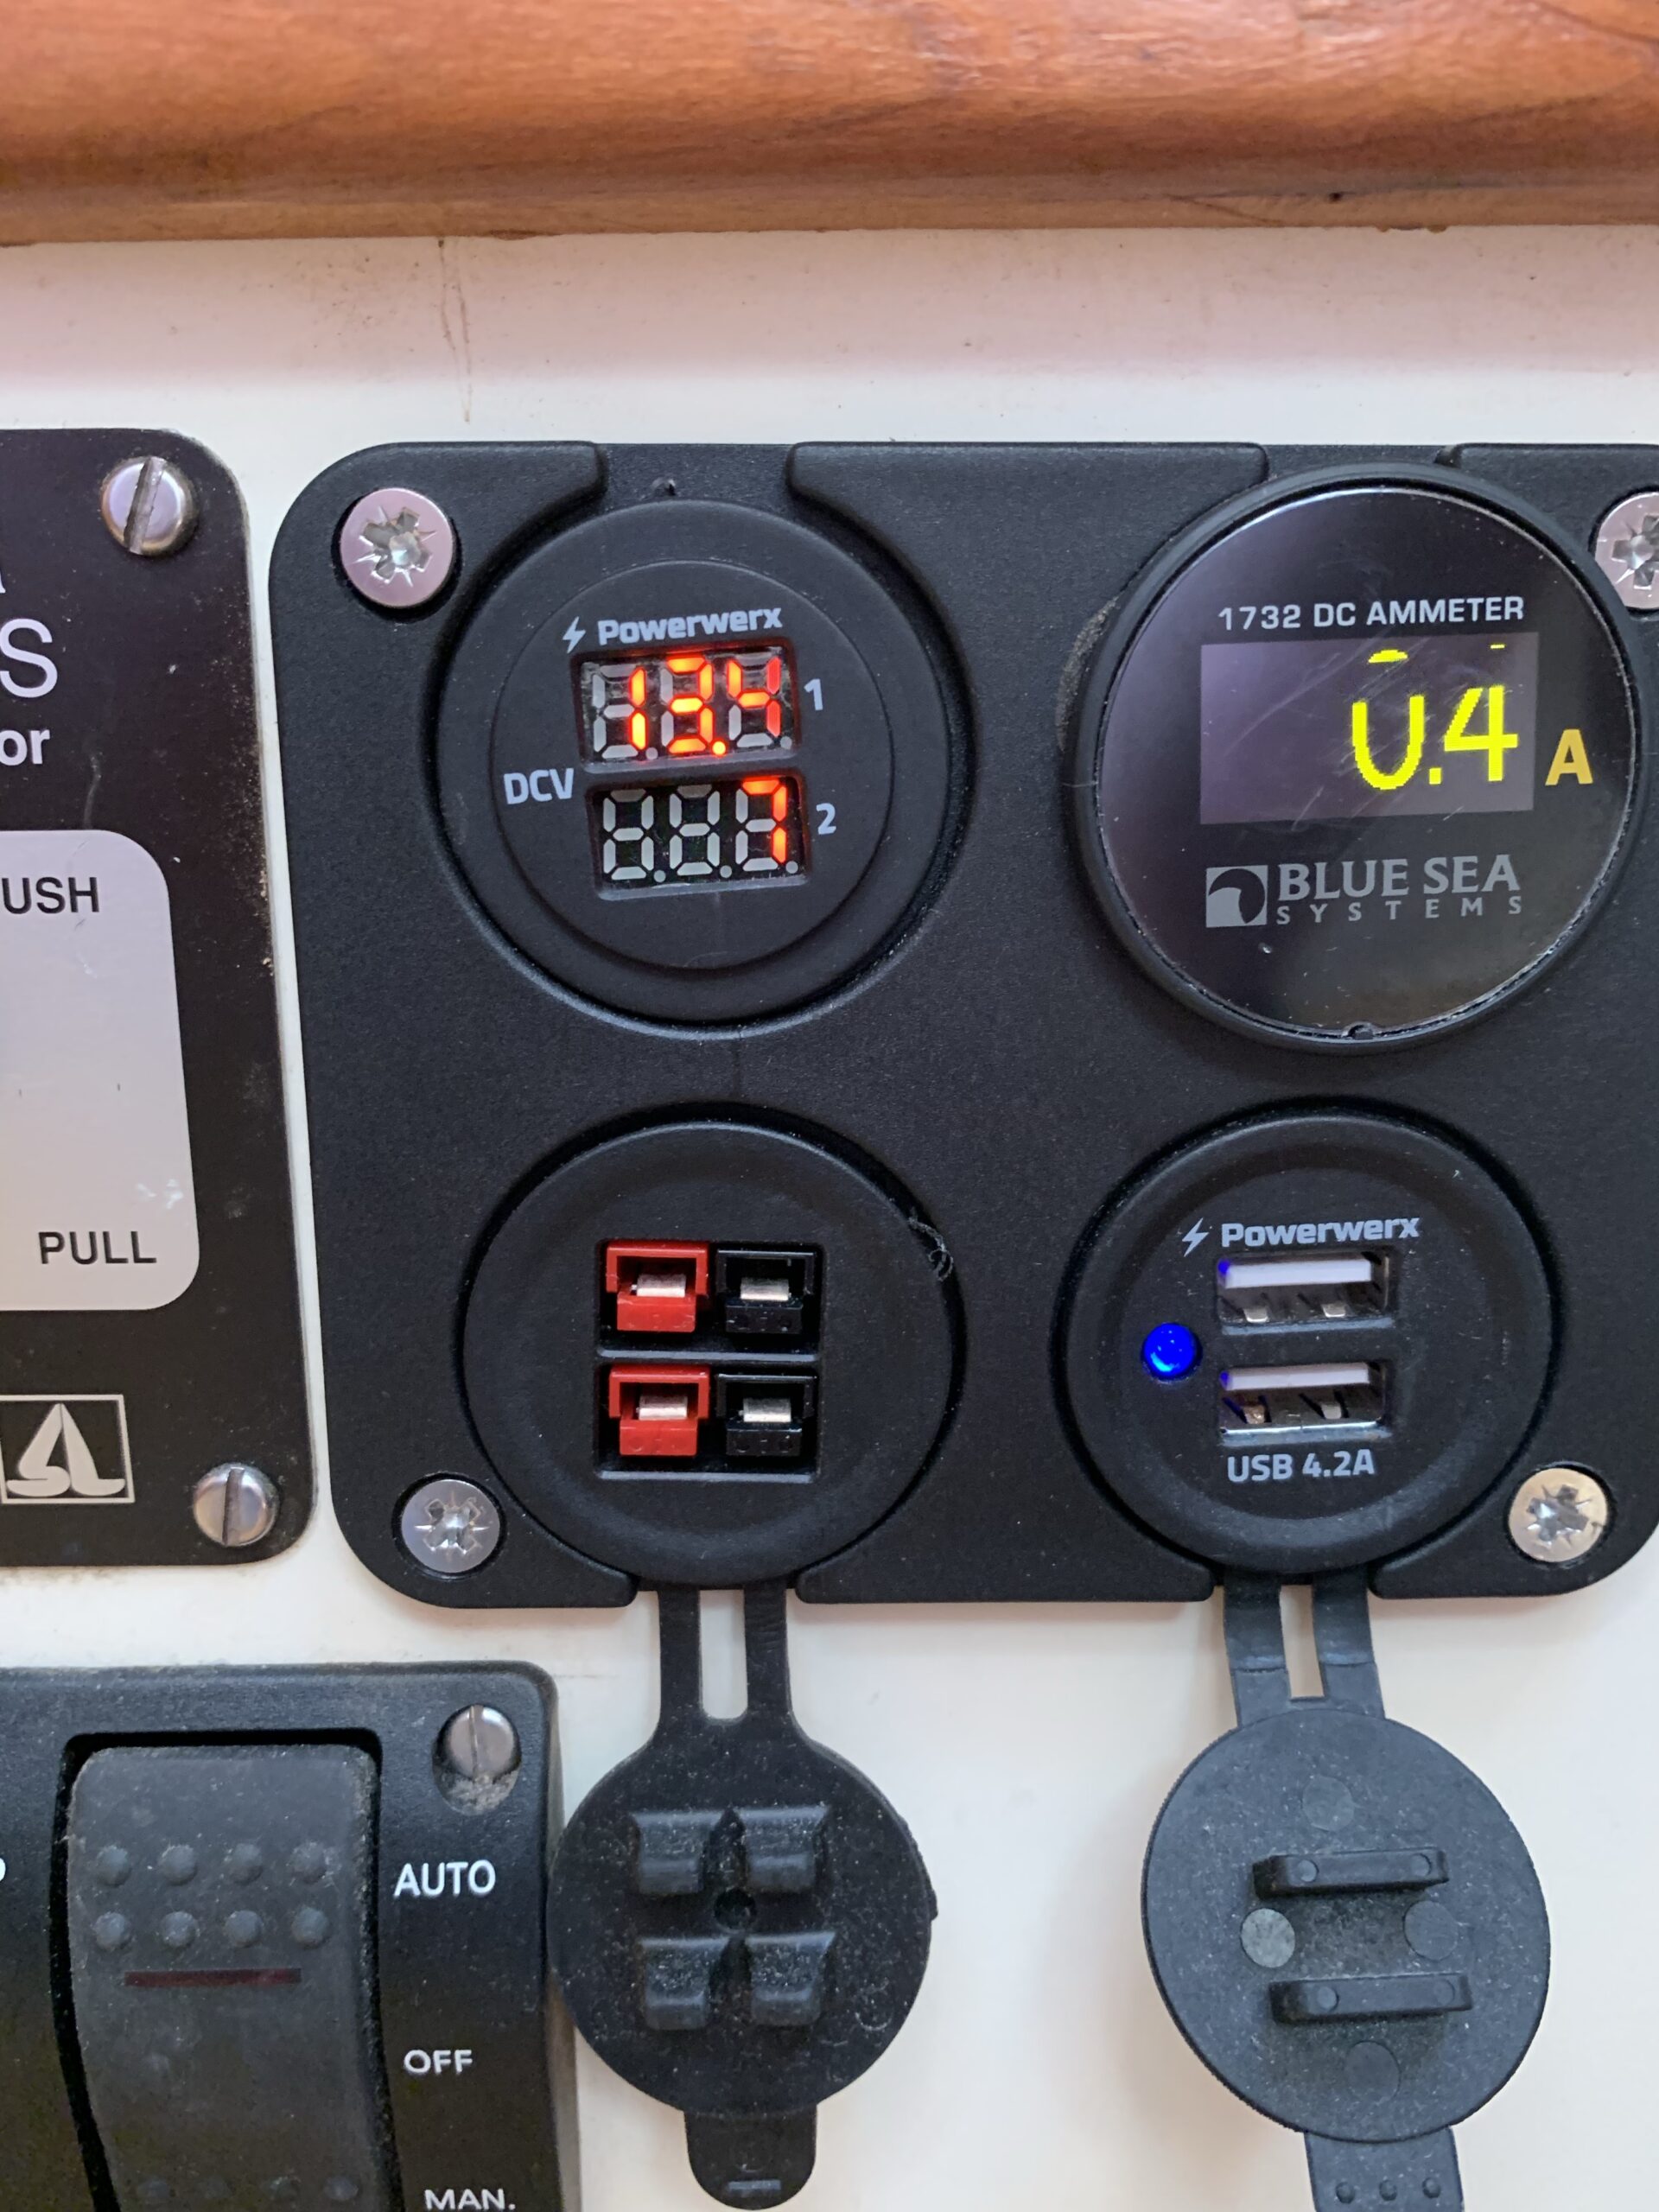
Ignition! 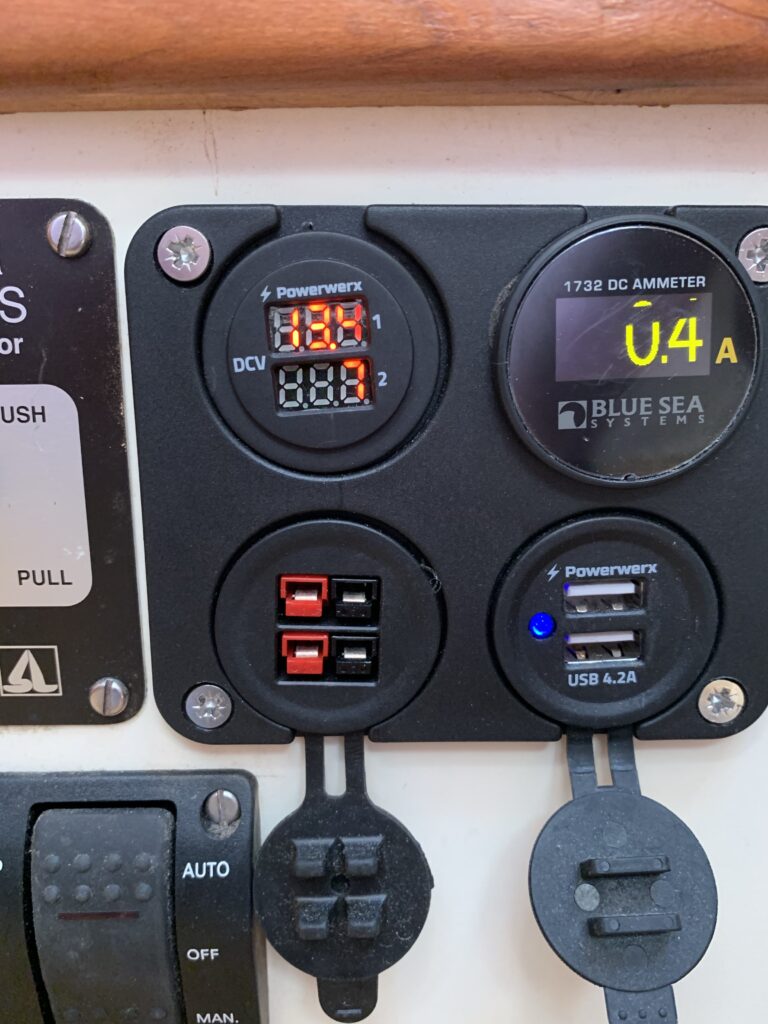
Barely readable, 13.4V on the house batteries (I need to align that meter properly) 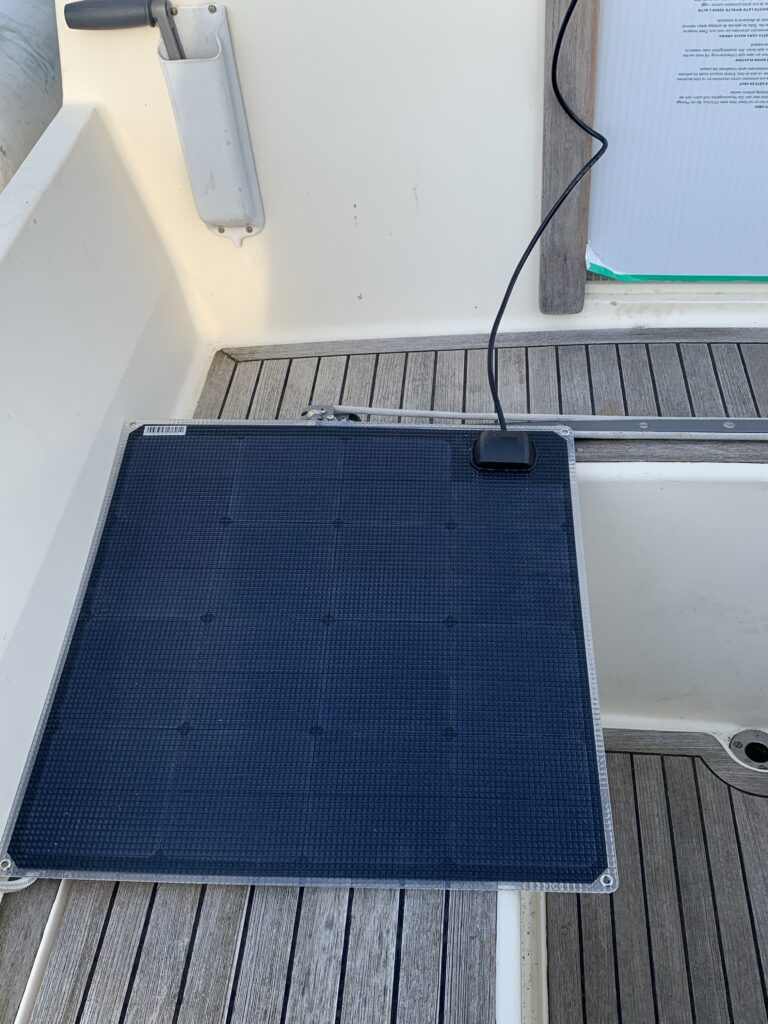
The panel, just resting in the cockpit


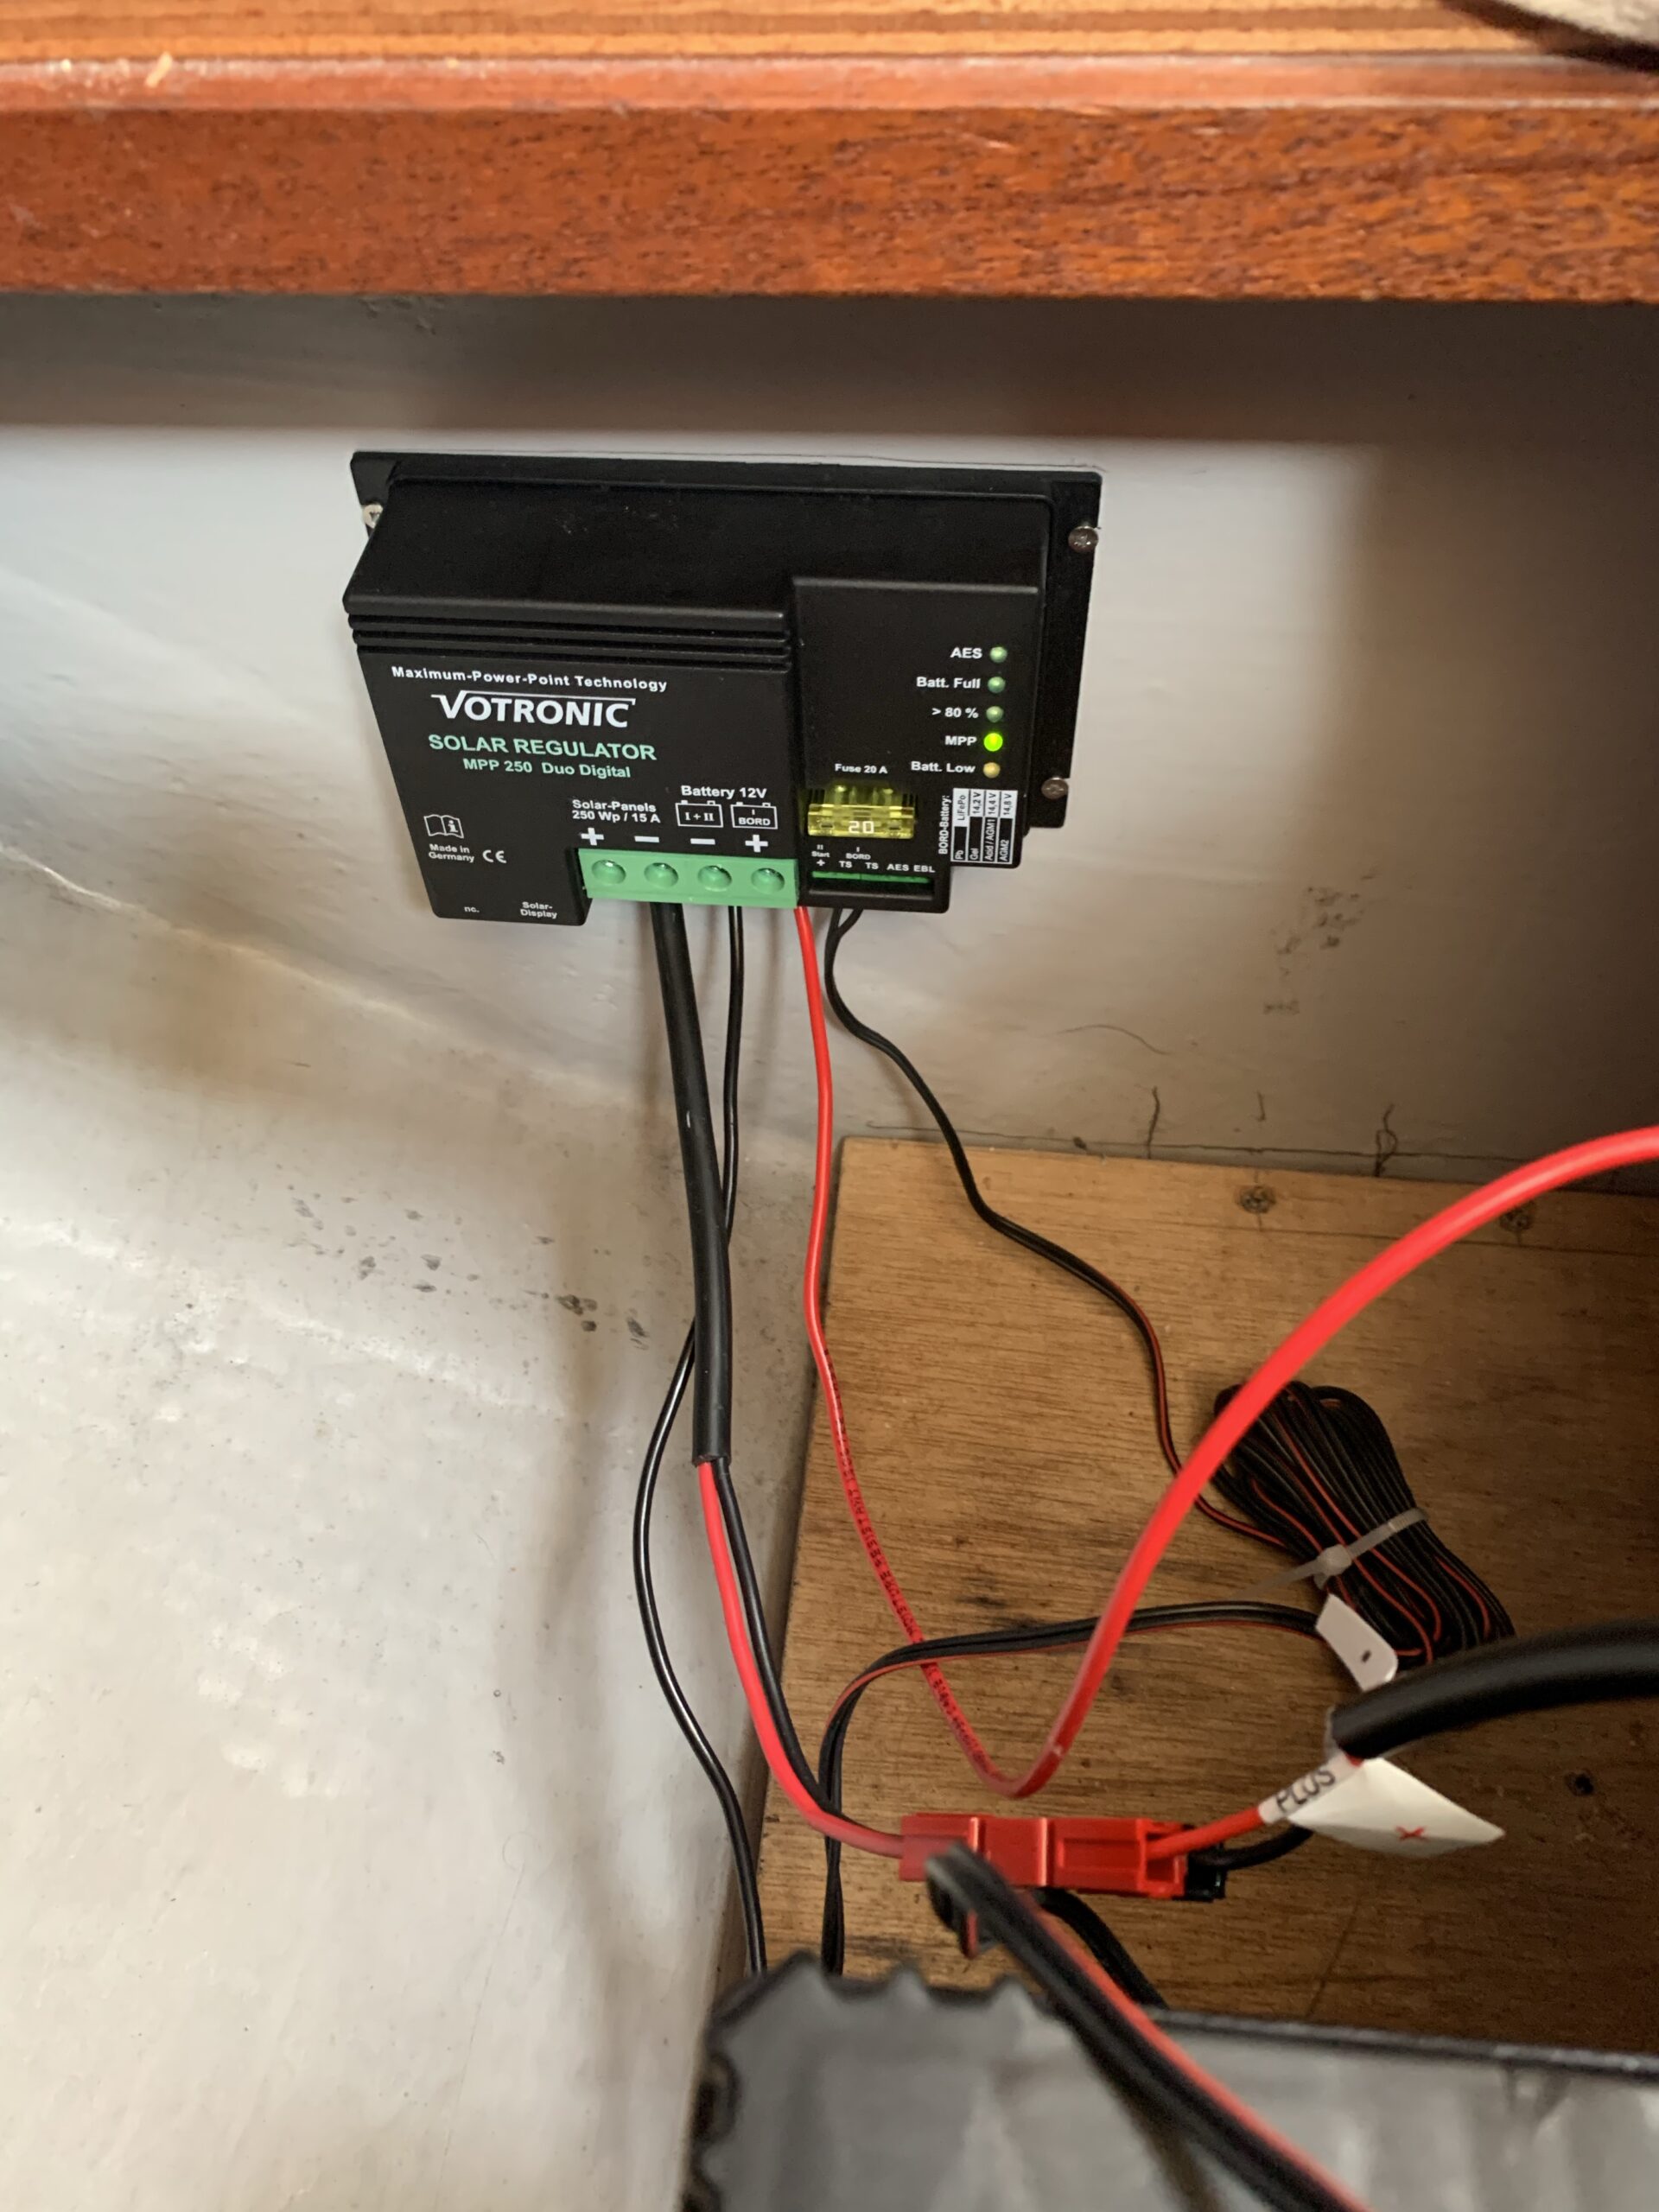
Installation was pretty easy. First step was using a spirit level to get the box vaguely level under the port berth, drill four 1.5mm pilot holes, and use four #4 x 3/8 screws to fix the unit in place, and then remove it all again to wire it up. I determined that I’d be attaching to the forward house battery, and measured off two lengths of 2.5 mm2 Oceanflex wire in red and black. The Votronic manual says 4 – 6 mm2 for this particular device, but I think the 2.5 mm2 will be sufficient to prove the point; if I find the wires getting warm (they’re less than 0.5m long), they’ll get upgraded to 4mm2. Two crimps later, and I had some 8 mm rings crimped on. To make life easy for now (disconnecting the panel and putting it in storage), I crimped on two Anderson PowerPole connectors for the feed from the panel, and wired those in. Finally, the two connections for the temperature sensor on the main battery bank.
Mounted it back on the bulkhead, wired up the battery load per the manual (basically, battery first, then panels), put the temperature sensor on the stud, and tried to put the nut on only to find that the nut had the wrong threading for the stud. Went digging, found a spare terminal to 8mm threaded stud adapter, proved the nut worked on that one and swapped it in. Ratcheted the nut down, and the Votronic came to life and lit up in a manner that said “working”. Wired up the panel, and stuck it outside in the evening sun, and was gratified to see the voltmeter promptly tick over to 13.1 volts on the house batteries, and then climb to 13.4 after a few minutes. It even hit 14 volts at one point, very briefly.
I’m happy at 13.something though, because that’ll be the trickle state. I can now stop worrying about getting down to the boat frequently enough to check on the battery state, and I can stop worrying about whether I accidentally knocked the always-on switch for the saloon light on my way out (it’s an LED light, but it’ll still drain the bank).
The next two jobs on the power side of life are to get an inline blade fuse for the connection from the solar regulator to the battery, and replacing the shore power NEMA connector in the port cubby with something different that has better contact surface area. Various places are in praise of the SmartPlug (UK vendor), but a CEE-style plug/socket (not actually CEE) is far more common in Europe apparently, with SVB offering one by Mastervolt / Ratio Electric. Ugh, that means I’ll have to get into the locker again…
Post-hoc addendum: “Battery full”