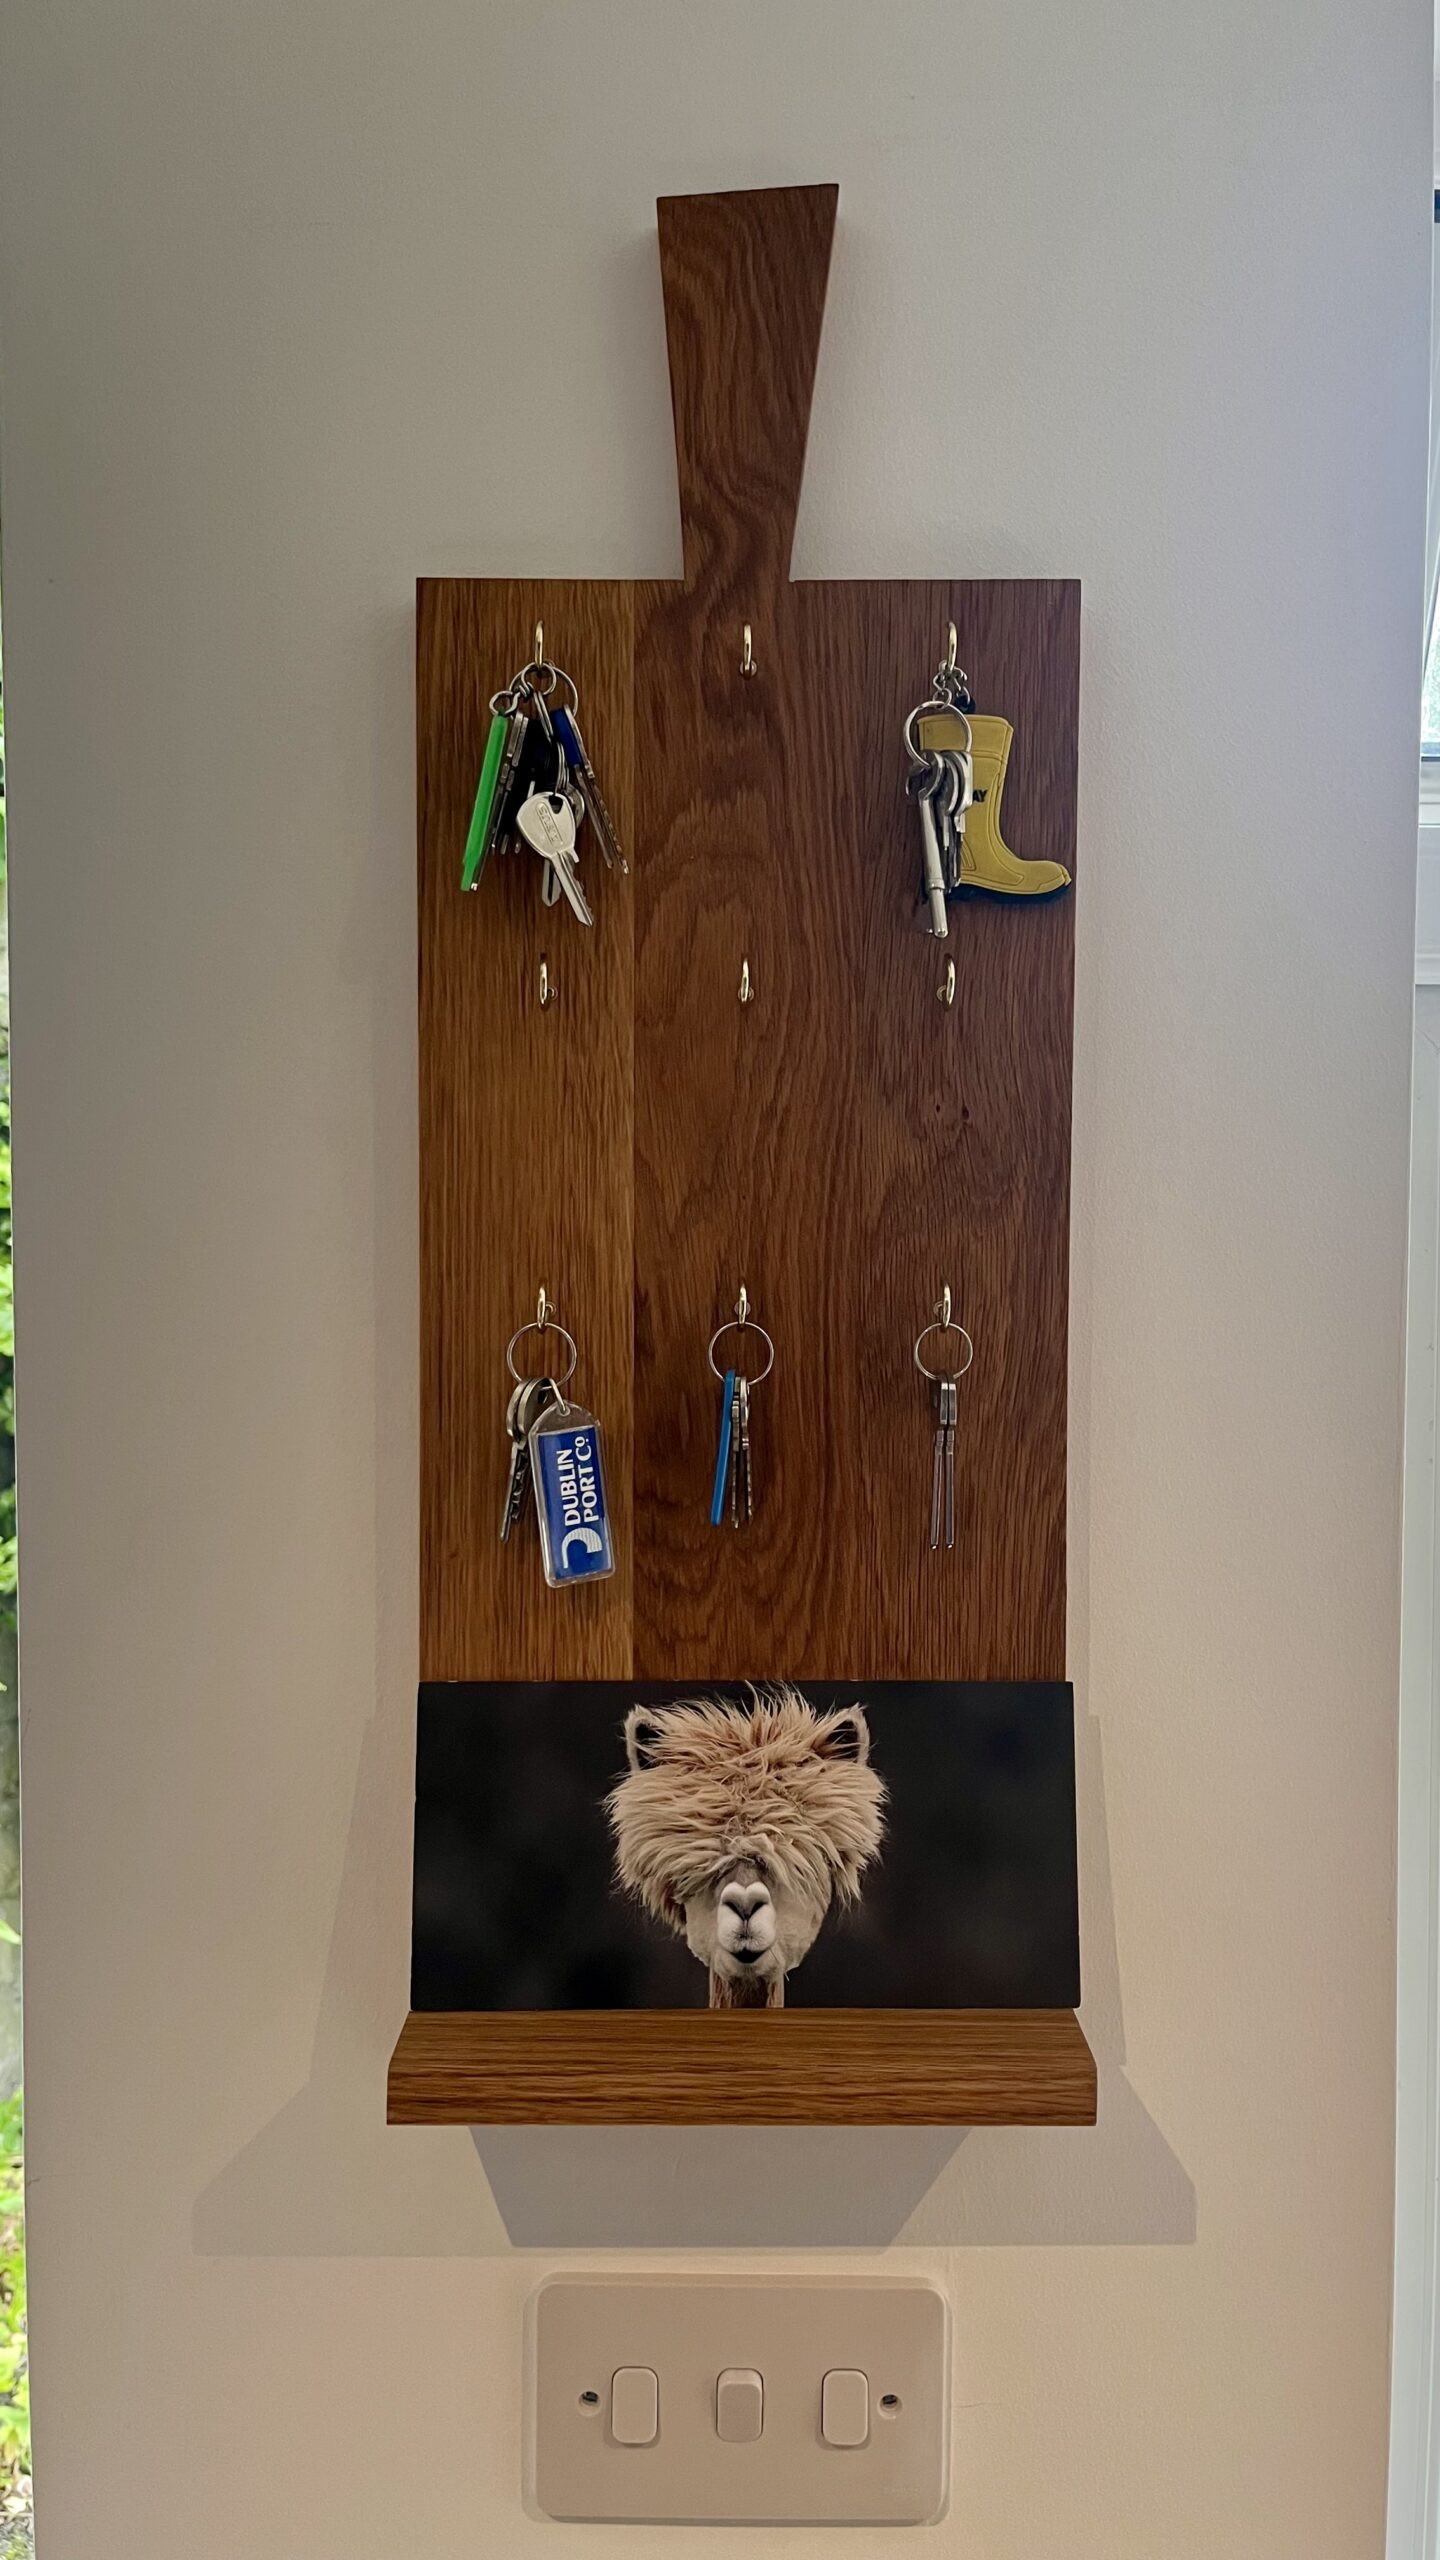
When K moved to Ireland, we packed a large bit of wood that was typically used to hold hot saucepans, condiments, etcetera. We haven’t used it for that purpose since, and since we needed a bigger key rack than the one I had already, we opted to convert the cutting/serving board to a key rack.
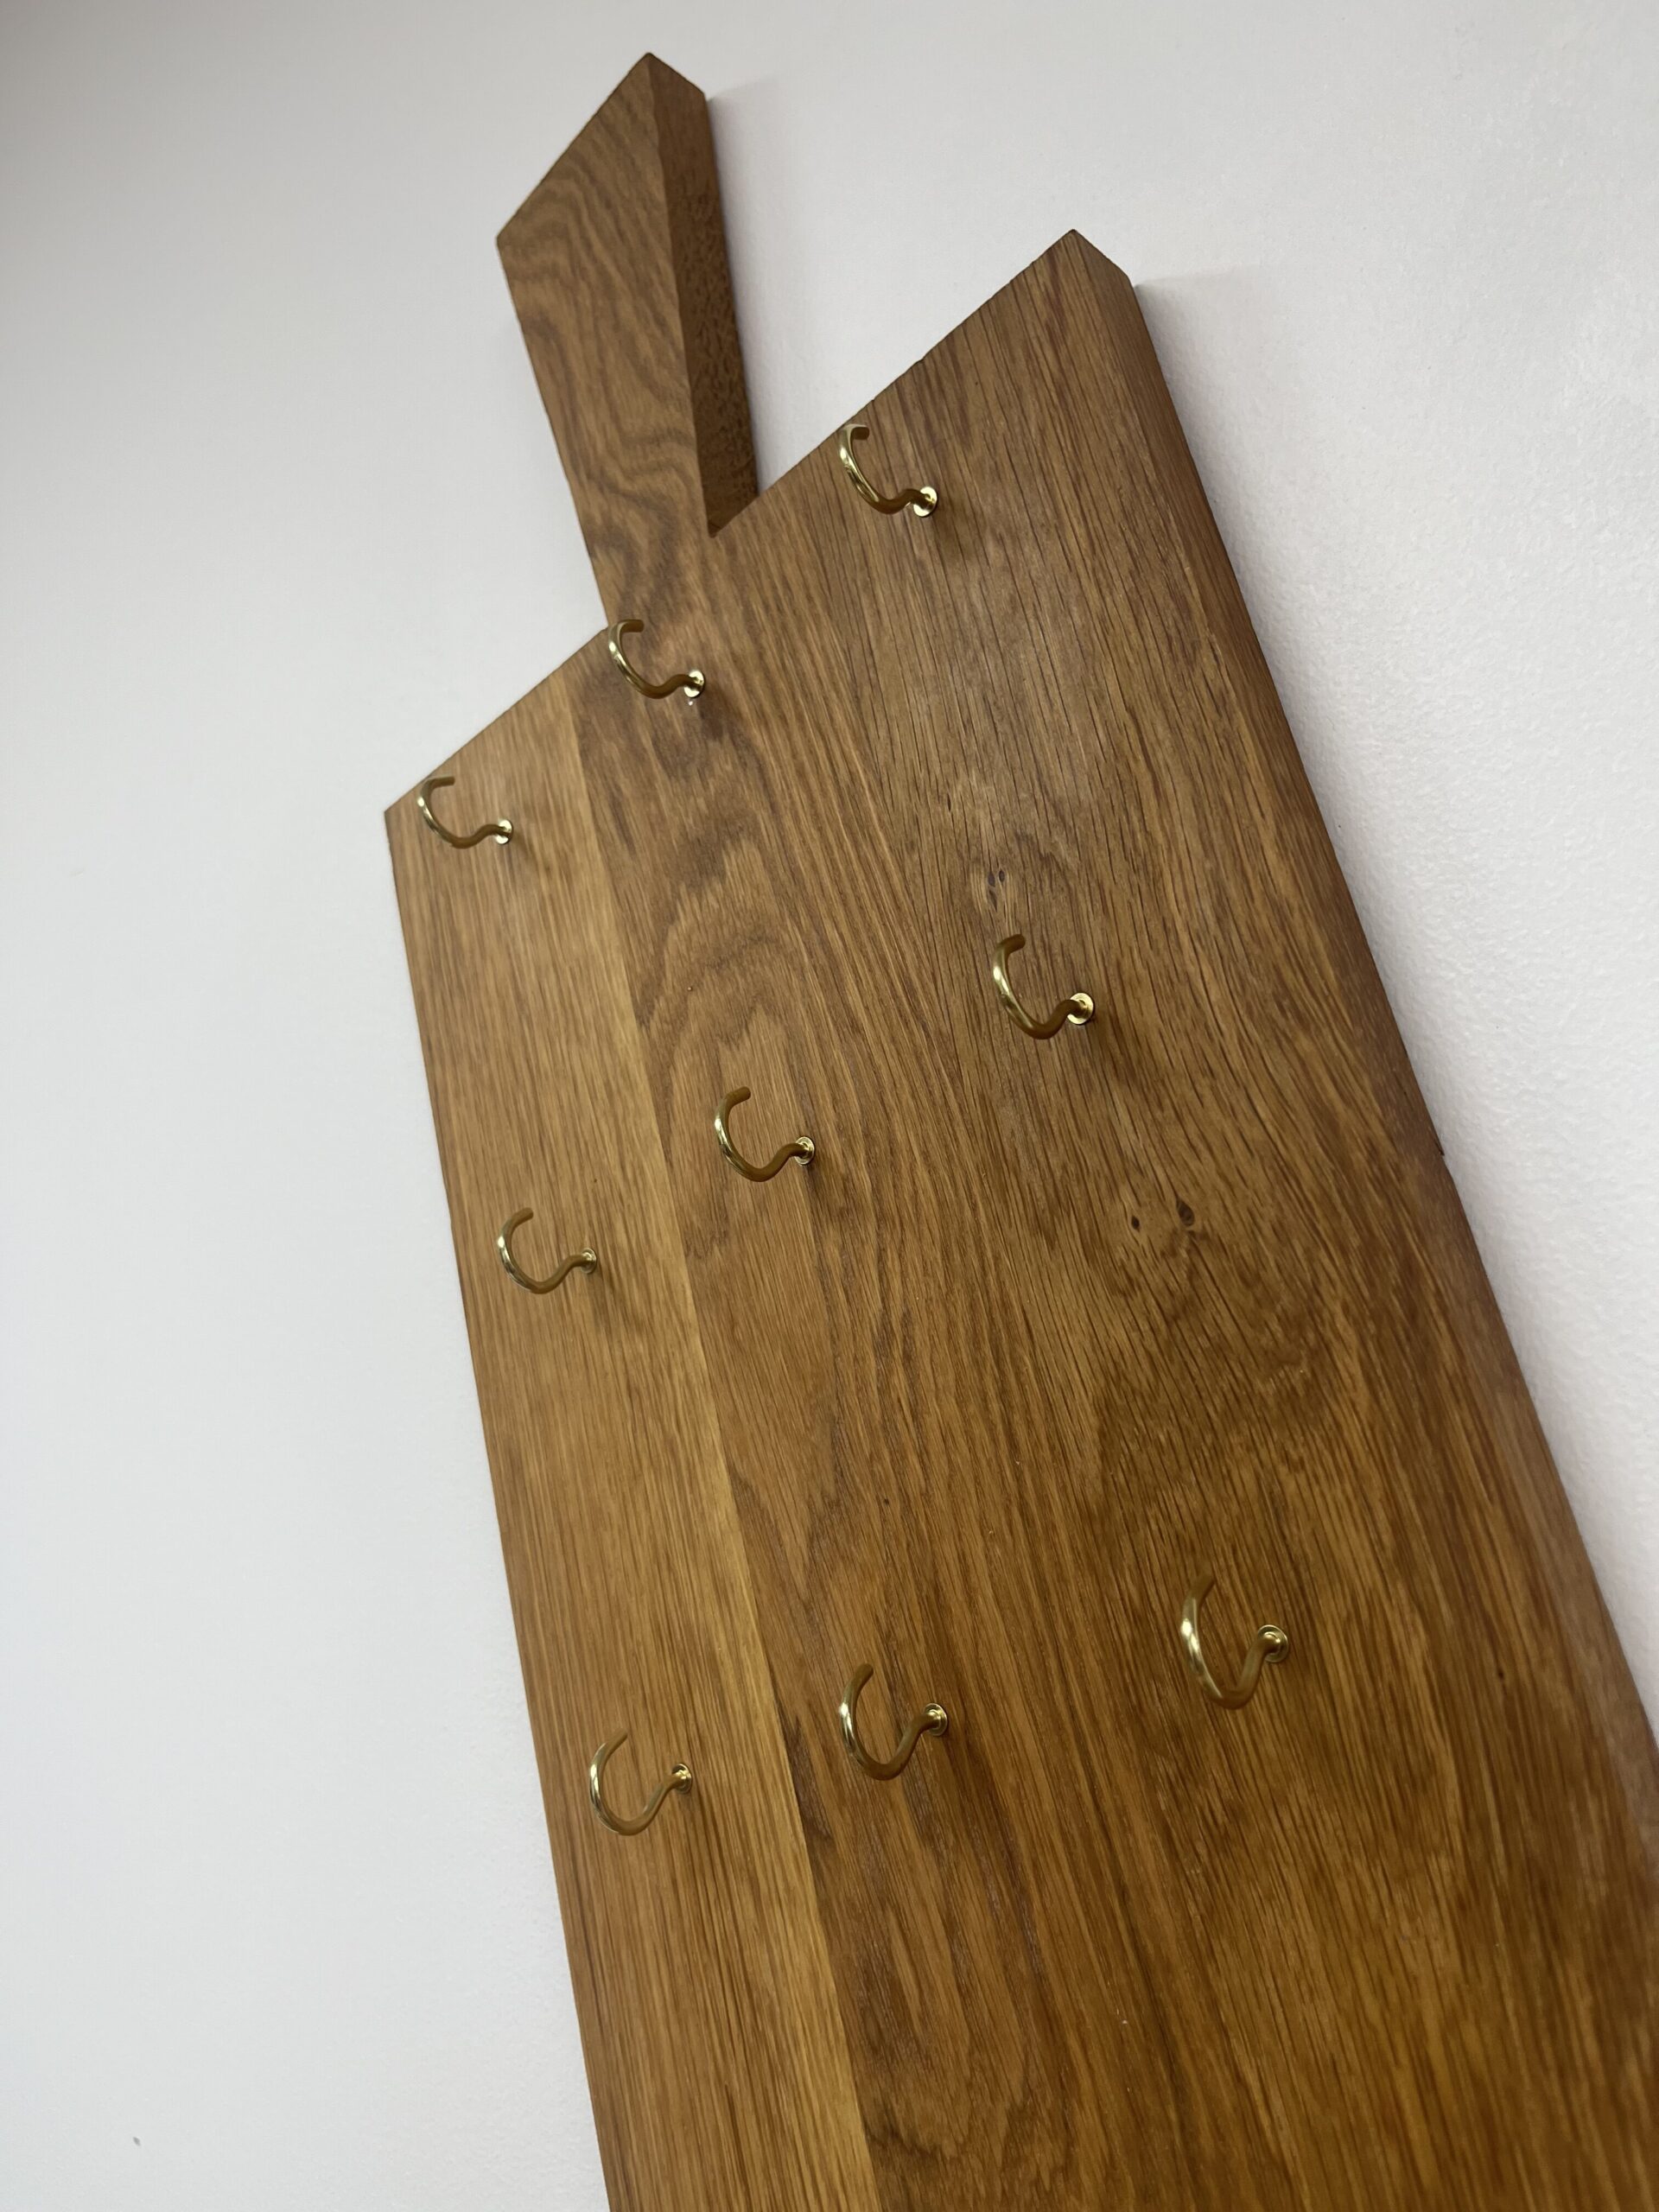
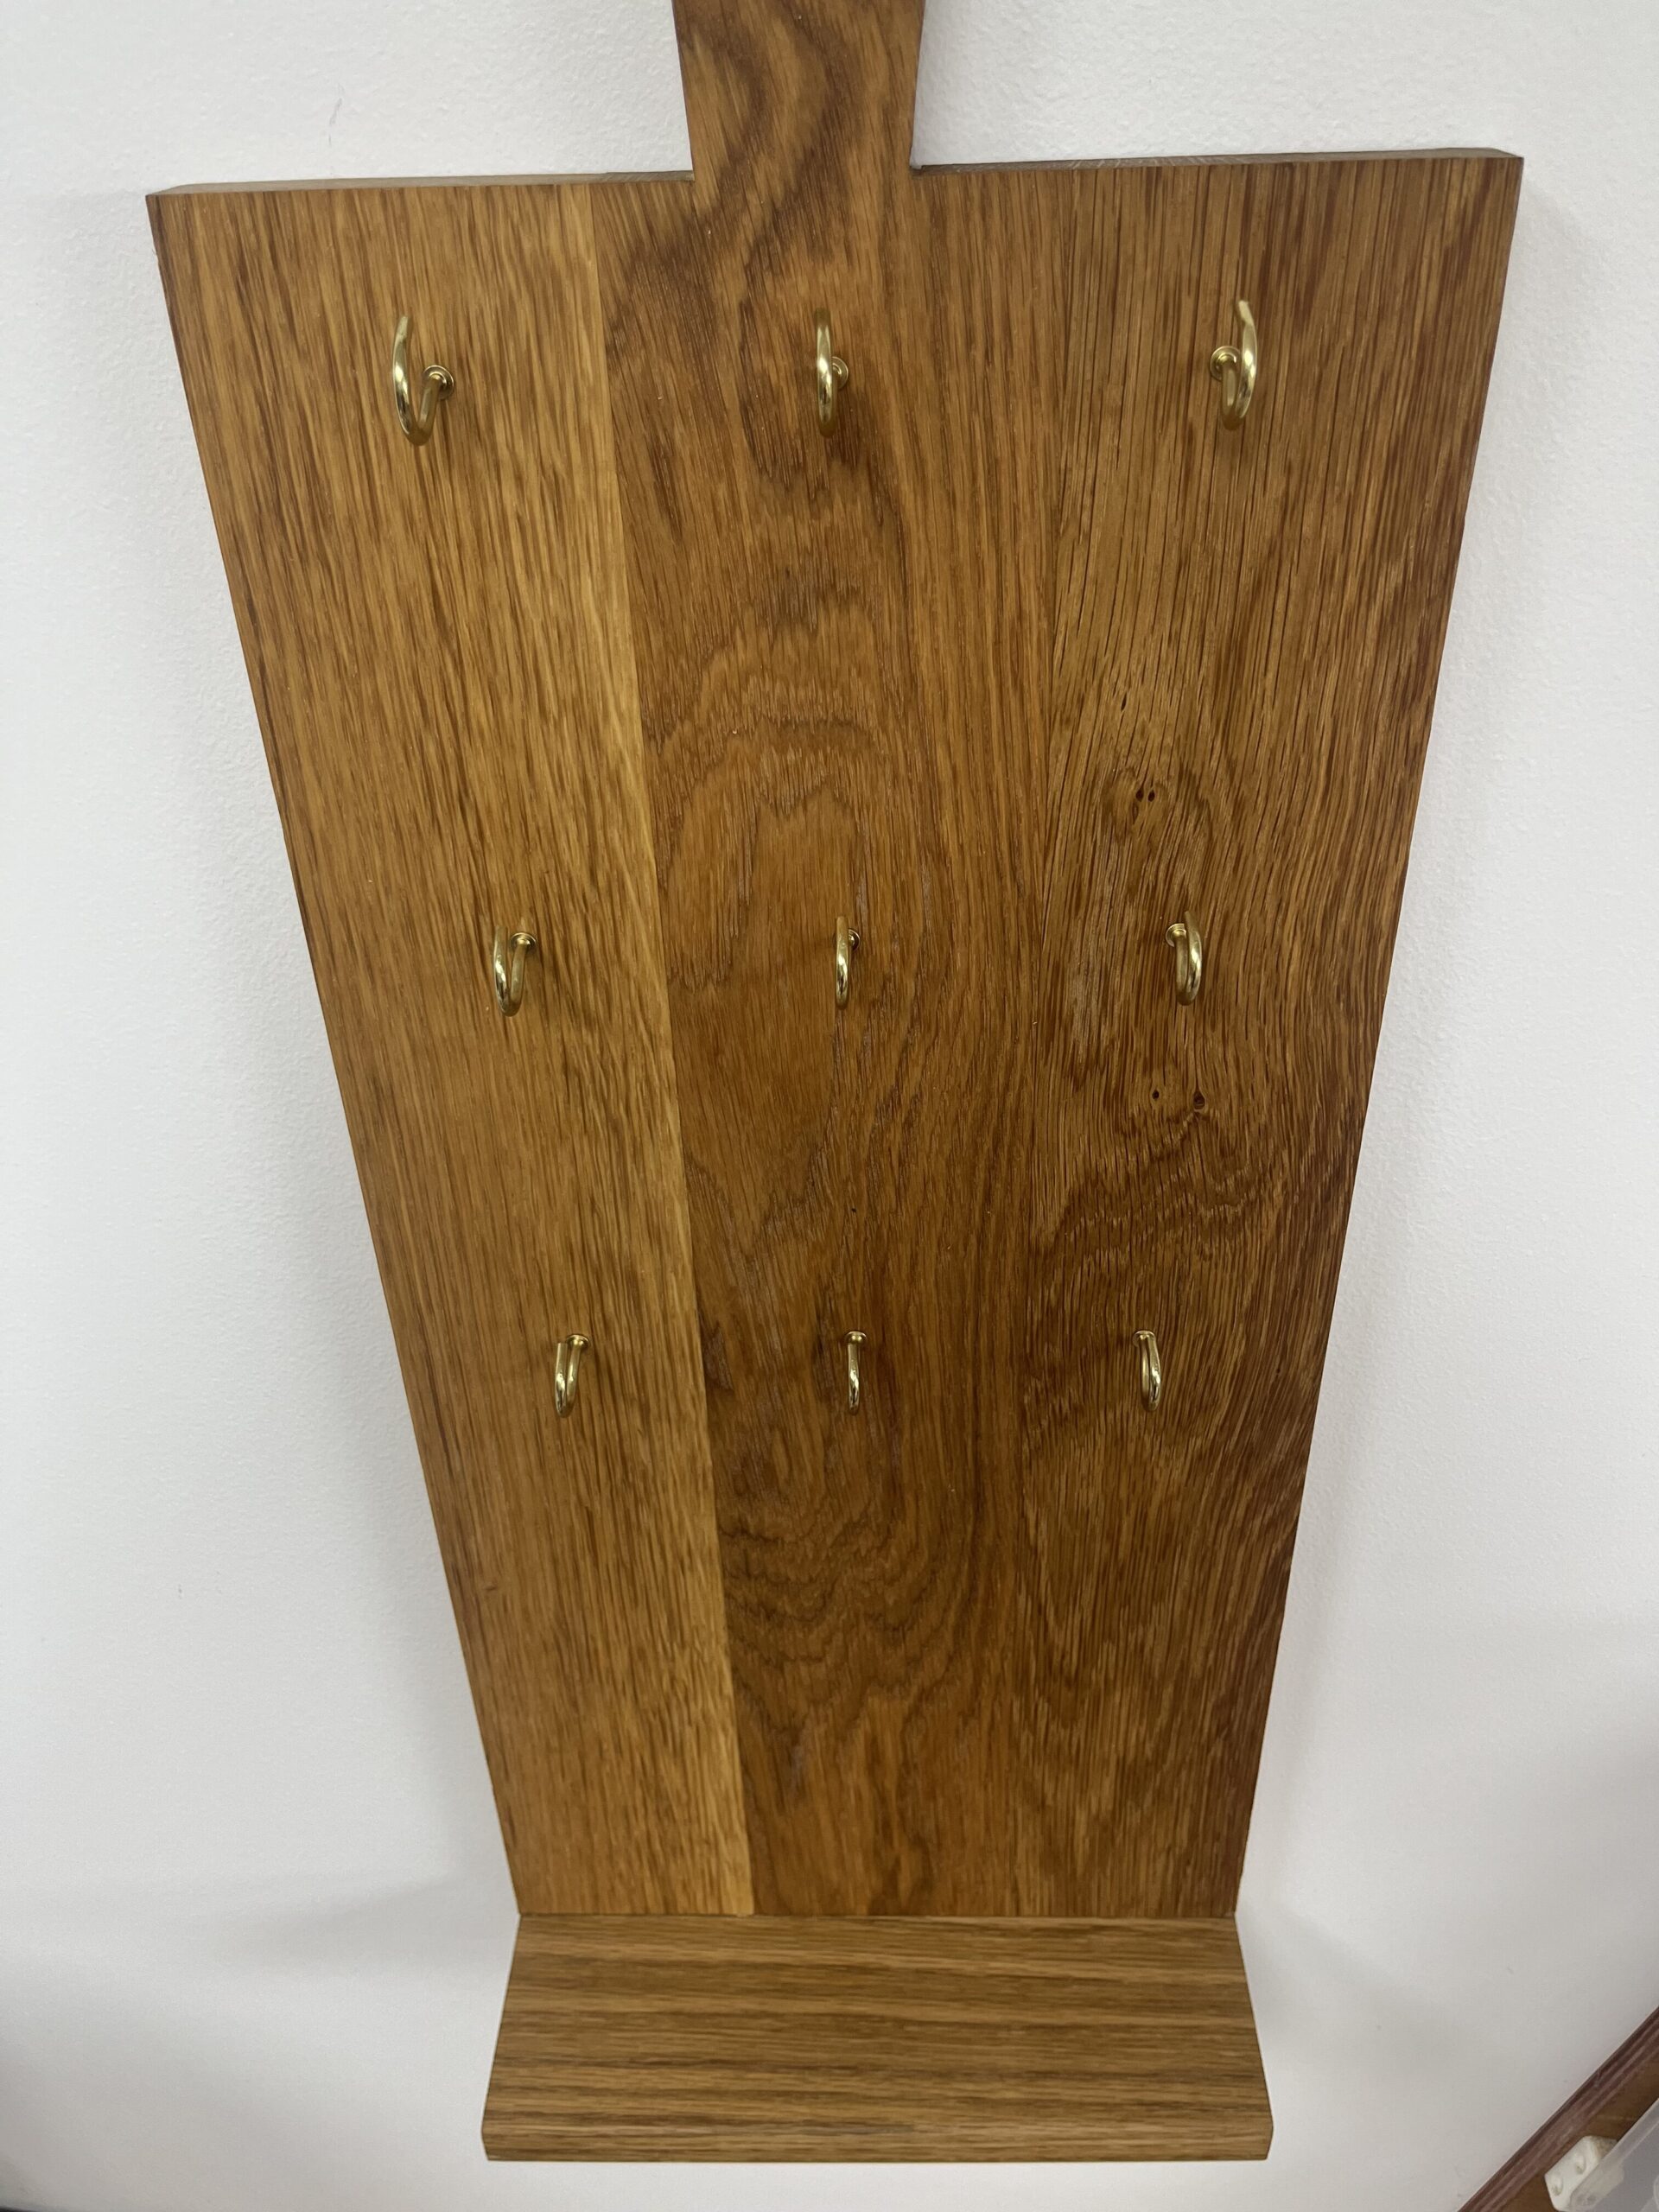
The bottom needed to be cut straight (it was at a jaunty angle), but otherwise no shaping work was needed. A fair bit of sanding with various grits, some boiled linseed oil, a rebate to hold a shelf made of leftover white oak from when we did the kitchen shelving, and 9 brass-coloured hooks and we’ve got a custom key rack!

With the mounting hooks in place, next up was adding the rebate for the shelf (no photos of the rebate alas). The rebate was cut with the trim router and a lovely 6mm spiral upcut bit. Really, really smooth cuts, even in hard oak. Unfortunately, I don’t have a router table, so I was using a clamped straight edge to guide the router – I got it off by a fraction of a millimetre, so the rebate isn’t a snug fit. Nothing a little glue and screws couldn’t fix though.
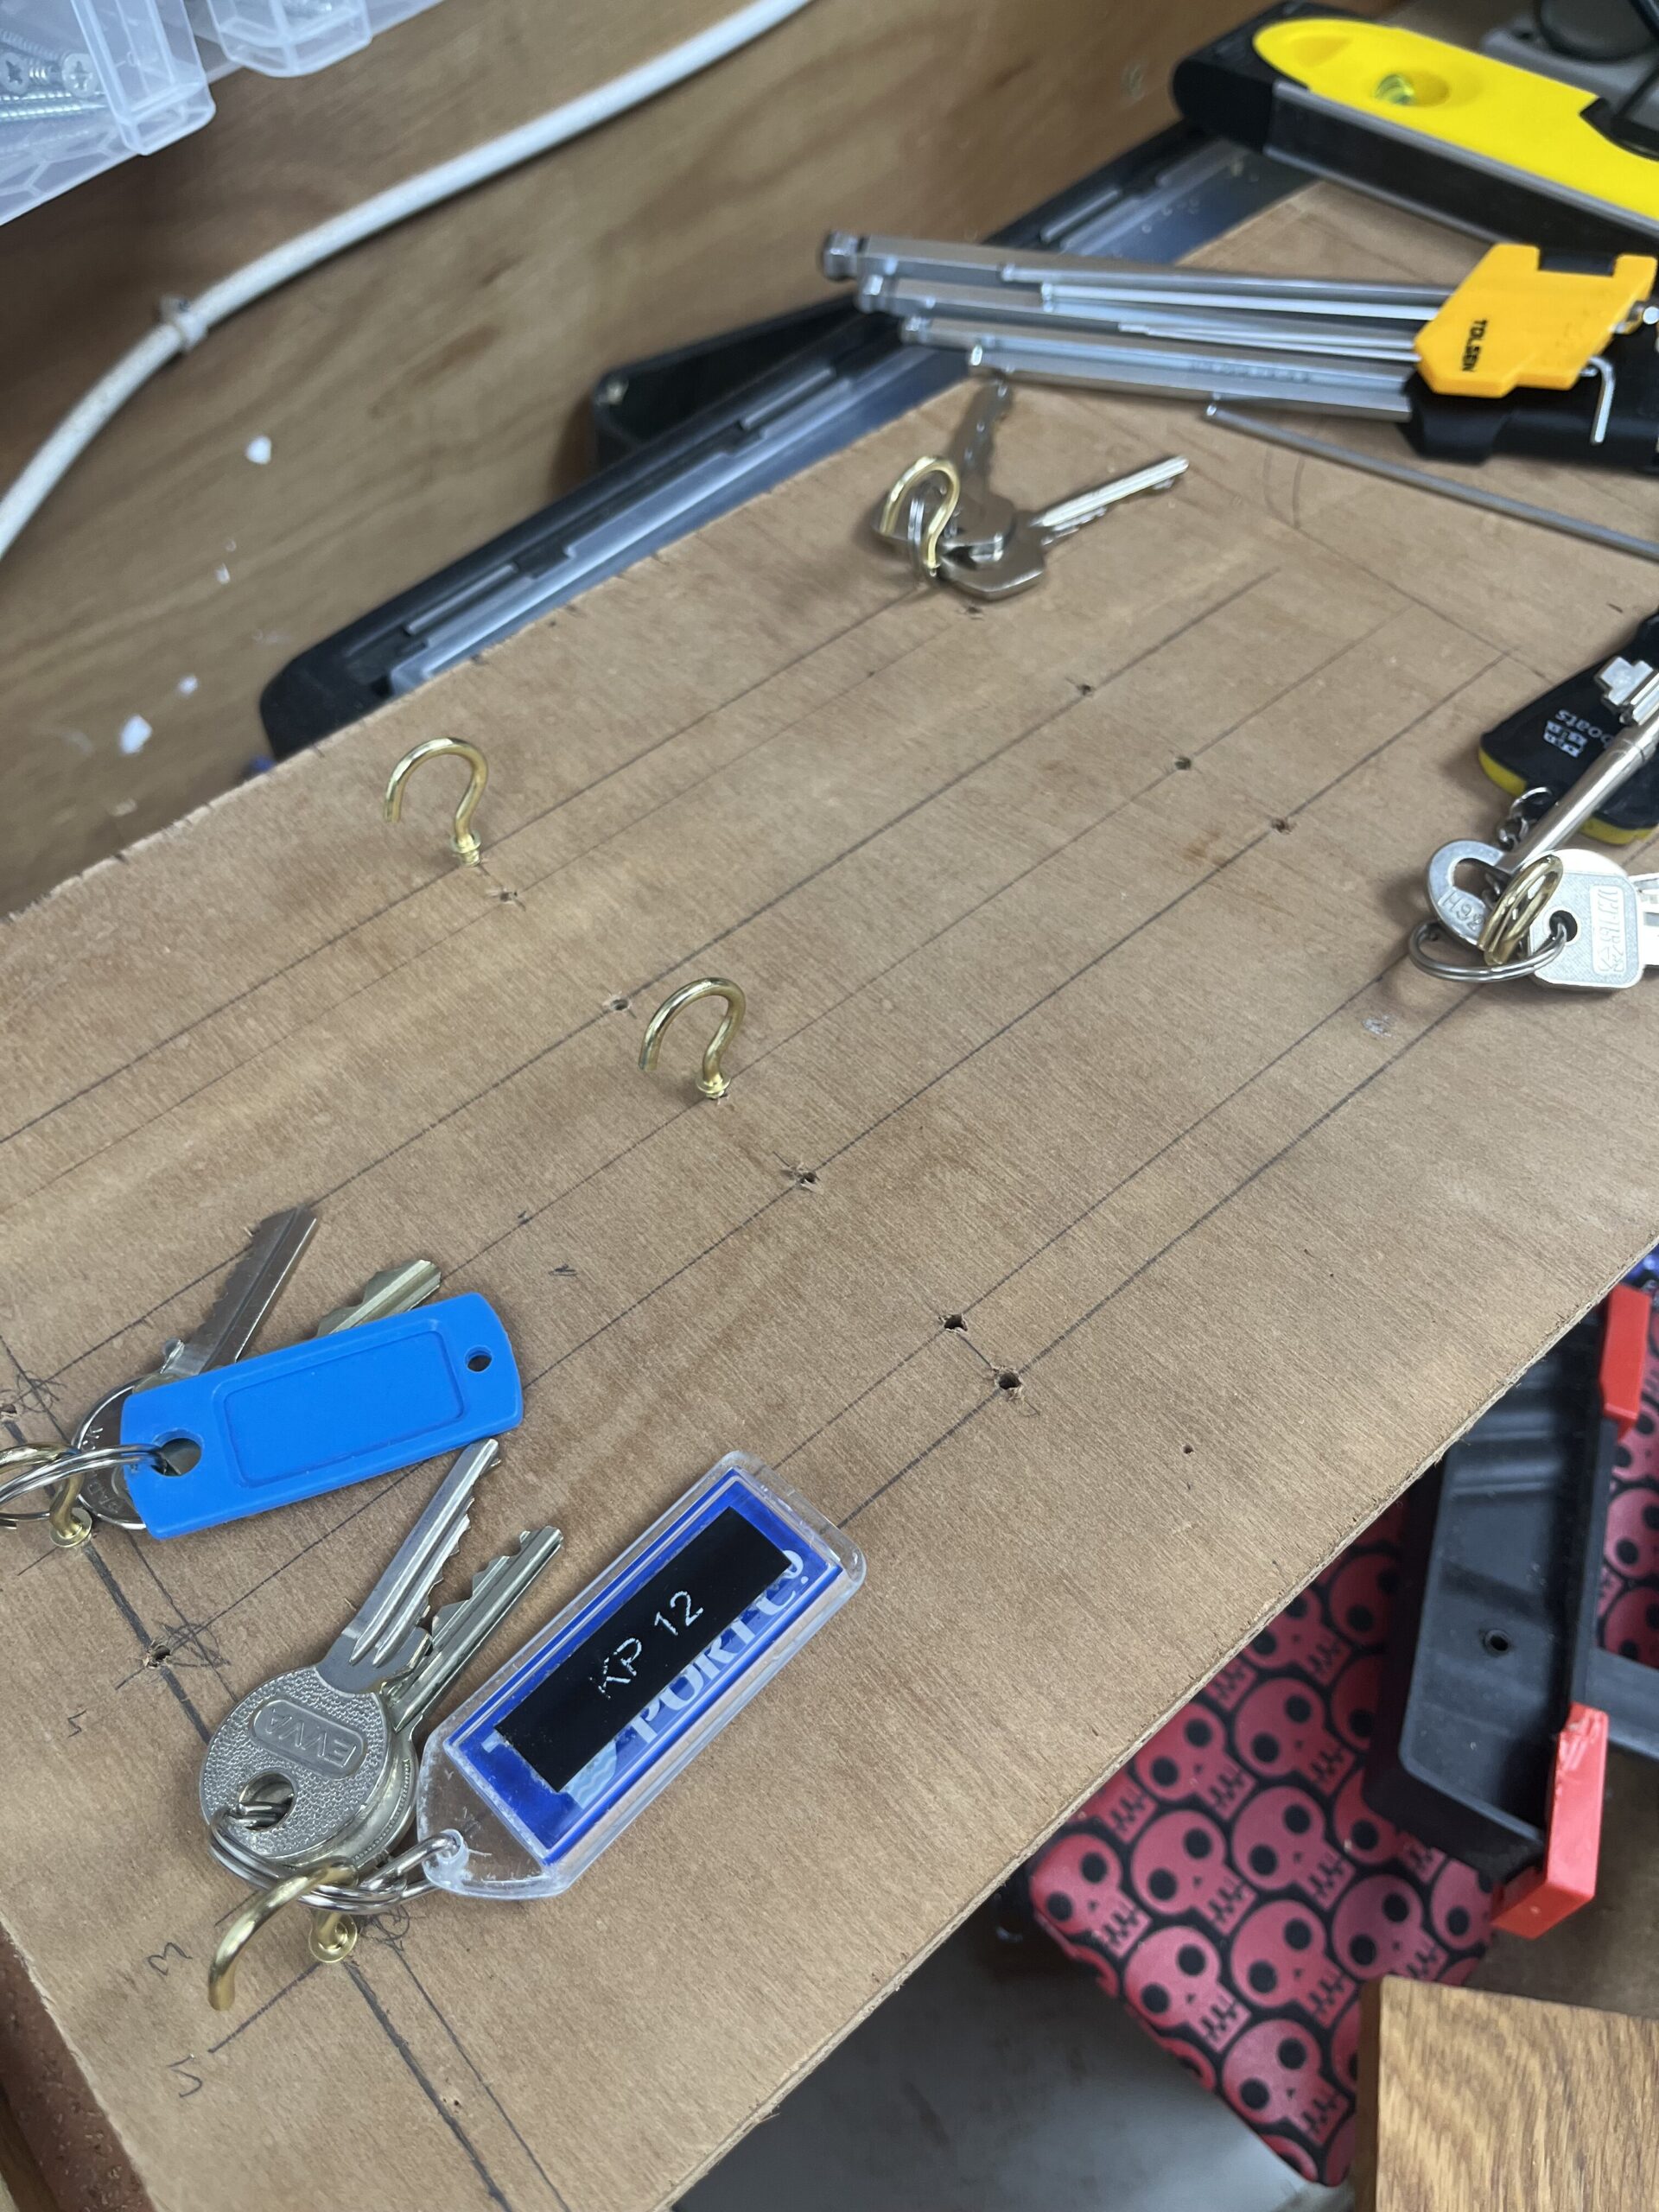
Once the shelf was attached, I cut out a piece of scrap plywood to the same dimensions as the board (from the shelf to the top), and tried a few patterns of holes for the hooks. K and I debated it a bit, and we settled on putting the outer hooks on the lines for 4 hooks across, and the middle hook evenly balanced between the two outer hooks. This basically worked out to 4.5 cm from the outside edges to the hooks, and 7 cm from the outer hooks to the middle hooks. Vertical spacing was tested and I settled on 11 cm to have enough room for all the extra bits that keys tend to have.
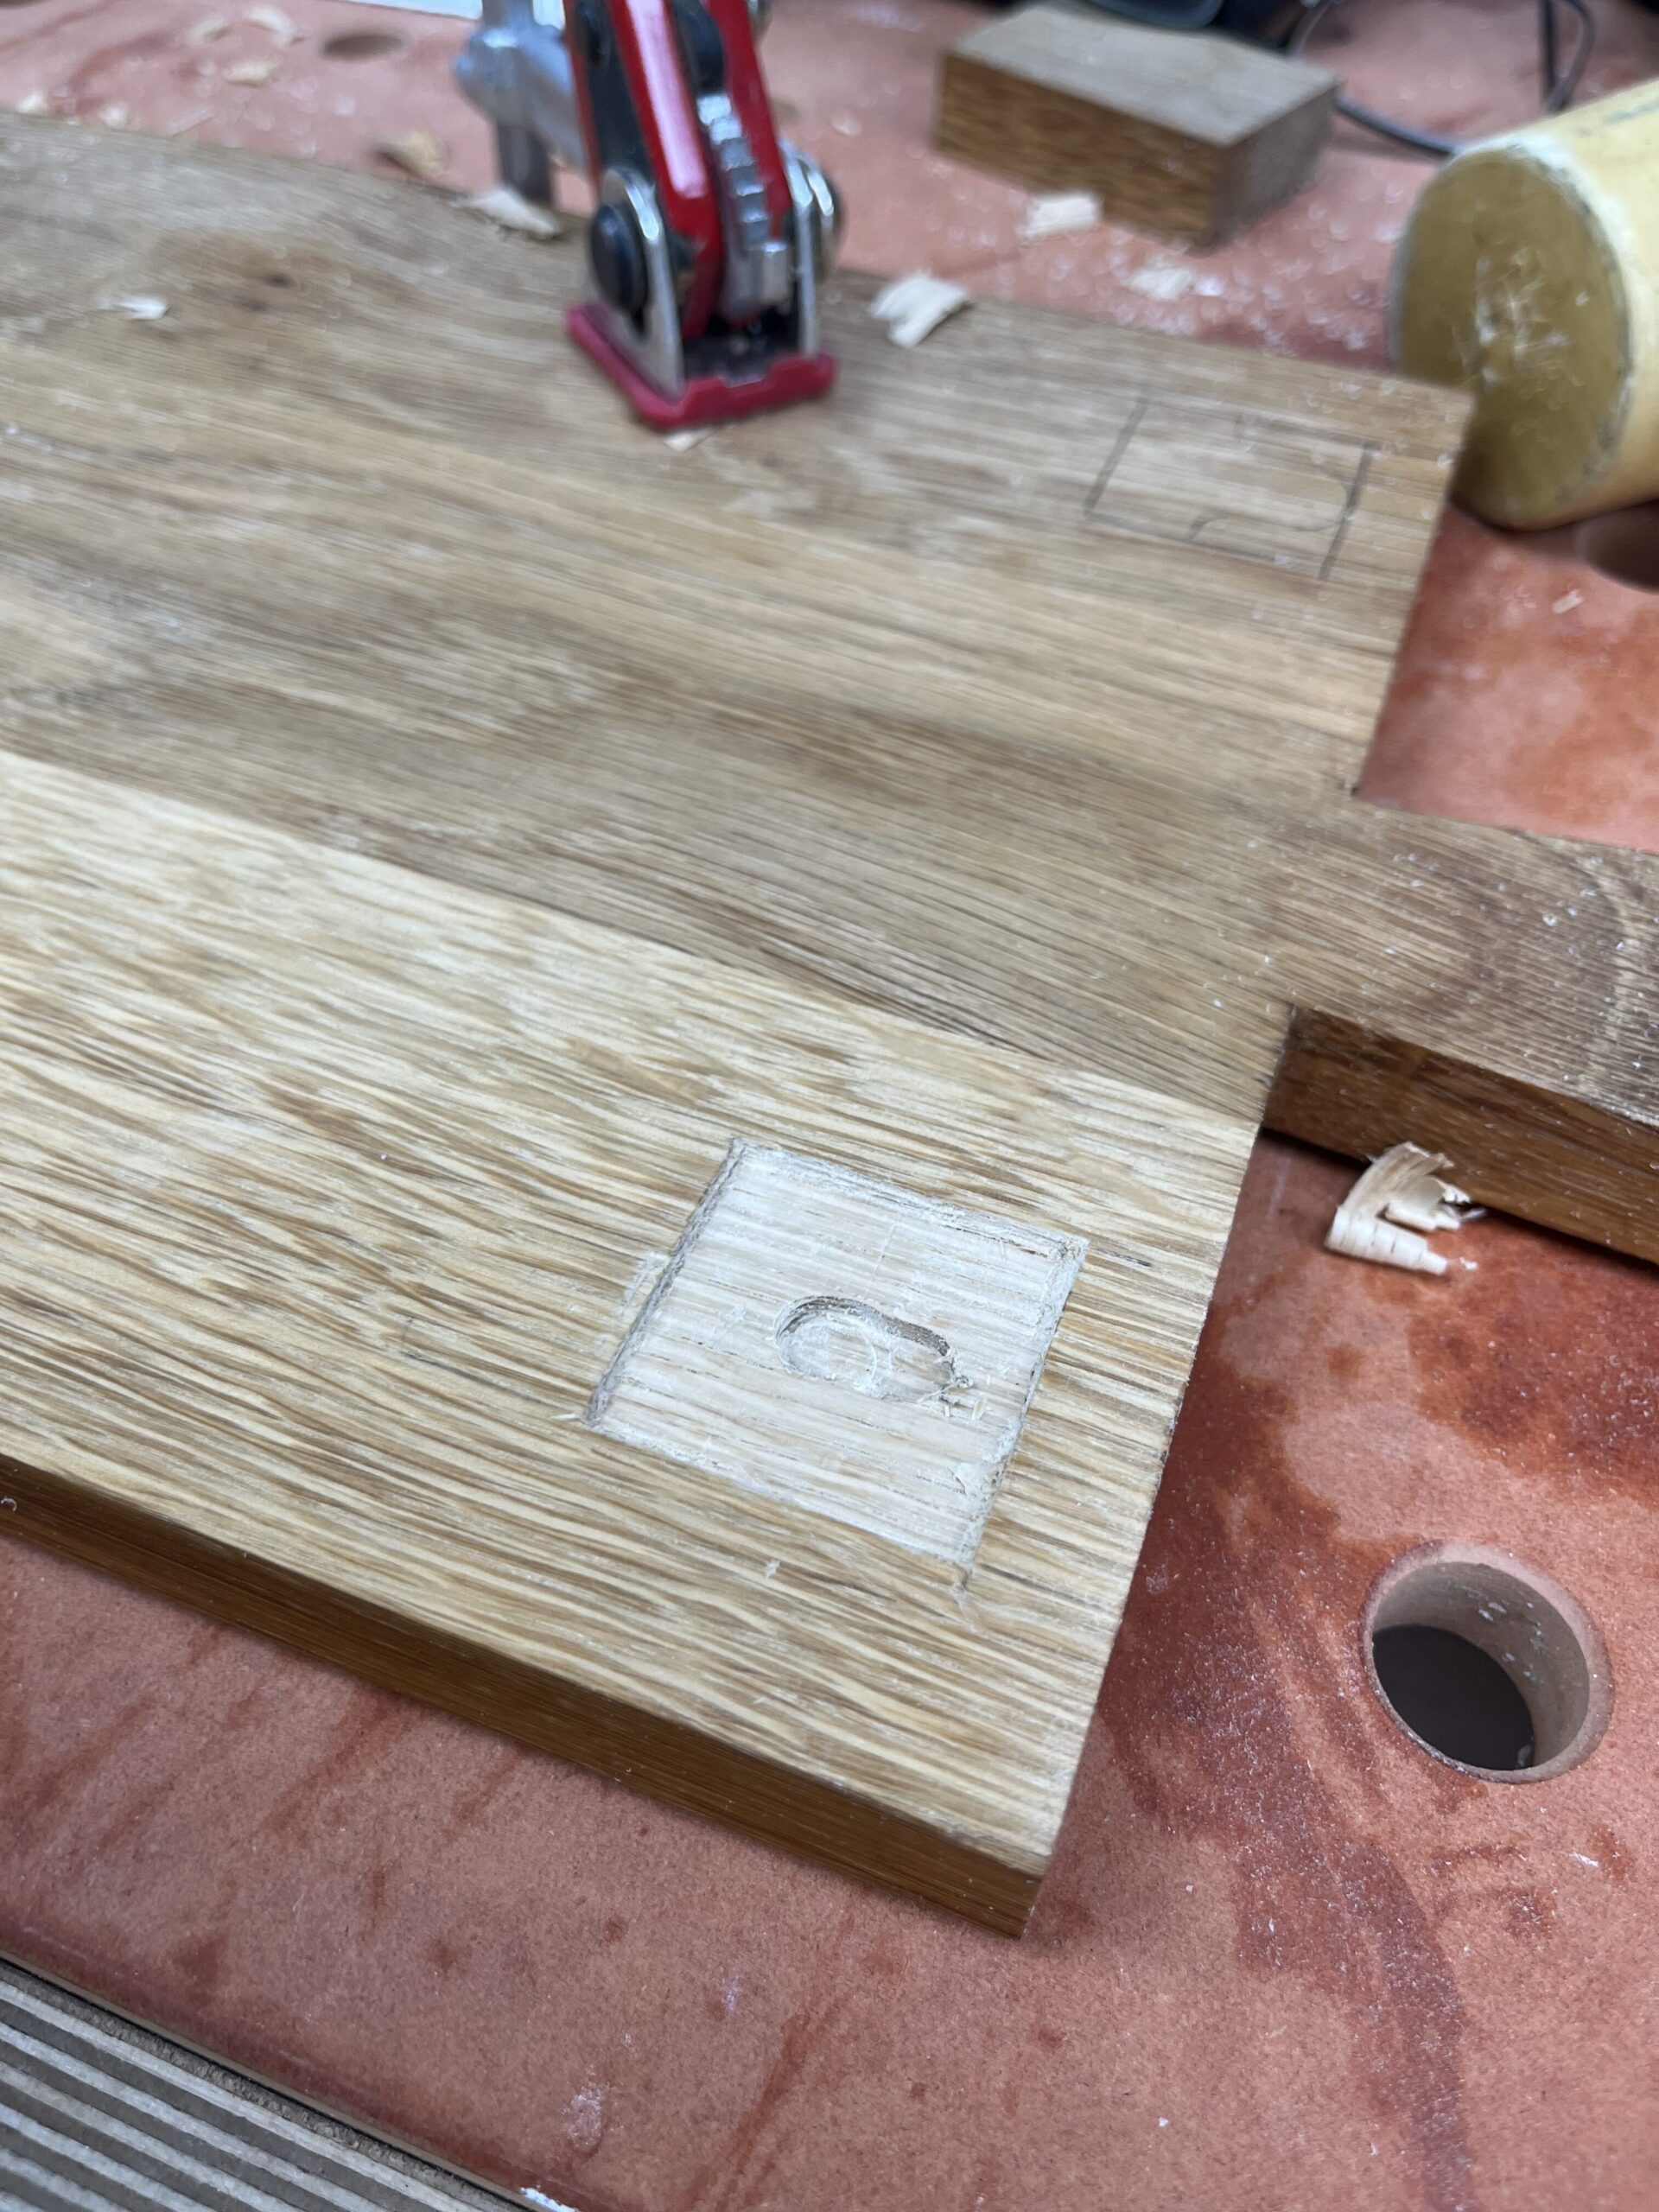
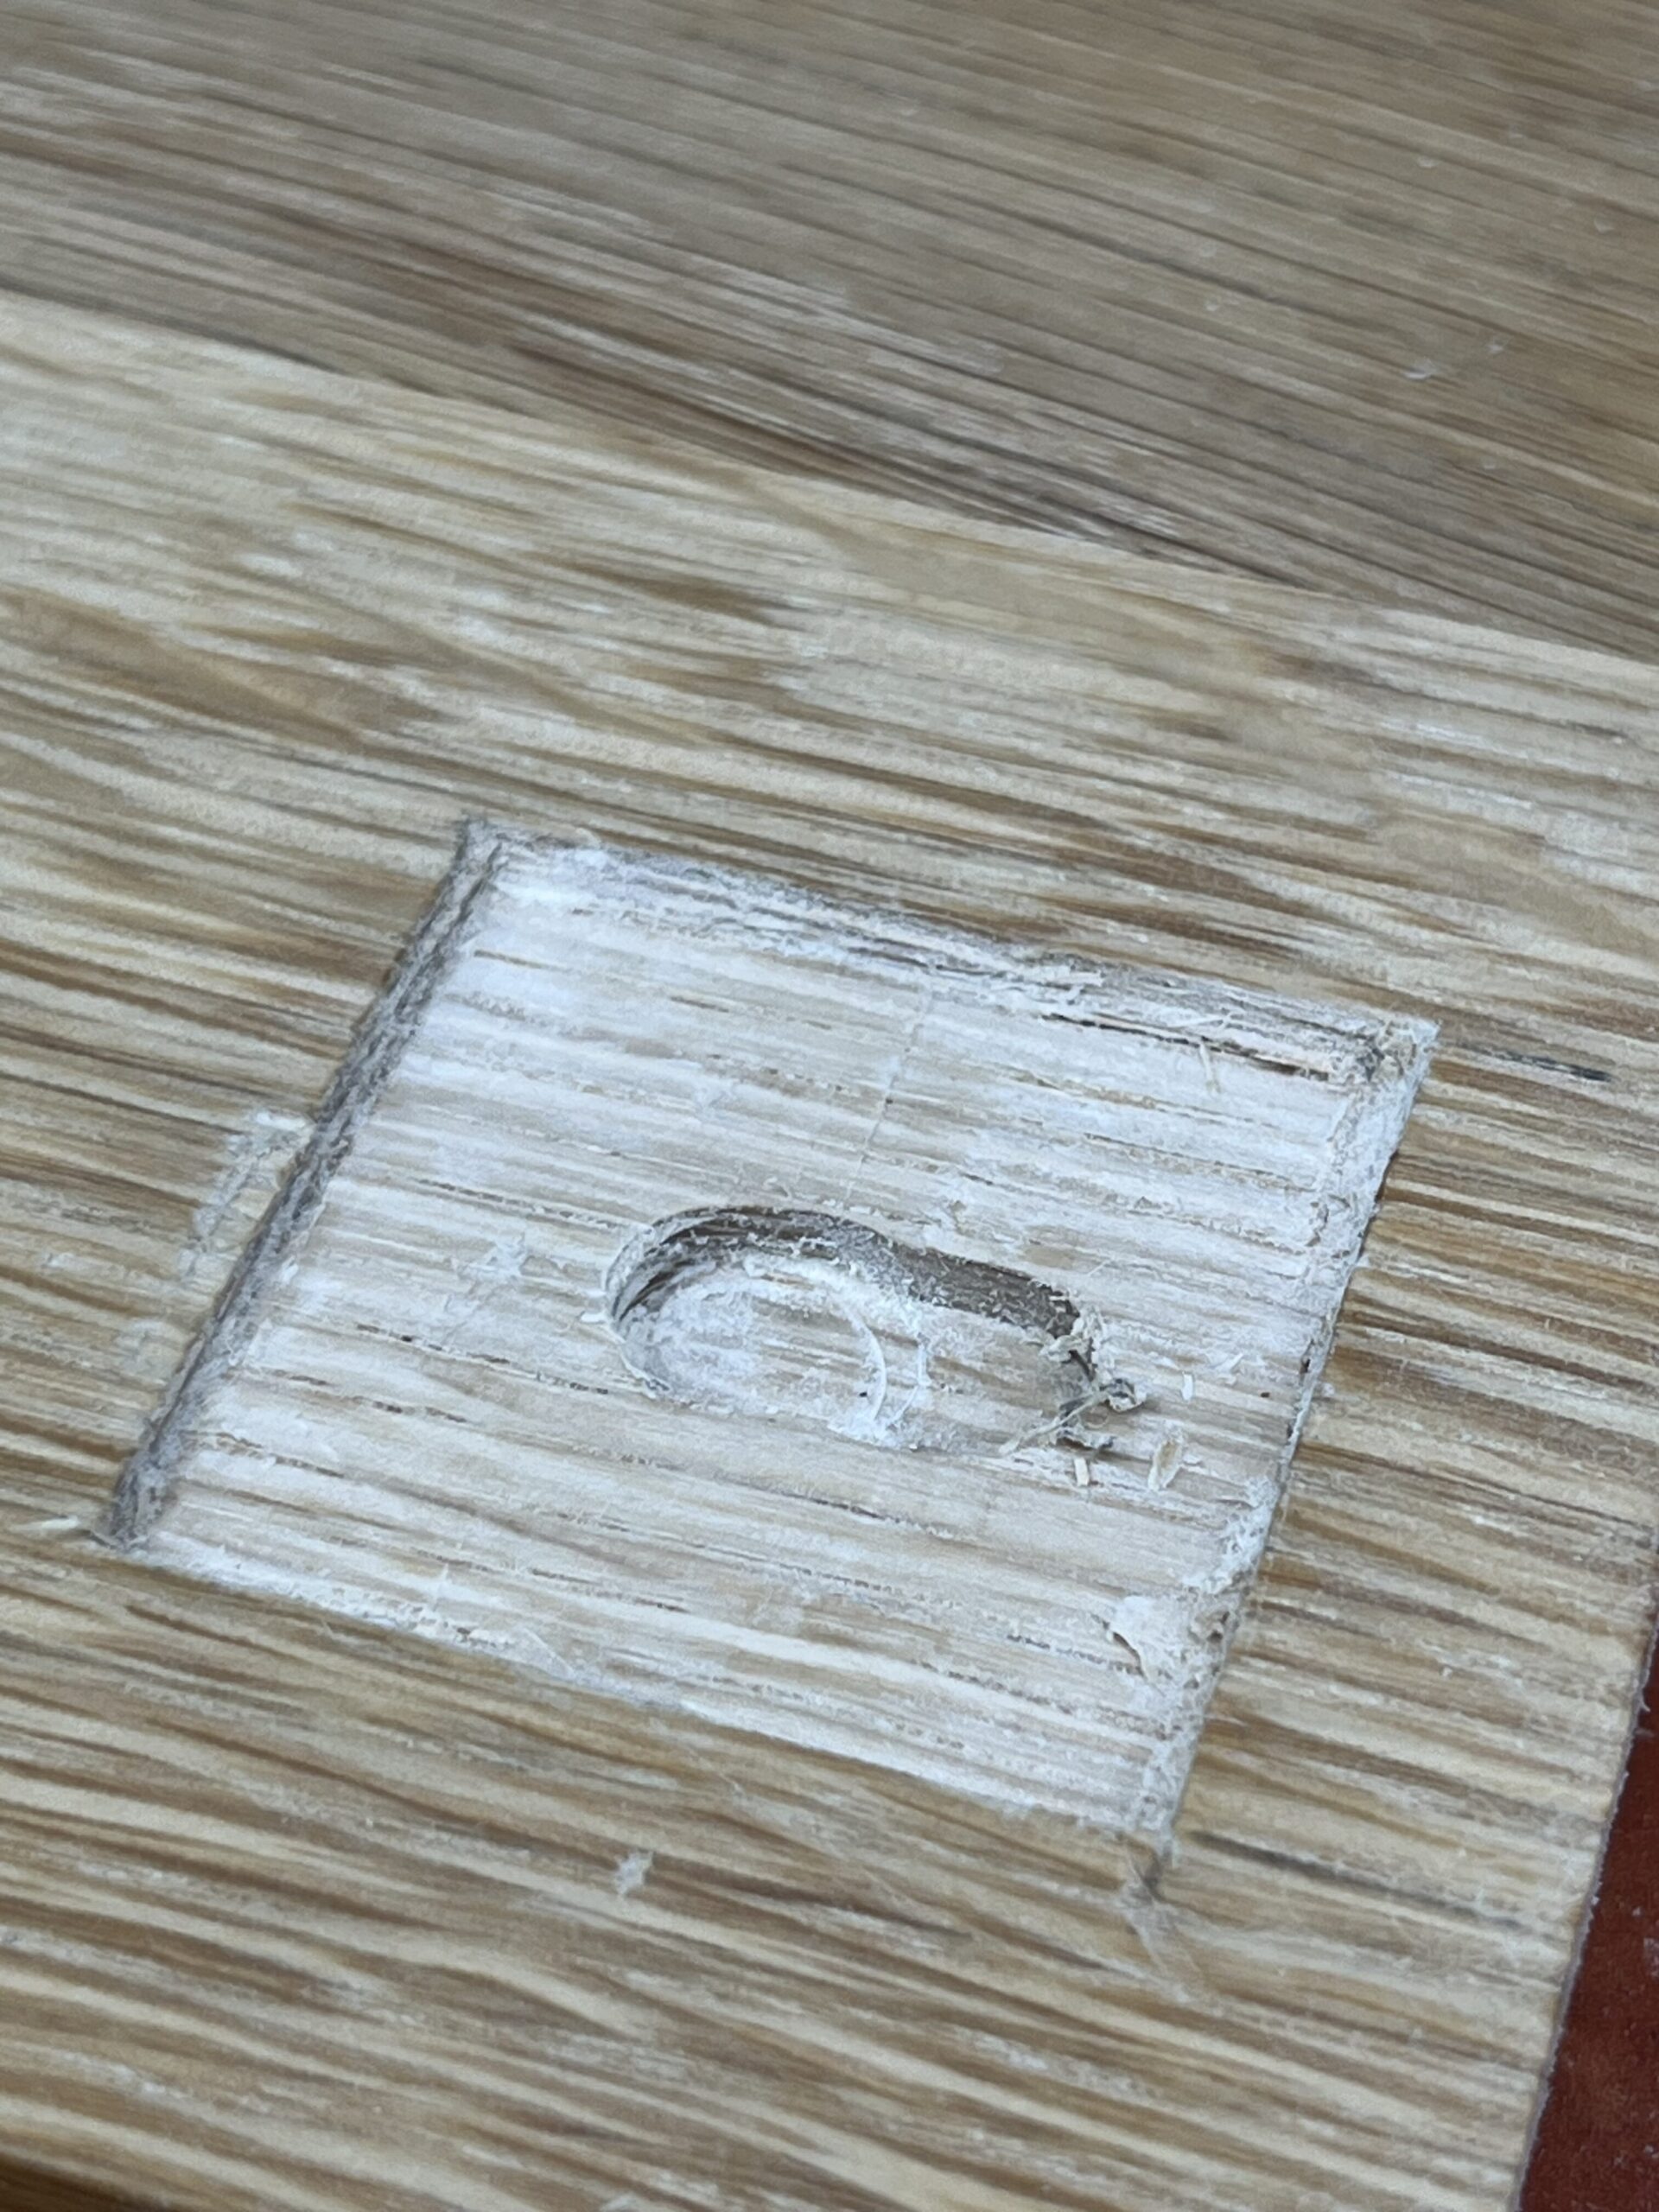
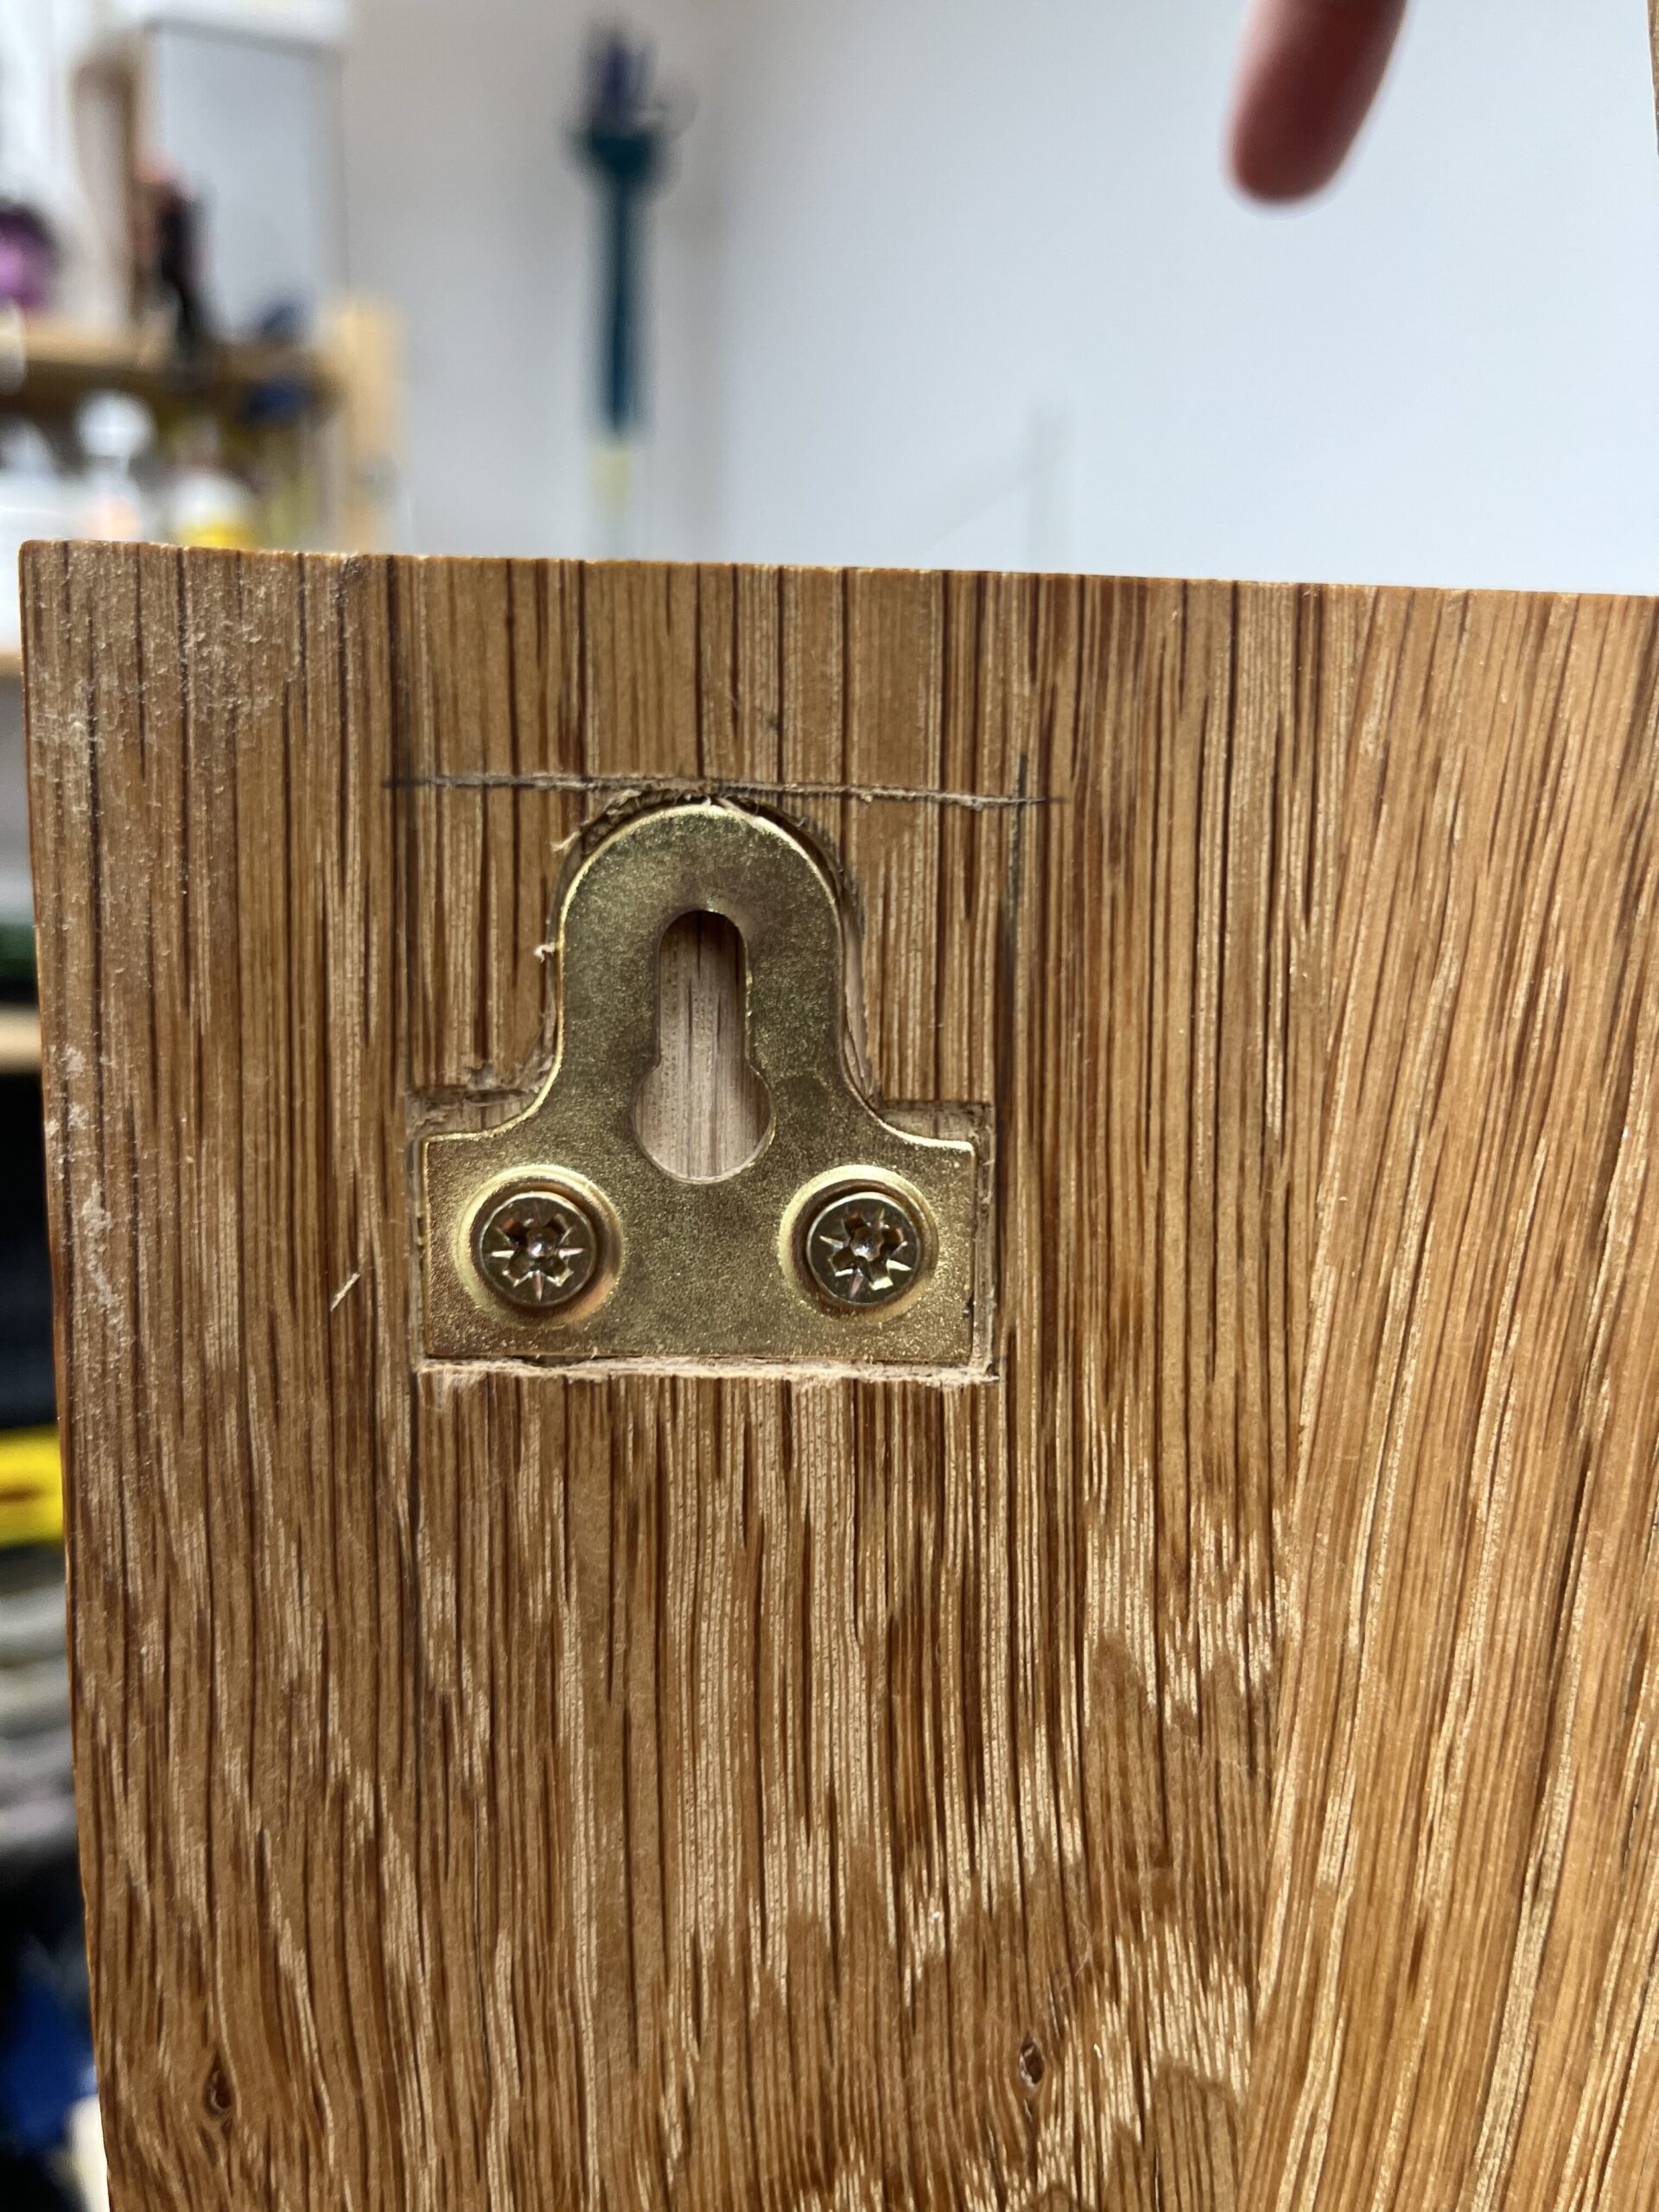
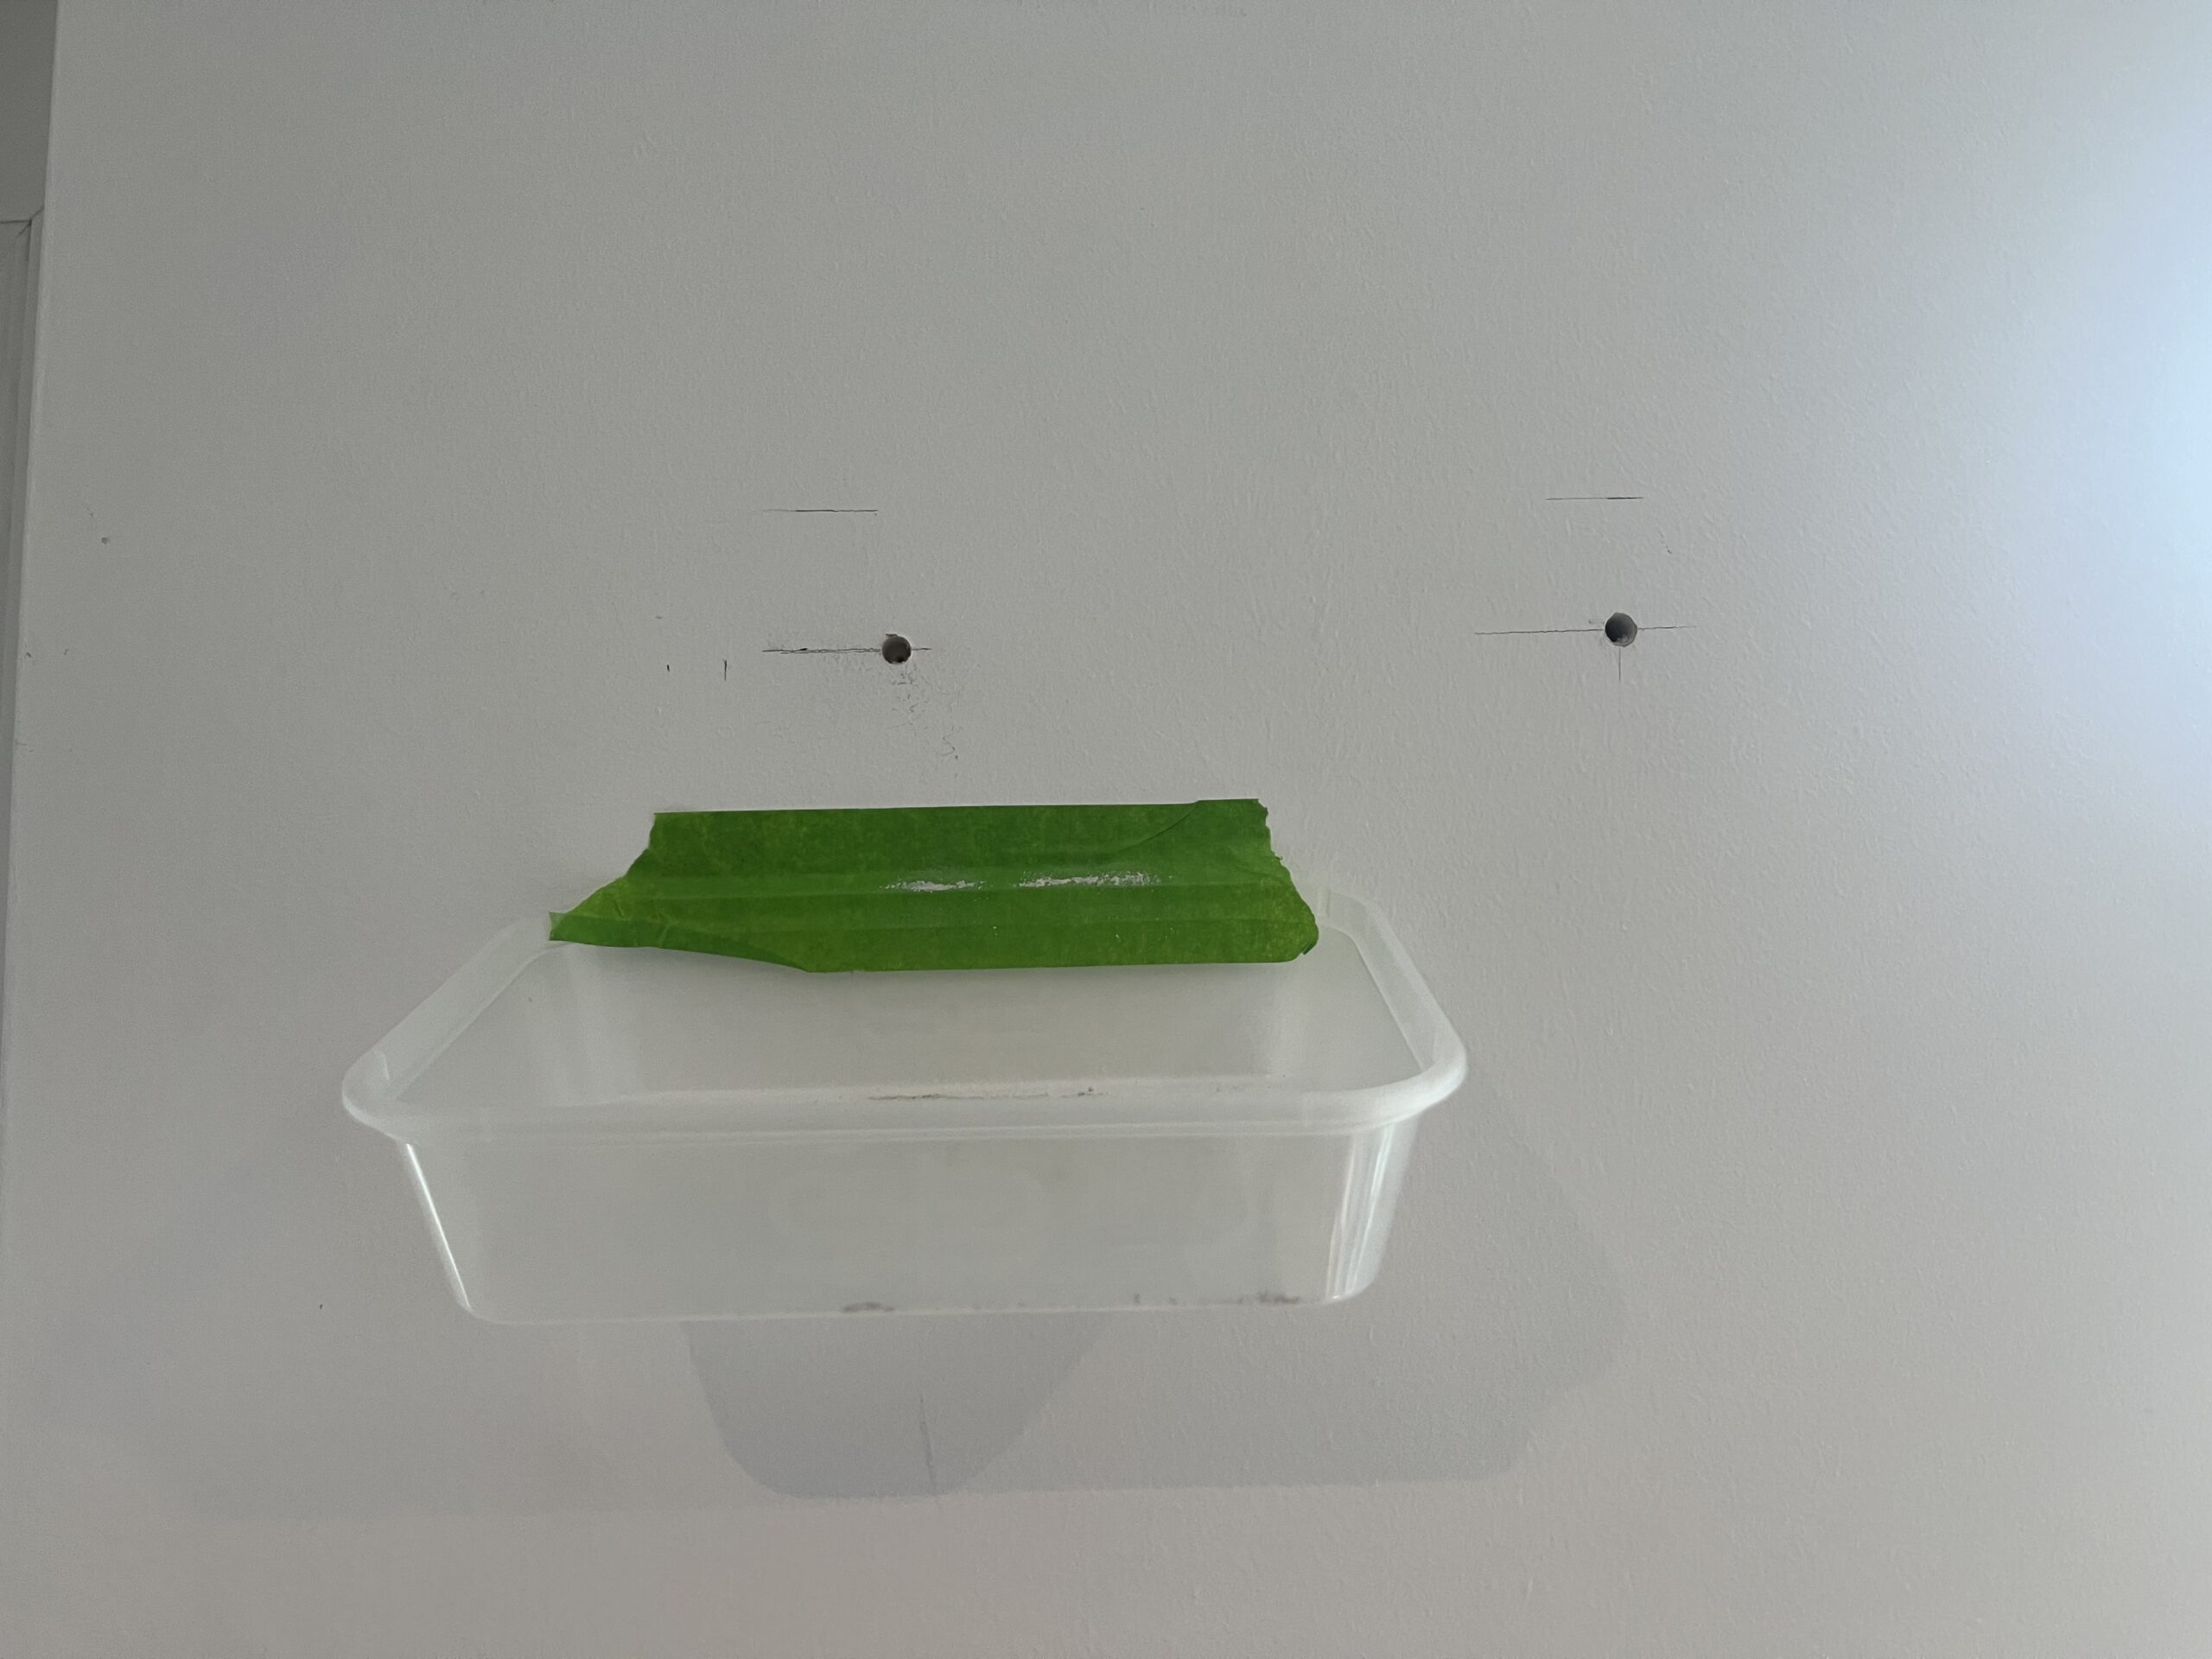
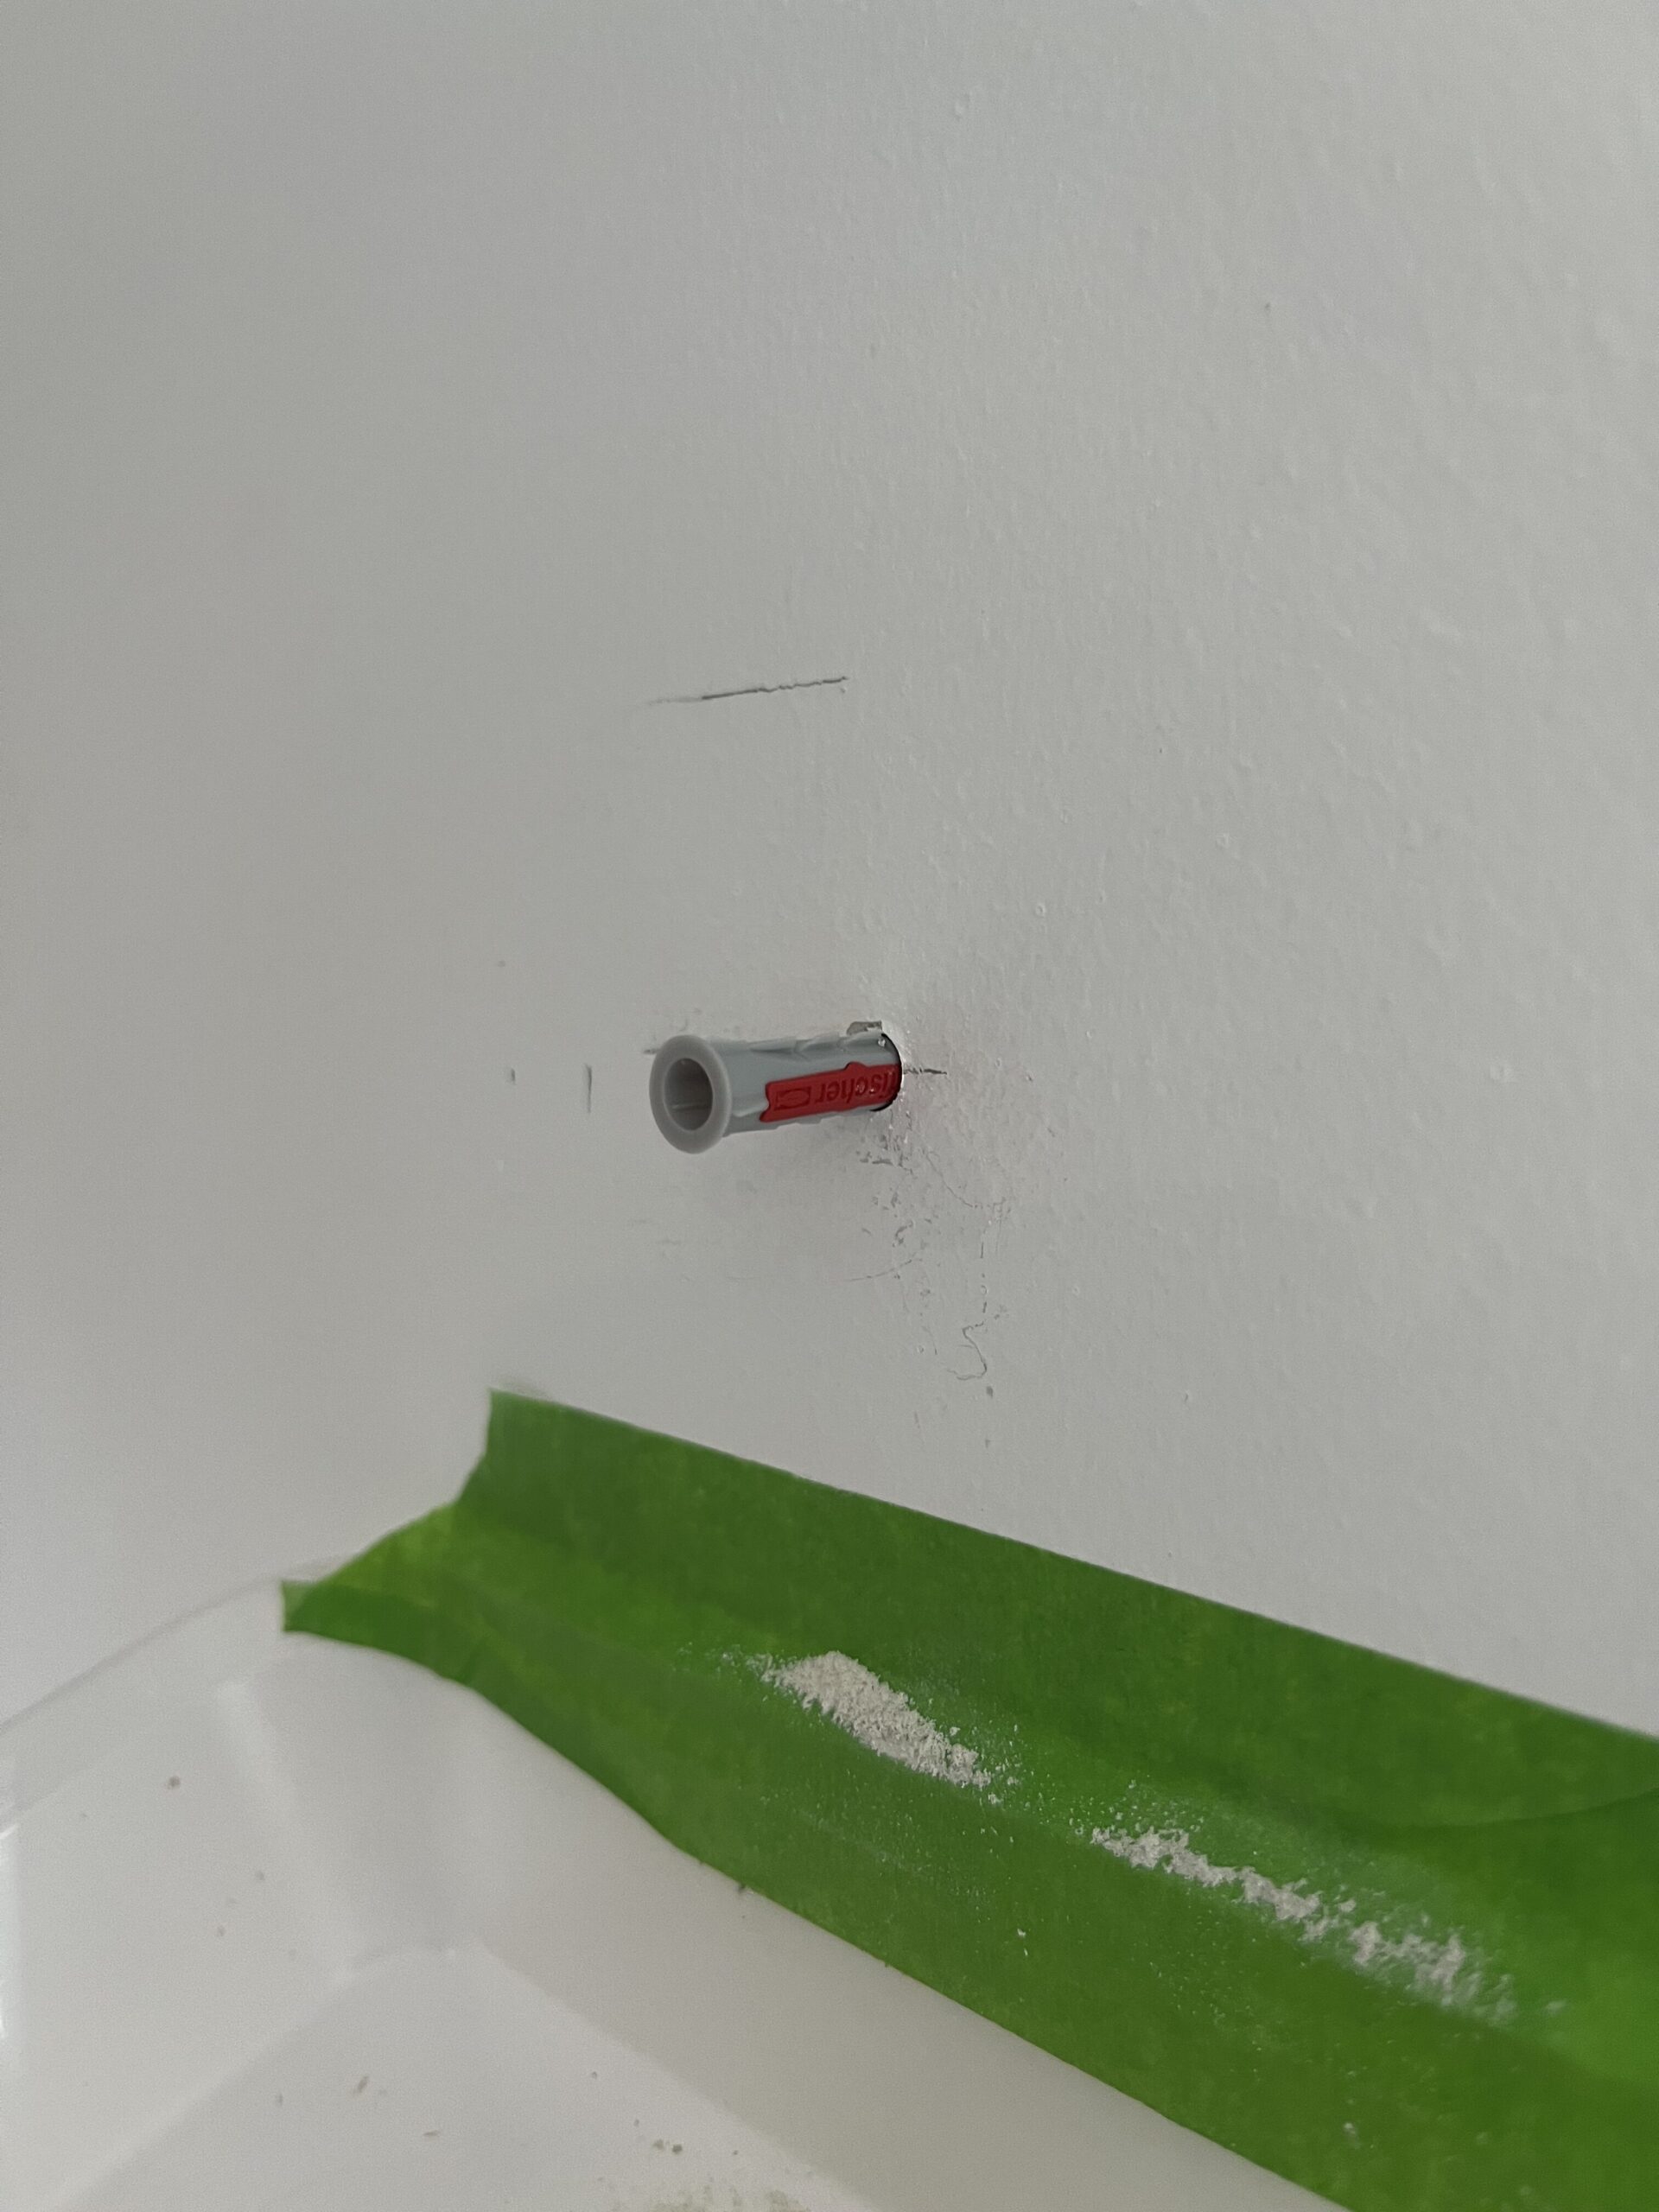
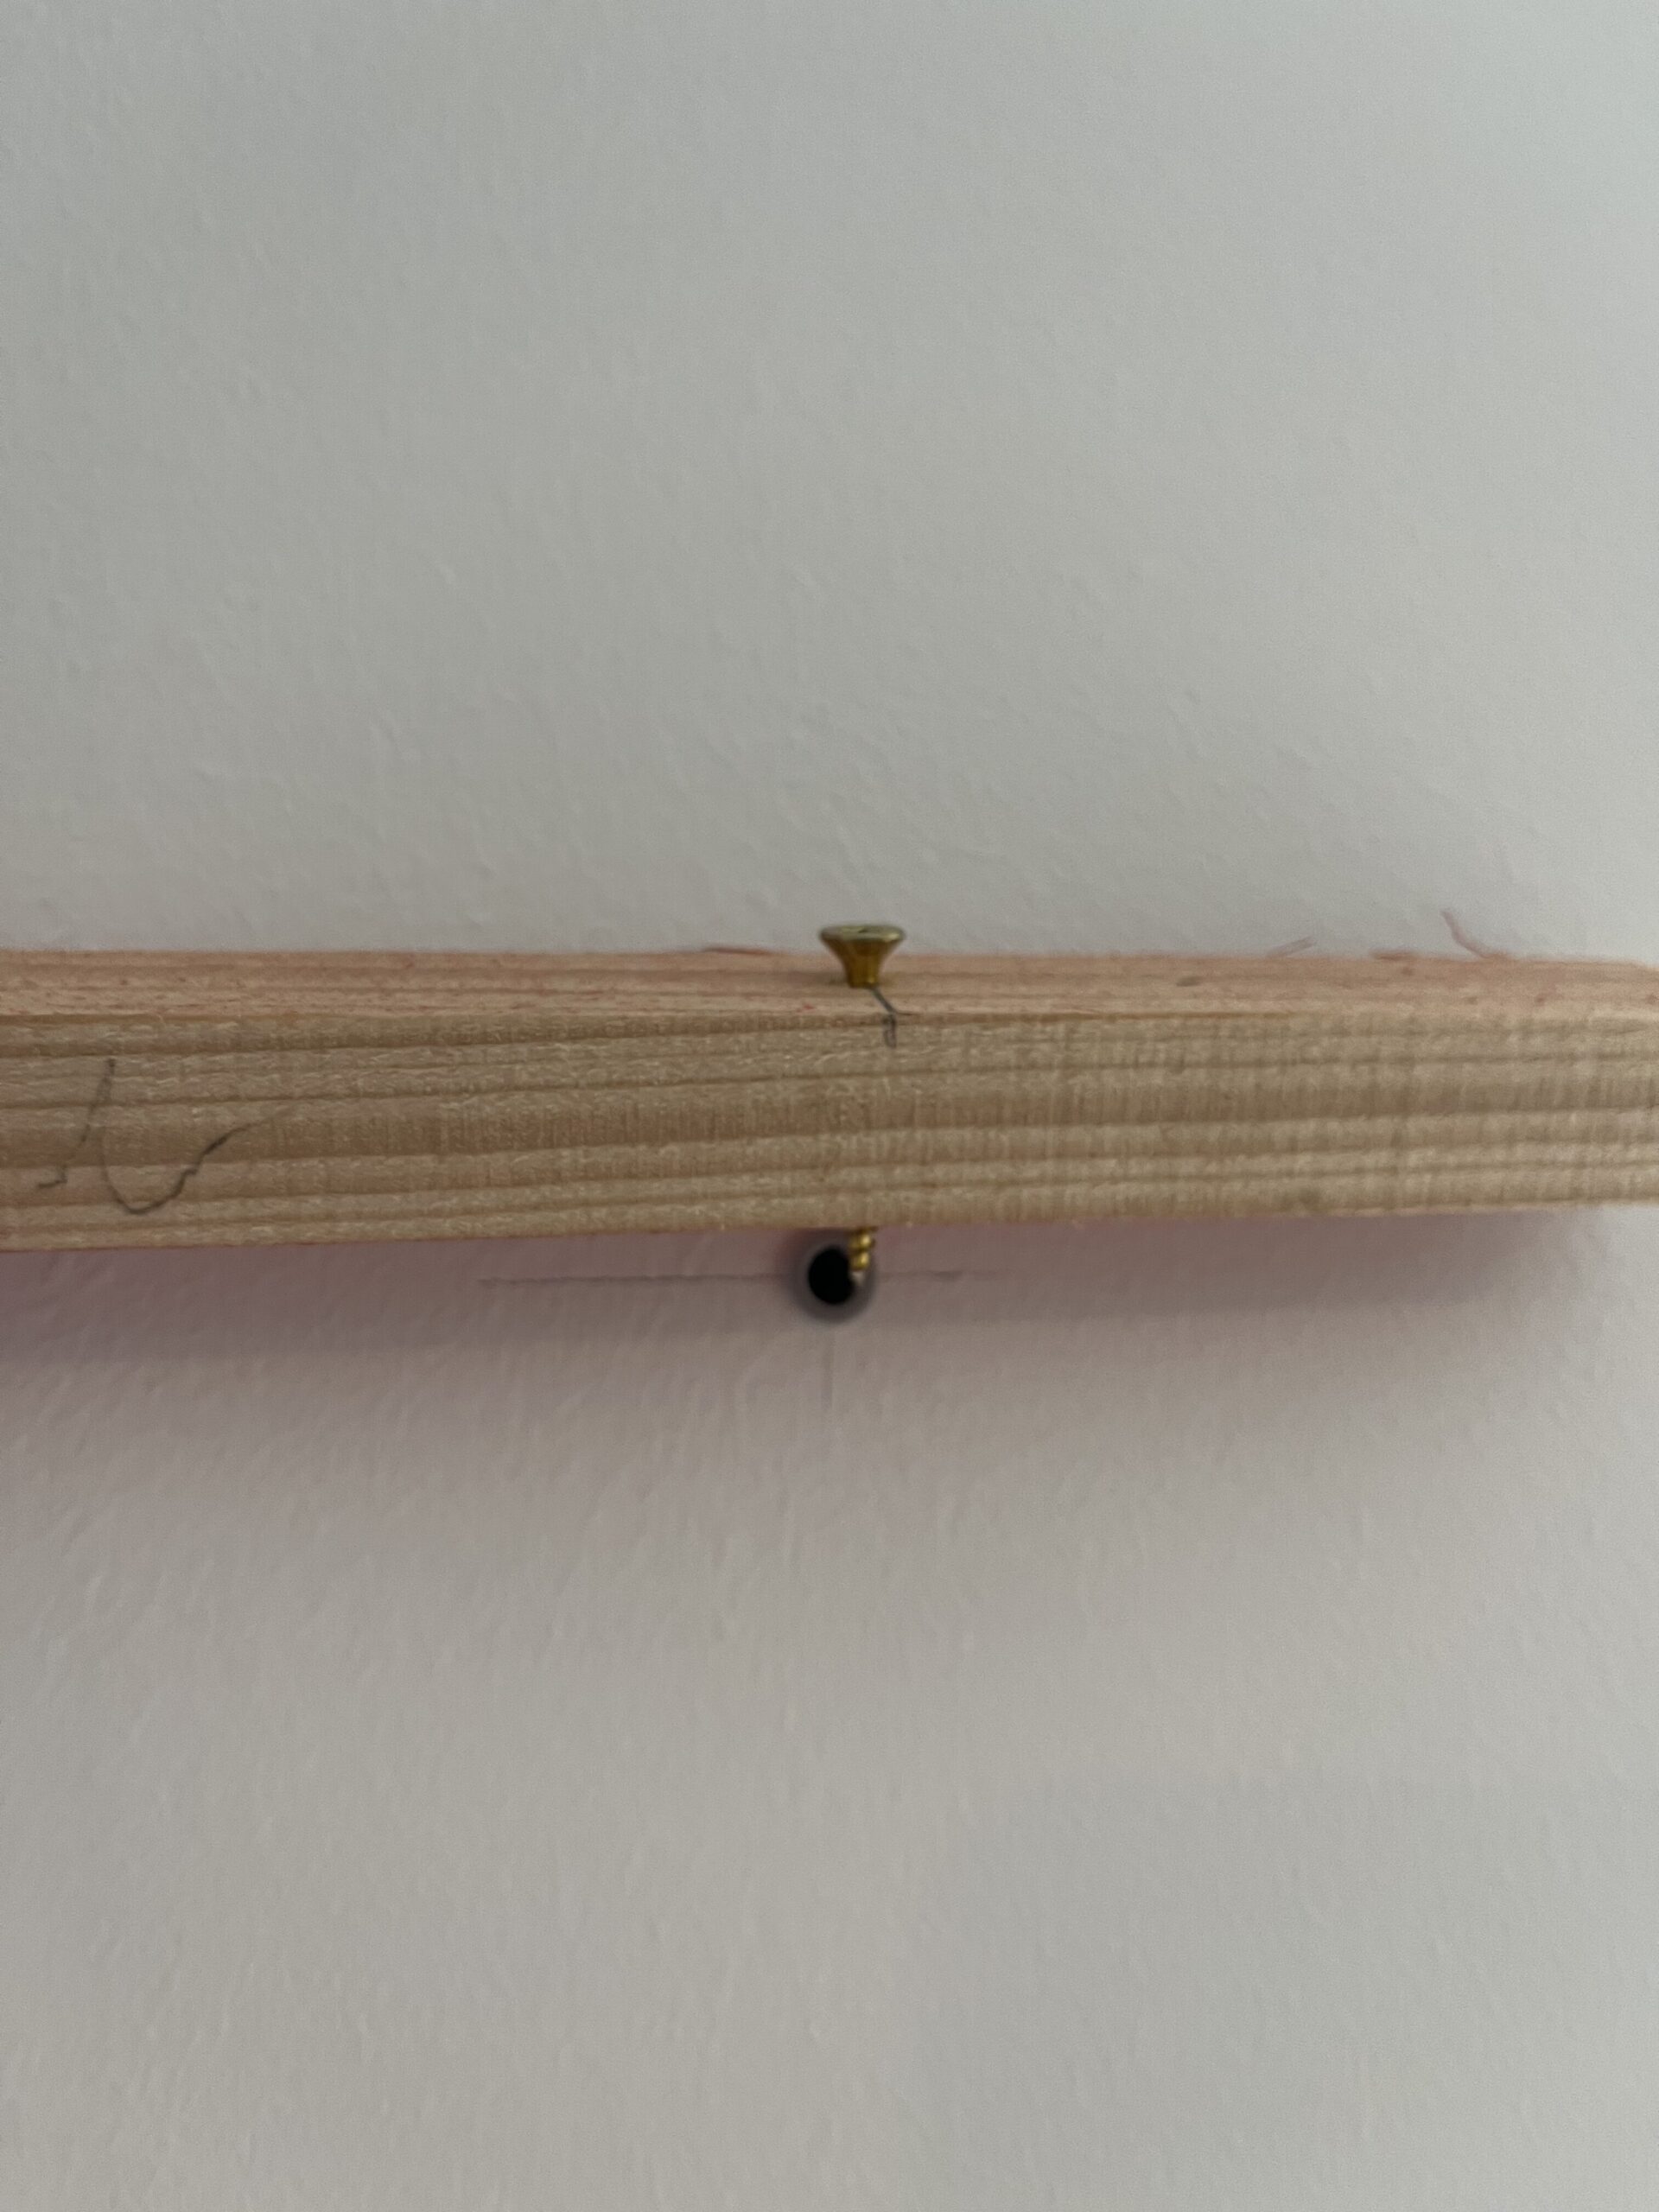
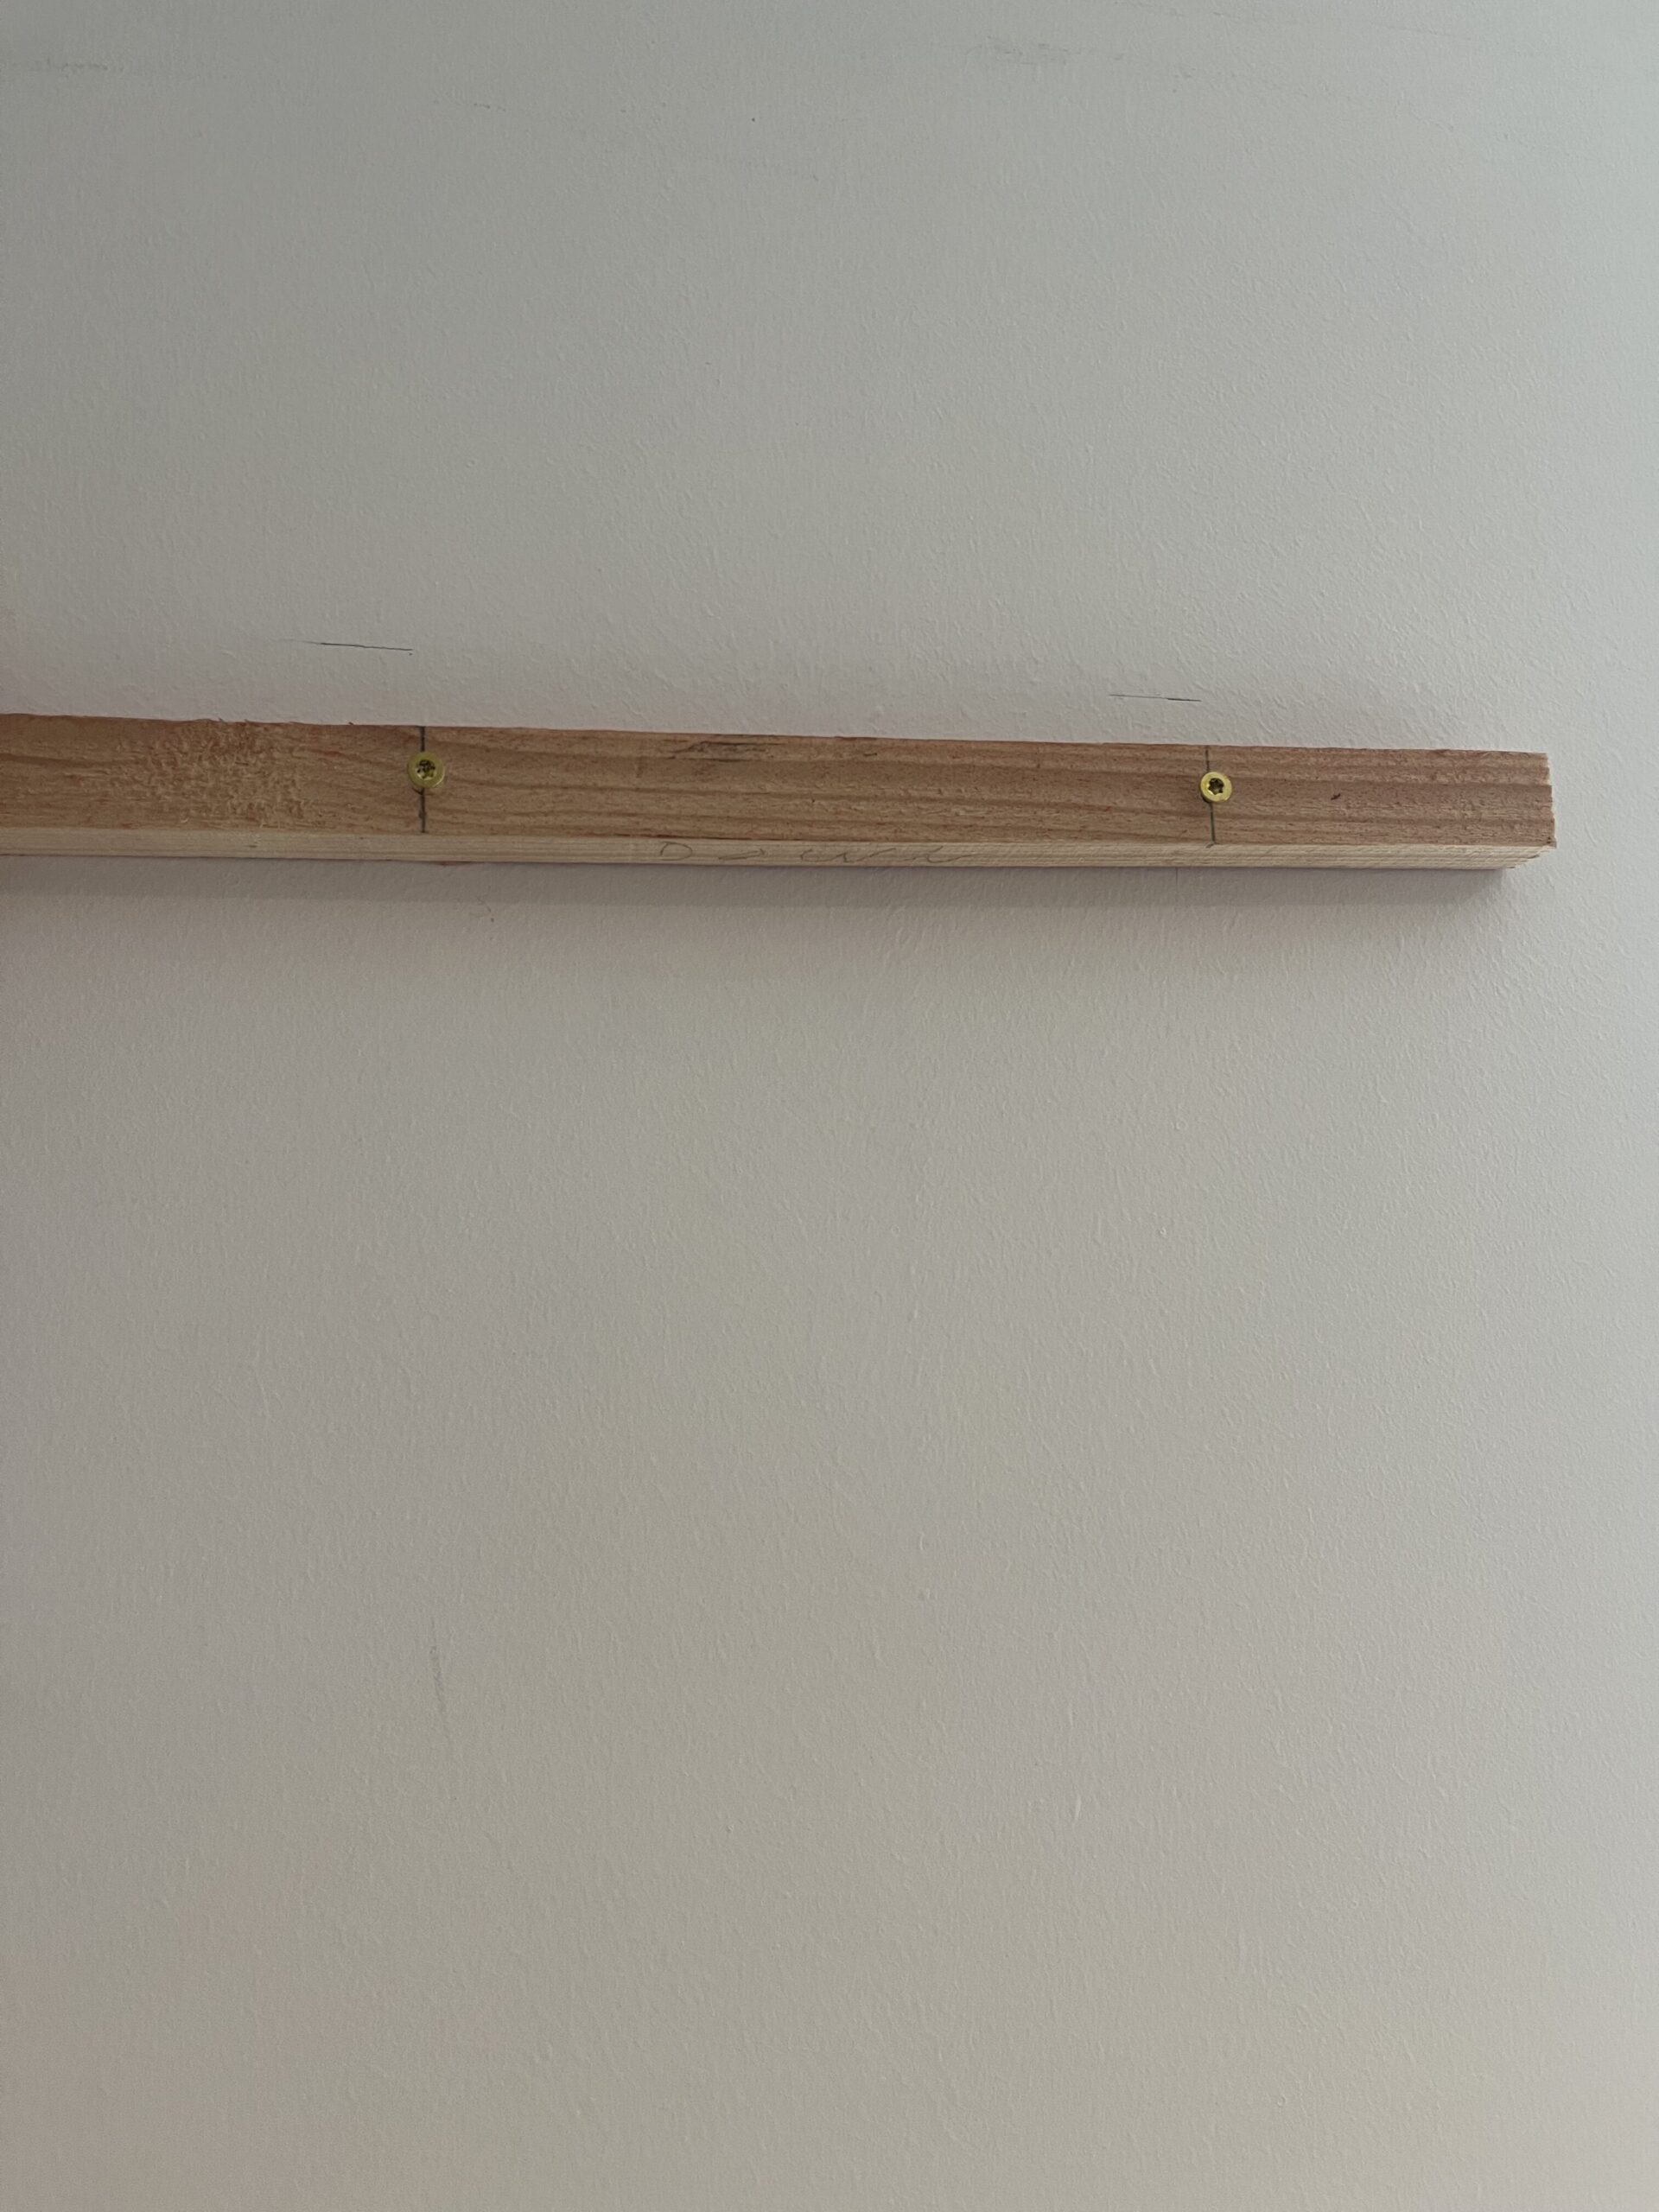
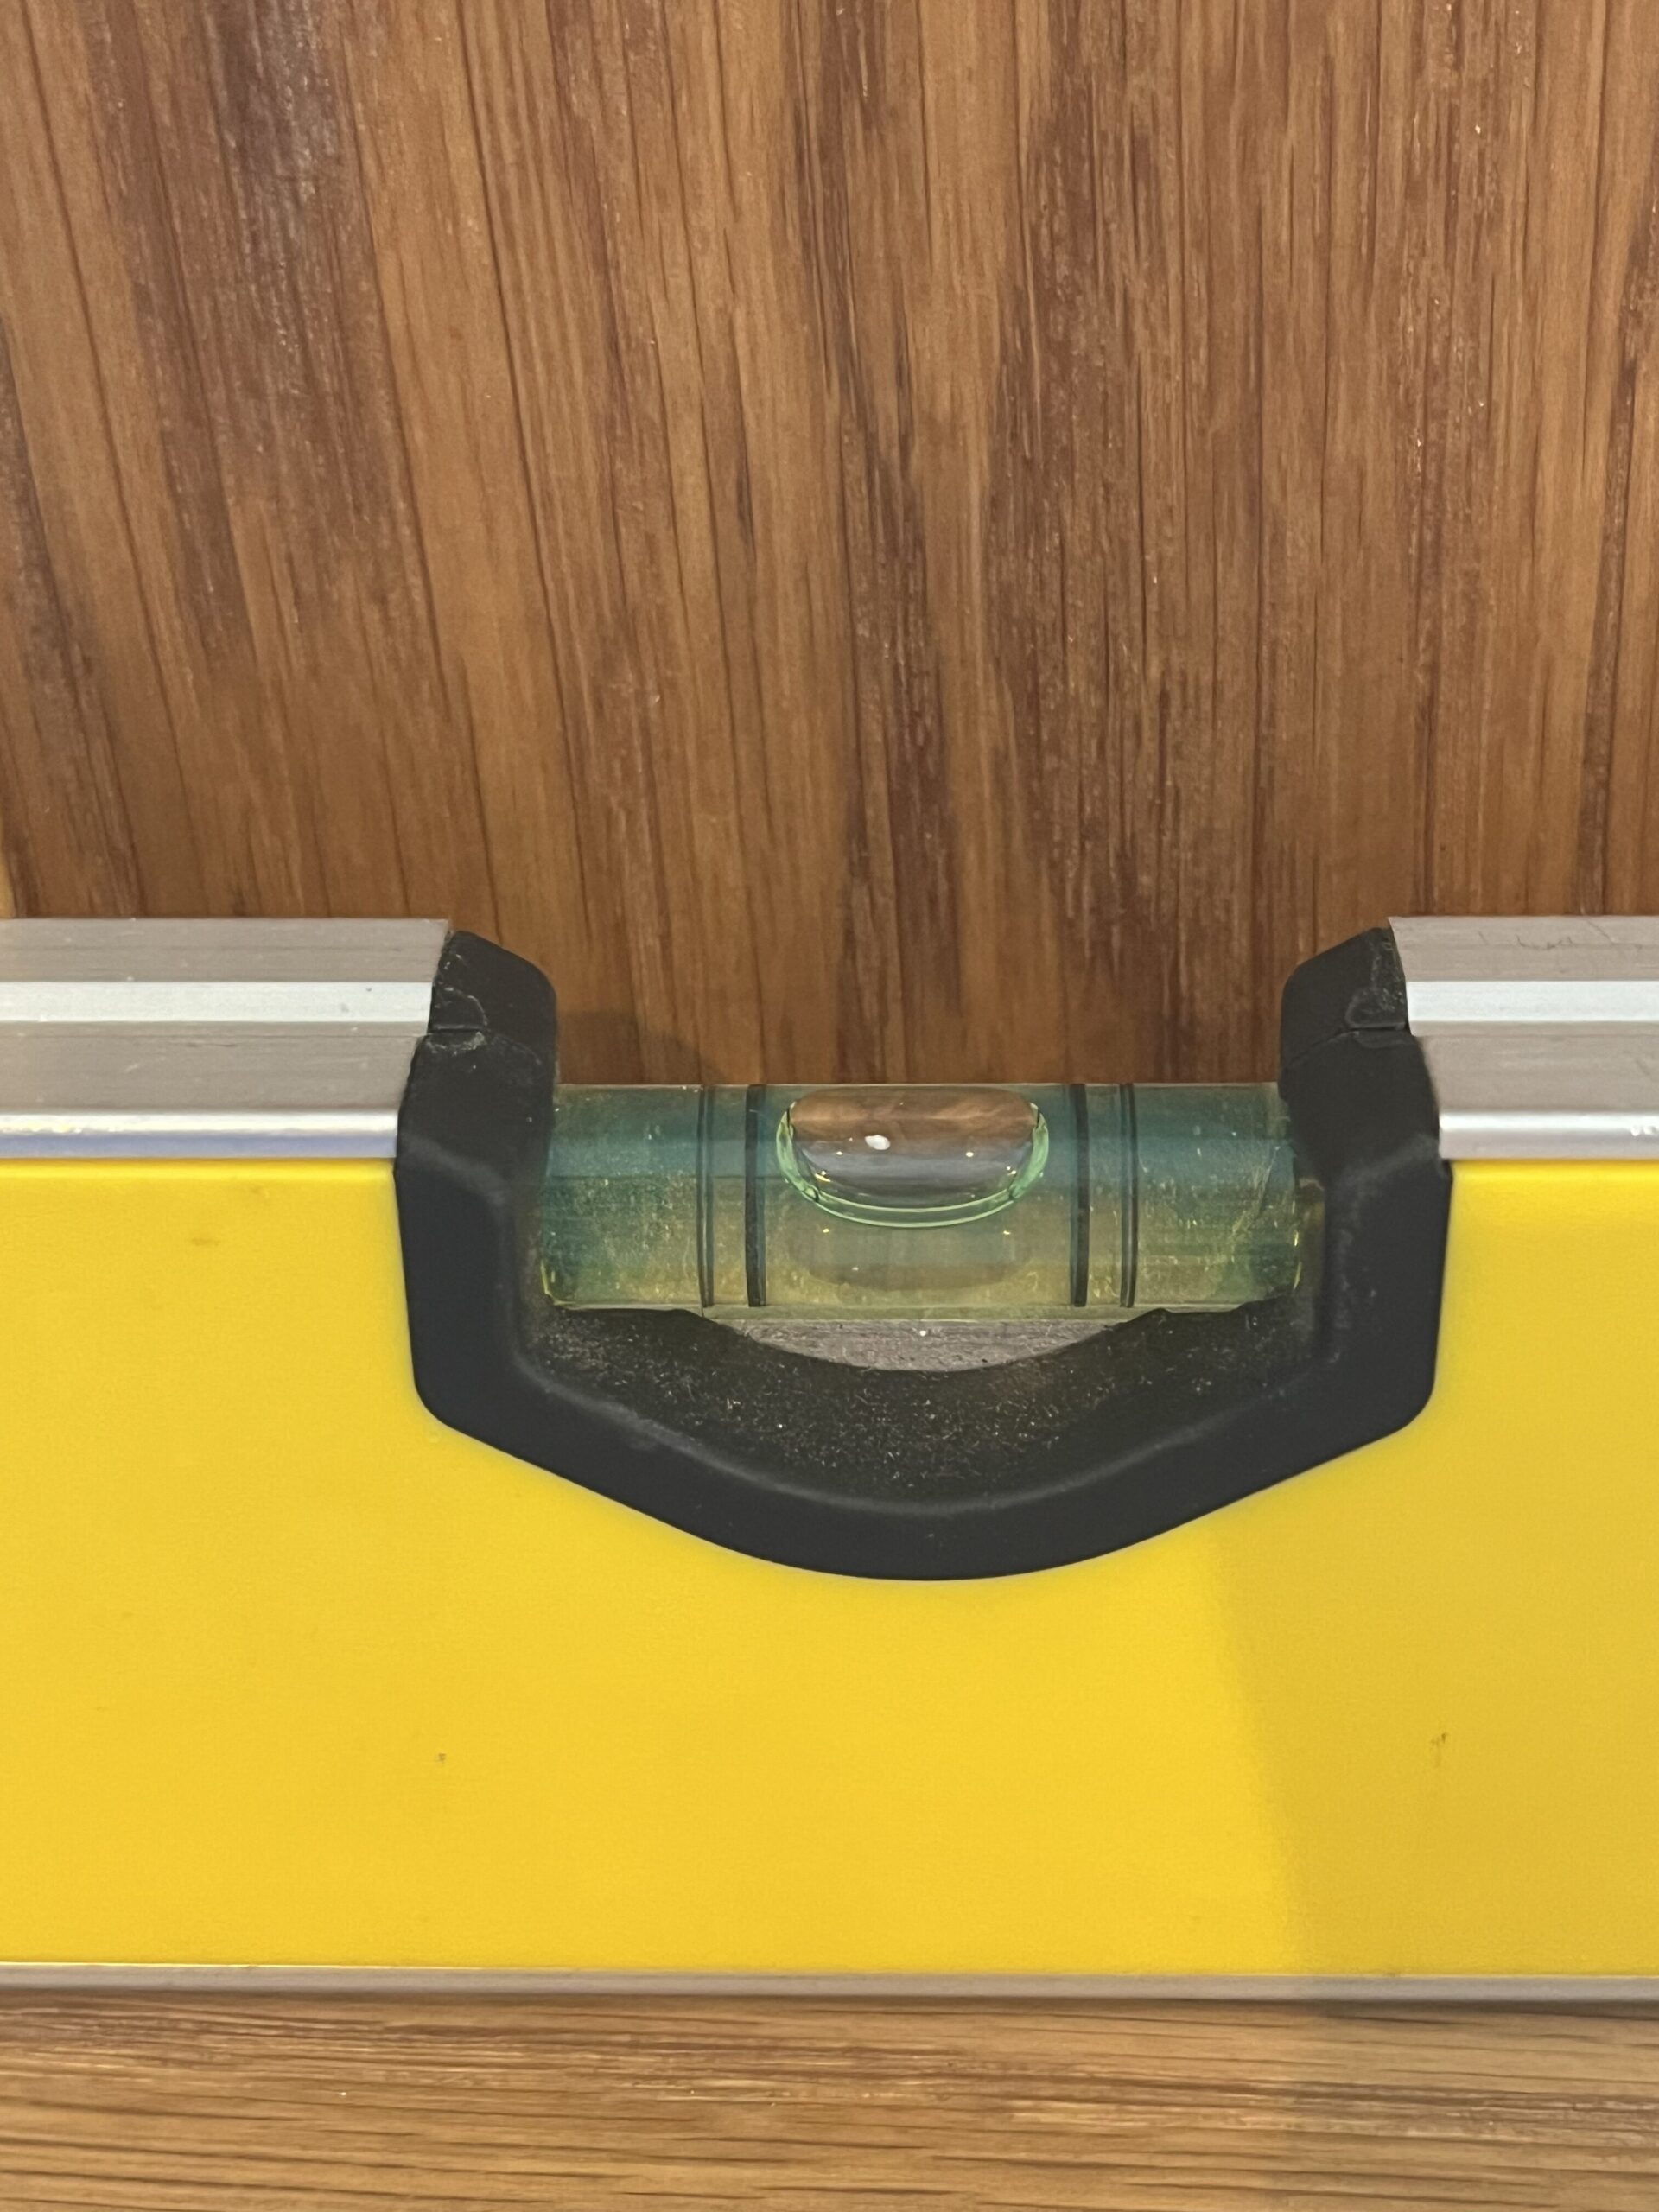
With everything oiled and assembled, the next bit was to get it on to the wall by the door. It turns out that the light switch fixture isn’t actually centred on the wall – it’s 1 cm closer to the right edge than to the left edge. I offered the board up in both places, and we agreed that lined up with the light switches looked better. Marked the height, left edge, measured in for the first fixing hole, used a story stick (with screws in it pre-set to the gap distance between the mounting eyes) to mark where the second fixing hole had to go, and then drilled the holes.
We’re happy with it, it suits the house (oak effect floors, oak shelves in the kitchen) and the angles on the handle basically mimic the fact that most of the walls in the house are not plumb in any direction.
In terms of active working time, this was probably an 8 hour build (there was a fair bit of sanding and scratching of head), but it took several days (spread over several weeks) as I needed the oil to soak in, glue to set etcetera.
We’re happy with it 😁